

User Account
A user's account also serves as the Properties dialog box. You can access this in the "Users" module via the main menu "Edit / Properties" when a user is selected in the left pane.
All relevant data can be entered on the various tabs. New attributes for additional user properties can be created using the Schema Manager.
General
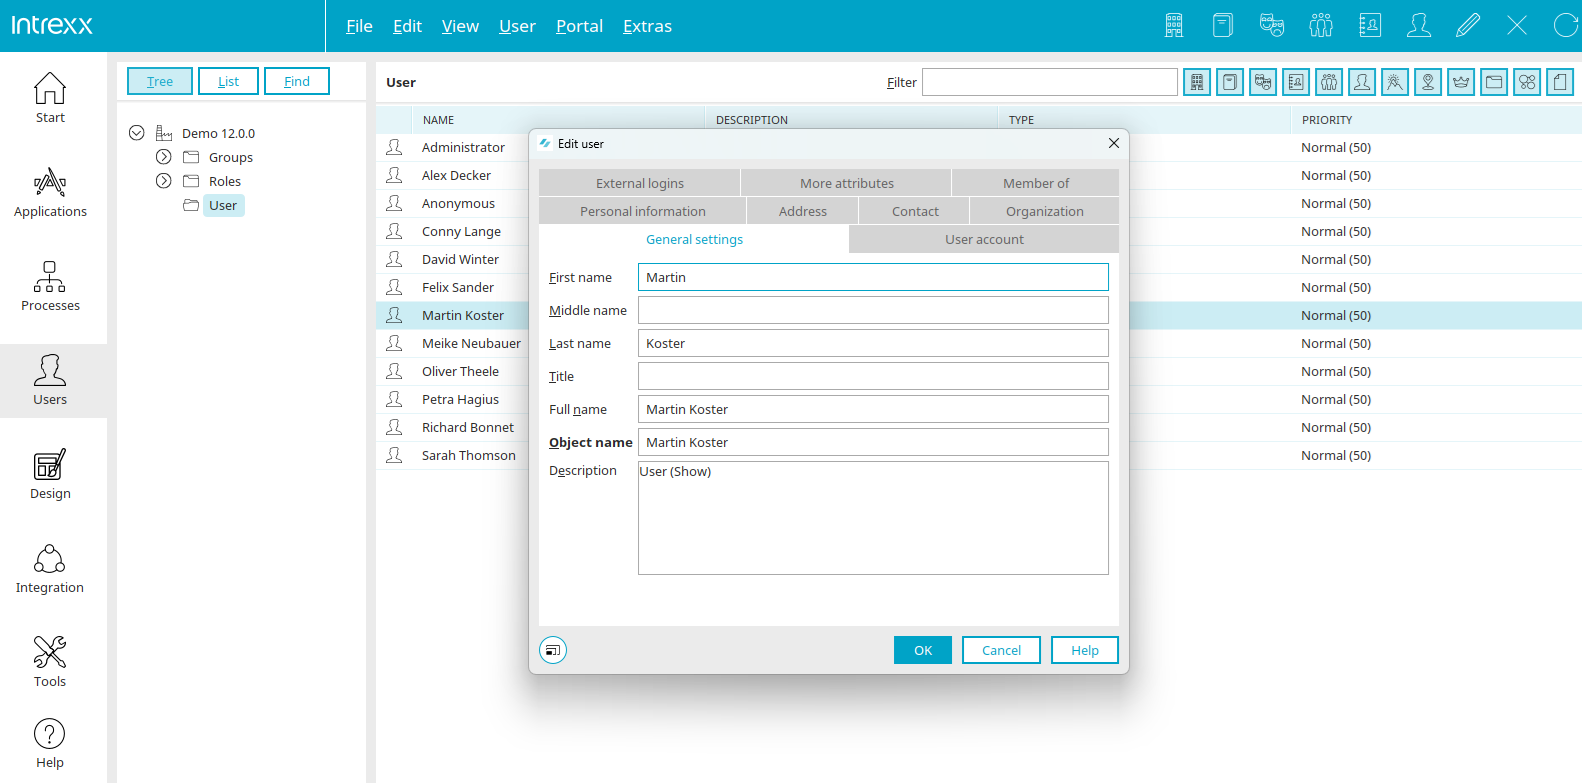
Enter the user's first name, middle name (if applicable), last name, and title (if applicable) here.
The full name is automatically formed from the first name and last name.
The object name is also automatically generated from the first name and last name.
You can also enter a description of the user.
Clicking "OK" saves all entries and closes the dialog box.
Account
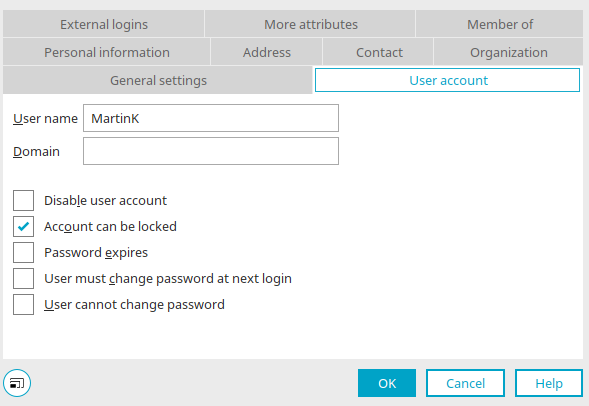
Enter the username and domain here.
Account is deactivated
If this setting is enabled, users will no longer be able to log in to the portal.
Your account may be suspended
If this setting is not enabled, the account will not be locked even if the password has expired, incorrect login attempts have been made, etc.
Password is about to expire / User must change password at next login / User is not allowed to change password
The custom settings configured here take precedence over the settings you have defined in the security policies. When new users are created, the settings specified in the security policies are automatically applied to them.
Suspended Accounts
Intrexx automatically locks accounts if, for example, a user enters an expired password or enters incorrect login credentials. In addition to the settings in this dialog box, the settings in the security policies are also relevant.
Personal Information
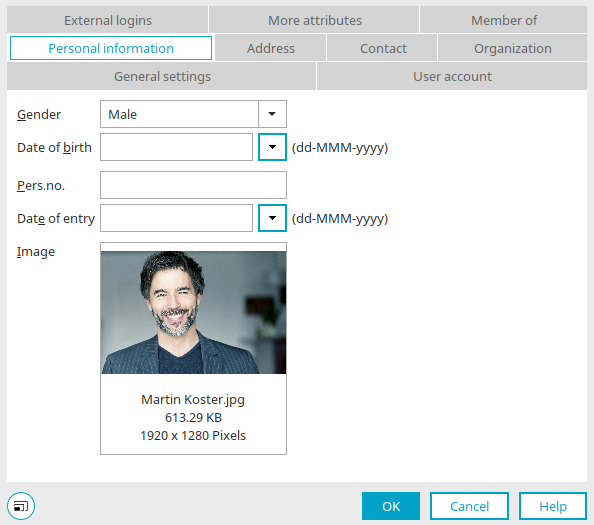
Gender
Select the user's gender here.
Birthday
Enter the date of birth here.
Pers. No.
Enter the employee ID number here.
Start Date
Enter the start date here.
Image
If you want to add a user's photo, simply click on the designated framed area. A dialog box opens where you can select an image.
Address
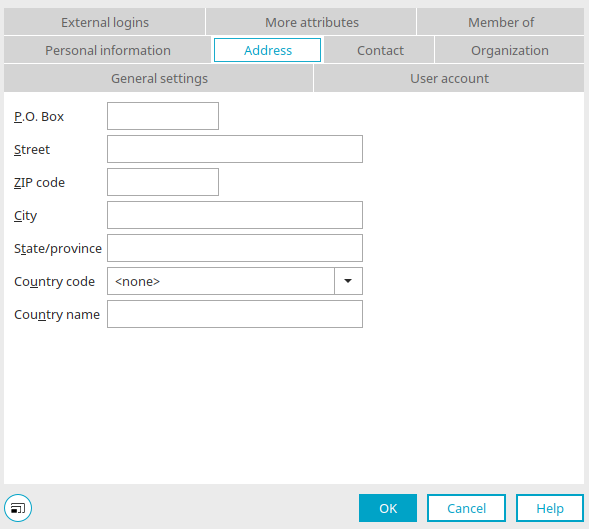
You can also access this dialog box in the properties of the "Client" user object.
P.O. Box, Street, ZIP Code, State, Country
Enter the appropriate address information here.
Country Code
If you select a country code here, only the code (e.g., DE, if you selected DE—Germany) will be saved.
Contact
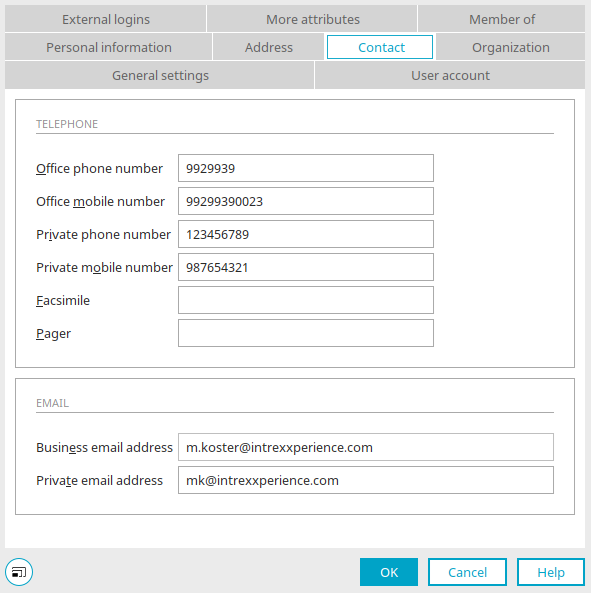
Phone
You can enter the user's business phone number, business cell phone number, and home phone number here. Fax numbers and pager numbers can also be entered here.
Enter the user's work and personal email addresses here.
Organization
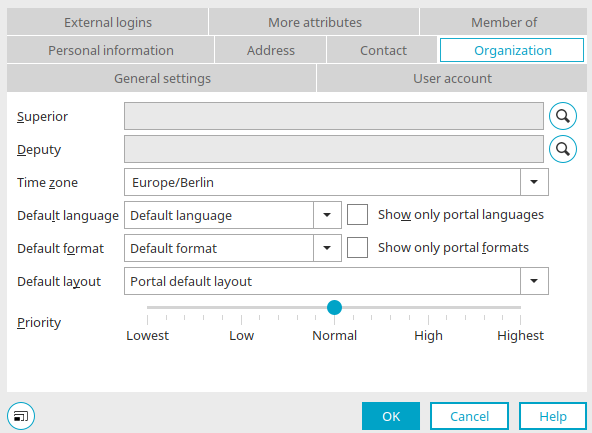
Supervisor
The user's supervisor is listed here along with the path.
 Select a supervisor
Opens a dialog box from which the supervisor can be selected.
Deputy
The user's substitute is listed here along with the path.
Select a Deputy
Opens a dialog box from which you can select a substitute.
Time Zone
Here, you can select your specific time zone for the date and time format in the portal.
Default Language
This setting determines the language in which the portal will load in the browser for this user. If you select "Portal Default," the portal will load in the language specified as the default language in the language settings.
Show only portal languages
With this setting, the language selection list will only display the languages that are configured in the portal's language settings.
Standard format
This setting determines the format in which the portal is loaded in the browser for this user. If you select "Portal Default Settings," the portal will load using the formats specified as defaults in the format settings.
Show only portal formats
With this setting, the format drop-down list will only display the formats that are configured in the portal's format settings.
Standard Layout
This is where you specify the layout to be displayed when the portal loads.
Priority
The priority affects the order of the lists in User Management. The higher an item's priority, the higher up it appears in the list.
External Logins
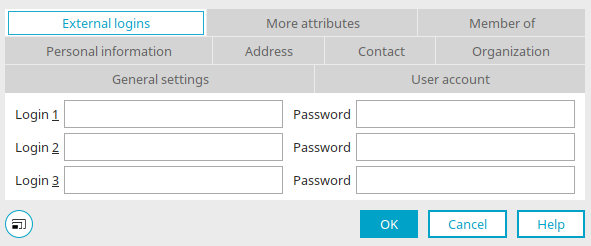
Login 1–4
Here, you can enter a username to be used for logging in to an external system—for example, using the Intrexx connectors.
Password
Enter the correct password here.
Additional Attributes
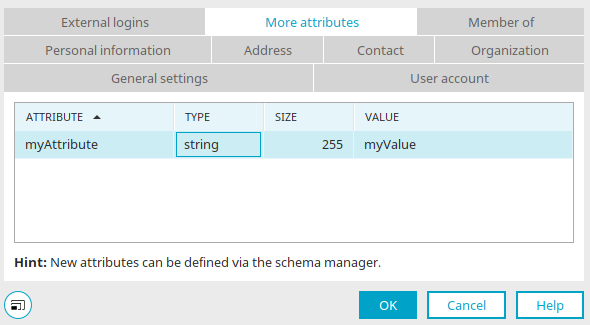
Additional attributes for user objects can be created in the Schema Manager. The attribute, type, and size are then automatically displayed here. Click in the "Value" column to enter the desired value.
Member of
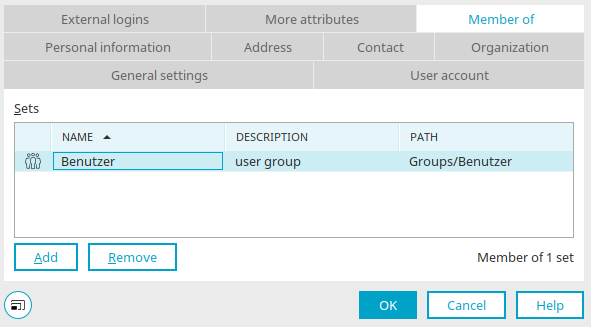
Roles, user groups, distribution lists, and users can be members of other objects. The corresponding icon is displayed in the first column. The "Name" column displays the object name.
Change Password
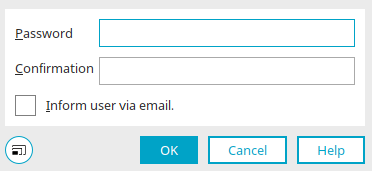
The user password can be changed via the main menu option "User / Change Password" or the corresponding context menu when the user is selected. Enter your new password and confirm it here.
Please note the specific details regarding the settings in this dialog box when using multi-factor authentication. You can find more information here.
Notify users via email
With this setting, the user is notified of the change. The notification will be sent to his work email address.
More Information
Objects, Classes, and Attributes
The sections of the "Users" module
Replication - User and Group Import
Active Directory Integration and Replication Configuration
Portal Login via Identity Provider
Use a proxy server for authentication