

Objects, Classes, and Attributes
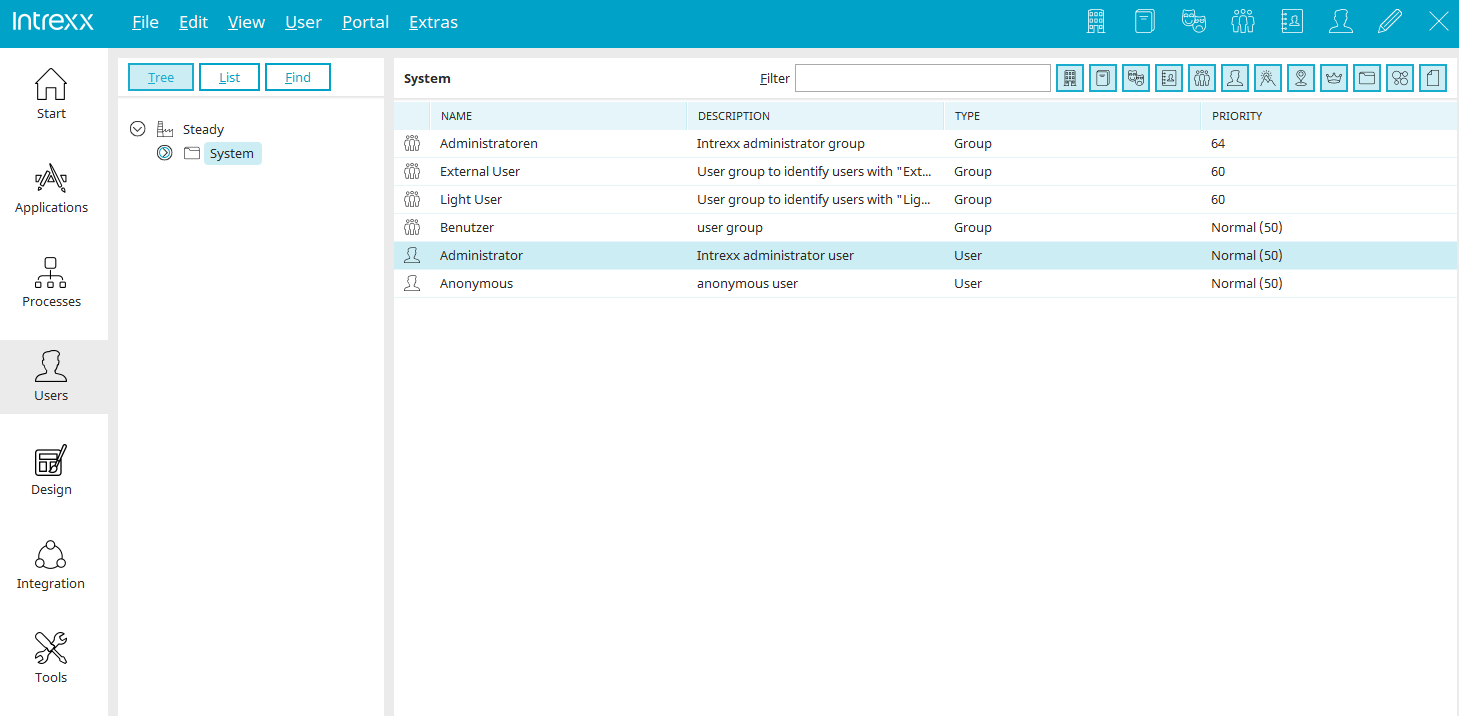
In a newly created portal, object classes with required attributes are already defined, such as the "User" object class with the required attributes "First Name" and "Last Name."
This class has a number of attributes that can be used to describe a user. For each attribute, there is a database field in which the values you enter for an object instance are stored.
You can define an unlimited number of additional attributes for an object class, but a class's required attributes cannot be changed.
Objects (e.g., a portal user based on the "User" class) are created based on the object classes. Object classes can be thought of as templates for objects. An object's specific values are stored in its attributes.
The object classes "Object," "Container," and "Set" are what are known as base classes. Their attributes are inherited by the classes derived from them. For example, the "User" class has not only its own attributes but also all the attributes of the base class "Object," from which it is derived.
The following figure shows a representation of the object class hierarchy in the "Users" module.
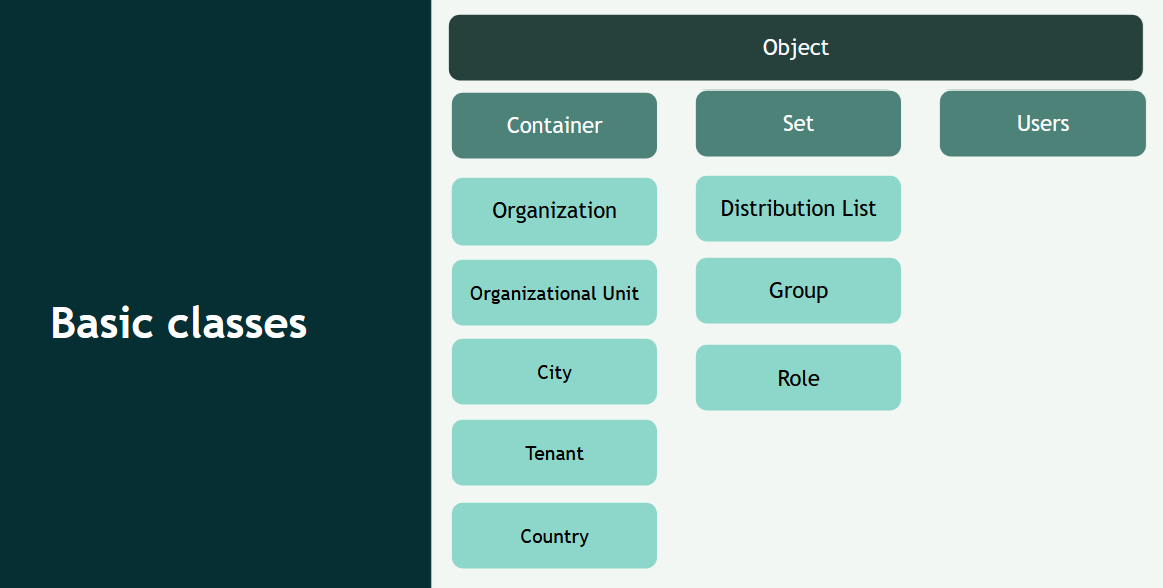
All objects in the tree that represents the structure of the user objects can be assigned to other objects using drag-and-drop or the "Move" menu.
"Object" Class
This class is the base class for all user management object classes. This means that all other object classes have all the attributes of the "Object" class.
"User" Class
This class is derived directly from the base class "Object" and represents the individual users of the portal.
"Container" Class
This class is the base class for the object classes
-
Organization
For objects that represent an organization or a company
-
Organizational Unit
For objects that represent organizational units
-
Country, Client, City
Country, client, and location are fundamental objects for client management.
Objects of these classes can be used to group other objects in a 1:n relationship. Therefore, other objects cannot be assigned to more than one organizational object or organizational unit. User objects, too, can be assigned to only one organization or organizational unit.
"Set" Class
This class is the base class for the object classes
-
Distribution List
For objects that represent a distribution list
-
Group
For objects that represent a user group
-
Role
For objects that describe specific roles within the organization
The "Set" class can be used to represent an m:n relationship. For example, a user object can be included in multiple distribution list, group, or role objects.
Create Custom Classes and Attributes
You can define your own object classes and attributes in the Schema Manager.
Details
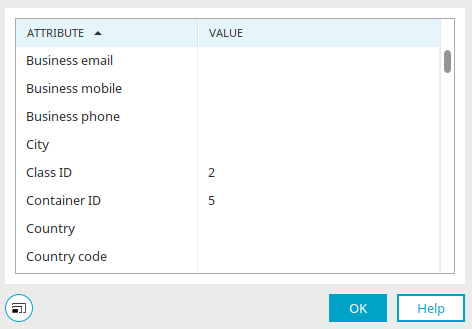
You can access the "Details" dialog only if "Advanced Options" are enabled for the "Users" section. Then select the desired object (e.g., a user or an organizational unit) in the "Users" module and select "Edit / Details" from the main menu.
The dialog box displays all of the object's attributes along with their corresponding values.
Properties of Objects
Users - Properties
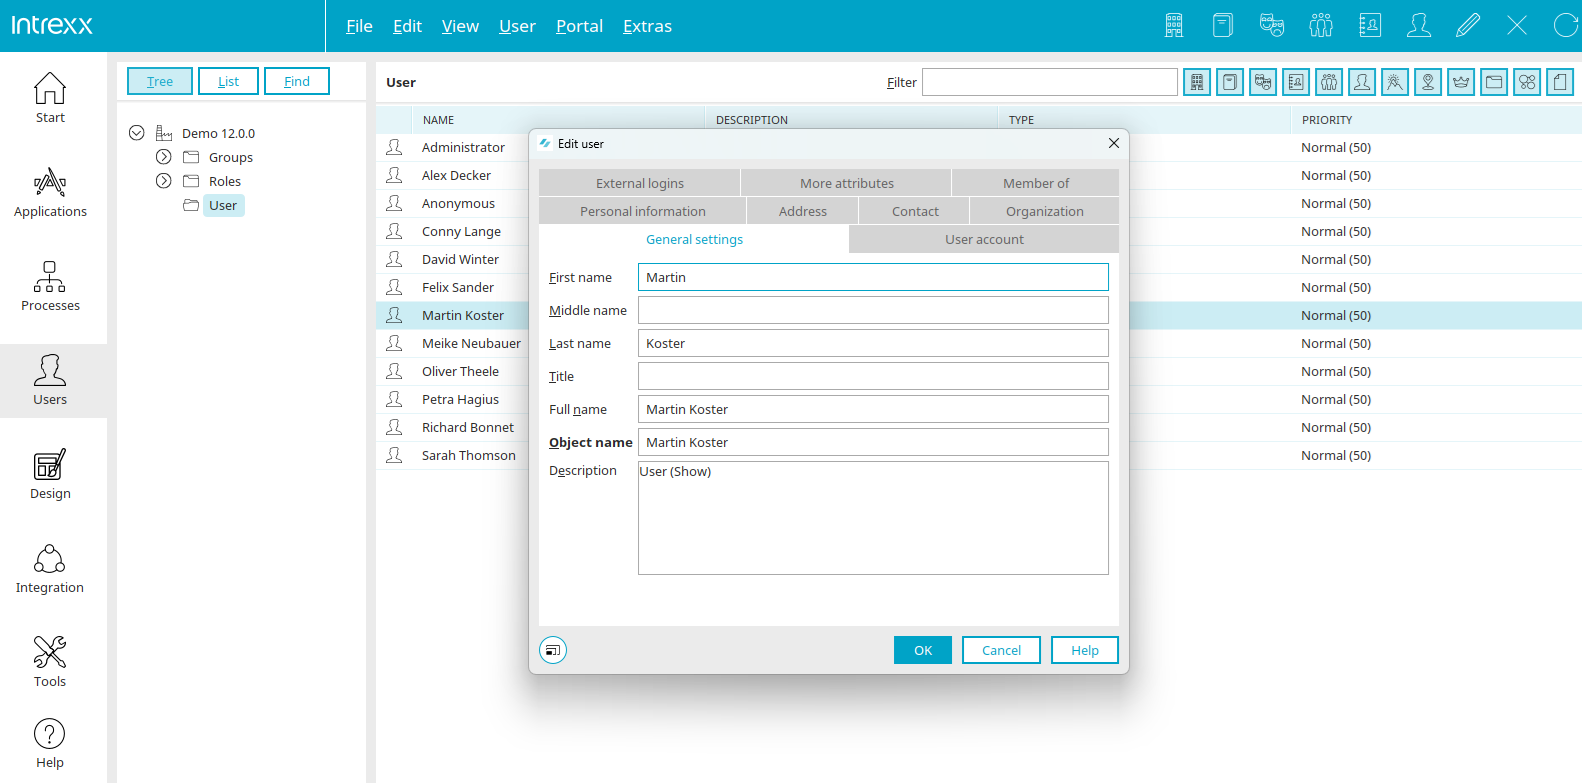
You can find all the information about user properties—the user account— here.
Containers - Properties
General
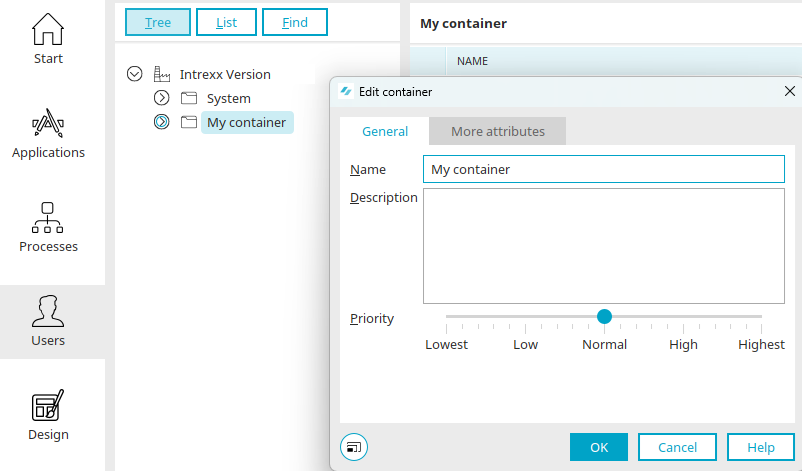
New containers can be created via the main menu: "Edit / New / More... / Container."
For existing containers, you can access the properties via the main menu "Edit / Properties" or the context menu "Properties." The container must be selected in the left pane.
In the Properties dialog box, enter a name and a description. The priority determines the order in which this container appears in lists in User Management.
Additional Attributes
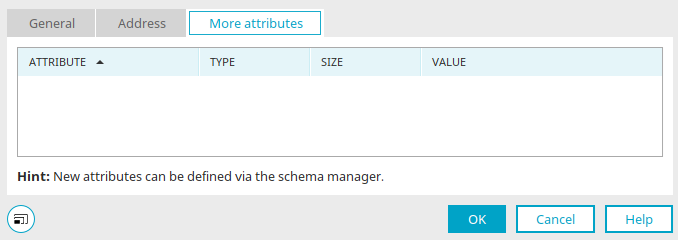
Additional attributes for containers can be created in the Schema Manager. The attribute, type, and size are then automatically displayed here. Click in the "Value" column to enter the desired value.
Organization - Characteristics
General
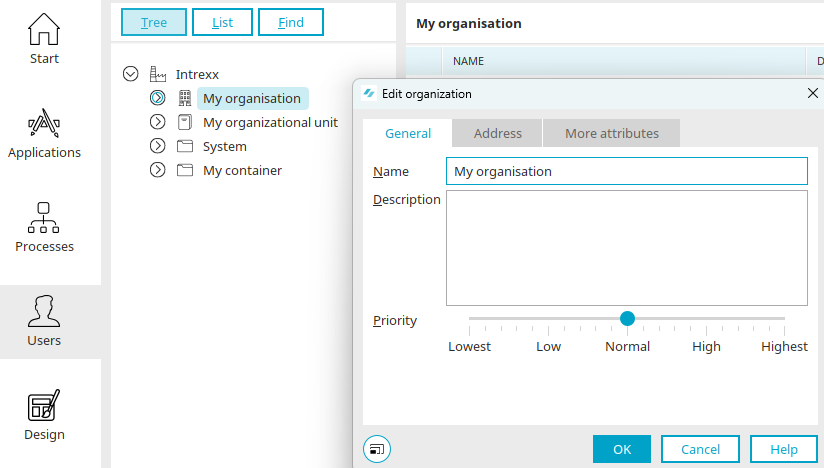
You can create a new organization by selecting "Edit / New / Organization" from the main menu.
To access the properties of the "Organization" object, select it in the tree on the left and then choose "Edit / Properties" from the main menu or "Properties" from the context menu.
Enter the name and a description of the organization here. The priority determines the order in which this client appears in lists in User Management.
Address
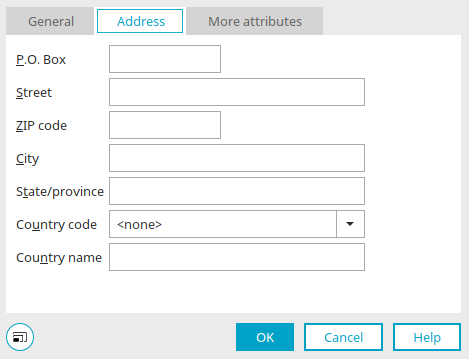
P.O. Box, Street, ZIP Code, State, Country
Enter the appropriate address information here.
Country Code
If you select a country code here, only the code (e.g., DE, if you selected DE—Germany) will be saved.
Additional Attributes
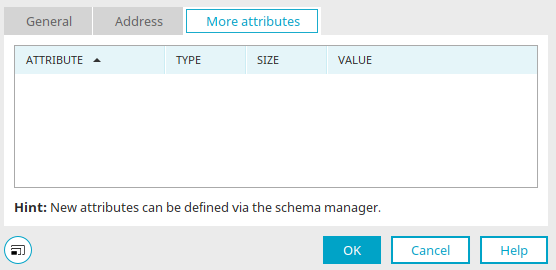
Additional attributes for the "Organization" object can be created in the Schema Manager. The attribute, type, and size are then automatically displayed here. Click in the "Value" column to enter the desired value.
Organizational Unit - Properties
General
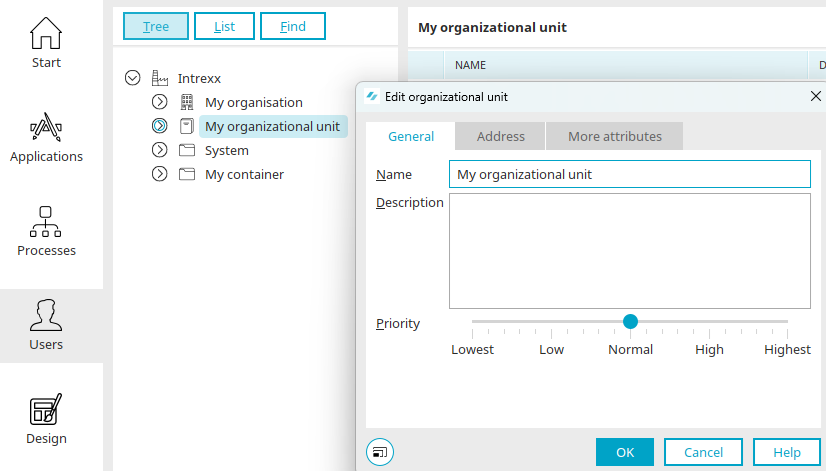
A new organizational unit can be created via the main menu under "Edit / New / Organizational Unit."
To access the properties of the "Organizational Unit" object, select it in the tree on the left and then choose "Edit / Properties" from the main menu or "Properties" from the context menu.
Enter the name and a description of the organizational unit here. The priority determines the order in which this client appears in lists in User Management.
Address
P.O. Box, Street, ZIP Code, State, Country
Enter the appropriate address information here.
Country Code
If you select a country code here, only the code (e.g., DE, if you selected DE—Germany) will be saved.
Additional Attributes
Additional attributes for the "Organizational Unit" object can be created in the Schema Manager. The attribute, type, and size are then automatically displayed here. Click in the "Value" column to enter the desired value.
Country - Characteristics
General
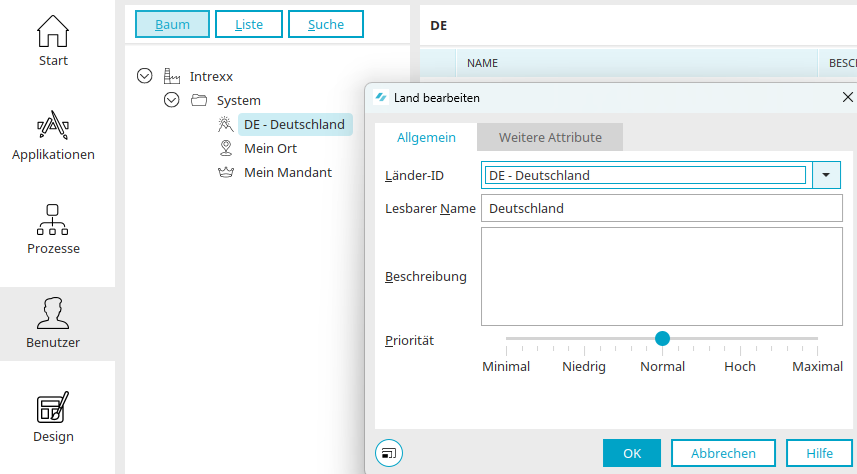
You can create a new country via the main menu: "Edit / New / More... / Country."
To access the properties of a Land object, select the object on the left side of the tree, then choose "Edit / Properties" from the main menu or "Properties" from the context menu.
Country ID
Here, you can select the country code along with the country name.
Readable Name
You can enter a descriptive name here.
Description
A description of the country can be entered here.
Priority
The priority determines the order in which this country appears in lists in User Management.
Additional Attributes
Additional attributes for the "Country" object can be created in the Schema Manager. The attribute, type, and size are then automatically displayed here. Click in the "Value" column to enter the desired value.
Client - Properties
General
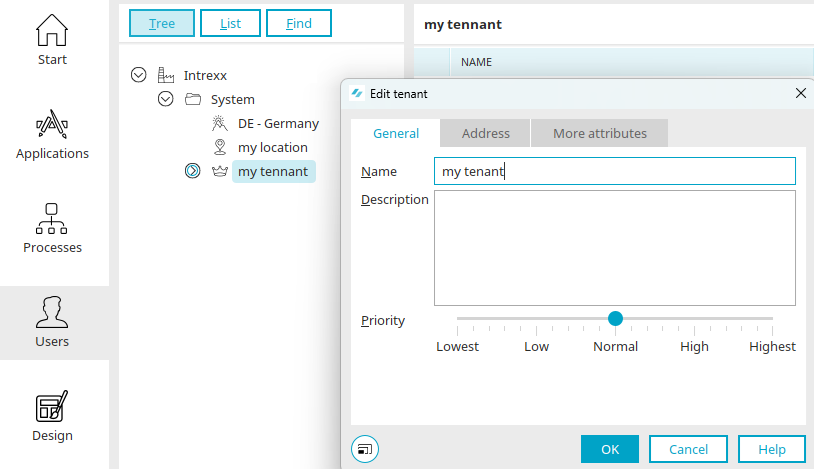
A new client can be created via the main menu: "Edit / New / More... / Client."
To access the properties of a client object, select the object on the left side of the tree, then choose "Edit / Properties" from the main menu or "Properties" from the context menu.
Enter the name and a description of the client here. The priority determines the order in which this client appears in lists in User Management.
Address
P.O. Box, Street, ZIP Code, State, Country
Enter the appropriate address information here.
Country Code
If you select a country code here, only the code (e.g., DE, if you selected DE—Germany) will be saved.
Additional Attributes
Additional attributes for the "Client" object can be created in the Schema Manager. The attribute, type, and size are then automatically displayed here. Click in the "Value" column to enter the desired value.
Location - Characteristics
General
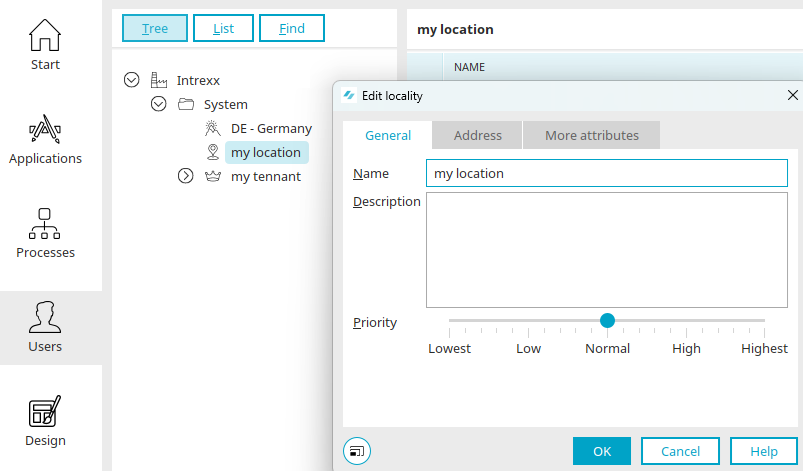
You can create a new location via the main menu: "Edit / New / More... / Location."
To access the properties of a location object, select the object on the left side of the tree, then choose "Edit / Properties" from the main menu or "Properties" from the context menu.
Enter the name and a description of the place here. The priority determines the order in which this location appears in lists in User Management.
Address
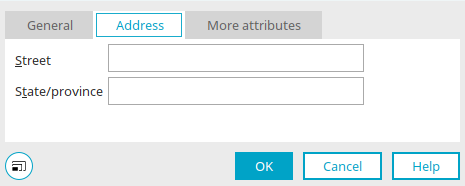
Enter the street and the state here.
Additional Attributes
Additional attributes for the "Location" object can be created in the Schema Manager. The attribute, type, and size are then automatically displayed here. Click in the "Value" column to enter the desired value.
Distribution List - Properties
General
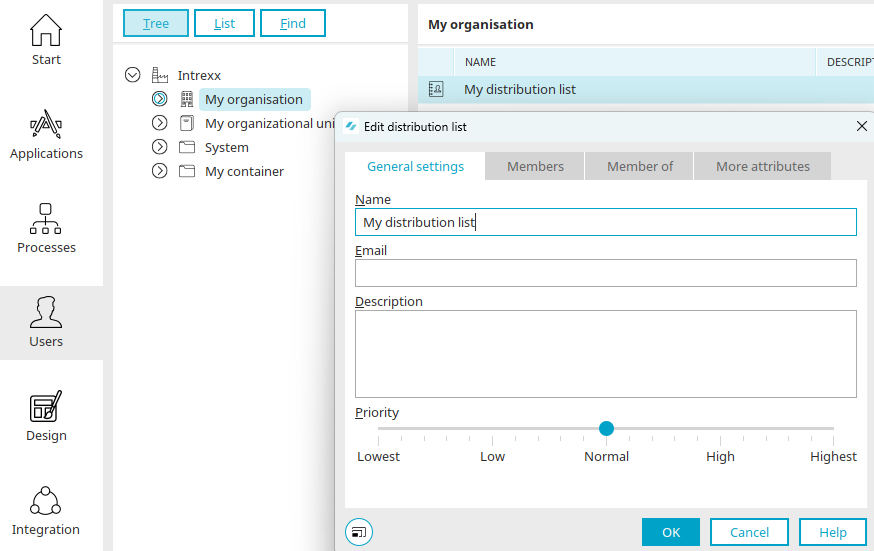
You can create a new distribution list by selecting "Edit / New / Distribution List" from the main menu.
To access the distribution list properties, select the object and then choose "Edit / Properties" from the main menu or "Properties" from the context menu.
Enter your name, description, and a valid email address here. The priority determines the order in which this location appears in lists in User Management.
Members
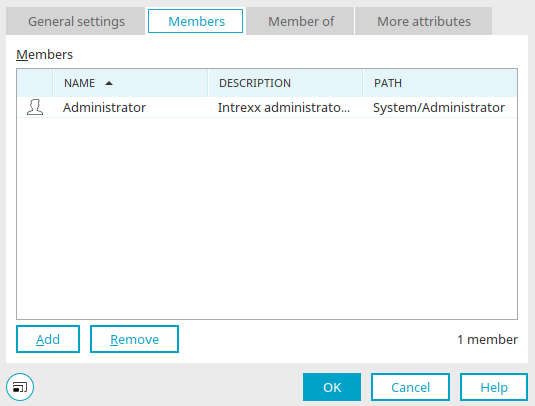
You can find all the information about this dialog here.
Member of
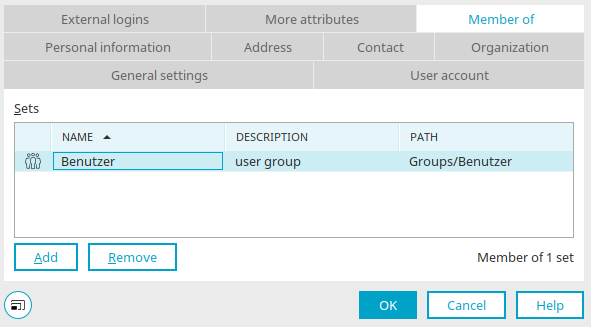
You can find all the information about this dialog here.
Additional Attributes
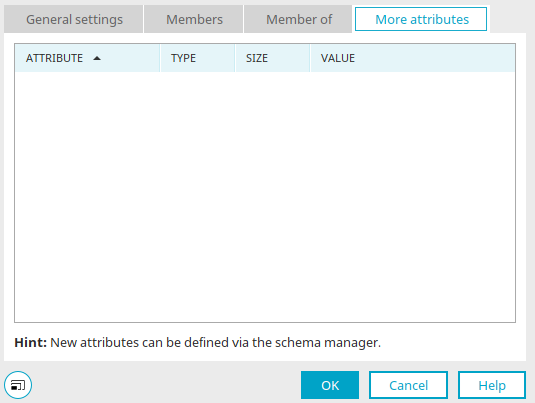
Additional attributes for the "Distribution List" object can be created in the Schema Manager. The attribute, type, and size are then automatically displayed here. Click in the "Value" column to enter the desired value.
User Group - Properties
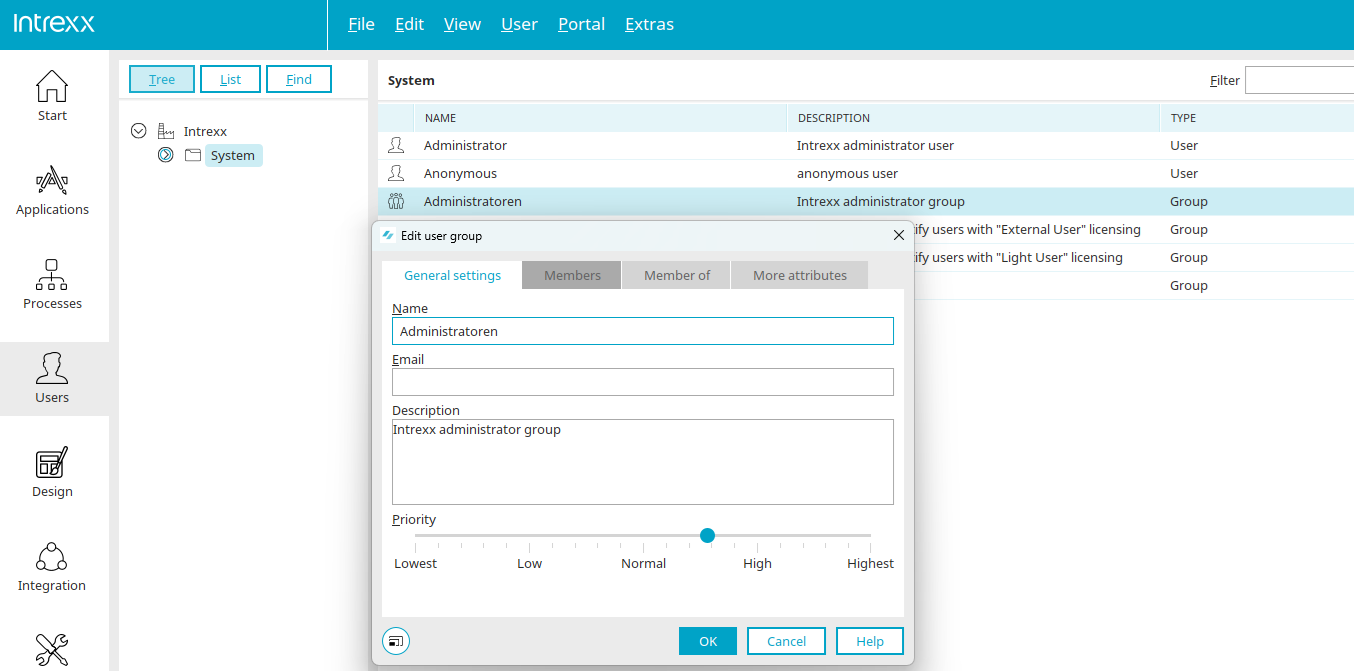
You can find all the information about user group properties here.
Role - Characteristics
General
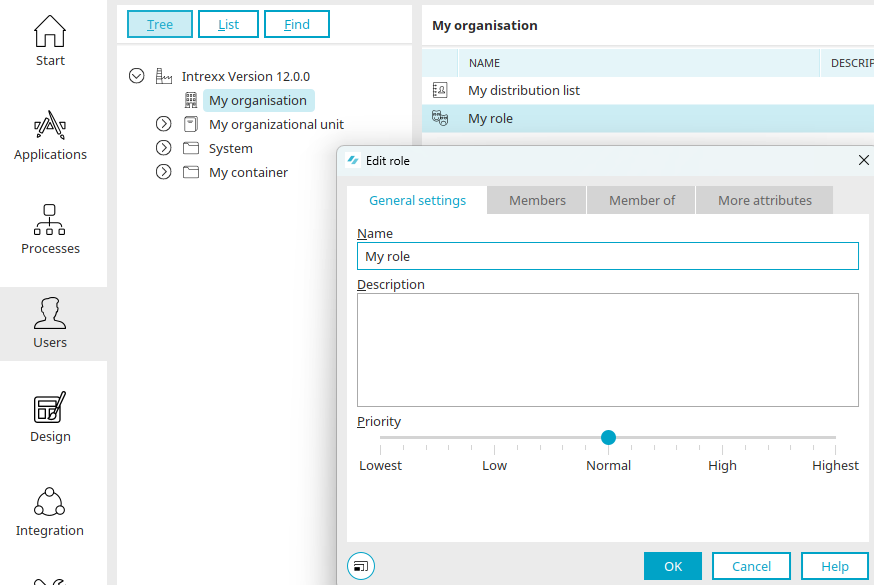
A new distribution list can be created via the main menu under "Edit / New / Role."
To access the properties of the roll, select the object and then choose "Edit / Properties" from the main menu or "Properties" from the context menu.
Enter the name and description here. The priority determines the order in which the role appears in lists in User Management.
Members
You can find all the information about this dialog here.
Member of
You can find all the information about this dialog here.
Additional Attributes
Additional attributes for the "Role" object can be created in the Schema Manager. The attribute, type, and size are then automatically displayed here. Click in the "Value" column to enter the desired value.
More Information
The sections of the "Users" module
Replication - User and Group Import
Active Directory Integration and Replication Configuration