

Schema Manager
You can access the Schema Manager in the "Users" module via the main menu "Users / Schema Manager." General information on the topic "Objects, Classes, and Attributes" can be found here.
Classes
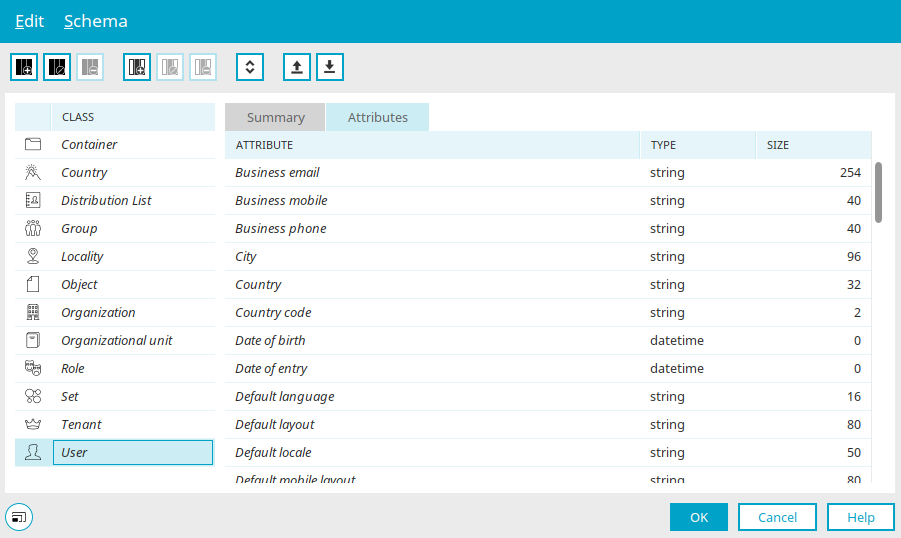
An icon representing the class type is displayed here.
The Schema Manager lists all standard object classes as well as user-defined classes. Standard object classes are displayed with their names in italics; user-defined classes are displayed in regular typeface. Standard object classes cannot be deleted or edited.
You can create your own classes in the Schema Manager by selecting "Edit / New Class" from the menu, or alternatively by using the corresponding context menu when you select a class in the left pane.
Create a Custom Class
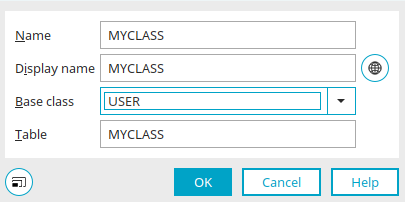
Enter a name for the new class here; you may only use letters and numbers. The class name cannot be changed later.
The display name is used to display the class in the Schema Manager.
Select the desired base class here.
Enter a table name using only letters and numbers. This name is used for the database table in which the attribute values are stored.
Click "OK" to save the new class.
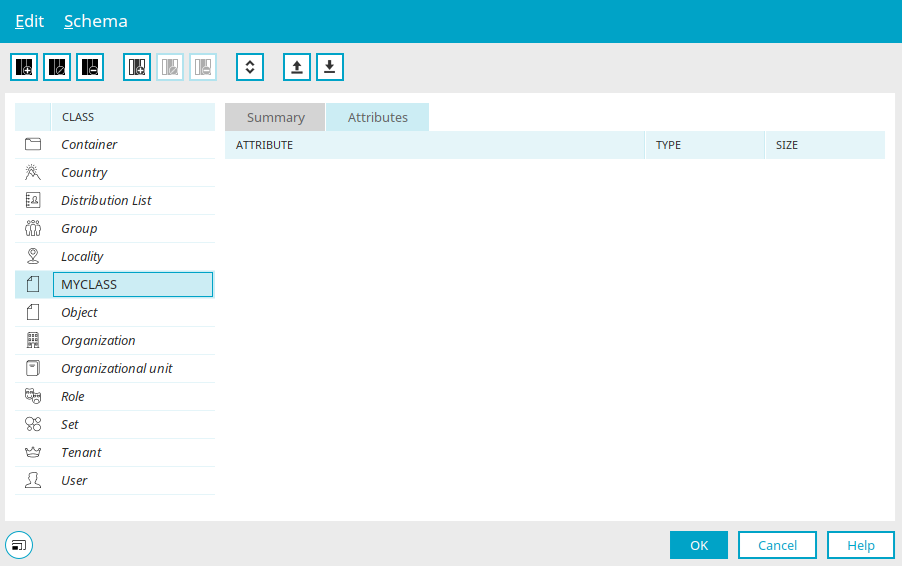
You can edit the custom class via the "Edit / Edit Class" menu or, alternatively, via the corresponding context menu when you select a class in the left pane. You can use the "Edit / Delete Class" menu to delete a class you created yourself.
General
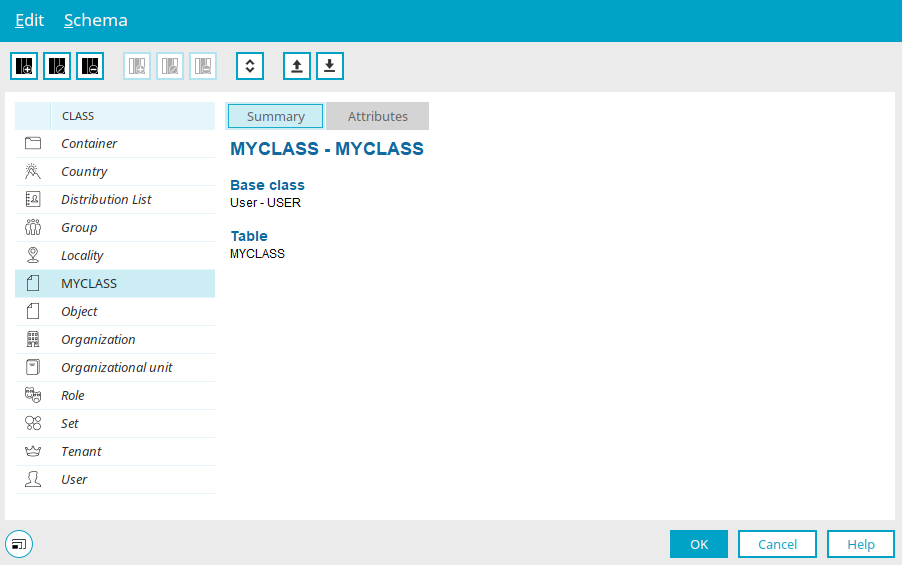
This section displays the object class name, the base class, and the database table name for the class selected in the left pane.
Class Sorting
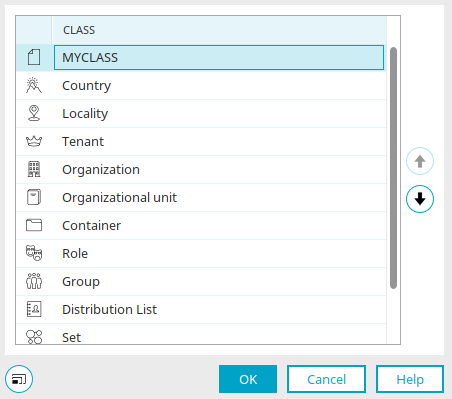
Selecting the "Edit / Class Sorting" menu item opens a dialog box where you can use the arrow buttons 
 to change the sort order for displaying objects (e.g., in the list view in the "Users" module).
Custom Object
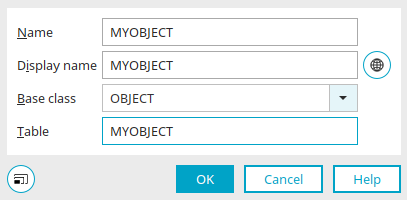
When you create a custom object, select the "OBJECT" base class when creating a new class. Click "OK" to save the object. Close the Schema Manager by clicking "OK."
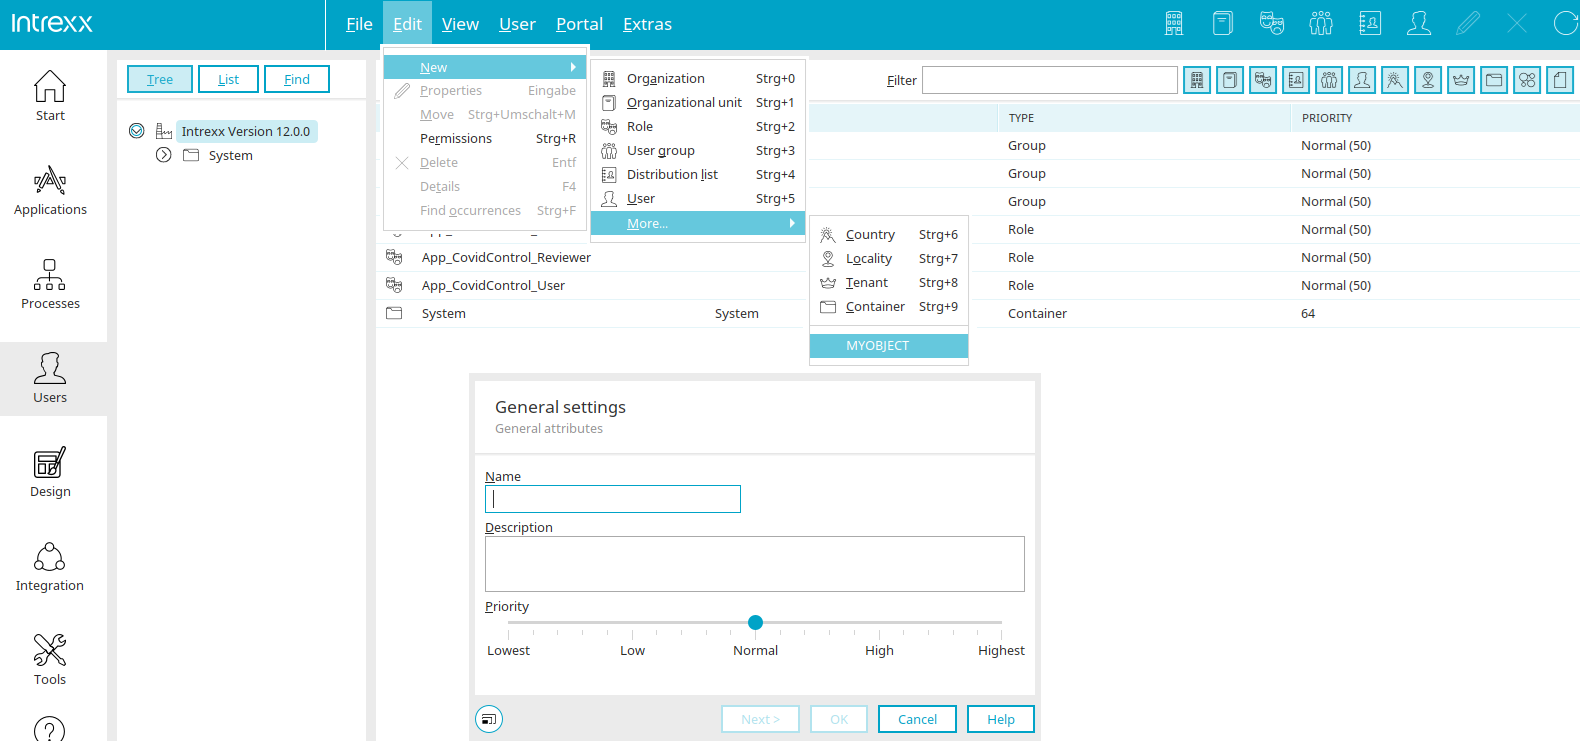
The new object is now available in the "Users" module via the main menu "Edit / New / More..." available. If you select it, you can edit the general information in a dialog box.
Enter the name and a description of the object.
The priority affects the order of the lists in User Management. The higher an item's priority, the higher up it appears in the list.
Clicking "Next" will take you to a dialog box that is also used in the user management section of the user account. There, you can assign values to the attributes you created for the object class. You can find more information here.
Attributes
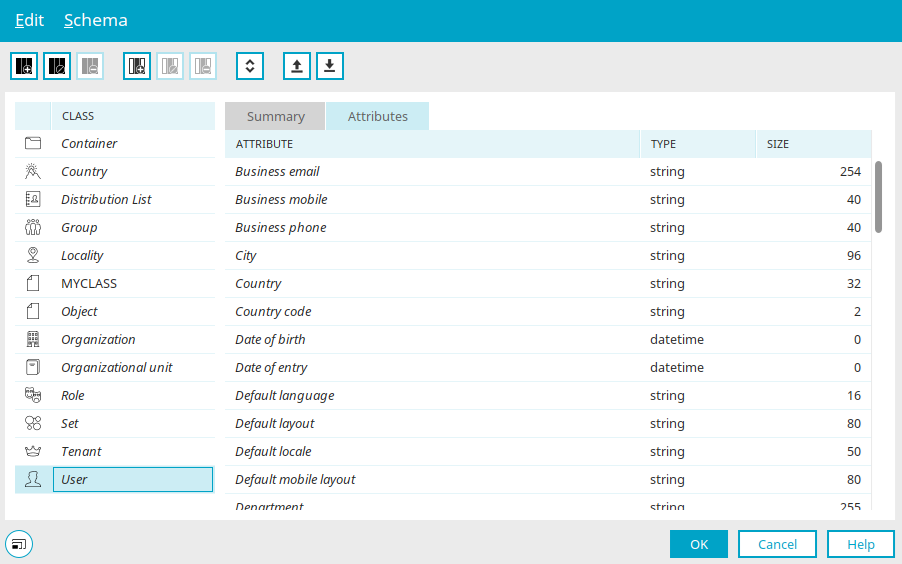
The right-hand pane of the Schema Manager lists all attributes of the currently selected class, along with their data types and field lengths. Standard attributes are displayed with their names in italics; user-defined attributes are displayed in regular font. Standard attributes cannot be deleted or edited.
Create a New Attribute
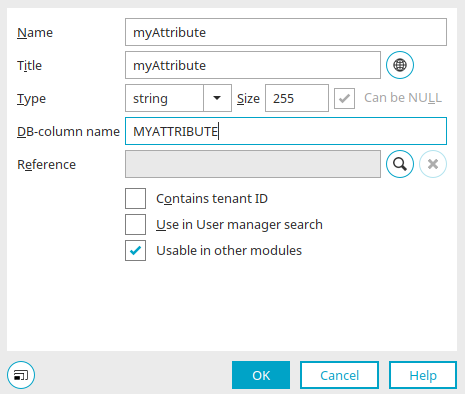
Enter a unique name for the attribute here. The name is valid system-wide.
For new attributes, the name is automatically validated so that it can also be used in Groovy scripts and as a default value. It must not contain certain characters and must not begin with a number.
Title
This attribute is used in application elements, filters, and in the "Users" module.
Type
Select the desired data type here.
Length
Specifies the maximum number of characters for text attributes.
May contain NULL values
Allows NULL values to be stored.
DB Column Name
Enter the name of the database field in which the attribute's values are stored here.
Reference
The details of the reference that was created are displayed here.
 Edit Reference
Opens a dialog box where you can create or edit a reference.
Edit Reference
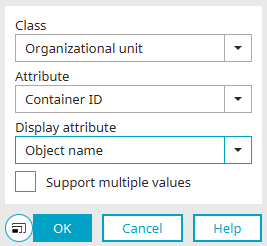
References are used, for example, when creating client dependencies. You can find information on this topic here.
Select the class and the reference attribute here. Also, select the attribute whose values you want to display.
Allow multiple references
With this setting, additional references to the attribute can be created.
Click "OK" to save your changes and close the dialog box.
Contains client ID
With this setting, the attribute for saving the client assignment is used.
Use in the user management search
With this setting, you can search for the attribute in the "Users" module and in the distribution list selection.
Can be used in other modules
With this setting, the attribute is available as a data field in the user application and can be used anywhere. Custom attributes can also be populated with values directly in the user account.
Click "OK" to save the new attribute.
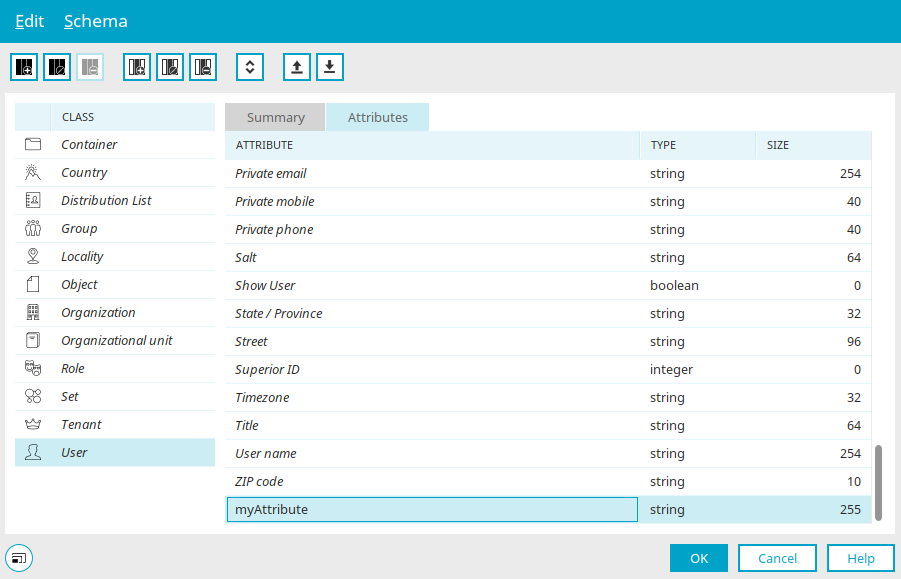
You can edit the custom attribute via the "Edit / Edit Attribute" menu or, alternatively, via the corresponding context menu when you select an attribute. You can use the "Edit / Delete Attribute" menu to delete an attribute you created yourself.
Exporting and Importing a Schema
You can find all the information on this topic here.
More Information
Objects, Classes, and Attributes
The sections of the "Users" module
Replication - User and Group Import
Active Directory Integration and Replication Configuration