Teams messages action
You can use the "Teams message action" within a project context, for example, to send messages to the Teams channel that belongs to the project. Event-related messages, for example, are useful here:
-
From production, when errors are reported, to a person or a channel
-
When an Investment Request is received, to a channel or a person – with a link to the Intrexx record
-
From Sales, when a visit report is entered, to a channel
For this process action to be used, the Microsoft Teams message action must be preceded by a User change action. Alternatively, the process can be triggered from the web via a logged-in user.
Create Teams message action
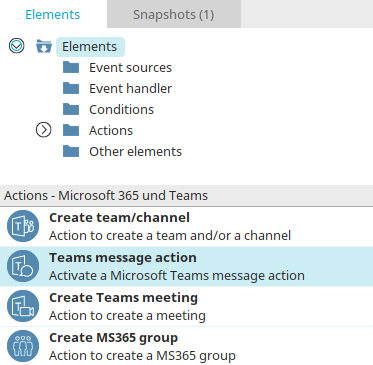
The Teams news action can be found in processes in the "Elements" area. It belongs to the category "Actions - Microsoft 365 and Teams". It can be dragged and dropped to the desired location in the process chain and then configured. General information about creating process items can be found here.
If you have created the Teams message action on the workspace, open the properties dialog by double-clicking on the element.
General
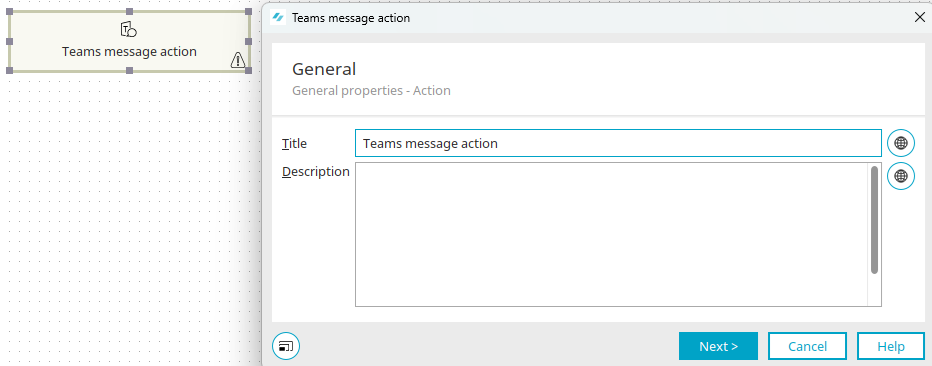
Click here for detailed information about the settings in this dialog.
Click "Next".
Message to one or more users
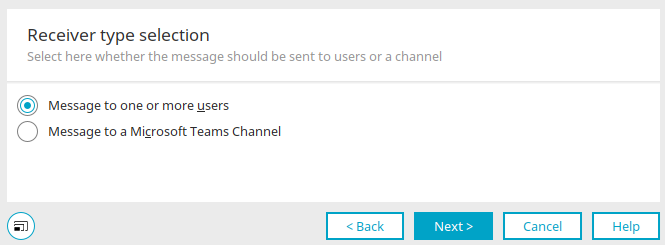
Depending on the selection in this dialog, messages can be sent to one or more users or to a Microsoft Teams channel. Select the desired option and click "Next".
Message to one or more users: Recipient
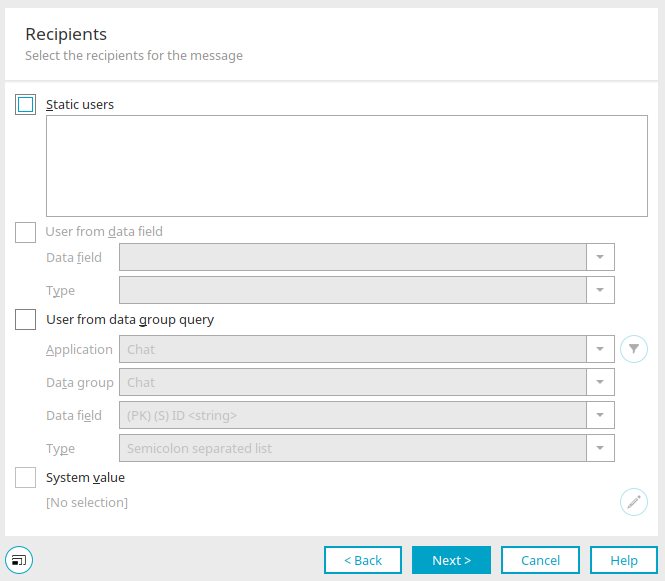
Static users
The e-mail addresses of the users must be entered here, as they are also stored in Entra ID (formerly Azure AD) as the Principal User Name. The email addresses can be entered comma-separated or semicolon-separated. Alternatively, you can also enter one e-mail address per line.
Users from data field
This setting is available if the action has a data group context, for example if a data group event handler has been defined as the event source. Here, a data field is selected from the data group in which the email addresses are stored. The type indicates how the data is formatted to collect the email addresses (e.g. semicolon-separated, GENERIC (which extracts email addresses from free text according to RFC 5322), distributor selection (pipe-separated list of GUIDs of the organizational structure) and double-pipe separated.
User from data group query
A data field from a published application is selected here, which holds the data as in the "User from data field" setting.
Click on ![]() "Filter" to open a dialog in which a filter can be created to restrict the data.
"Filter" to open a dialog in which a filter can be created to restrict the data.
As with the "User from data field" setting, the type of formatting must also be selected here.
System value
With this setting, the email addresses are determined via a session variable, a request value, a variable in the processing context or a system data field.
Click on ![]() "Edit system value" to open a dialog in which the system value can be defined.
"Edit system value" to open a dialog in which the system value can be defined.
Click "Next".
Message to one or more users: Content
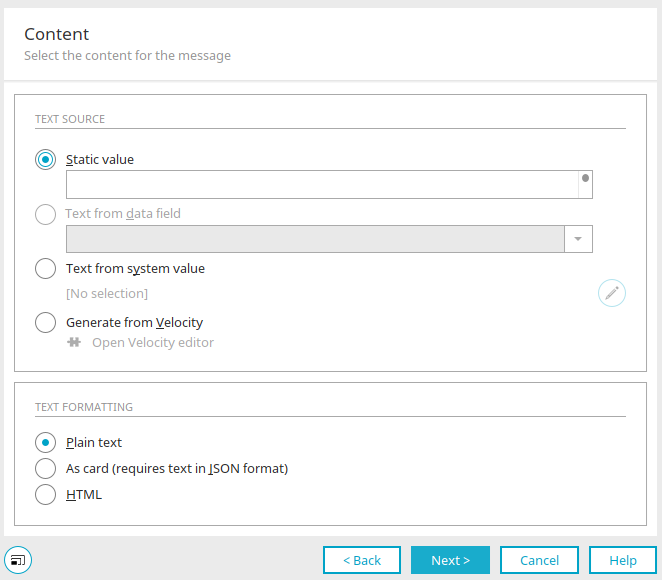
The message content can come from four different sources.
Static value
The message can simply be entered here. If the message is to be sent as a card, a valid JSON format must be entered here. Otherwise, the dialog cannot be completed.
Text from data field
This option is available if the action has a data group context. The message content is then read from the data field that you select here.
Text from system value
With this option, the message content is read from a system value.
Click on ![]() "Edit system value" to open a dialog in which the system value can be defined.
"Edit system value" to open a dialog in which the system value can be defined.
Generate from Velocity
The Velocity Editor can be opened here to generate the message content with velocity script.
Text formatting
Plain text
With this setting, the message is sent as plain text without formatting.
Send as card (requires text in JSON format)
Specifies that the message will be sent as a card.
HTML
HTML in the text defined as the source is interpreted as HTML.
Message to one or more users: Options

Link destination
If the message is intended to contain a link, this is defined here via the link destination. Click on ![]() "Edit link destination" to open a Dialog in which the link destination can be specified.
"Edit link destination" to open a Dialog in which the link destination can be specified.
Message to one or more users: Jump target

This dialog can also be found in the properties of the"Push message action" and"Create team/channel action process elements.
Start page of the portal
The portal start page is used as the link destination.
Page
An application page can be selected as the link destination here.
![]() Edit parameter
Edit parameter
Opens a dialog where the parameters, which are demanded by the integrated page, can be created.
Link to existing data record
This option is available if an edit page has been selected. The edit page will be loaded with the data from the current data record.
Create new record
This option is also available if an edit page has been selected. The edit page will be loaded without data So that a new data record can be added.
Static URL
A static target URL can be entered here.
URL from data field
A data field can be selected here that contains the target URL.
URL from system value
With this value, a system value that provides a target URL can be used. The currently selected system value type is shown here.
![]() Edit system value
Edit system value
Opens a dialog where the system value can be defined.
Click "OK" to save changes and close the dialog again.
Microsoft 365 configuration
An existing configuration from which the system user is used for sending the messages must be selected here.
Messages to a Microsoft Teams channel: Channel selection
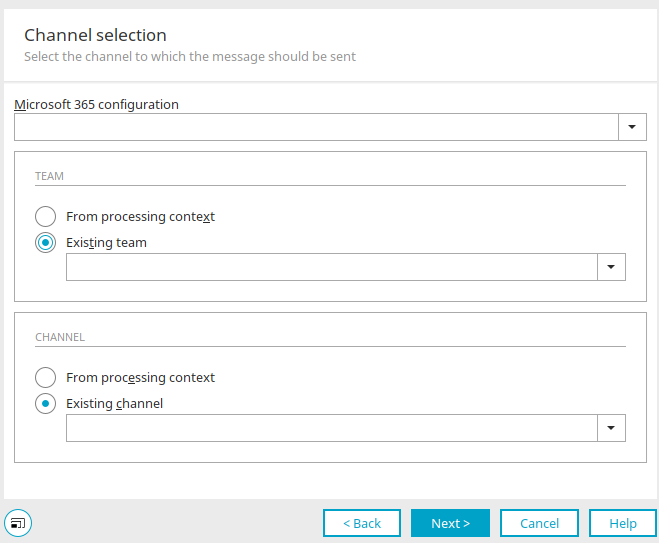
Select an existing Microsoft 365 configuration here. You can then select the desired team and channel. When doing so, you can use the listed, existing teams and channels, or specify the team and channel based on the processing context.
Messages to a Microsoft Teams channel: Content
Click here for detailed information about the settings in this dialog.
Messages to a Microsoft Teams channel: Options
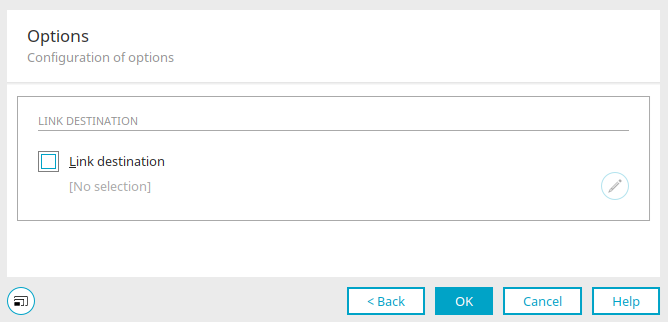
Link destination
If the message is intended to contain a link, this is defined here via the link destination. Click on ![]() "Edit link destination" to open a Dialog in which the link destination can be specified.
"Edit link destination" to open a Dialog in which the link destination can be specified.
Exception handling
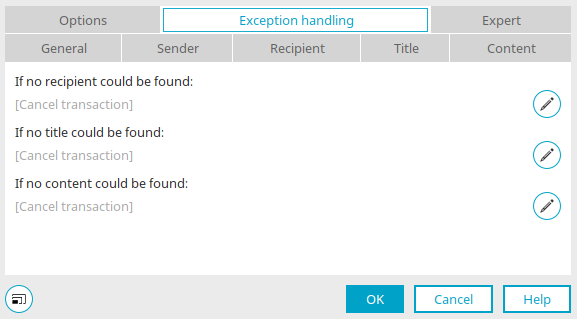
Exception handling can only be configured in the properties dialog for process elements that have already been created. Here you can specify whether the transaction should be canceled or continued if there is no recipient, no content or no title (only for push notification action). To do this, click on ![]() "Configure exception handling".
"Configure exception handling".
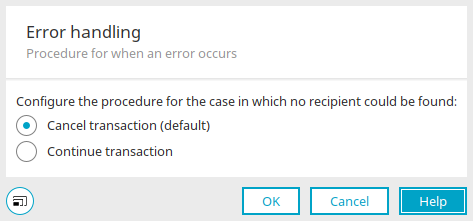
Cancel transaction (default)
Means that the entire process is canceled if an error occurs - for example if a relevant data field does not contain valid data.
Continue transaction
The error is ignored. No message is sent. The process will continue with the next action.
More information
Connector for Microsoft 365 and Teams