

Multiple Selection 2.0
Multiple Selection 2.0 is a list control that allows you to select multiple items at once. It is suitable, for example, for distribution lists, product groups, and much more. When the page is saved, selected entries are stored in the linked data field, provided that a corresponding link exists.
Multiple Selection 2.0 is responsive and very user-friendly.
It can be configured using default values. Entries can include static entries, values from applications, or values from specific data sources.
The entries can be filtered using the "Starts with" or "Contains" search operations.
Entries can be displayed with images or initials. In addition, a subtitle can be included in an entry's display along with the title.
Multiple Selection 2.0 can be controlled via an API and is operable using the keyboard. You can style your layout using CSS variables.
This element is available as both an input and a view element.
Input element
Properties in the browser

Multiple Selection 2.0 appears as an input control in the form of a drop-down list in the browser. Click the arrow icon on the right side of the element to display the multiple-selection entries.
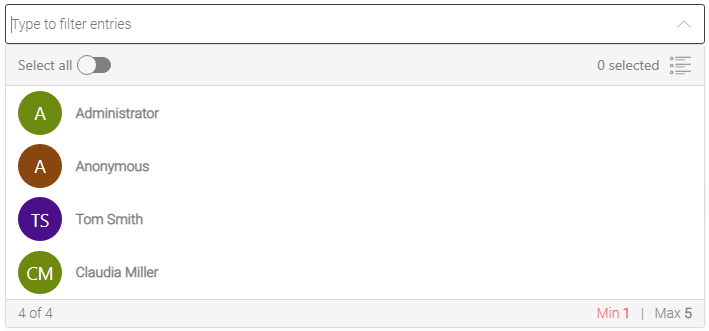
In this example image, you can see a multiple-selection list linked to data from the portal's user management system. You can use the field above to filter the entries, for example, by entering a user's name.
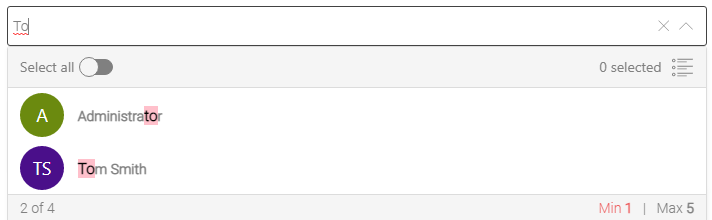
The entries will then be filtered accordingly. The term you entered will be visually highlighted in the entries. If you want to remove the filter and display all entries again, click the "  " close icon on the right side of the filter field.
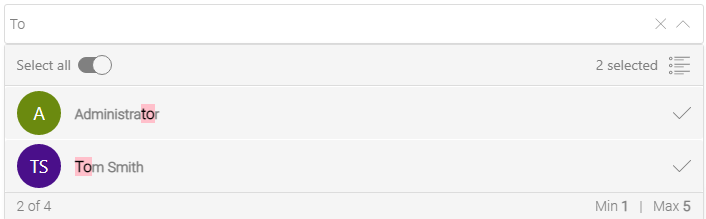
Click the entry or entries you want to select. You'll see a checkmark icon to the right of the selected entries.
To select or deselect all entries, you can also use the "Select All" slider located at the top left, below the filter field. This function affects only the entries that are currently visible.
To the right and below the filter field, the system displays how many entries are currently selected. This number refers to all entries, including those that are not displayed due to any filters that may have been set.
To the left, below the list, it shows how many entries have been selected out of the total number of entries.
To the right, below the list, you can see the minimum and maximum number of entries to select.

Once you have selected the desired entries, please click the arrow icon on the right side of the multiple-selection filter field or, alternatively, click in an area outside the multiple-selection field. The list is then closed, and the selected entries are displayed. You can deselect individual entries by clicking the close icon ( ) to the right of the entry.
Properties in the "Applications" module
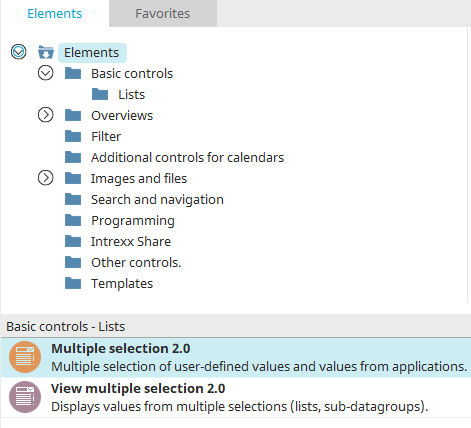
When you create a Multiple Selection 2.0 in the "Applications" module, the Properties dialog box opens automatically.
General
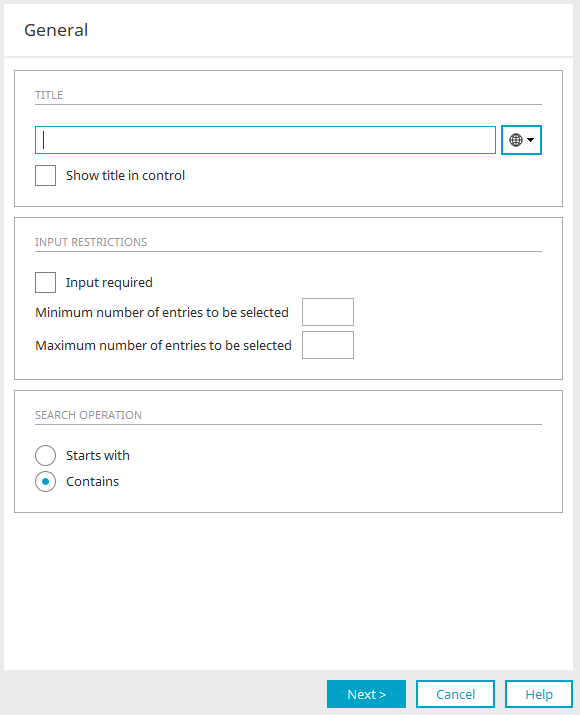
This is where you define the general properties of the multiple selection.
Title
Enter the title here. You can find more information on this topic here.
Show Titles Under Control
If no values are selected, this option causes the title of the multiple-selection field to be displayed as a placeholder in the browser.
Input Restrictions
Input Required
With this setting, multiple selection becomes a required field.
Minimum / Maximum Number of Entries to Select
Specifies the minimum and maximum number of entries to be selected. The minimum and maximum number of entries to select are displayed in the browser in the lower-right corner of the multiple-selection box.
If no maximum value is entered, all entries can be selected. A minimum value must be specified if the "Required" setting is selected for multiple selections in the general properties.
Search Operation
The search operation determines how the terms entered in the browser's multiple-selection filter field are searched for.
Begins with
All entries whose titles begin with the entered term will be displayed.
Contains
All entries in which the term appears in the title or subtitle will be displayed.
Click "Next" once all settings have been configured as desired.
Template
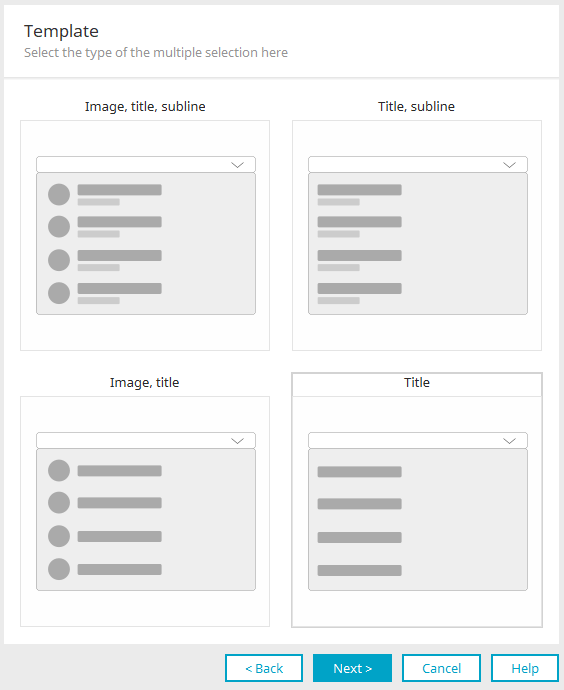
Here, you can select how the entries from the multiple-selection list should be displayed. Viewed from left to right and top to bottom, the following options are available:
-
Image, Title, and Subtitle
-
Title and subtitle
-
Image and Title
-
Title
Select the desired type and click "Next."
Data Source
Values from the application
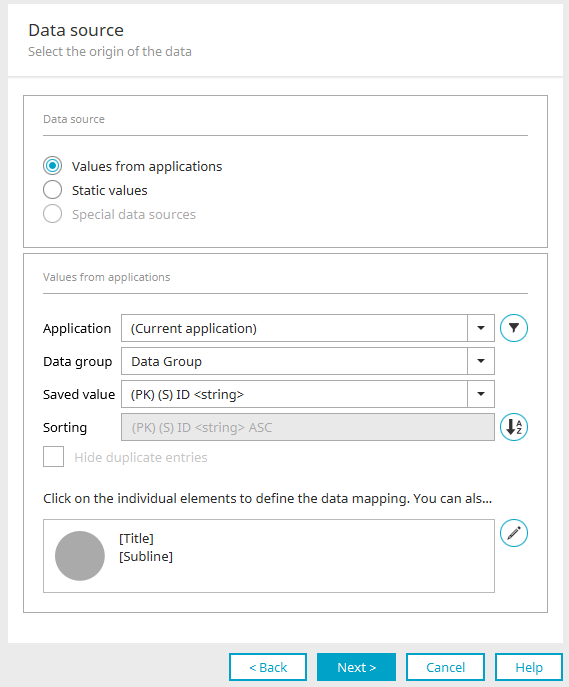
Application, Data Group
Select the application and data group here whose values you want to display in the multiple-selection list.
 Filter
Opens a dialog box where you can define a filter. The data is then displayed in the multiple-selection list according to the filter criteria.
Stored value
All data fields for the selected data group are displayed here. Specify the field whose values are to be saved when the user selects an entry from the multiple-selection list. For example, you can display employees' names in a multiple-selection list, but save the corresponding ID instead of the name.
Sorting
This section displays the fields by which the entries in the multiple-selection list are sorted.
 Sorting
Opens a dialog box where you can select the sort fields.
Hide duplicate entries
With this setting, duplicate entries are simply displayed.
Data Mapping
This section displays exactly the elements you previously specified in the "Multiple Selection Type" settings. Click on each item to view or specify the data mapping. Other data types than those shown in the example can also be used. For example, a data field containing integers can also be assigned to the title.
When you click on the image, a dialog box will open where you can select the images you want.
Data source "Image" - Image made up of initials
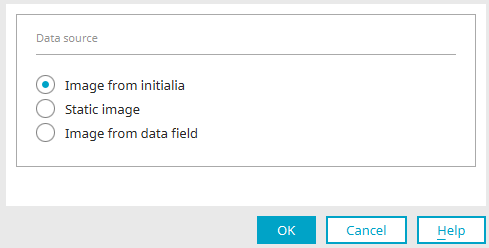
With this setting, the first two letters of the title and subtitle are displayed on a circular background instead of an image.
Data Source "Image" - Static Image
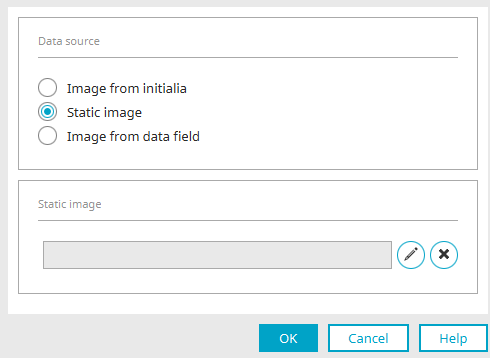
Here, you can select a static image that will then be displayed for each individual entry in the multiple-selection list.  "Edit" opens a dialog box where you can select a suitable image. "Remove" undoes the assignment.
Data Source "Image" - Image from Data Field
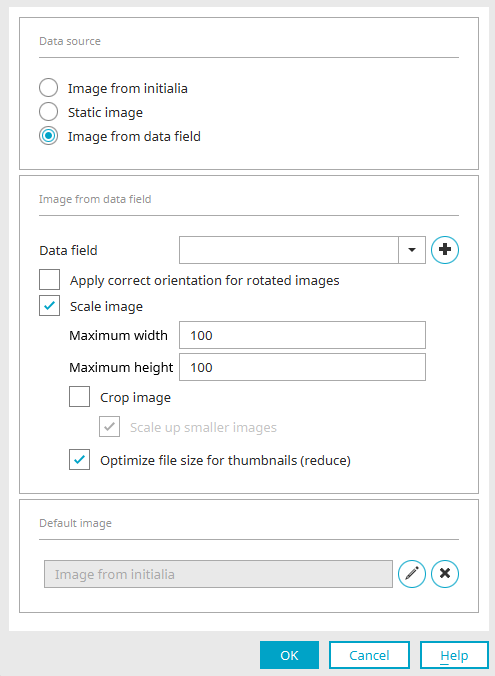
Data field
Select the desired data field here. If no suitable field is available yet, you can click "  " to open a dialog box where you can create a new data field.
Rotate Rotated Images
Most cameras write information about the image's orientation (rotation by 90, 180, or 270 degrees) into the image file's header. When the "Rotate Upside-Down Images" setting is enabled, this information is analyzed, and the images are automatically rotated when displayed on the portal so that they are not upside down.
Resize Image
The image is scaled to the dimensions specified in "Maximum Width" and "Maximum Height."
Crop Image
The image will be cropped to the dimensions specified in "Maximum Width" and "Maximum Height."
Enlarge smaller images
If the image is too small, it will be enlarged to the dimensions specified in "Maximum Width" and "Maximum Height."
Optimize (reduce) the file size of thumbnails
This reduces the file size, resulting in faster loading times for the application page.
Sample Image
The image selected here is displayed if the linked data field does not return a value.
"Edit"
Opens a dialog box where you can select an appropriate image.
"Remove"
Removes the assignment.
Click "OK" to save the settings and close the dialog box.
Clicking on "[Title]" or "[Subtitle]" opens a dialog box where you can make the necessary edits.
Clicking "Edit" on  reopens the dialog for selecting the "Type of Multiple Selection," which allows you to change the elements for data mapping.
Custom Values
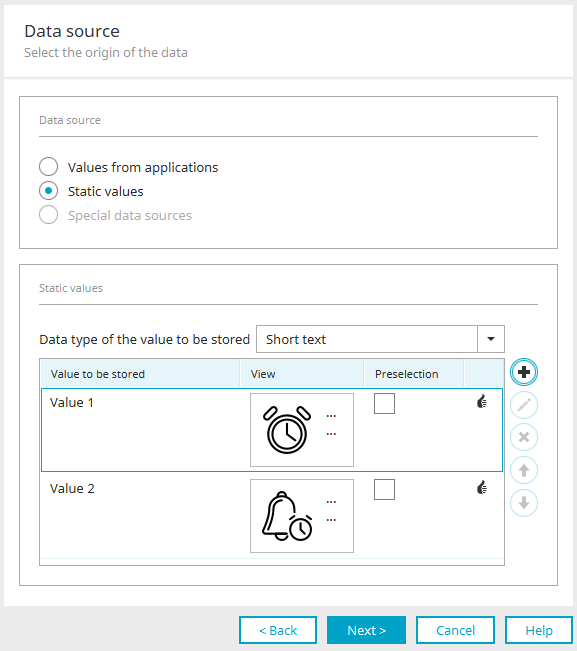
Custom values are entries that do not come from a data source but are entered statically.
Data type of the stored value
Specify here the data type used to store the selected value. The format of the stored value for all defined entries must match the data type selected here. Whether this is the case for each individual user-defined value is indicated in the last column of the table by a corresponding "  " icon.
"Saved Value" column
The value entered here is saved in the data field associated with the multiple selection in the save options.
"View" Column
Displays a preview of how the entries will appear in the browser. Clicking on the title opens the dialog box where you can edit the entry.
"Preselection" Column
The entry with the checkbox selected in this column will be preselected in the multiple-selection list for new and empty records. The column is disabled if the default values have been adjusted in the default settings.
 / Edit custom value
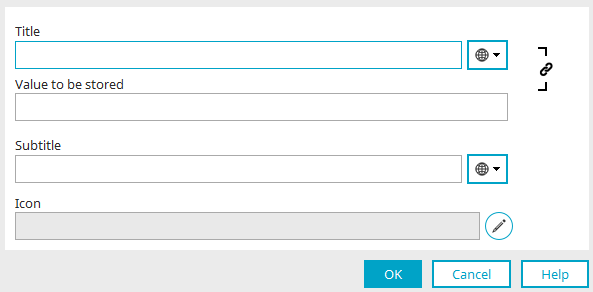
Opens a dialog box where you can create a new custom static value. Depending on the type of multiple selection previously chosen, you can specify the title, saved value, subtitle, and image. The stored value must match the data type that was previously specified for the user-defined values. If this is not the case, a message will appear to notify you.
If a date or Boolean data type was previously specified, an example of the correct format that must be used to enter the value in the "Saved Value" field is displayed here in the lower part of the dialog box.
Title / Subtitle
Here, you can enter a static title or subtitle, or optionally use a constant as the source for the title. You can find more information here.
 Synchronize Title / Storage Value
Generally, when a change is made to either the "Title" or "Saved Value" field, the content is automatically copied to the other field. You can prevent this behavior by clicking "Synchronize Title / Saved Value."
"Edit"
Opens a dialog box where you can select an image.
Click "OK" to save the settings and close the dialog box.
Delete Custom Value
Deletes the currently selected value.

 Move the value up or down in the display order
Changes the order of the entries.
Special Data Sources
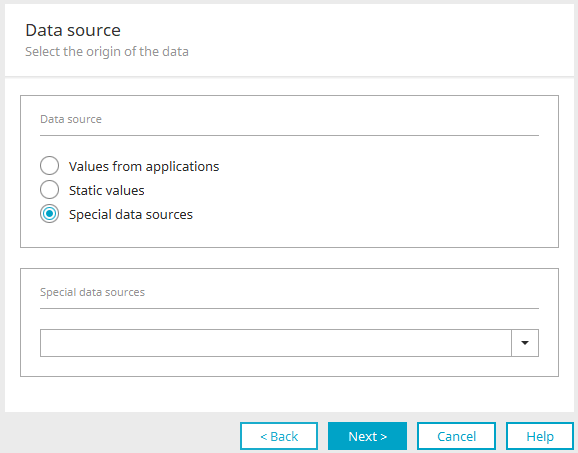
This option can only be selected if the multiple-choice question does not include a subtitle. You can find all additional information about the settings here.
Click "Next."
Storage Options
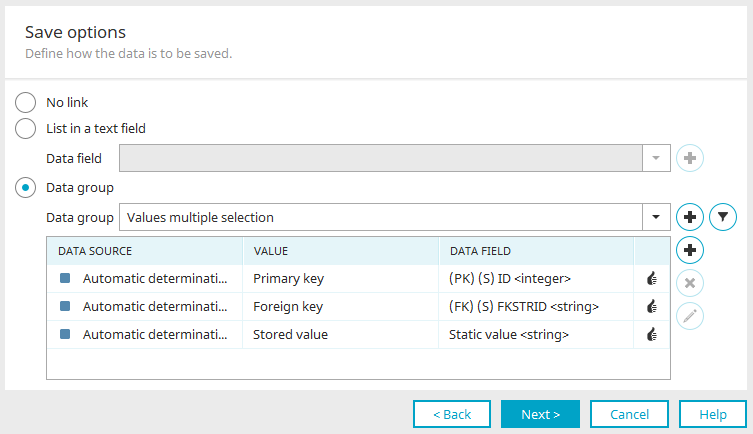
You can find all the information on this topic here.
Click "Next."
Final Settings
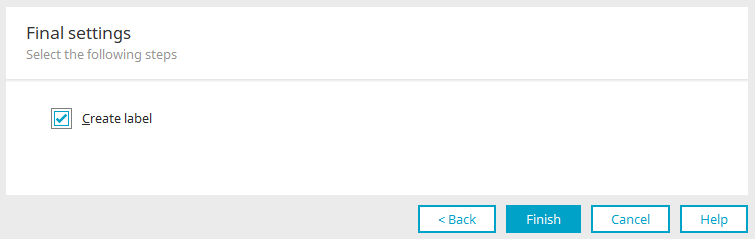
You can find all the information about this dialog here.
Click "Finish." Multiple selection is now configured and can be used in the browser after the application is saved.
Specification
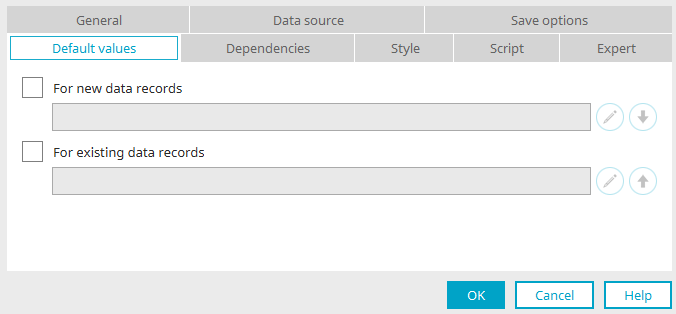
Once the multiple selection has been completed and saved, the Properties dialog box can be reopened. Here you'll also find the "Default" tab, where you can specify which value is displayed in the multiple-selection list for new or existing empty records.
Edit
Opens a dialog box where you can define the default values.
Apply
The value is also applied to the other setting.
View
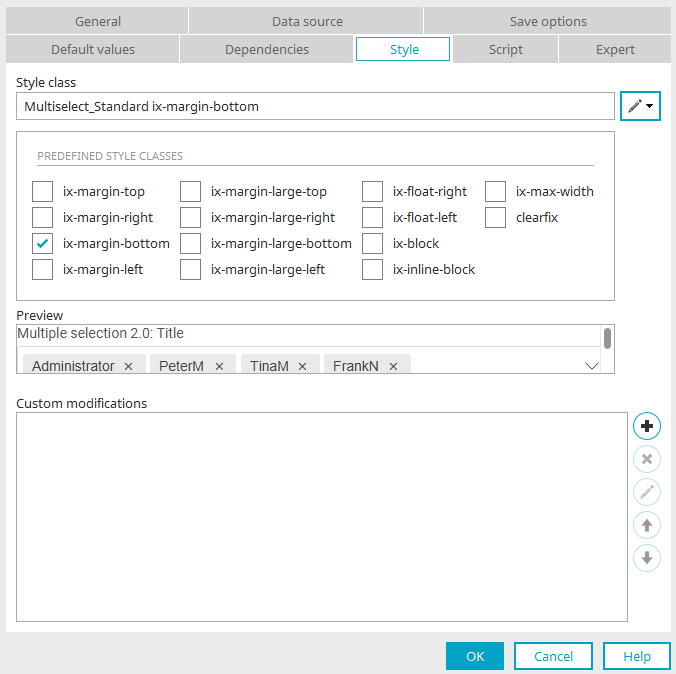
Style Class
Here, you can select a style class that is defined in the layout or application layout for the current multiple selection.
Customizations
You can find all the information here.
Multiple Selection 2.0 View
Properties in the browser

Multiple Selection 2.0 appears as a preview in the form of a selection list in the browser. Click the arrow icon on the right side of the element to display the multiple-selection entries.

The upper part of the multiple-selection list can be used—as with input validation—to filter the entries.
Properties in the "Applications" module
When you create a Multiple Selection View 2.0 in the "Applications" module, the Properties dialog box opens automatically.
Inheritance of Control Properties
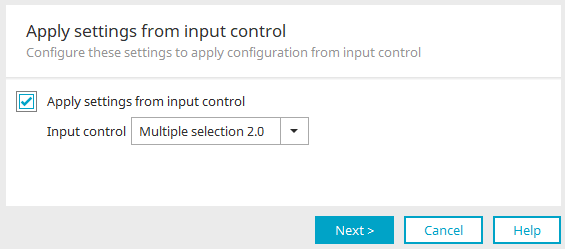
If a Multiple Selection 2.0 input control is already in place, you can easily apply the settings here. To do this, select the desired multiple selections and check the "Apply Input Control Settings" option.
Click "Next."
General
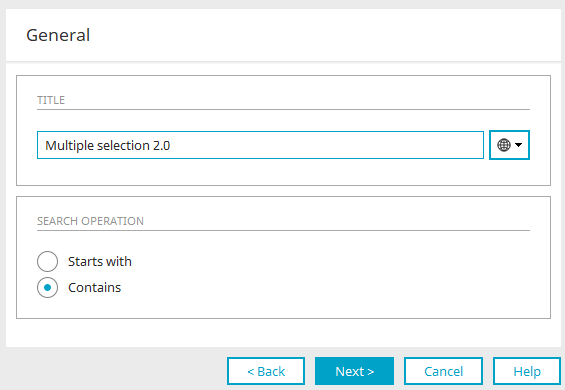
Title
Enter the title here. You can find more information on this topic here.
Search Operation
The search operation determines how the terms entered in the browser's multiple-selection filter field are searched for.
Begins with
All entries whose titles begin with the entered term will be displayed.
Contains
All entries in which the term appears in the title or subtitle will be displayed.
Click "Next."
Template
Here, you can change the desired type of multiple selection. You can find more information here. Click "Next."
Data Source
As with the multiple-selection input validation, you can specify the data source here. You can find information about the settings here. Click "Next."
Reading Options
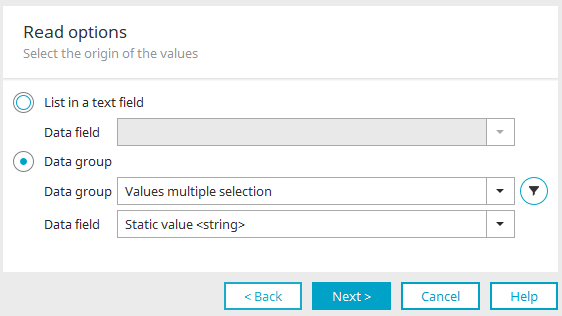
You can find all the information about this dialog here.
Final Settings
You can find all the information about this dialog here.
Click "OK" to save the changed settings and close the dialog box.
Layout
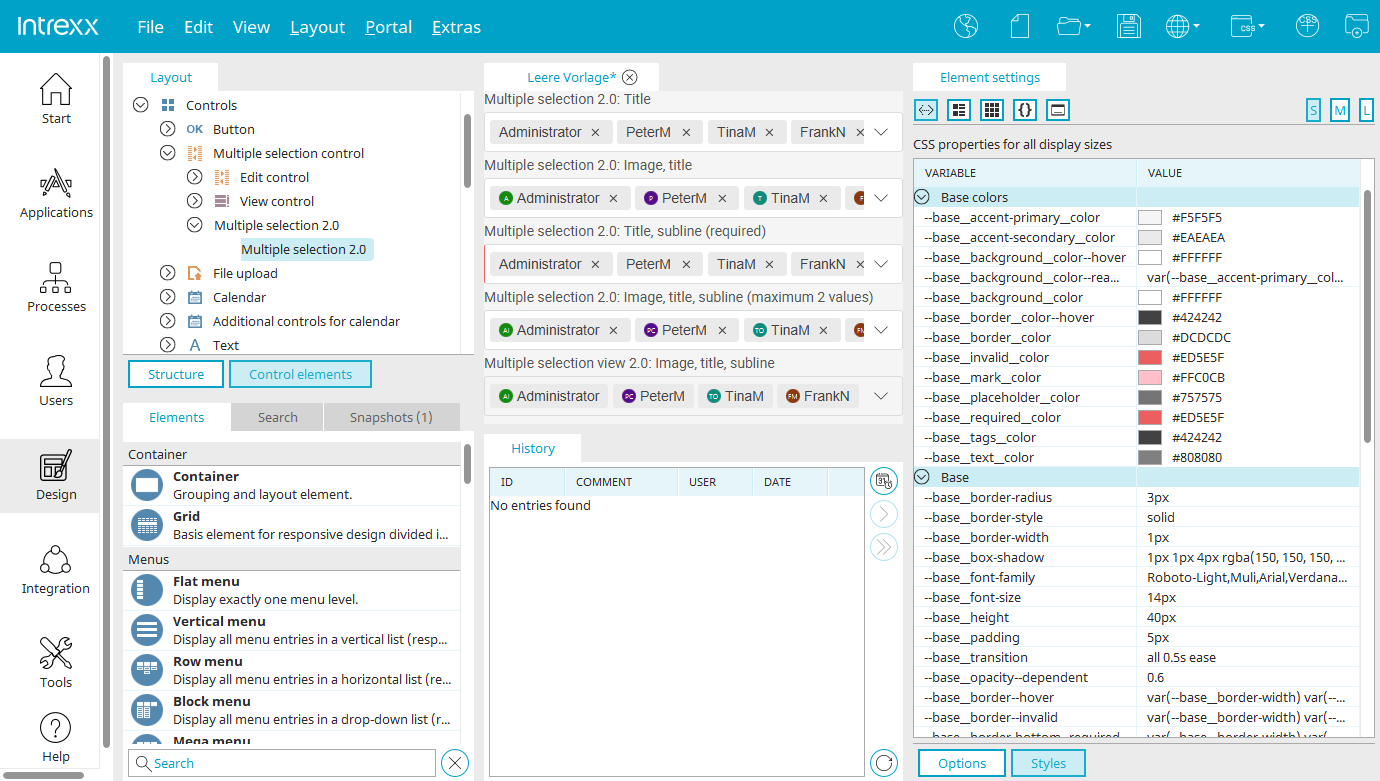
In the "Design" module, every layout includes the "Multiple Selection 2.0" control element with the style class "Multiselect-Standard."
If the "Multiple Selection 2.0" control is selected in the "Controls" section, click "  " "Show CSS Variables" in the "Styles" section. You can easily edit the variable values here in the "Value" column.
All changes are immediately displayed in the preview in the middle section of the "Design" module. The following figure provides an overview of the components of multiple selection and the associated variable groups.
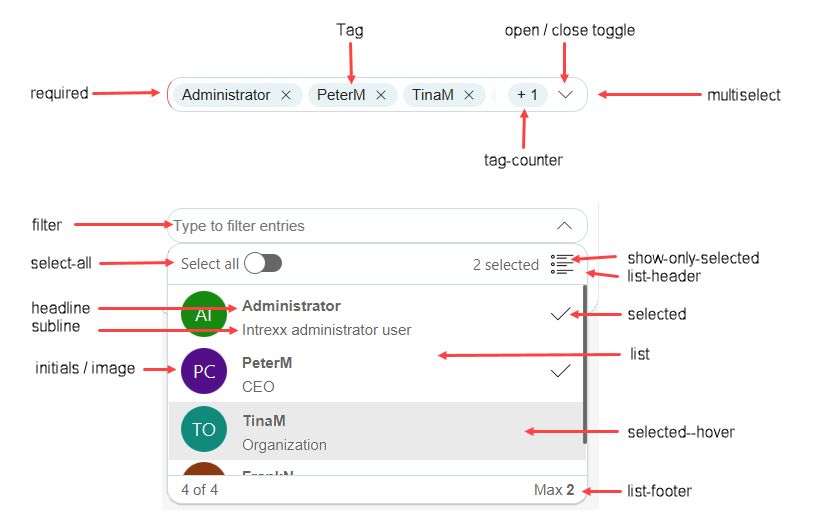
As usual, new "Multiple Selection 2.0" controls can be added in the "Controls" section of all layouts, and their appearance can be customized by changing the values of the variables.
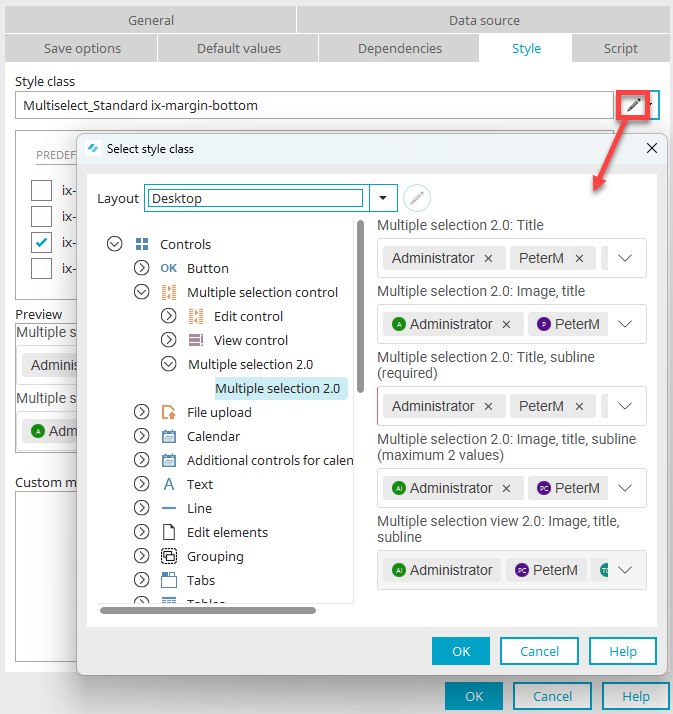
The control elements can then be assigned to the Multiple Selection 2.0 elements in applications using the style class on the "View" tab in the Application Designer.
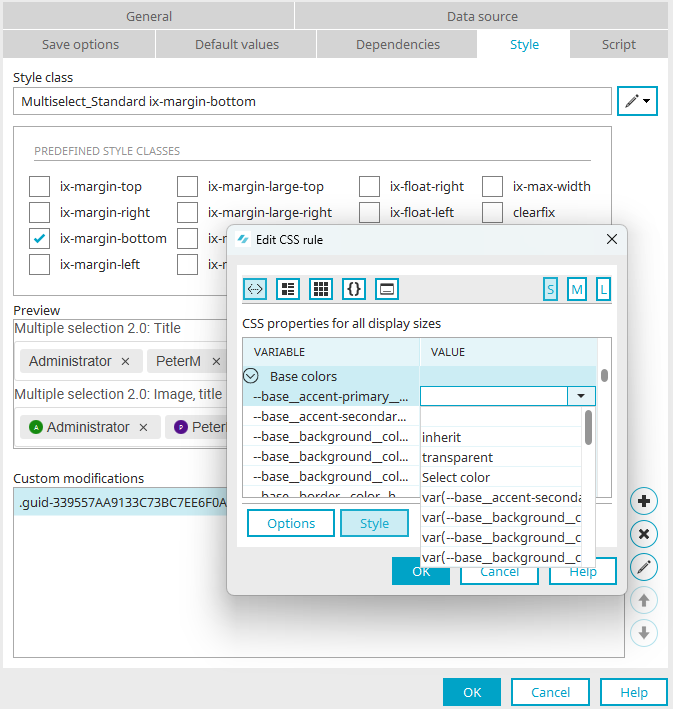
The appearance of a single multiple-selection field can be customized. Customization overrides the values of the corresponding CSS variables. The customization applies only to the currently edited multi-select and has no effect on other Multi-Select 2.0 elements also contained in the application.
Dependencies
Multiple Selection 2.0 can be used both as a triggering control in dependencies and as a filter for dependencies. The only event available is "onchange." In the dependency filter, "Multiple selection" is available as a comparison value. Comparisons can be made only with the stored value.
Subquery
The filter dialog has been enhanced to allow for a subquery when a dependency is defined in a multiple-selection scenario. When selecting a comparison value, in addition to comparing it with a control value, you also have the option of comparing it with a value from a subquery. You can find more information about the filter dialog here.
Keyboard Controls
In accordance with the WCAG guidelines, the control can be operated using the keyboard.
The assigned keys are:
-
Tab - next focusable element
-
Space bar - select/deselect the current item
-
CTRL + ↑ - Close list
-
CTRL + ↓ - Open list
-
↑ - Close the list or focus on the previous list item
-
↓ - Open the list or select the next entry
-
Enter - Select the highlighted entry
-
Backspace - deselect the selected entry
API
You can find all the information on this topic here:
Starting with Intrexx version 12.0.0
"Multiple Selection 2.0" control type in view tables
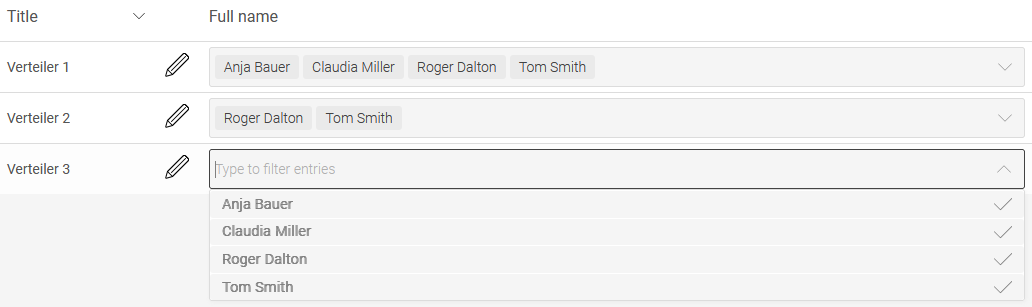
In view tables, the "Multiple Selection 2.0" control type can be selected if multiple-selection data fields are included as columns in the table. In the browser, the data contained in each cell of the table column is then displayed in a drop-down list.
You can find more information on this topic here.