

Layout in Applications
In applications, the layout of application elements can be edited in various places.
View Tab
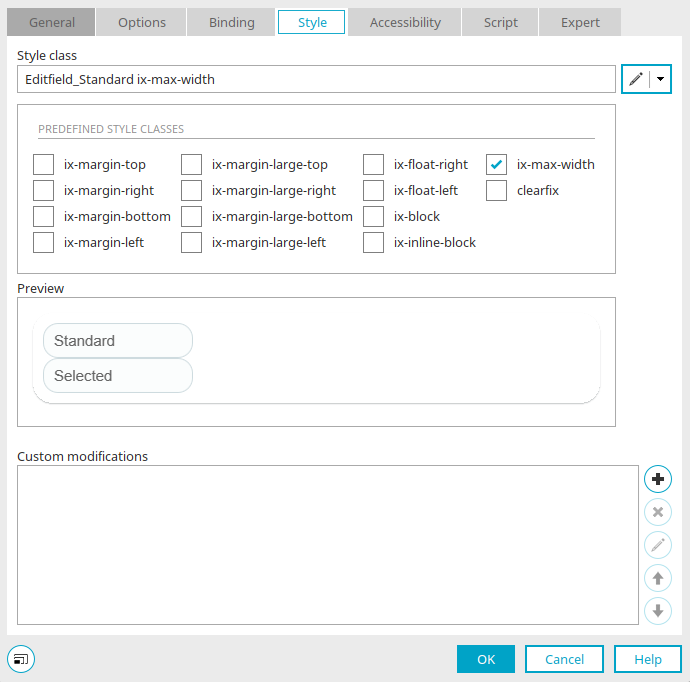
You can find this tab in the Properties dialog box for elements. Here, you can assign style classes that are defined in the Design module.
Style Class
Displays the name of the selected style class.
Click on "  " and then " Edit Style Class."
Style Classes
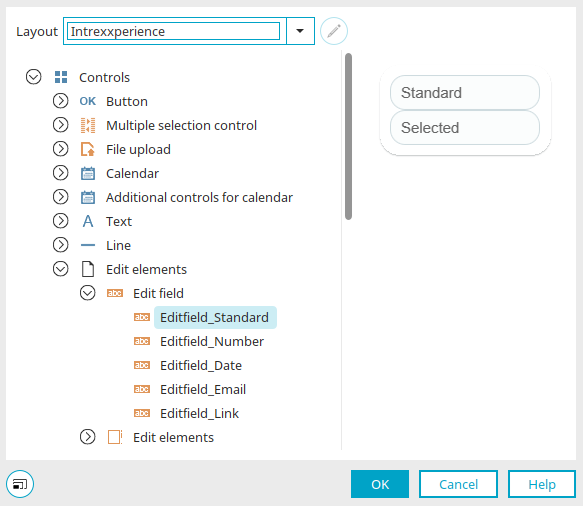
Layout
Here, you can select any of the layouts that have beenpublished in the "Design" module of the currently open portal.
In addition, the dropdown list includes the entries [Application] and [Application - Mobile Devices], which allow you to create and edit style classes that are valid only within the app.
You can find more information on this topic here: Edit Layout.
Style Classes
Select the desired style class in the left pane of the dialog box.
Preview
In the right-hand pane, you'll see a preview of the style class.
Close the dialog box by clicking "OK," which will also save all changes here.
 Edit Style Class - Arrow Icon
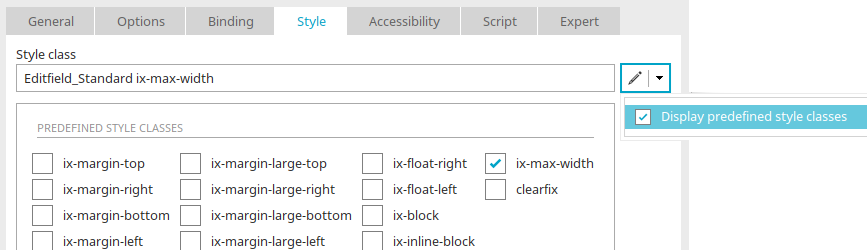
Using the " Show Predefined Style Classes " menu, you can select predefined style classes by clicking the corresponding checkbox. If " Show Predefined Style Classes " is disabled, the preview is displayed instead.
You can find an overview of CSS helper classes in Intrexx 12 here: CSS Helper Classes.
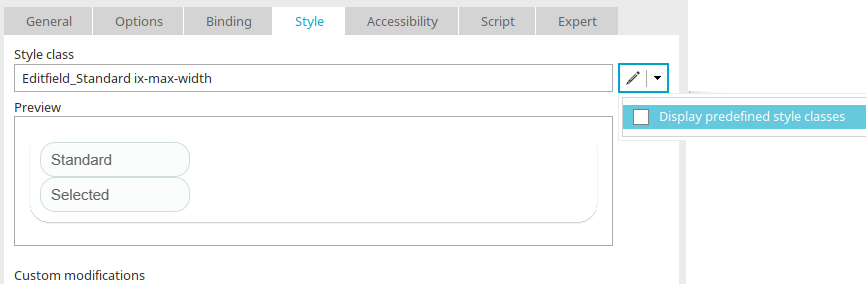
Preview
Displays a preview of the selected style class.
Customizations
All CSS customizations are listed in the "Customizations" section.
 / Edit CSS rule
Opens a dialog box where you can create new CSS rules or edit existing ones.
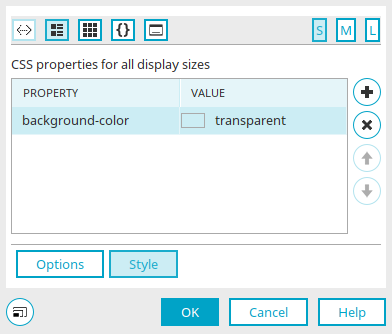
Styles
You can find all the information about the settings in the "Styles" section here.
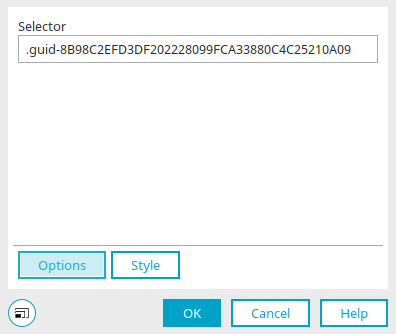
Options
Click the "Options" button to edit the selector.
Click "OK" to save changes to CSS rules and close the dialog box.
 Remove CSS Rule
Removes a rule from the list.

 Move a CSS rule up or down
Changes the order of the CSS rules.
Custom styles are valid only within the application; they do not apply across the entire portal.
Design Guidelines for Elements
The spacing between elements on pages where the "Use table layout" setting is disabled can be defined in the design specifications for elements.
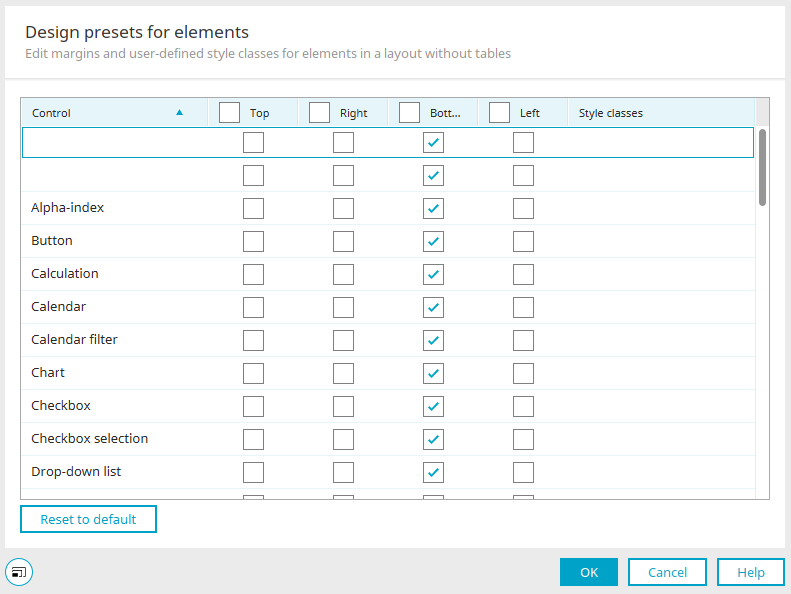
You can access the "Element Design Specifications" dialog box via the main menu under "Edit / Edit Layout. "
Control
This column lists all application elements for which padding and style classes can be defined within a DIV container.
Top / Right / Bottom / Left
Clicking one of the checkboxes in the column header selects all the checkboxes in that column. You can also select or deselect individual checkboxes in the columns. If a checkbox in a column is selected, an outer margin is set on the corresponding side of the element. In this process, the following style classes are initially assigned to each element:
-
top
ix-margin-top
-
right
ix-margin-right
-
below
ix-margin-bottom
-
left
ix-margin-left
The spacing value is specified in the style classes and can be edited in the "Design" module. Just search for the name of the style class there. The style classes listed above are used when adding an element to a DIV container, moving or copying it into a DIV container, or grouping elements. When you move an element with these style classes into a container that is not a DIV container, or when you ungroup it, the style classes are retained.
Style Classes
Here, you can assign additional style classes to the respective element; these are automatically added to the control when the element is created within a DIV container.
Please make sure to use the correct spelling when entering the style classes. Please also be sure to use the correct capitalization. If multiple style classes are specified, they must be separated by spaces (e.g., MyFirstClass MySecondClass). The specified style classes must be present in the portal layout in order to be applied.
Reset to Default
Clicking this button resets all settings to their defaults.
Tooltip Positioning - Display
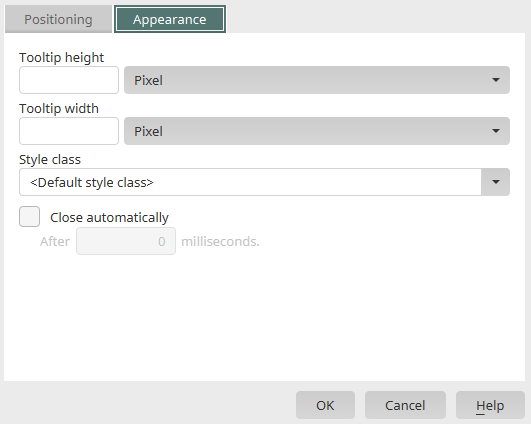
You can find the "Display" tab in the Properties dialog box for buttons under " Tooltip Positioning." Here, you can assign style classes that aredefined in the "Design" module. You can find more information about this dialog here.