

Import applications, processes, layouts, configurations, web services, and language constants
If you are in the "Applications," "Processes," or "Layouts" module, you can access the Import Wizard via the main menu under "File / Import [Object]."
Select Import File
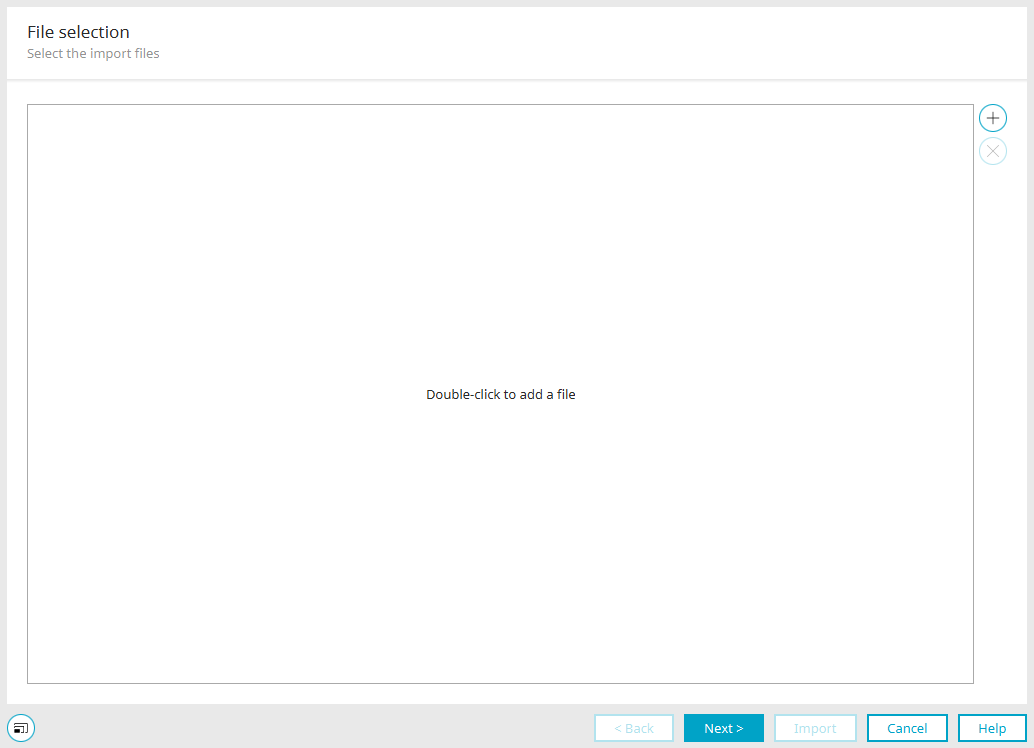
Select the desired import file here by clicking "Add File" under "  ." Selected import files are then listed. Check the box to the left of the import object's name if you want to import it.
 Delete File
Removes the import file currently selected in the list from the list.
Objects of the same type (e.g., application, process) from different import file packages cannot be imported at the same time. For example, applications from Package 1 and Package 2 cannot be imported at the same time; however, applications from Package 1 and processes from Package 2 can be imported at the same time.
Important:
Only ZIP files that do not contain any other ZIP files will be accepted.
Example of a valid ZIP file:
-
Example.zip
-
apps.lax
-
processes.ixpr
-
Example of an invalid ZIP file:
-
Invalid.zip
-
another.zip
-
apps.lax
-
processes.ixpr
-
-
Click "Next."
Import - Overview
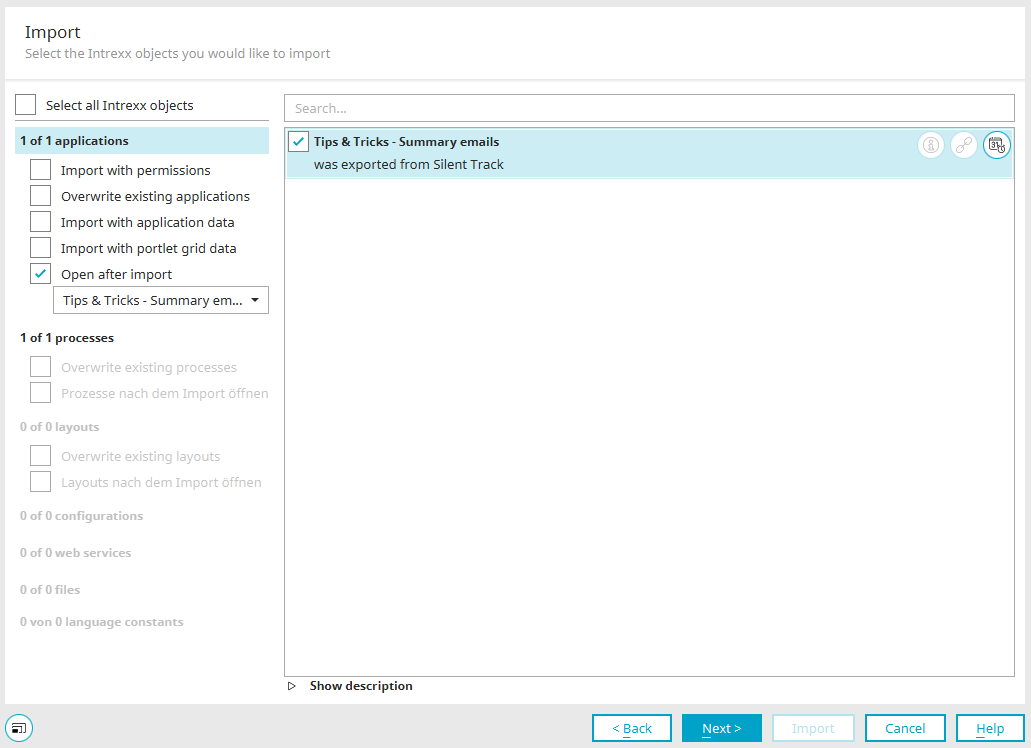
Select all import objects
Select all items in all categories.
Search
You can enter a search term here. The list of import objects will then be filtered by that term within the selected category.
Categories
In the left pane of the dialog box, you'll find the categories
-
Applications
-
Processes
-
Layouts
-
Configurations
-
Files
-
Language Constants
When you select a category, all importable items of that type are listed to the right of it. Check the box next to each item if you want to import that object. On the left side, the category will automatically display how many items from that category have been selected for import. When you click "Show Description," a text field appears below the object list in the right-hand pane, displaying the descriptions of the import objects for all categories (except Web Services).
Applications
Import with Permissions
With this setting, all permissions configured in the application properties are included in the export.
Overwrite existing applications
If an application with the same GUID already exists in the portal, it will be overwritten by the imported application. Please note that data may be lost, for example, if a data field exists in the existing application but is no longer included in the import application.
If you enable the option to overwrite existing applications during import, any associated processes should also be imported with the "Overwrite existing processes" setting.
Import with application data
All data recorded in the application is transferred during import.
Importing Data Using PortletGrid
With this setting, the grids are imported from all portlet containers contained in the application.
Open after importing
Displays a drop-down list containing all applications from the import package. The application selected there will open directly in the "Applications" module after it is imported.
 Version Information
Opens a dialog box that displays information about the version number.
 Referenced Elements
Opens a dialog box in which objects linked to the import object can be selected for import.
 Version Control
Opens a dialog box that displays information about the entries in the history.
Invalid Links
If you import an application, a process, or a layout that contains invalid references, a link highlighted in red will appear next to the affected import object. Clicking on it opens a dialog box where you can find the relevant details.
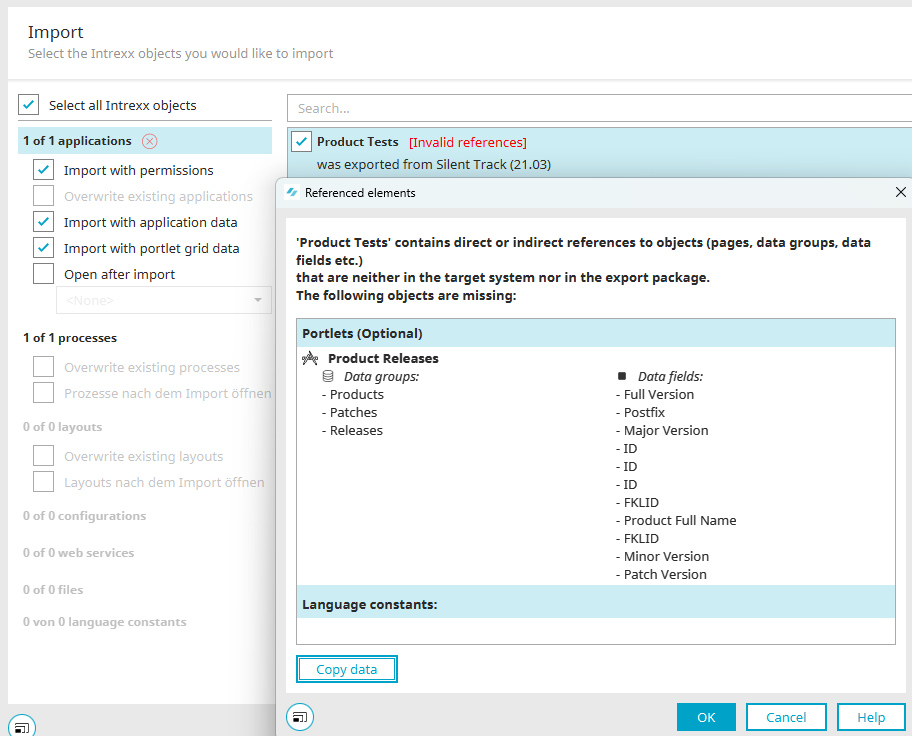
This dialog box displays the missing objects required to import the selected package.
Copy Files
By clicking "Copy Data," you can either copy the GUIDs and names of the objects to the clipboard or save them to a text file.
Processes
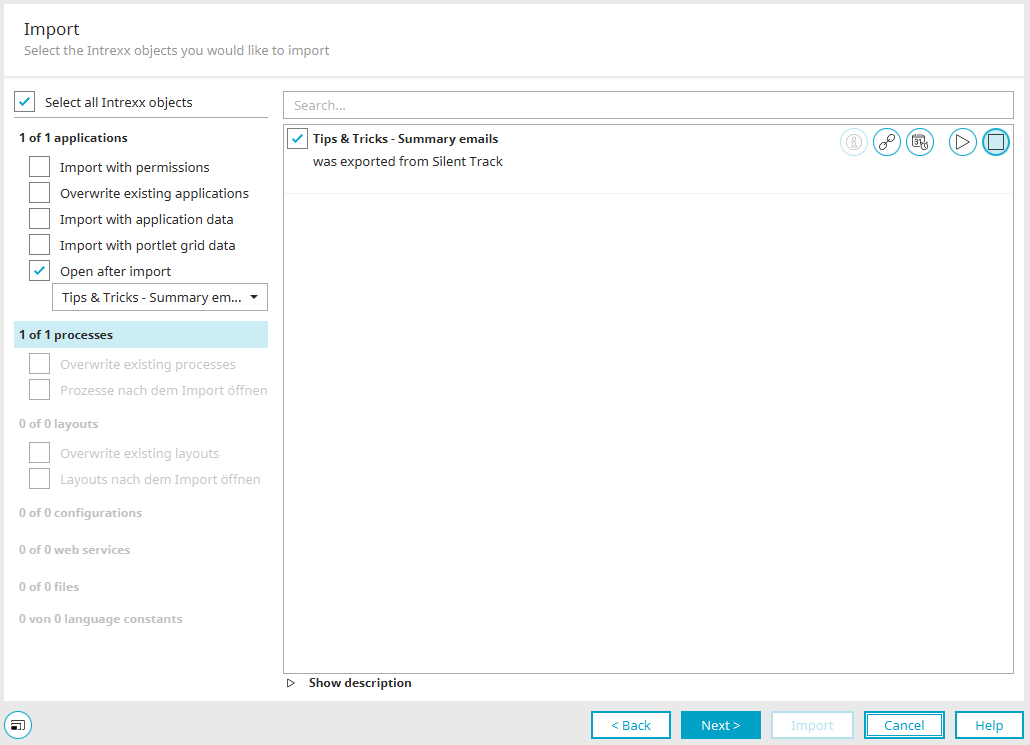
Overwrite existing processes
If a process with the same GUID already exists in the portal, it will be overwritten by the import process.
Version Information
Opens a dialog box that displays information about the version number.
Referenced Elements
Opens a dialog box in which objects linked to the import object can be selected for import.
Version Control
Opens a dialog box that displays information about the entries in the history.
 Enable on import
The process is activated during import.
 Disable during import
The process is transferred to the portal as deactivated.
Layouts
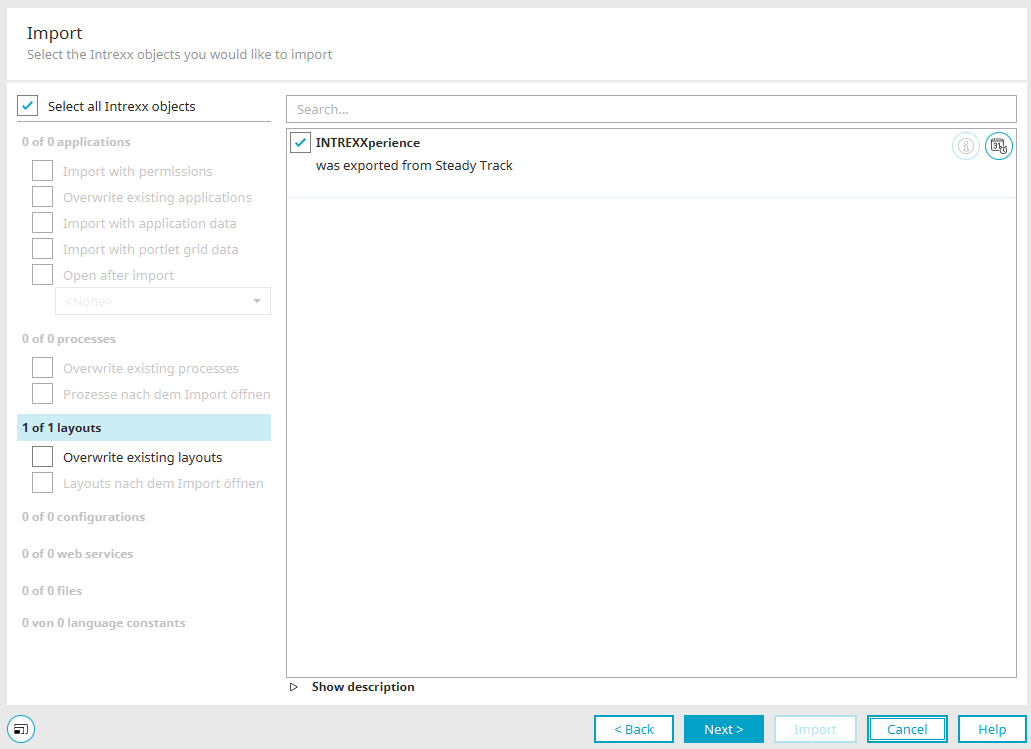
Overwrite Existing Layouts
If a layout with the same GUID already exists in the portal, it will be overwritten by the imported layout.
Version Information
Opens a dialog box that displays information about the version number.
Version Control
Opens a dialog box that displays information about the entries in the history.
Configurations
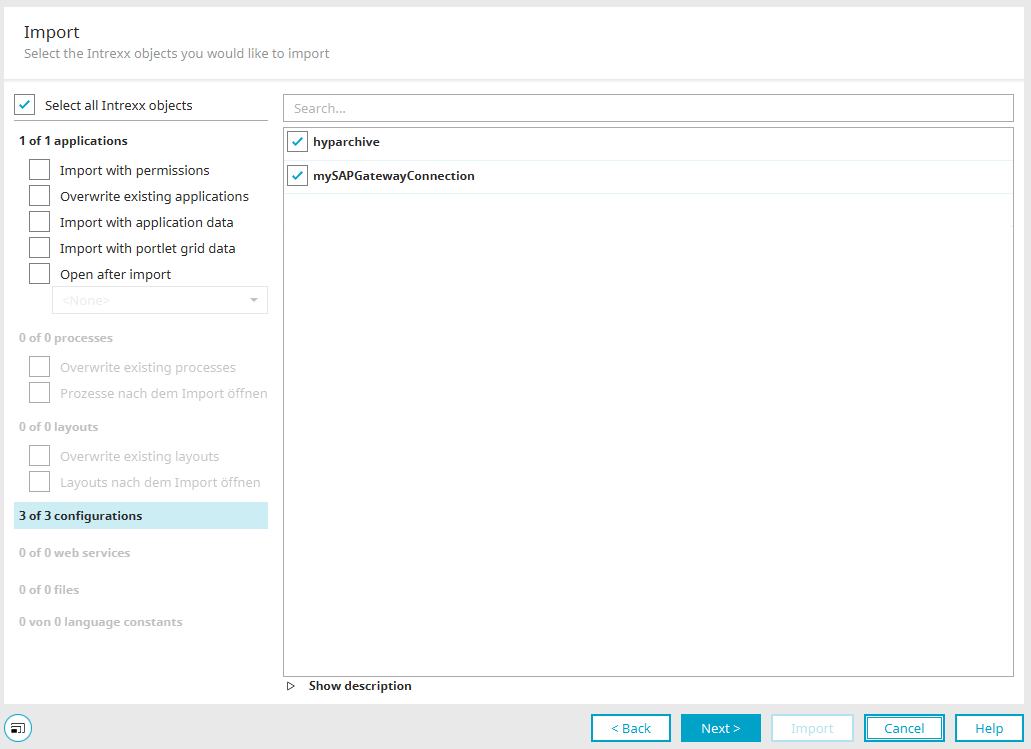
Here, you can select connections to external data sources for import.
Web Services
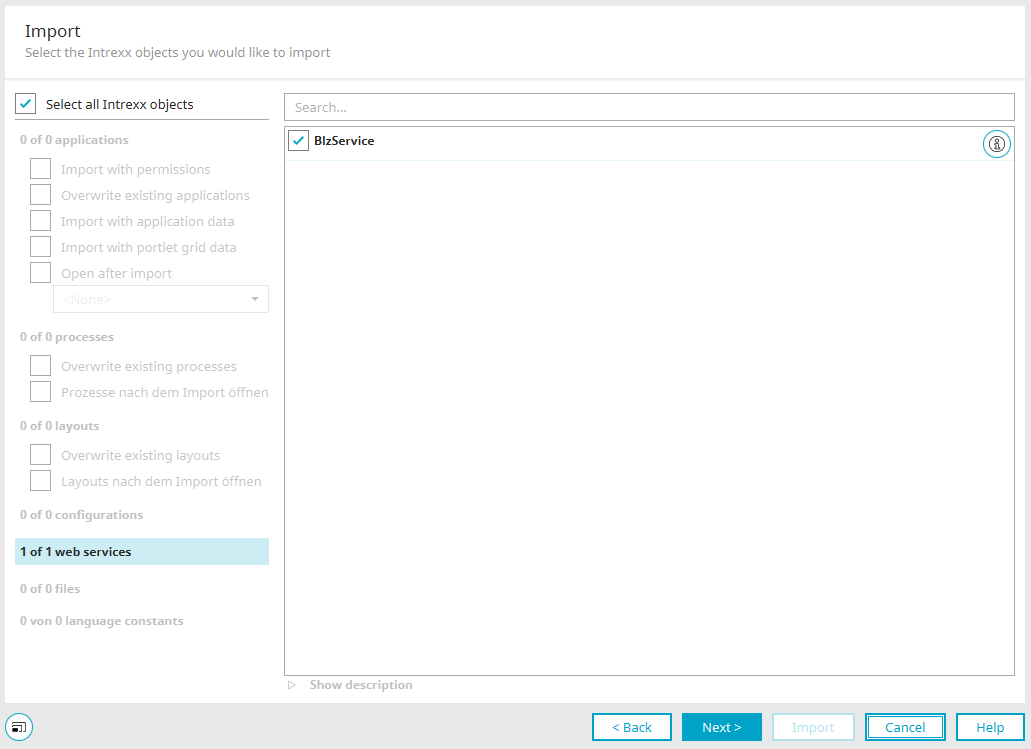
Information About the Web Service
Opens a dialog box that displays information about the web service.
Files
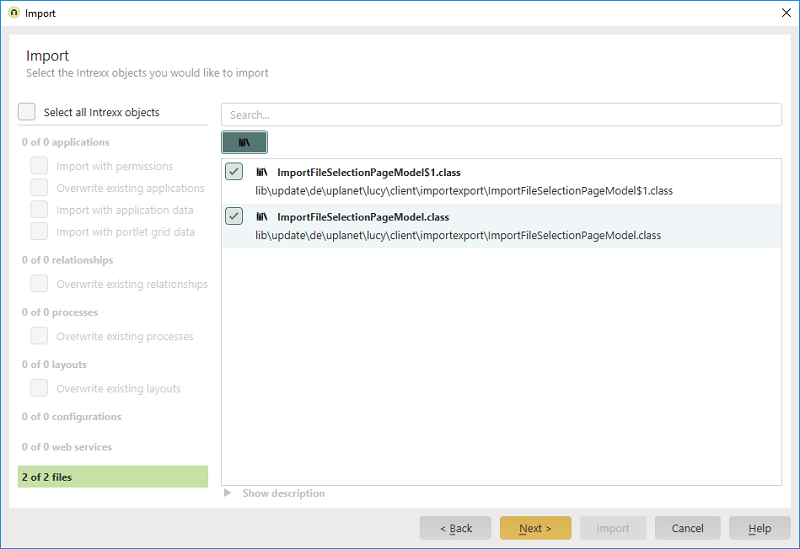
Here, you can select configuration files and libraries for import.
 Show/Hide Libraries
Shows or hides the libraries in the list.
Language Constants
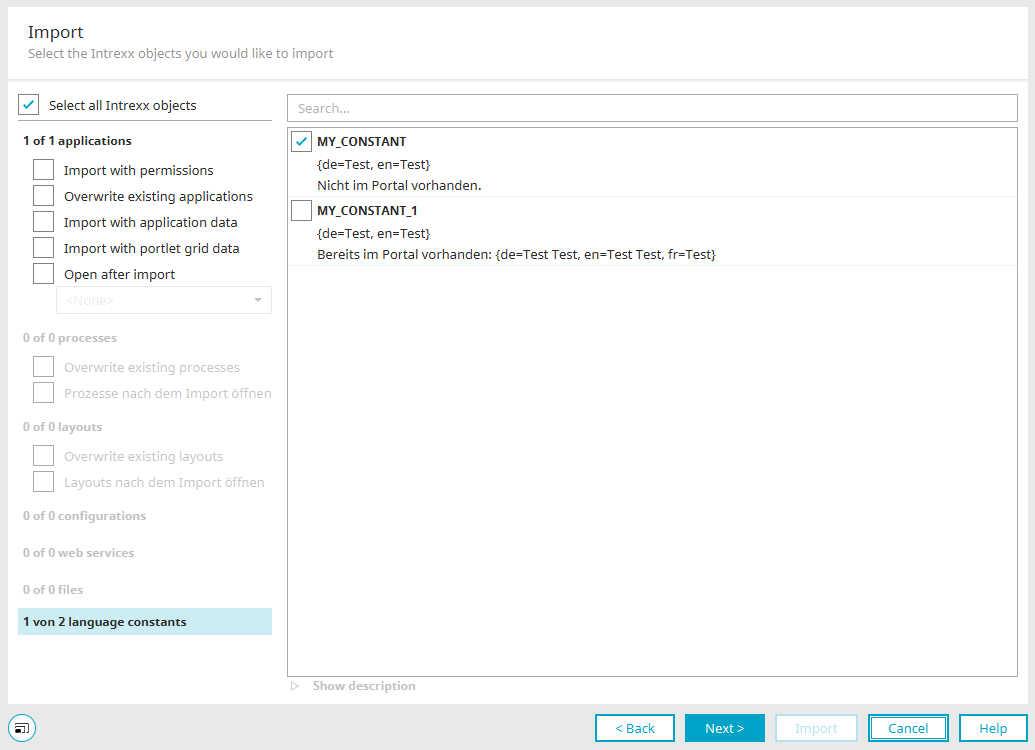
If an application includes global language constants that do not exist in the target portal, they are listed here and can be selected for import.
Follow-up dialogs
Once you have selected the desired import objects and clicked "Next," you can usually start the import. Contains the selected import objects
or
This will bring up another dialog box where you can configure the desired settings. You can then start the import.
Start Import
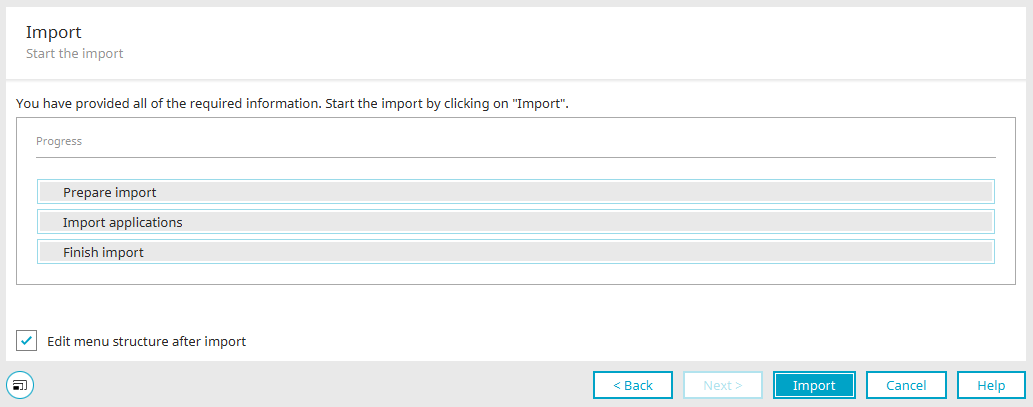
Here you will find information about the progress of the import. You can also access this dialog when exporting applications, processes, layouts, etc.
Edit the menu structure after importing
With this setting, a dialog box appears after a successful import, allowing you to place the application within the menu structure. This setting is only available if the "Overwrite existing applications" option was not selected during the import.