Edit the menu structure of the portal
General
Permissions
To be able to edit the menu structure, you must have one of the following permissions:
To integrate applications into the menu structure, you must have the following permission:
Operation
All elements in the menu structure can be moved via drag & drop. All changes to the menu structure will take immediate effect when you click "OK".
Tree
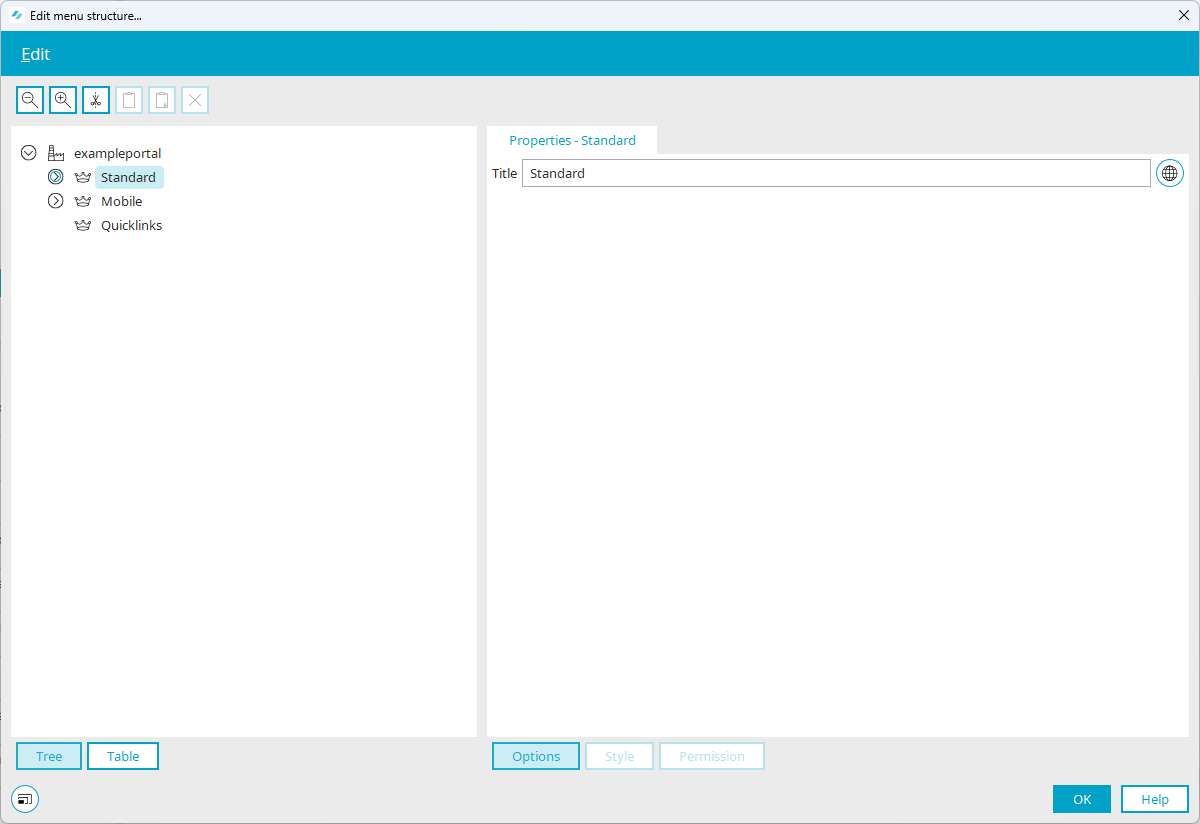
In the left-hand area, you will see the entire, current portal menu structure in a tree view.
Table
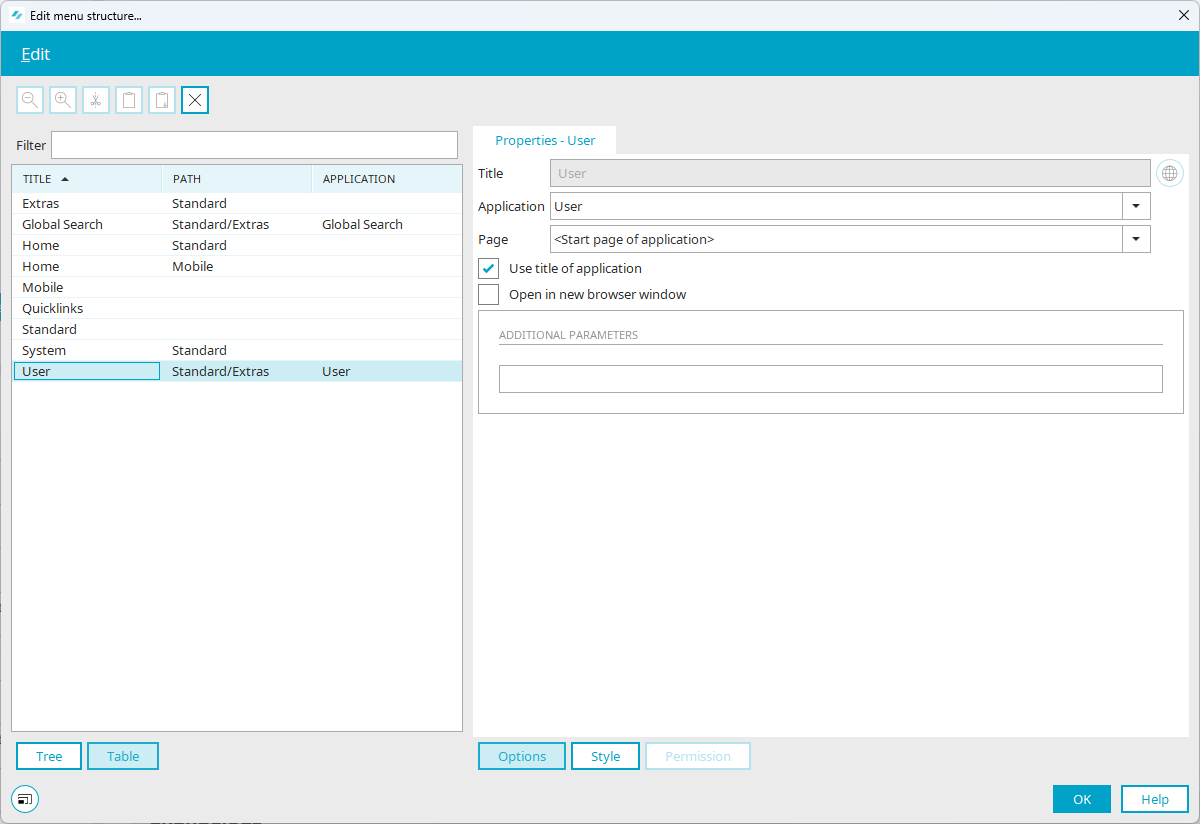
By clicking on the "Table" button at the bottom, the portal menu will be shown as a list.
Filter
You can search for individual menu items here.
"Title" column
The title of the menu item is shown here.
"Path" column
Displays the path to the item in the portal menu structure.
"Application" column
If the menu item is an integrated application, the name of the application will be shown here.
Pre-configured menu structures

In every portal, there are three ![]() predefined menu structures available:
predefined menu structures available:
-
Standard
Suitable for desktop views
-
Mobile
Suitable for mobile devices
-
Quicklinks
Suitable for a small number of entries that should be reached quickly, such as imprint, contact or similar.
"Standard", "Mobile" and "Quicklinks" can be assigned as menu content to the different menu elements you use in the layout. Moreover, these can be integrated into layout properties. All menu items contained here are shown as quicklinks
Title
In the right-hand area, the title of each menu structure can be edited.
![]() Multilingualism
Multilingualism
Opens a dialog where the title can be entered in multiple languages.
Menu folders
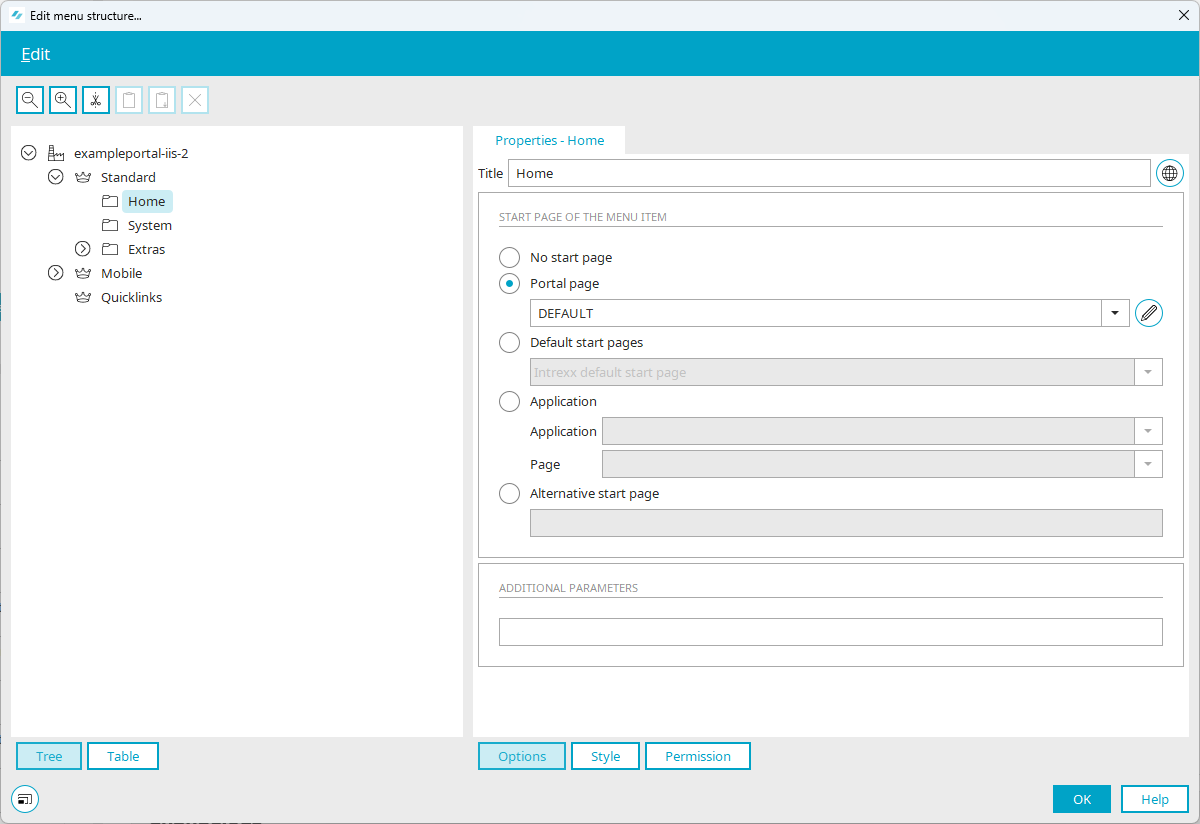
Menu folders will be represented with this ![]() symbol in the tree structure. The properties of a menu folder are shown on the right when you select it on the left in the tree or table structure.
symbol in the tree structure. The properties of a menu folder are shown on the right when you select it on the left in the tree or table structure.
Title
The title of the menu folder can be edited here.
![]() Multilingualism
Multilingualism
Opens a dialog where the title can be entered in multiple languages.
Start page of the menu item
No start page

With this option, no start page will be loaded in the application area initially - the area will remain empty.
Portal page

Here, each menu item can be assigned its own portal page, on which any combination of portlets from the portal applications can be displayed in the browser. Select the corresponding portal page from the drop-down list.
![]() Edit portal pages
Edit portal pages
Opens a dialog, where new portal pages can be defined.
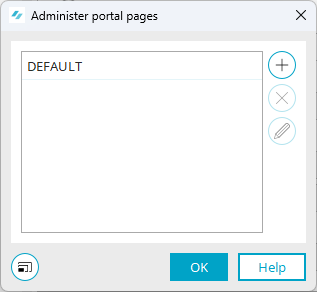
![]() Create new portal page / change
Create new portal page / change ![]() portal page
portal page
Opens a dialog where a new portal page can be created or the name of an existing portal page can be edited.
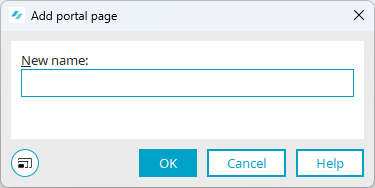
New name
The name of the portal page can be edited here. Then click "OK" to save the changes and close the dialog again.
![]() Delete portal page
Delete portal page
Deletes the currently selected portal page.
Default start pages

With this option, you can choose from one of the following standard pages:
-
Intrexx default start page
Shows a list of all applications that are located in the submenu directly beneath the menu folder in the browser.
-
Forums page
Lists all forums that are contained in the selected menu folder on the start page.
-
Login page
Shows a page with the ability to enter the username and password for logging in to the portal.
-
Start page mobile devices without login
Can be used for mobile devices that are not JavaScript-enabled.
-
Start page mobile devices with login
Shows a page with the option to enter the username and password for logging in to the portal for mobile devices.
Application
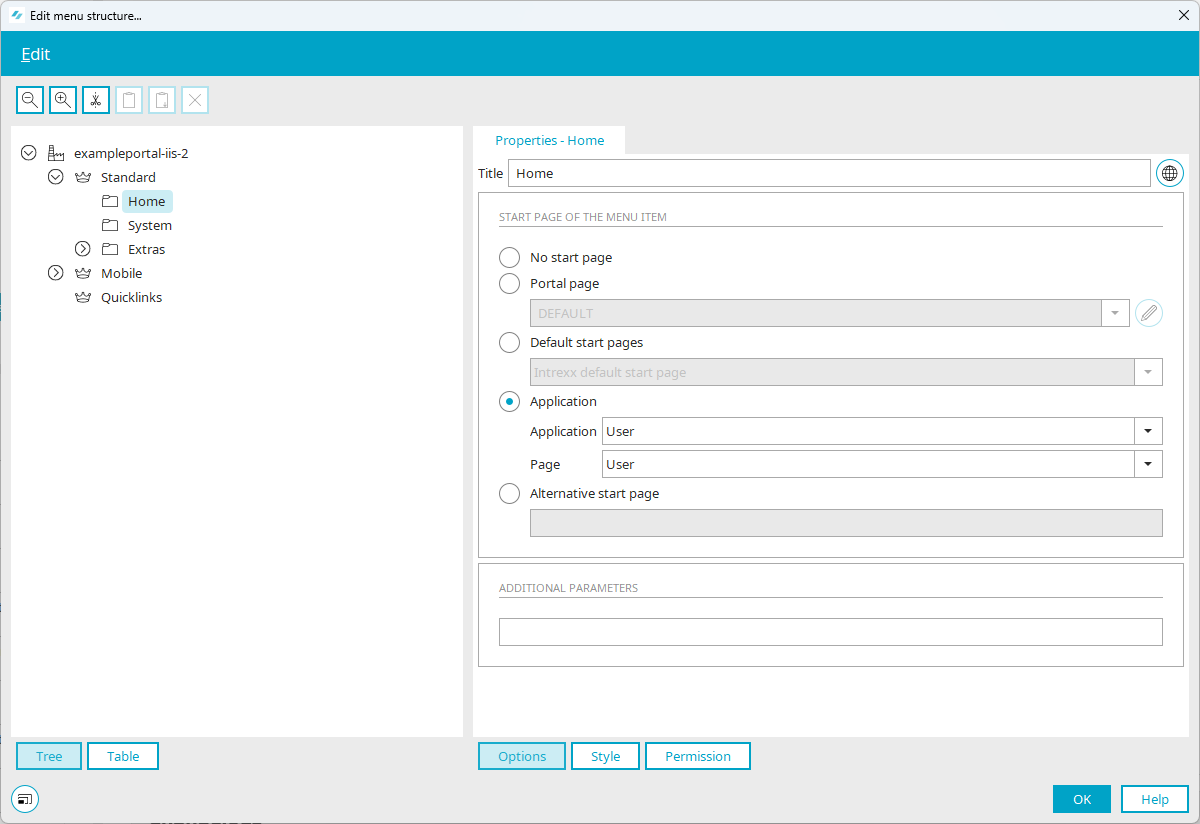
Applications can also be selected as the start page for a menu folder.
Application / Page
Select the desired application and page that will be shown when the menu folder is clicked. All pages that are valid as a start page for the application can be selected here.
Alternative start page
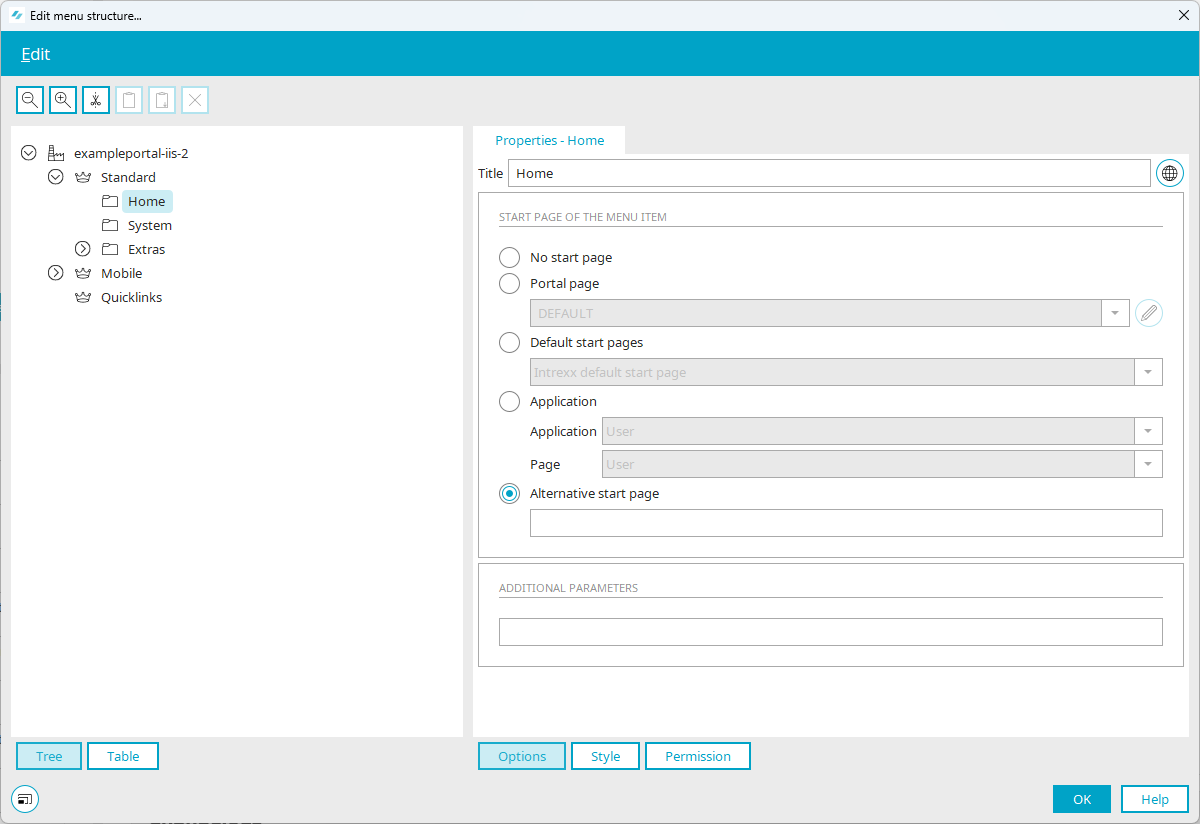
Here, a Velocity file can be implemented as an alternative start page. The file must be located in the portal directory /internal. Enter the path in square brackets:
vm[internal\system\vm\html\include\VMFile.vm]
Additionally, the ability to output a CMS article as a start page is available:
-
CMS1 articles
To integrate a CMS1 article, enter the link here under "Alternative start page" in the format "cms[App-GUID, Page-GUID, Rec-ID]" in square brackets.
-
CMS2 pages
Since these pages can act as folders, the CMS2 pages simply need to be placed in the menu using the CMS2 application to integrate them here. In the Menu Designer, other elements, such as applications, links, subfolders, etc., can then be assigned below the CMS2 page.
Additional parameters
Individual parameters can be defined here. The value of this parameter will then be transmitted as a request with a click on a further menu item. Ideally, individual parameters should start with the character string "rq_". Here is an example for a user-defined parameter in the menu structure:
rq_myparameter=myvalue
These parameters can be processed when the page is loaded, such as for table filtering. The internal parameter "rq_Layout" can be used to change the layout when a menu item is selected. To do so, transfer the name of your layout:
rq_Layout=mylayout
"Edit" menu
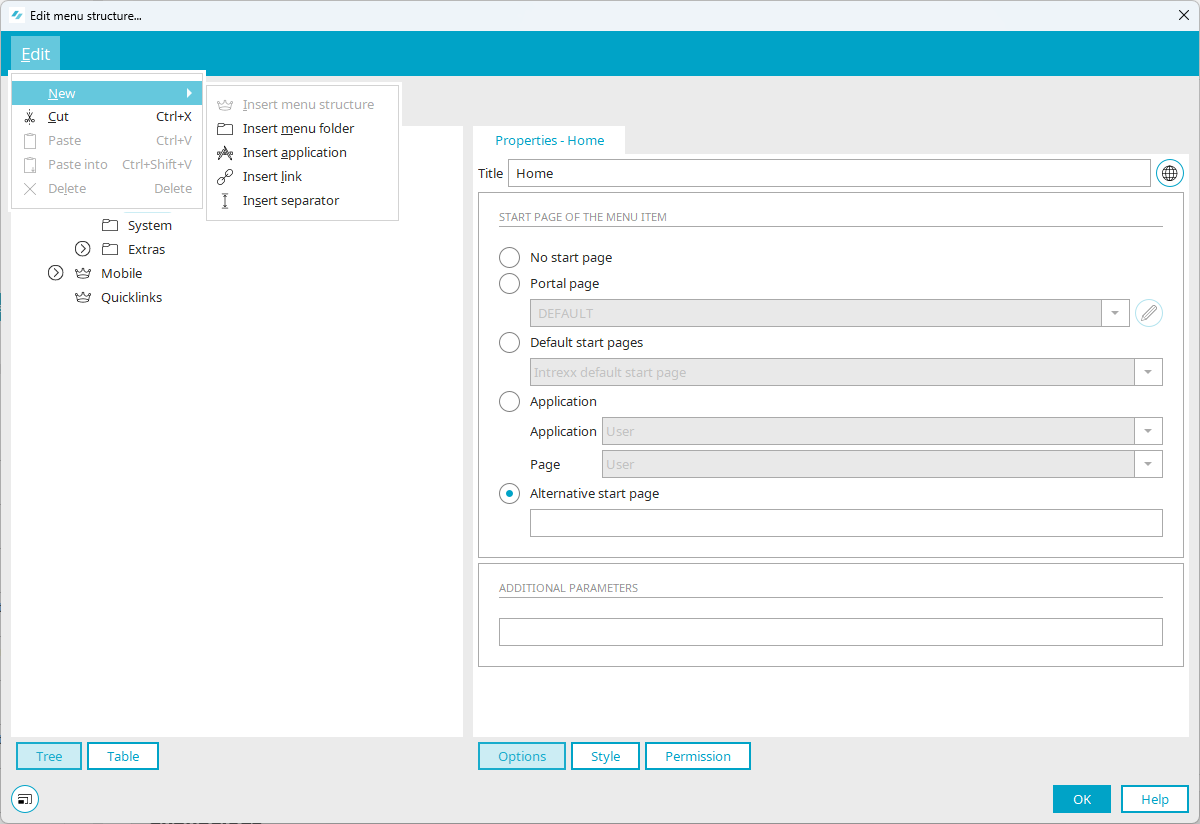
"New" menu
Insert menu structure
Here you can create a new, custom menu structure. New menu structures can only be inserted if the portal is selected in the dialog.
Insert menu folder
New menu folders can be inserted into any position except above a menu structure.
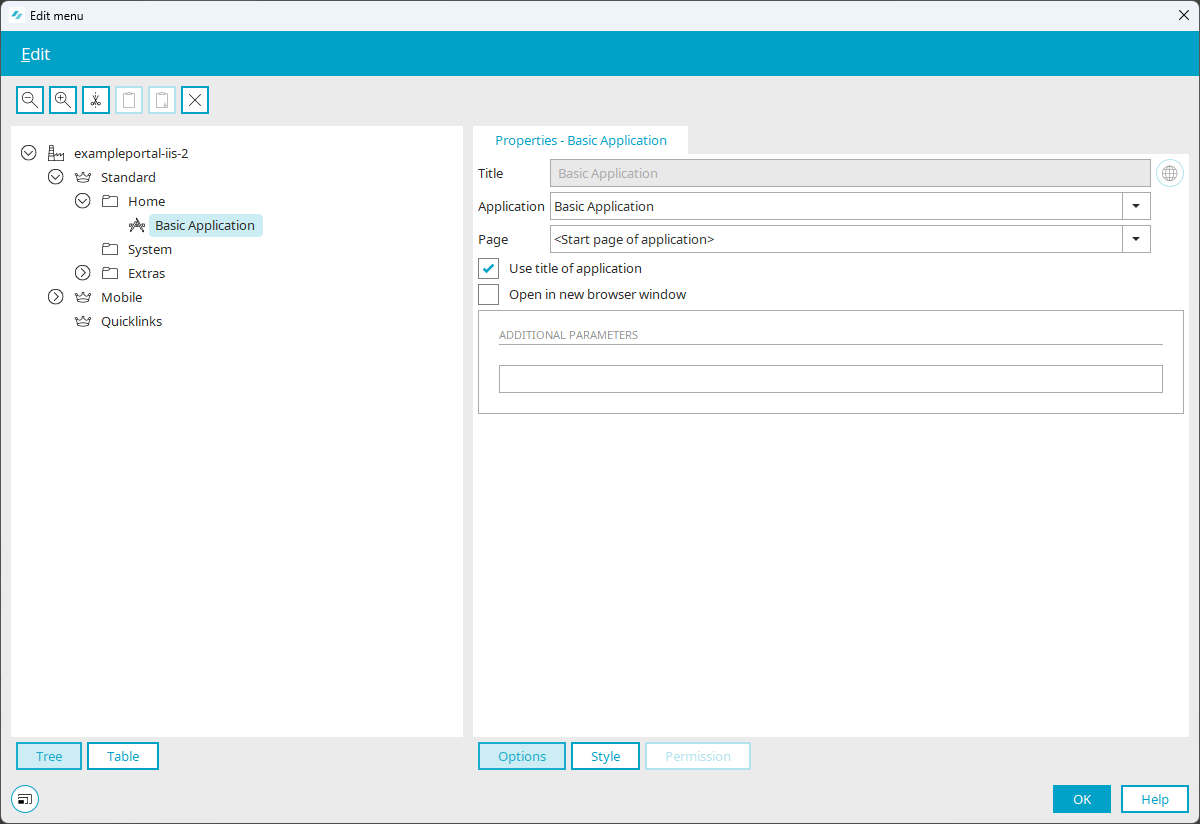
Insert application
Opens a dialog where the application, which should be added to the menu structure, can be selected.

Title
The title for the link in the menu structure can be edited here, if the setting "Use title of application" is deactivated.
![]() Multilingualism
Multilingualism
Opens a dialog where the title can be entered in multiple languages.
Application
Every application which has been published to your portal can be selected here.
Page
Select the page which should be opened when the user clicks on the application link in the menu structure in the browser.
Use title of application
The application title is used as the title for the link in the menu structure.
Open in new browser window
When the user clicks on the link in the menu structure, the application will open in a new window.
Additional parameters
As is the case with alternative start pages, additional parameters can be specified that will be added to the URL when the user clicks on the menu item.
Click on "OK" to save the settings and close the dialog.
Then you will find in the right area of the dialog the same settings as before you added the application. These entries can be further edited here.
A single application can be added multiple times to various menu folders or at various levels. The data that is entered and edited in them will be written to the same database table.
Insert link
With this function, a URL of your choice can be added to the menu.

Title
The link's title can be edited here.
![]() Multilingualism
Multilingualism
Opens a dialog where the title can be entered in multiple languages.
Link
Select the protocol from the drop-down list that the website can be reached with. Enter the URL to the right of the protocol.
Open in new browser window
With this setting, the link will open in a new window.
Insert separator
A separator, which is shown between menu items, can be inserted here.
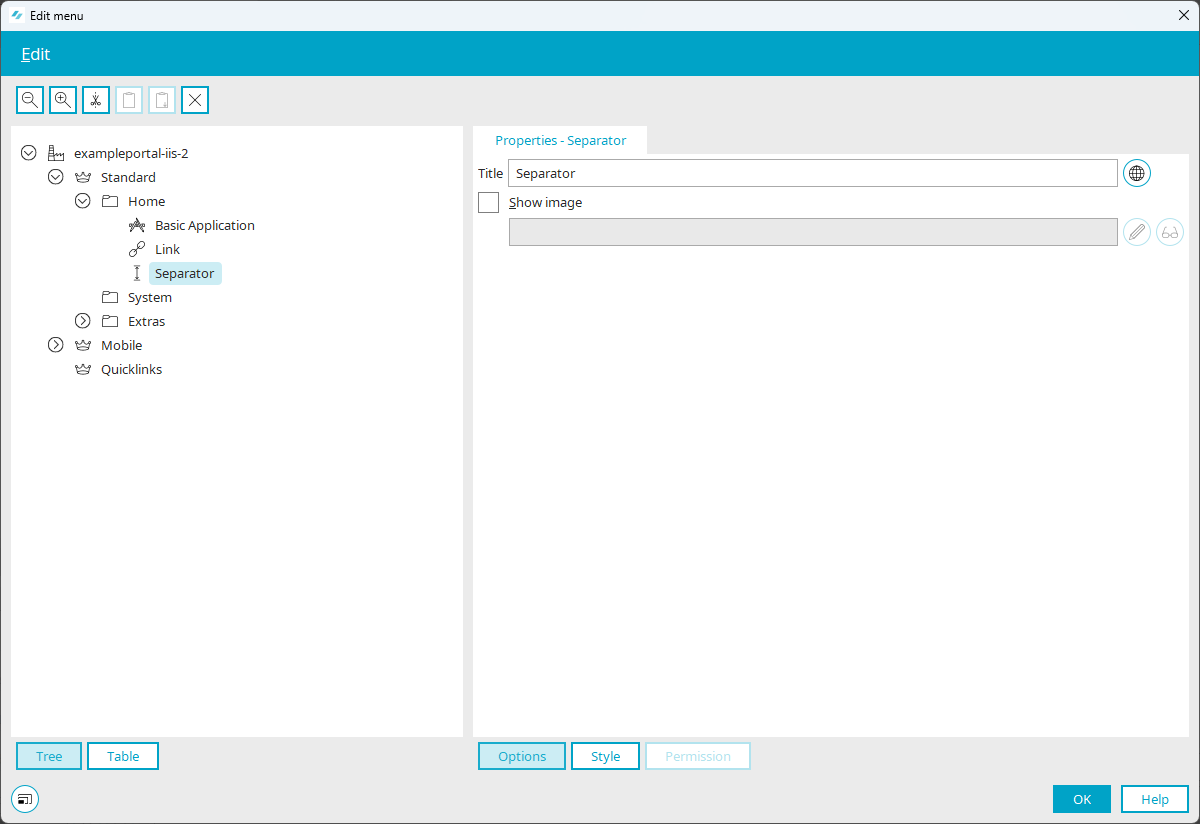
Title
Enter the text that should be shown as the separator.
![]() Multilingualism
Multilingualism
Opens a dialog where the title can be entered in multiple languages.
Show image
With this setting, the image selected here will be shown as the separator.
![]() Select image
Select image
Opens a dialog where an image can be selected.
![]() Alternative text
Alternative text
Opens a dialog where text can be entered which will be shown instead of the image in browsers that cannot display images.
Styles
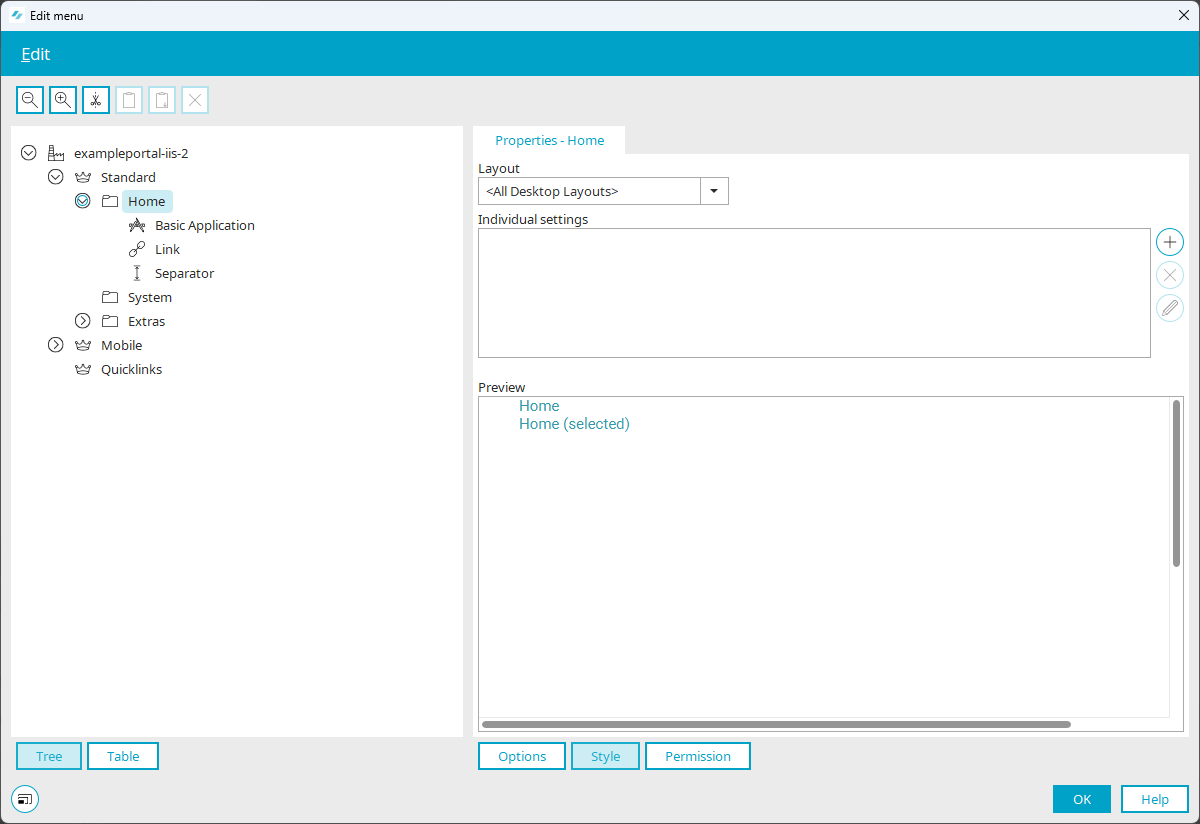
If you click on "Style" in the lower area of the dialog, You can change the style properties of menu elements.
Layout
Here you can select a specific layout or all desktop layouts, where the style properties should be applied.
Individual settings
In this box, you can see which menu elements have custom style properties.
![]() Add CSS rule /
Add CSS rule / ![]() Edit CSS rule
Edit CSS rule
By adding a CSS rule, a submenu will be shown in which the following menu elements can be selected for editing.
-
Menu item (for menu folders and menu structures)
-
Menu item (selected)
-
Menu item (hover)
-
Menu link (for applications and links)
-
Menu link (selected)
-
Menu link (hover)
Select the correct submenu. In the next dialog, the new CSS rule or an existing CSS rule can be modified.
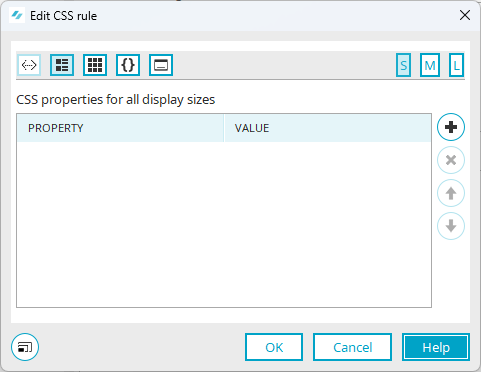
The style properties can be edited here. Click here for more information about this topic.
Permissions

The "Permission" button is at the bottom right of this dialog. Permissions for accessing the menu items can be managed here. Click here for more information.