

Data Group Action
Using a data group action, you can insert records into a data group or edit or delete existing records. Data group actions can only be configured if they are associated with a fully configured data group event handler.
Create a Data Group Action
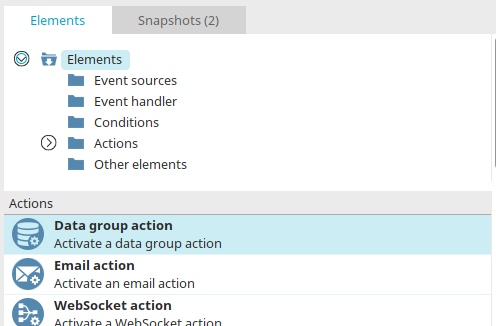
You can find the data group action in "Processes" under "Elements." It belongs to the "Promotions" category. From there, it can be dragged and dropped into the desired location in the process chain and then configured. General information on creating process elements can be found here.
Once you have created the data group action on the workspace, double-click the element to open the Properties dialog box.
General
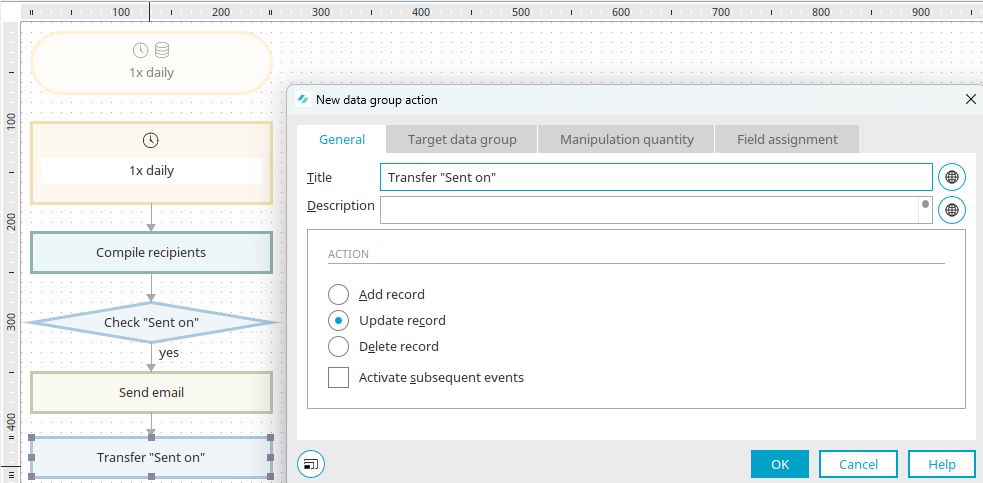
Here, you can edit the title and description of the data group action.
 Multilingualism
Opens a dialog box in each case where the title can be entered in multiple languages. You can find more information on this here.
Promotion
Add a record
This option adds a record to the target data group.
Edit Record
Here, a record is modified in the target data group.
Delete Record
Here, a record is deleted from the target data group.
Activate Follow-up Events
Here, you can decide whether a data group event should be triggered in the target data group.
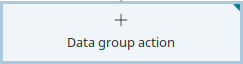
If this setting is enabled, the data group action is marked on the workspace with a blue triangle in the upper-right corner.
Example:
Data Group A has a data group event that writes a record to Data Group B when a record is created. If Data Group B also has a data group event that writes a record to Data Group C when a record is added to Data Group C, the data group event in Data Group B would only be triggered if the "Enable Follow-Up Events" option were enabled in Data Group A. Please note that selecting the "Enable Follow-up Events" setting can also result in unintended infinite loops.
Click "Next."
Target Data Group
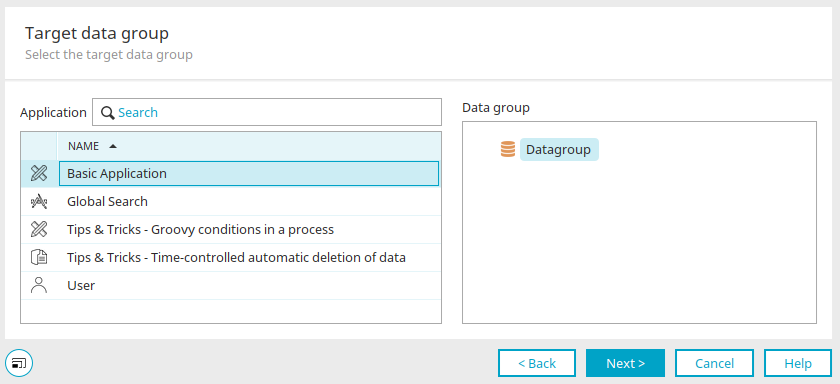
Here, you can search for an application by name or GUID.
Once you have selected a target application, the data groups it contains are displayed on the right side of the dialog box. Select the desired data group there and click "Next."
Amount of Manipulation
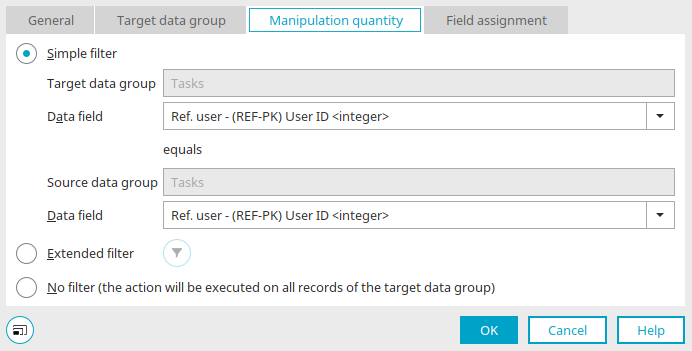
If you selected the "Modify Record" or "Delete Record" action in the first step, you can define filters here, if necessary, to limit the records affected by the action.
Simple Filter
Here, you can select a key field for the destination and source data groups. If the values in the two fields match, the action is performed on the corresponding target record.
Target Data Group / Source Data Group
Both sets of data have already been entered here. You defined the target data group in the previous step. The source data group is specified in the event handler to which the data group action is linked.
Data field
Select the data field for which you want to compare values.
Advanced Filter
Here, you can limit the number of target records to be modified or deleted.
 Configure Filter
Opens a dialog box where you can create a filter.
No filter
With this setting, the action is performed on all target records.
Click "Next."
Field Mapping
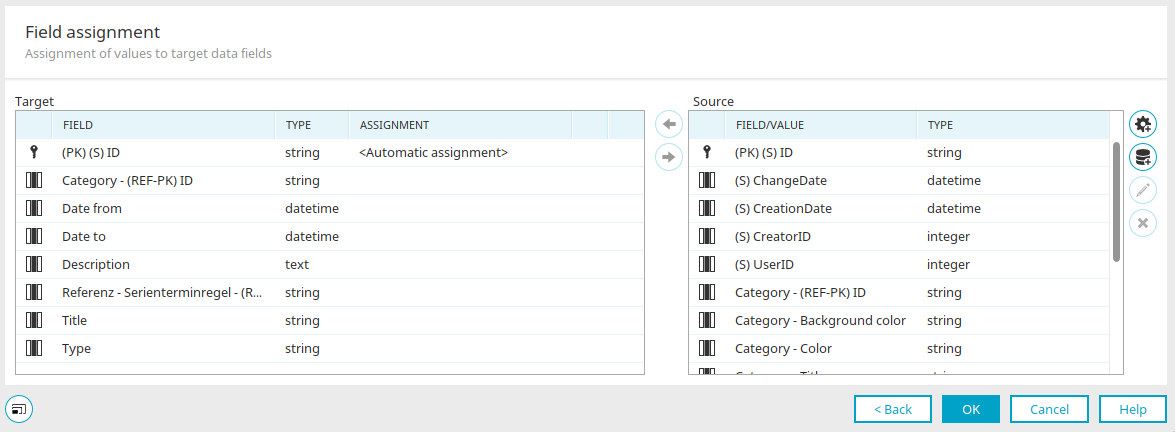
Here, you can map the fields from the source data group to the fields in the target data group. When the data group action is triggered, it transfers the data according to the mapping defined here.
Objective
"Field" column
The names of the target data fields are displayed here.
"Type" column
Displays the data type.
"Assignment" Column
Indicates whether a source data field is assigned and, if so, which one.
Source
"Field Value" column
Displays the names of the source data fields.
"Type" column
Displays the data type.

 Establish an Association / Remove an Association
Maps the data fields currently selected in the two lists to each other or removes an existing mapping.
 Custom value
Opens a dialog box where you can define a fixed value that is written to a data field in the target data group each time the data group action is executed. Assign the custom value to the desired field in the target data group as usual. Once you have defined it, it will appear in the source list.
 Add a value from a data group query
Opens a dialog box where you can filter a data set and copy the results to the destination data field.
Value from a query on a data group
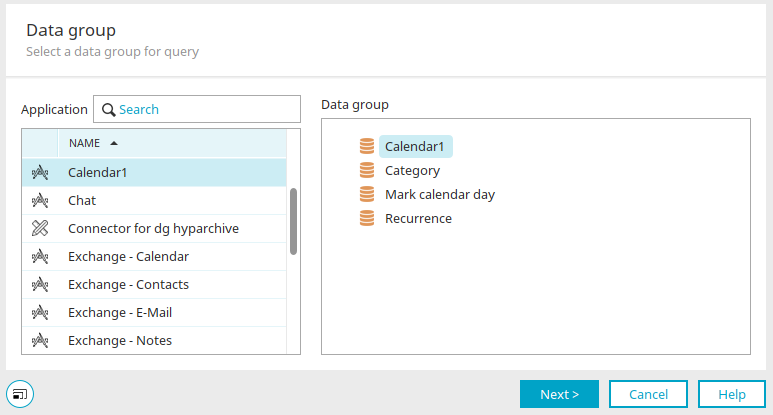
Here, specify the application and data group whose values you want to retrieve.
Click "Next."
Define Filter
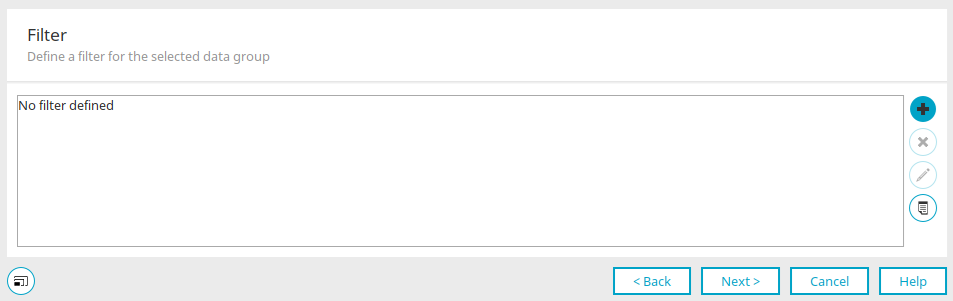
In the following dialog box, you can define a filter to narrow down the results of the query. You can find more information here. Click "Next."
Options
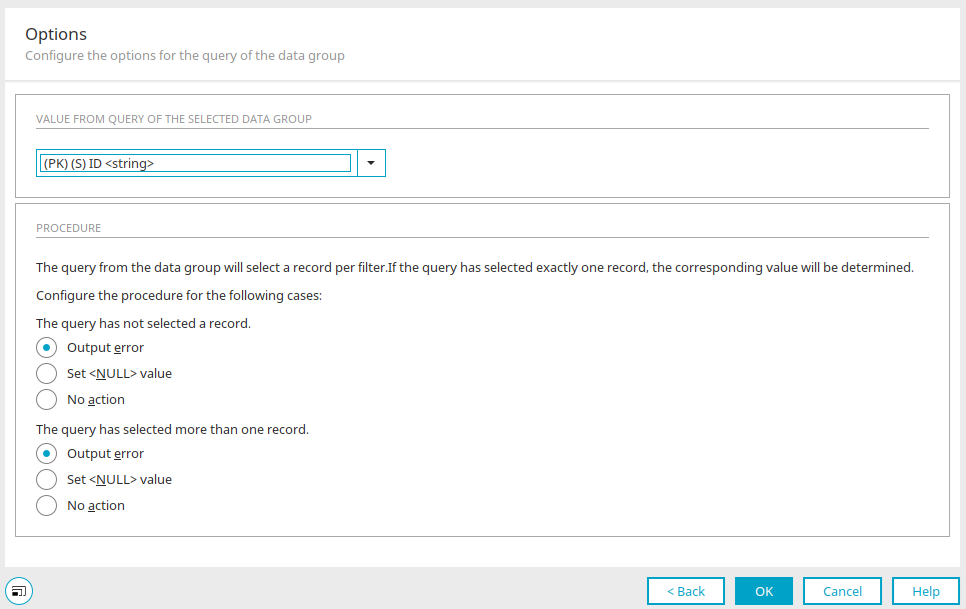
Value from querying the selected data set
Here, you select the return value for the query.
Procedure
The query returned either no records or more than one record.
Display an error
Causes an error to be logged in the portal log file in these cases. You can find the portal.log file in the /log directory of the portal.
Set the <NULL> value
Write a zero value to the assigned data field.
Do not take any action
This option ignores the query result.
If the return value is a role from the When it comes to user management, no user information—such as names or email addresses—is available.
Click "OK" to save the settings and close the dialog box. The value from the query is then displayed in the field mapping (Source) and can be mapped to a target field.
If a target data field with the file data type is assigned another file data field containing a value from a query or from the processing context, the "  " options button appears in the corresponding row of the field mapping, which opens the dialog for configuring options when saving files.
Click "OK" to complete the configuration of the data group action.