

Exchange Applications
In the adapter\microsoft_exchange installation directory, you'll find the "exchange_applications.lax" file, which contains pre-built Exchange applications for your portal.
You can import this application package as usual.
To use the applications, you must have a current Mediagateway installation and a working connection to the Exchange server. You can find all the information here.
Exchange Calendar
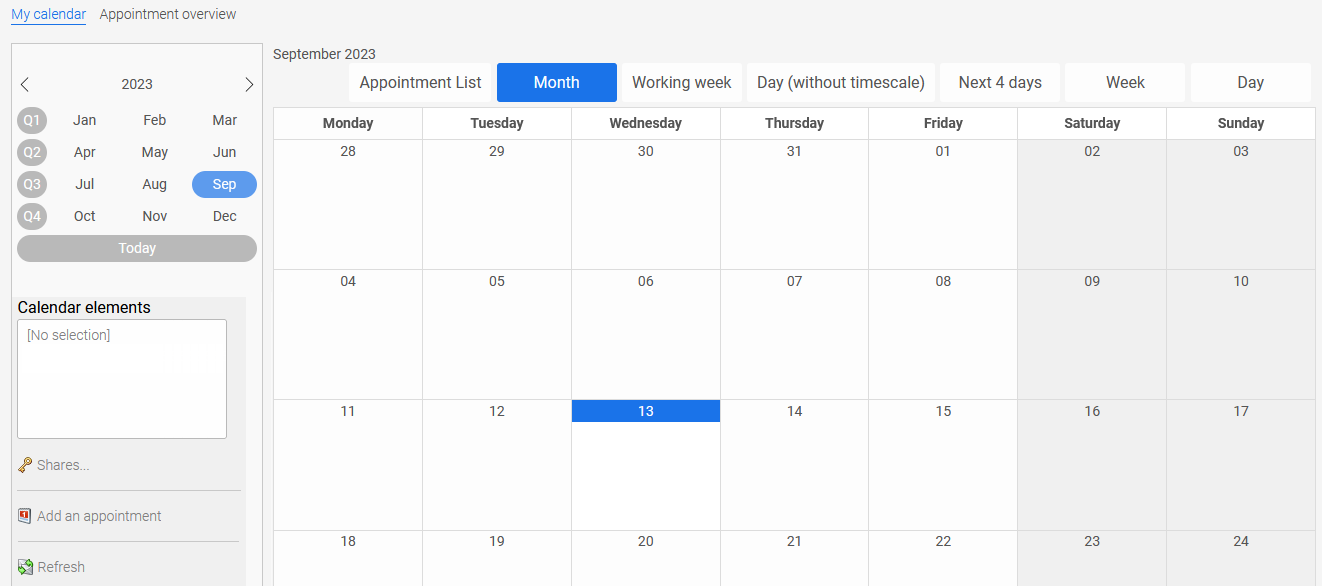
Managing appointments is one of the most important tasks of the Connector for Microsoft Exchange. The connector supports the following functions:
-
Listing Your Own Appointments in a Table Format
-
View a Single Appointment
-
Display Participants
-
Viewing Attachments with Download
-
Display of your own appointments in calendar view, with the option to move appointments using drag-and-drop
-
Displaying shared calendar entries based on Exchange permissions
-
Display of users who are considered resources, such as meeting rooms
-
Creating Appointments
-
Changing Appointments
-
Deleting Appointments
-
Listing Entries Using Tables, Free-Form Tables, and Calendars
General information about calendar features can be found here. By default, the subject and description of private appointments appear as "Private" in other users' shared calendars and cannot be changed.
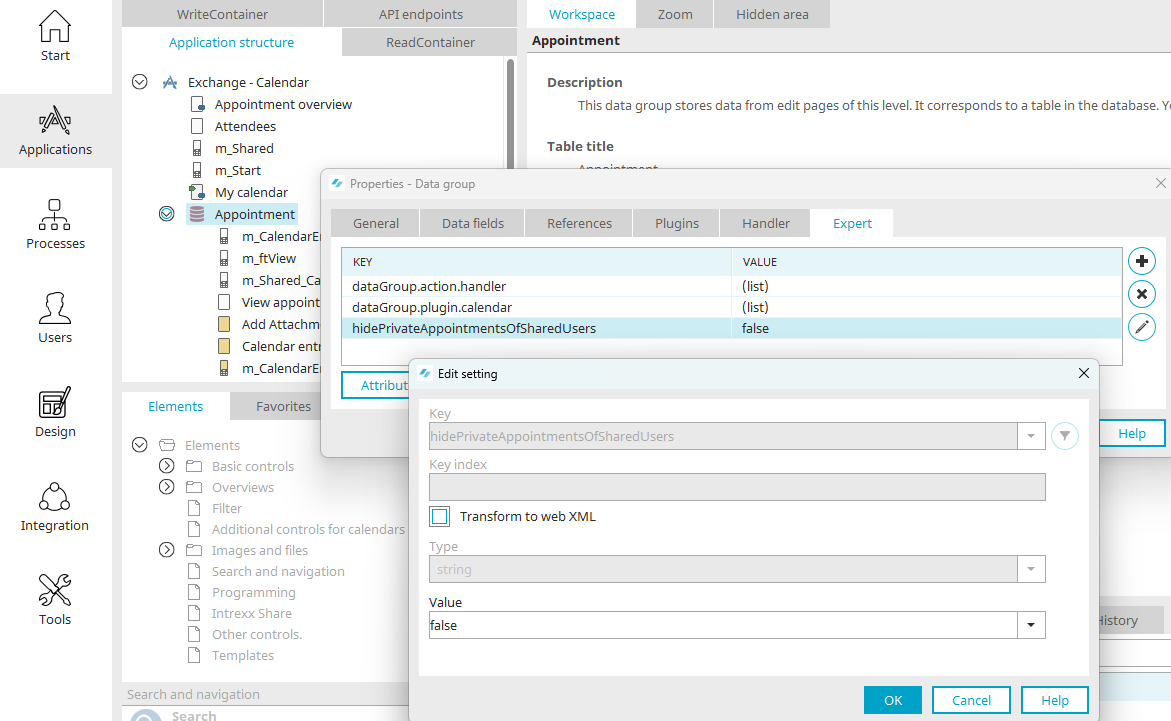
This behavior can be disabled by creating the additional setting "hidePrivateAppointmentsOfSharedUsers" (boolean) in the properties of the "Calendar" data group in Expert Mode and assigning it the value "false."
Exchange Contacts
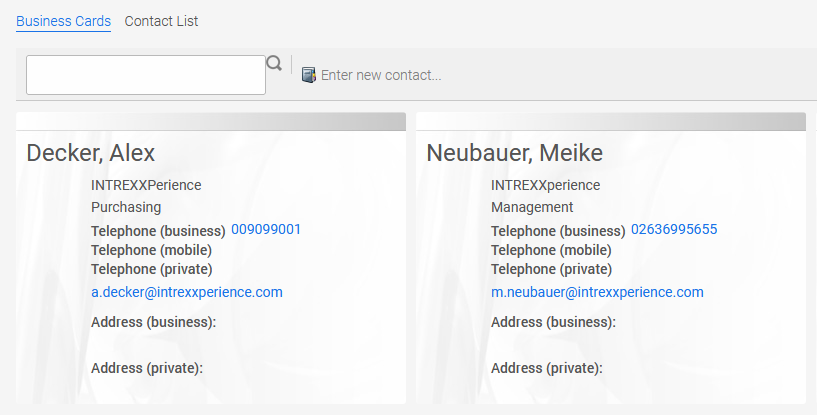
With this Intrexx Exchange application, you can access, edit, and view your contacts. The following features are supported:
-
Creating Your Own Contact
-
Editing Your Own Contact
-
Deleting One of Your Own Contacts
-
Listing contacts using tables, customizable tables, and calendars
-
Displaying All Contacts on Mobile Devices
-
Use of Dynamic Filters
The app's home screen displays all contacts in the form of business cards. When you click "Contact List," the contacts are displayed in a table.
Exchange Notes
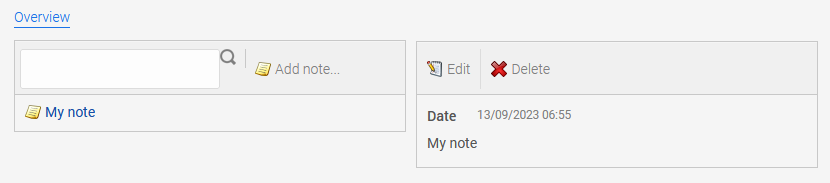
Here you can access your notes in Exchange. The following features are supported:
-
Create Notes
-
Edit Notes
-
Delete Notes
Exchange Email
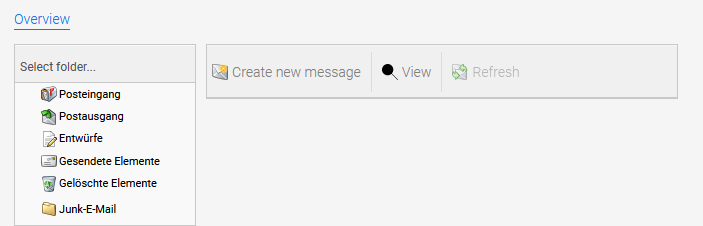
Here you can access your personal emails from the Inbox, Sent, and Deleted folders. The following features are available:
-
Listing emails in spreadsheets, custom spreadsheets, and calendars
-
Viewing and Selecting the Folder Structure of Your Personal Mailbox
-
Link to OWA
-
New Emails Arriving
-
Displaying the Number of Unread Emails
-
Viewing Emails
-
Creating Emails
-
Deleting Emails
Exchange Resource
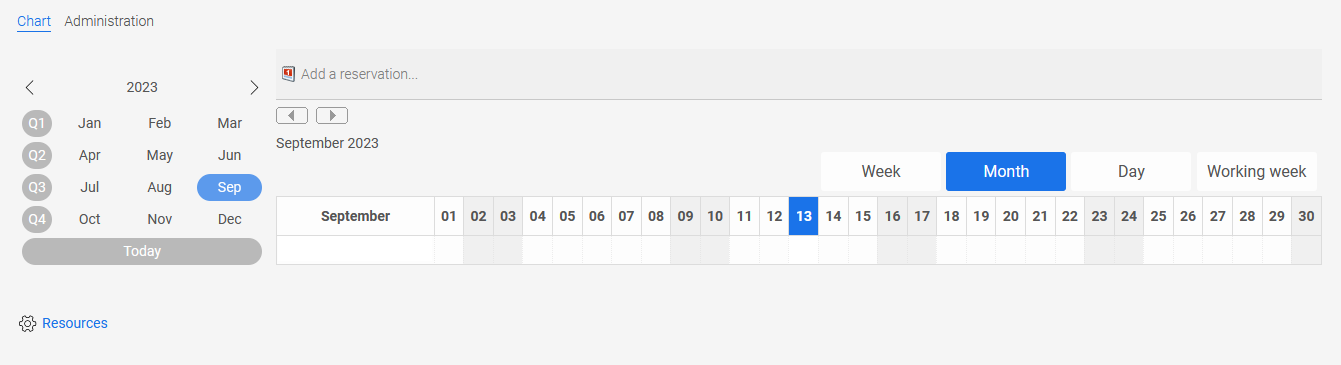
The Resource View provides a clear overview of individual employees' appointments. You can filter the dates however you like. In addition, users can choose which data from other employees they want to see. It is crucial that the user has the appropriate permissions for the appointments of the other resources. These permissions can only be granted by the respective users via Microsoft Outlook.
In addition, it is possible to access individual users' appointments not only through the respective portal user's individual account, but also by specifying a specific account in the application, within whose user context the individual appointments are accessed. For example, you can create a "Sales" mailbox in Exchange.
Individual sales representatives grant this mailbox access rights to their personal calendars. This allows you to enable complex views of individual users' appointments with just a few changes to the permission structure within Microsoft Exchange. The resource overview accesses the shared calendars directly and displays them clearly in a customizable chart. You can find general information here.
Exchange Tasks
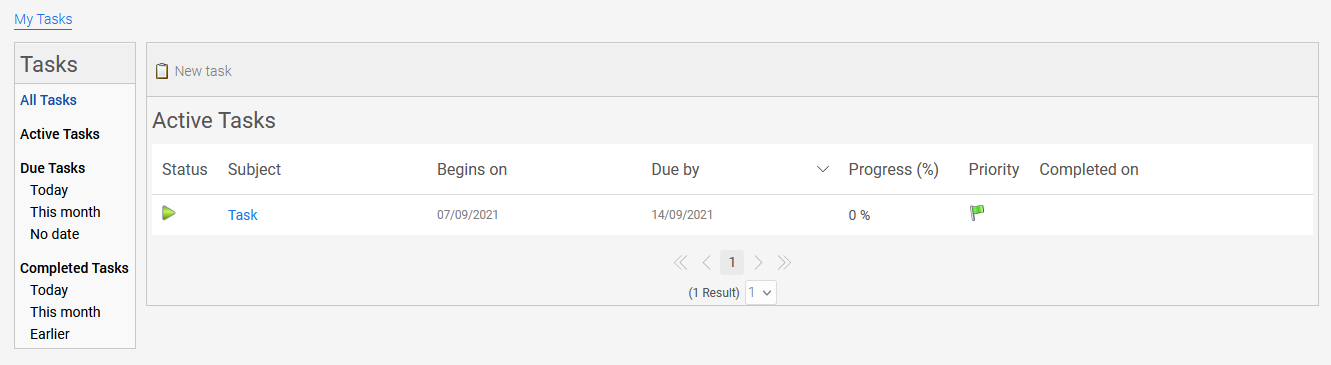
Here, you can access your tasks in Exchange, view them, and make changes as needed. The following features are supported:
-
Creating Your Own Task
-
Editing Your Own Task
-
Deleting One of Your Own Tasks
-
Listing tasks in tables, custom tables, and calendars
-
Display of all tasks on mobile devices
-
Use of Dynamic Filters
Exchange Settings
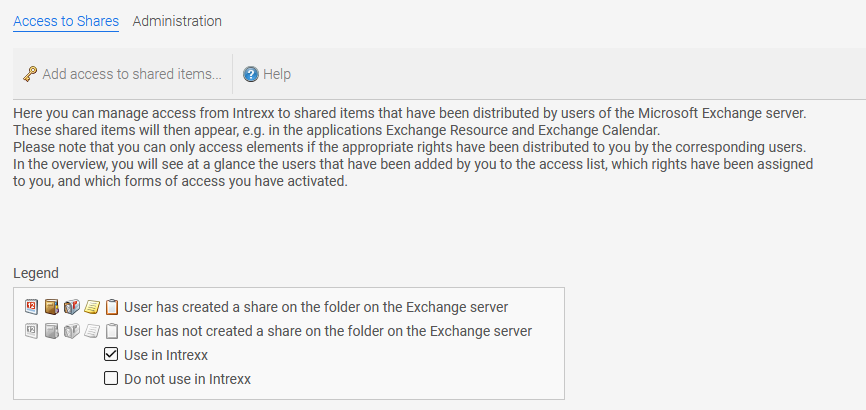
This application is used to record approvals. The Microsoft Exchange Server does not make information about shared resources available. As is customary in Microsoft Outlook, these must always be entered by the user.
 Add Access to Shared Folders
Clicking this link opens a window where you can create new shares.
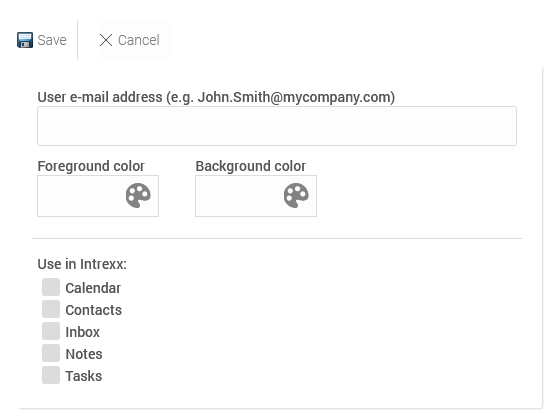
User's email address
The user's mailbox is important for approval. This is usually the same as the username used to log in to the Windows network or the primary email address, but—depending on the IT strategy—it may also differ from these.
Foreground Color / Background Color
To distinguish between individual users, you can also set foreground and background colors here for use in the charts of Intrexx Exchange applications.
Use in Intrexx
Specify here which resources you would like to access:
-
Calendar
-
Contacts
-
Entrance to the building
-
Journal
-
Notes
-
Tasks
After saving, the access overview will show you whether you have permission to access these resources.
Creating Exchange Applications
A connection to an Exchange data source can be used in any Intrexx application. To do this, select the application node and create a new external data group via the main menu: "New / External Data Group. "
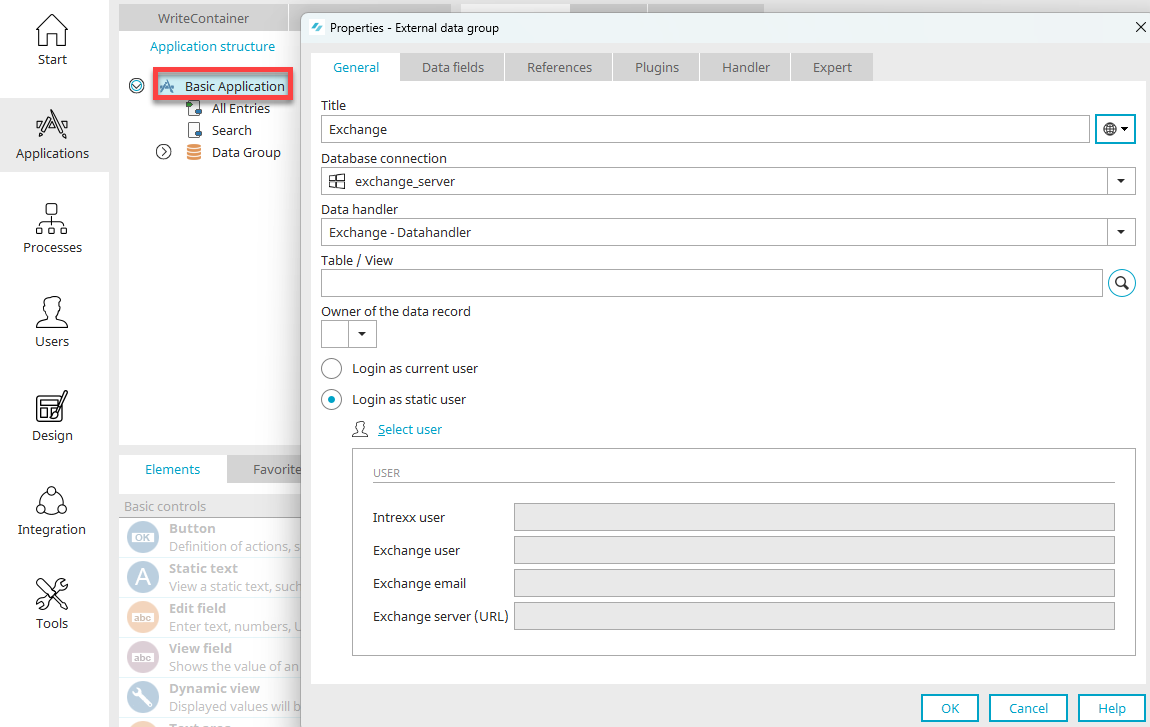
Enter the title of the new external data group here. Then select the desired database connection.
Data Handler
When connecting to Exchange, the appropriate data handler is entered automatically.
Table/View
You can enter the name of the table or view directly, or click "Search" at  and search for the desired table or view name in the dialog box that appears.
Owner of the data set
Here, you can select a data field that specifies the ID of a record's owner.
Log in as a current user
This option uses the currently logged-in user to access Exchange.
Log in as a static user
This option allows you to select Intrexx users who have already been created and assigned to Exchange users from the Exchange data source configuration. The user data is then displayed in the lower section of the dialog box.
Select a user
Clicking this link opens a dialog box where you can select the desired static user. You can find all additional information about mapping Intrexx and Exchange users here.
Click "OK" to save the configuration and close the dialog box.
The data fields to be displayed in the application can now be selected on the "Data Fields" tab and linked to application elements.
Exchange Application Elements
You can find information about the Exchange application elements here:
More Information
Configure Connection
Exchange Data Sources in Processes
Create Elements