

Data Group Timer Action
With a data group timer action, you define a time-controlled event—just as you would with a global timer —that is triggered during the process flow. Unlike the global timer, a data group tier action generates a task only when the timer action is triggered in the process chain.
The data group timer action must be linked to a data group or timer event handler that responds to another data group timer action or a global timer associated with a data group. This is the only way to configure the action.
When it is triggered, it generates one task for each record delivered. In the "Tools" module, the record GUID is included for each of these tasks. This GUID can be reused in Groovy or generic event handlers.
Here's an example: A data group event handler responds to changes in reports. The timer should send an email notification for every report that has not been approved. If you want to respond to a data group timer action later in the process, you will need an event handler (timer, Groovy, or generic event handler) that responds to the task created by the data group timer action at the specified time.
Create a Data Group Timer Action
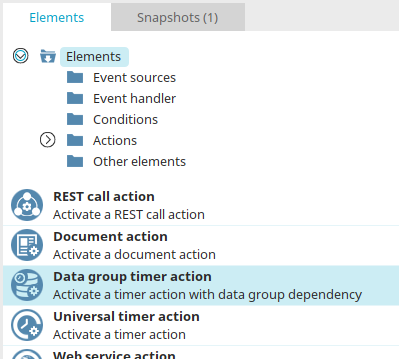
You can find the data group timer action in Processes under "Elements." It belongs to the "Promotions" category. From there, it can be dragged and dropped into the desired location in the process chain and then configured. General information on creating process elements can be found here.
Once you have created the data group timer action on the workspace, double-click the element to open the Properties dialog box.
General
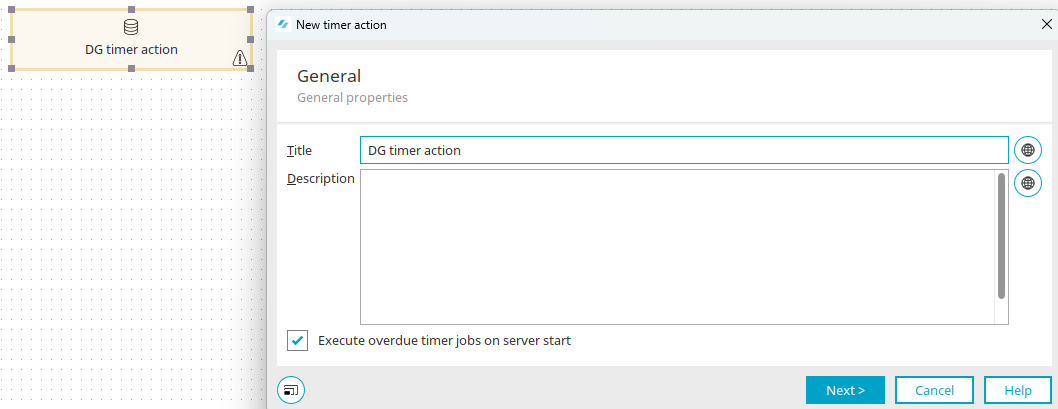
You can find information about the settings in this dialog box here.
Click "Next."
Timer Rule
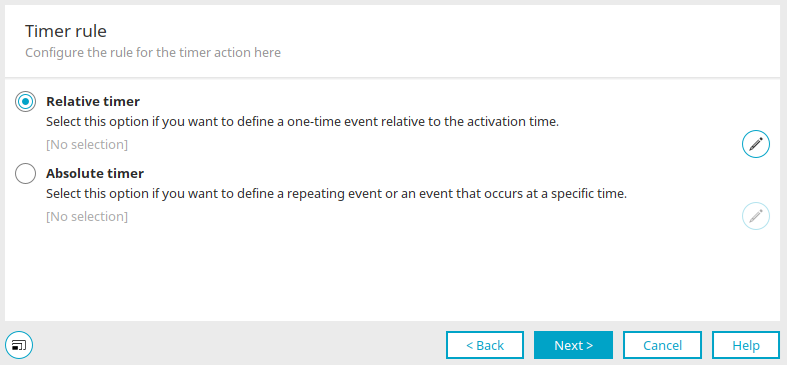
You can define the rule for the timer action here. You can choose between a relative and an absolute timer—for example, for notifications indicating that a contract is about to expire.
The relative timer can be used to define a one-time event relative to the trigger time.
The absolute timer can be used to define a recurring event or an event that occurs at a specific time. A reminder about an unapproved report can, for example, be sent daily at 7:00 a.m.
 Edit Rule
This opens the corresponding configuration dialog box in each case.
Relative Timer - Relative Rule
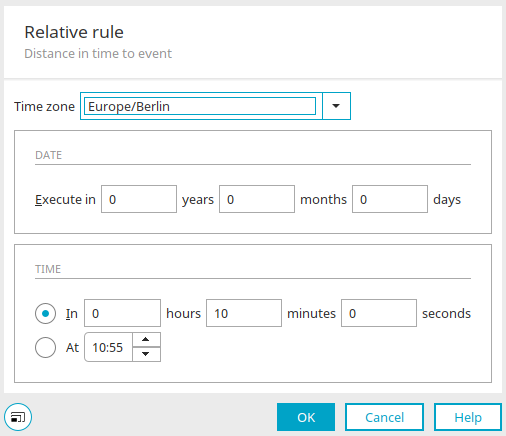
The relative rule defines the time interval relative to the event. Set the time zone here. In the "Date" section, you can specify how many years, months, and days from now the timer action should be executed. In the "Time" section, you can specify the time interval since the triggering event in hours, minutes, and seconds if you select the "In" option. The "At" option allows you to specify a specific time at which the timer action will be executed.
Absolute Timer - Execution Time
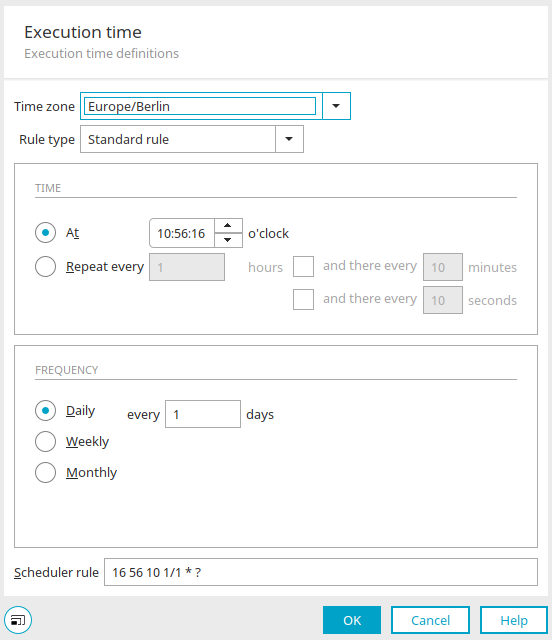
You can find all the information about the settings for an absolute timer here.
Once you have configured the timer rule, click "OK" to save the changes and close the dialog box.
Click "Next."
Parameters
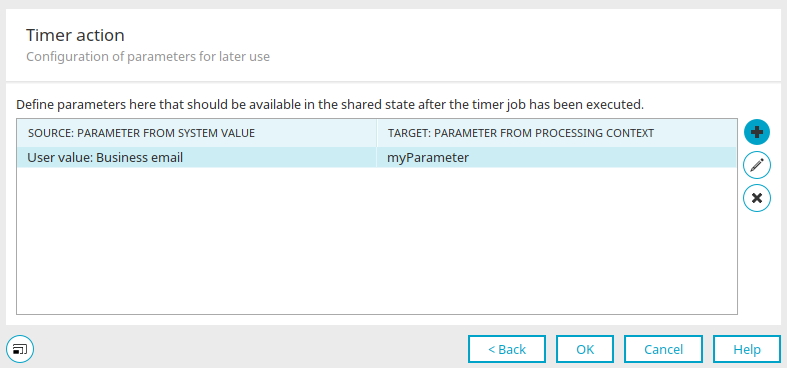
Here, you can define parameters that will be available in the processing context after the timer action has been executed. Parameters that have already been defined are displayed as a list.  "Delete Parameter" deletes an existing parameter.
 / Edit Parameter
Opens a dialog box in which a parameter can be defined or edited.
Edit Parameters
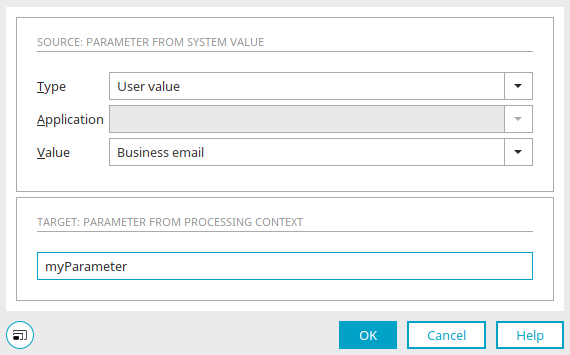
Source: Parameter from system value
Type
The following system value types are available:
-
Request Values
-
Session Values
-
Processing Context
-
System Data Groups
-
User Values
The prerequisite is that the value must be serializable, such as a string, number, or date value, etc. ValueHolders cannot be used; please use the Value property instead.
Application
For the system data group type, you can select the application that contains the system data group here.
Value
Enter the value of the parameter here. For the "User Value" type, you can select a data field from the "User" module. For the system data group type, you can select the data field here.
Goal: Parameters from the processing context
When the timer action is executed, the parameters are made available under the name specified here.
Example
For example, using the session value type, you can define your own session variable with any target variable name (e.g., "mySessionValue") and then evaluate it in a Groovy condition as follows:
            if (g_sharedState.mySessionValue == "red")
	stop()
else
	go()
Click "OK" to save the parameter definition and close the dialog box.
Click "OK" here to complete the configuration of the timer action.
More Information
The sections of the "Processes" module