

Data Transfer - Connection Wizard
Intrexx provides a wizard for configuring a connection to source or target databases; you can start it by clicking the "Wizard" button. You can also access the wizard when configuring user replication or in the "Integration" module when configuring a JDBC connection.
JDBC Data Source
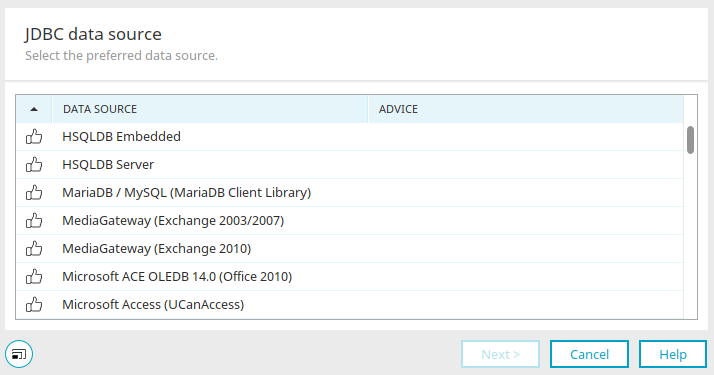
You can identify available data source drivers by this icon:  . Drivers that are not available are marked with this
  icon. If the drivers are not installed, the message "Not in the class path" will be displayed here.
Select the desired data source and click "Next."
In the next step, enter the connection parameters based on the selected database type.
Generic compound
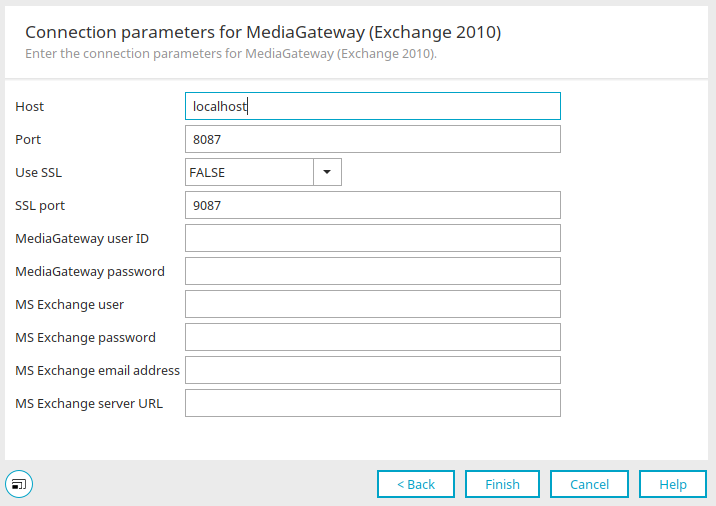
Depending on which database types you selected in the previous step, different information will be requested here. Enter the appropriate connection parameters for each one.
Exchange Login
The MediaGateway user ID is "administrator" by default in Intrexx, and the password is 1234. For more information on these details, see the " Install the Connector for Microsoft Exchange - MediaGateway" section.
MariaDB Data Source / MSSQL Data Source / PostgreSQL Data Source

Enter the server name and port here.
Select whether to use SSL. For SSL with certificate validation, please upload the certificate in the portal properties before establishing the connection.
Enter the database user's username and password.
Then click "Next."
In the next step, you can select the desired database.
File format (Microsoft ACE OLEDB, Microsoft Jet OLEDB)
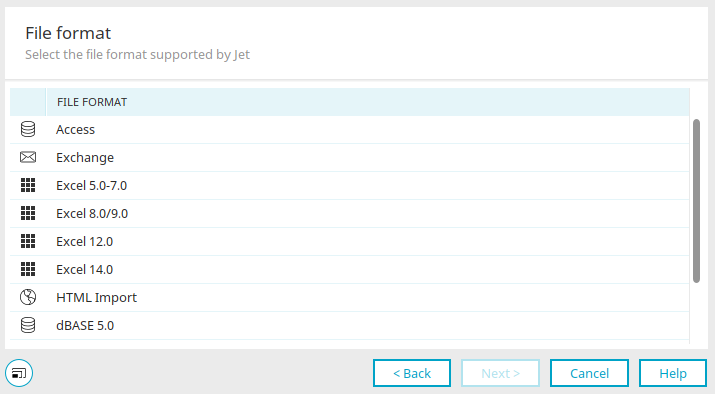
Select the file format supported by Jet here and click "Next."
File Format - Data Source Path
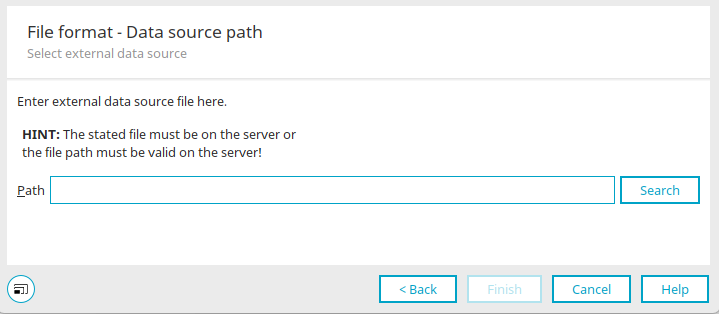
You'll see this dialog box if you selected one of the following file formats in the previous step:
-
Access
-
Excel
-
HTML Import
Clicking "Search" opens a dialog box where you can select the desired file.
File Format - Exchange Connection Information
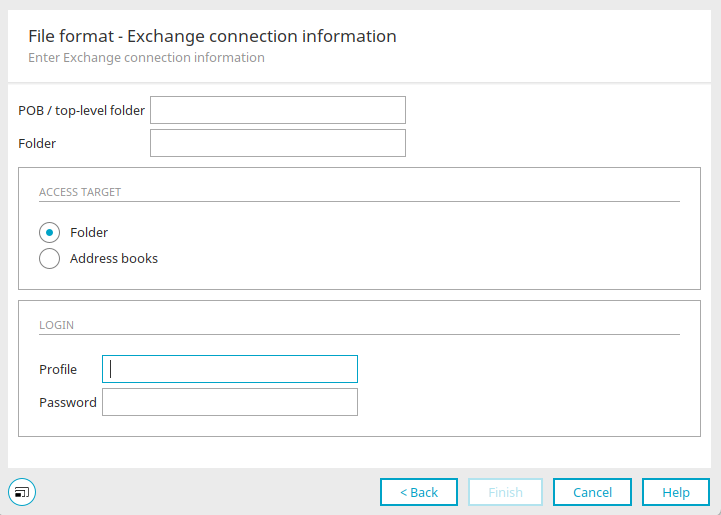
You'll see this dialog box if you selected the "Exchange" file format in the previous step.
Enter the mailbox or top-level folder here. Under "Folder," you can enter any folder located in the mailbox or the top-level folder.
The "Folder" access target option is used to access folder contents (e.g., Outbox, Drafts, or Tasks).
The "Address Books" option is used to access address books.
To access different user profiles using the Exchange connection, you must enter the appropriate profile (user ID) along with the corresponding password.
File Format - Data Source Path
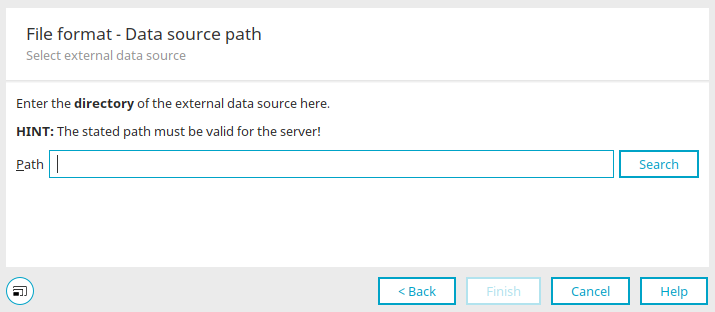
You'll see this dialog box if you selected one of the following file formats in the previous step:
-
dBase
-
Text
Clicking "Search" opens a dialog box where you can select the desired path.
IBM DB2
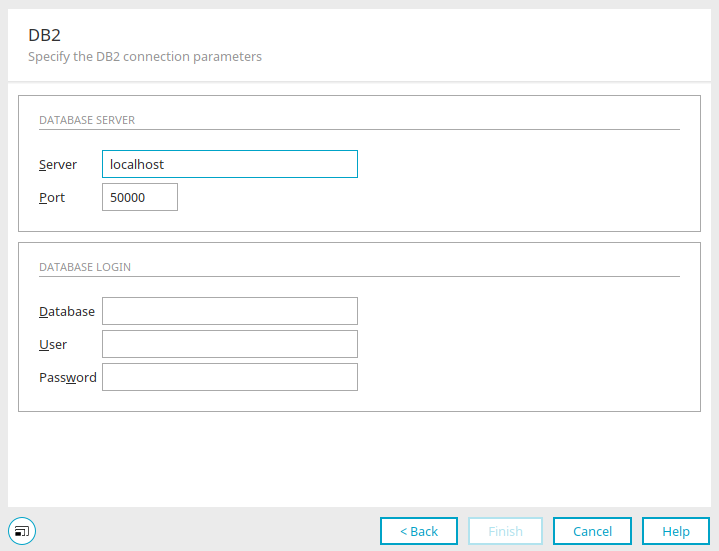
For the server, enter the computer name or IP address of the computer on which the IBM DB2 database is installed.
The database's communication port is specified as the port. As a rule, you can accept the default settings.
Under "Database," enter the name of the IBM DB2 database.
Enter the database user's username and password.
IBM solidDB Data Source / MySQL Data Source
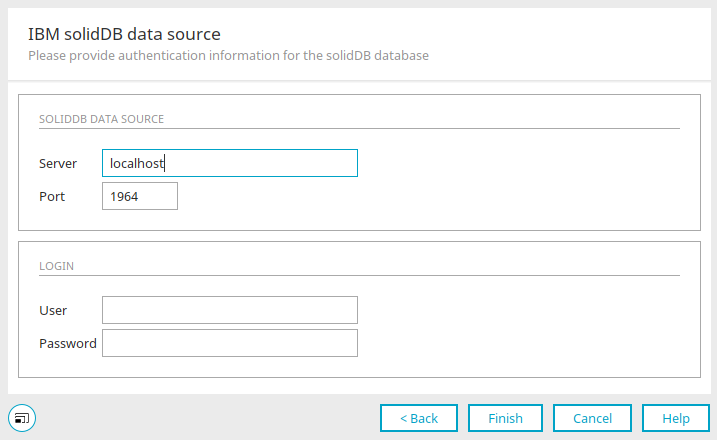
Enter the server name, port, username, and password for the database user here.
If you selected a MySQL data source, you can select the desired database in the next step.
Oracle Data Source
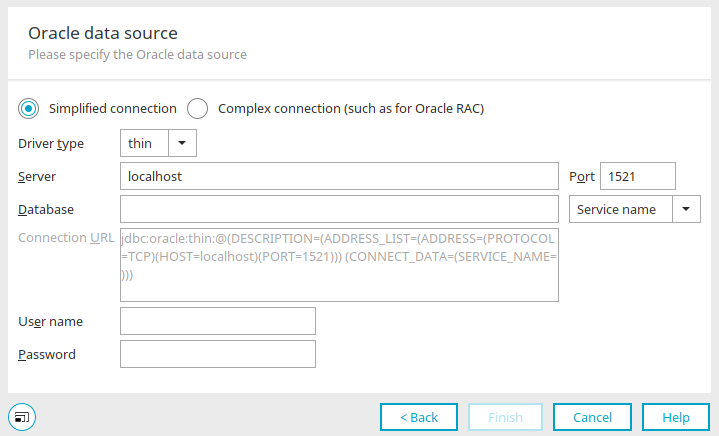
Simplified Connection
With this option, Intrexx automatically enters all the parameters you specify into the connection URL.
Complex compound
This option allows you to specify the connection URL yourself.
Driver Type
For the simplified connection, select the driver type (thin or OCI).
Server
Enter the server name here.
Port
The Oracle DBMS typically uses port 1521. If your Oracle server is running on a different port, please enter it here.
Database
Enter the name of the service used to start the Oracle instance being used here. For Oracle XE, you must enter "XE" here. The startup command for this version is, for example, c:/orac:/oraclexe/app/oracle/product/10.2.0/server/bin/ORACLE.EXE.
Service Name / SID
Select here whether the connection should be established using the service name or the SID.
Username / Password
Enter the login credentials here for an existing user who has the permissions to create a new user or schema.