

Data Transfer - Data Source / Destination "Intrexx"
Here you will find instructions for configuring a data transfer if, in the first step of creating the connection, you selected "Intrexx" as the data source or data destination type.
Source / Destination - Portal
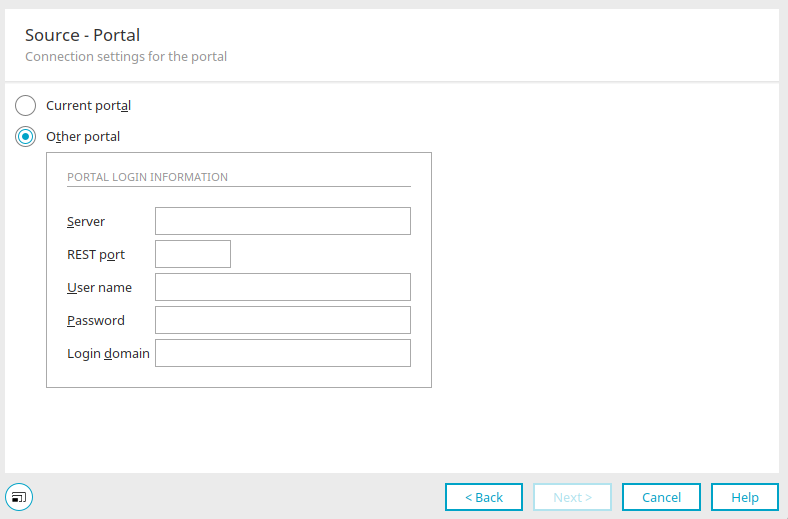
If the "Intrexx" type is selected as the source or destination, you can configure the source here. The dialog is also used to configure the destination if "Intrexx" has been selected as the destination type.
The "Current Portal" option retrieves data from the database of the portal to which you are currently connected. Then click "Next."
Other Portal
Here, you can connect to another Intrexx portal. Enter your portal login credentials. Under "Server," enter the server name or IP address. The REST port of a currently open portal can be found in the portal properties. You will also need a username, password, and login domain.
Click "Next."
Portal Database
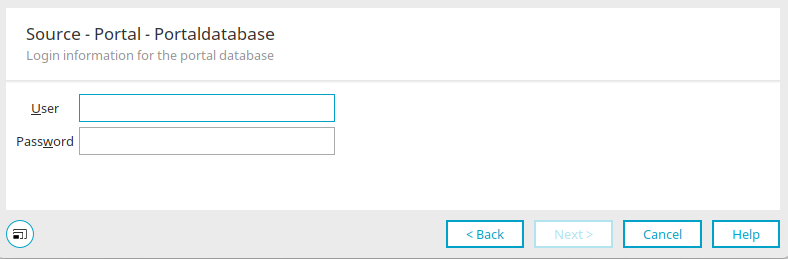
Enter the username and password for logging in to the portal database here.
You usually set the username and password for the portal database when you created the portal. Use these login credentials here as well, in the data transfer configuration, to log in to the portal database.
Click "Next."
Source / Destination - Data Group
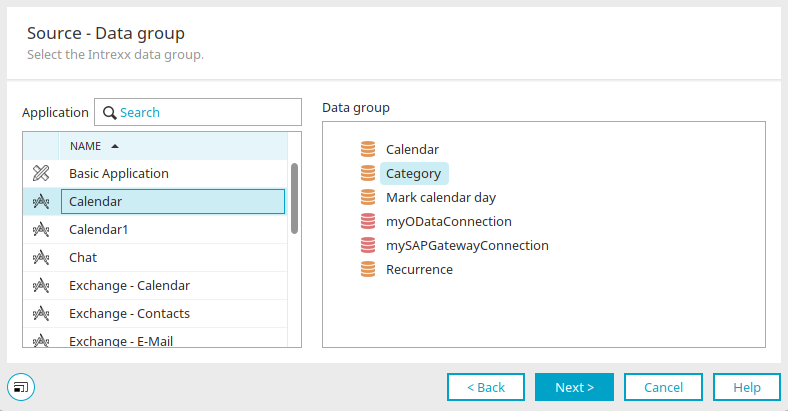
Select the source—the application and data group—from which the desired data is taken. The dialog is also used to configure the destination if "Intrexx" has been selected as the destination type. When you click "Next," you can specify the destination.
Target Options
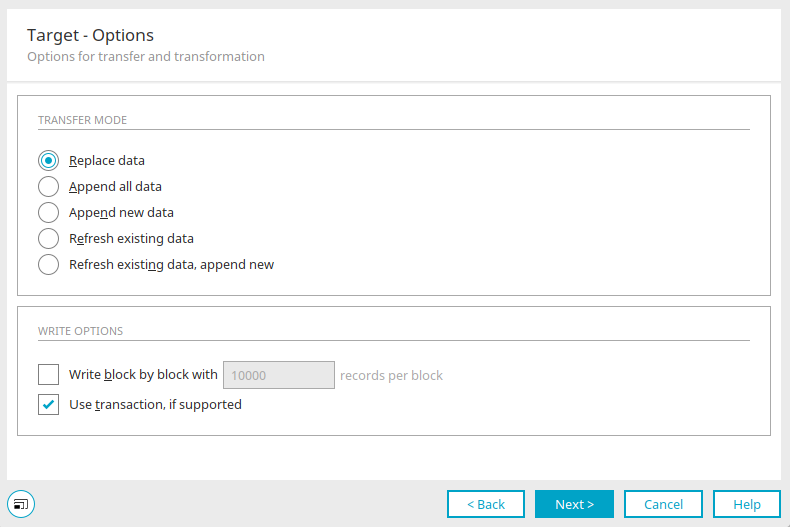
Here, you can select the desired transmission mode.
Replace Data
This option replaces all data in the target data group. In the writing options, you can specify whether to write in blocks. To do this, simply enter the desired number of records per block. The "Use transactions if supported" setting can be enabled if the data transfer source or destination supports transactions.
Attach all data
With this option, the existing data in the target data group will not be overwritten. All data from the data source is added.
Attach new data
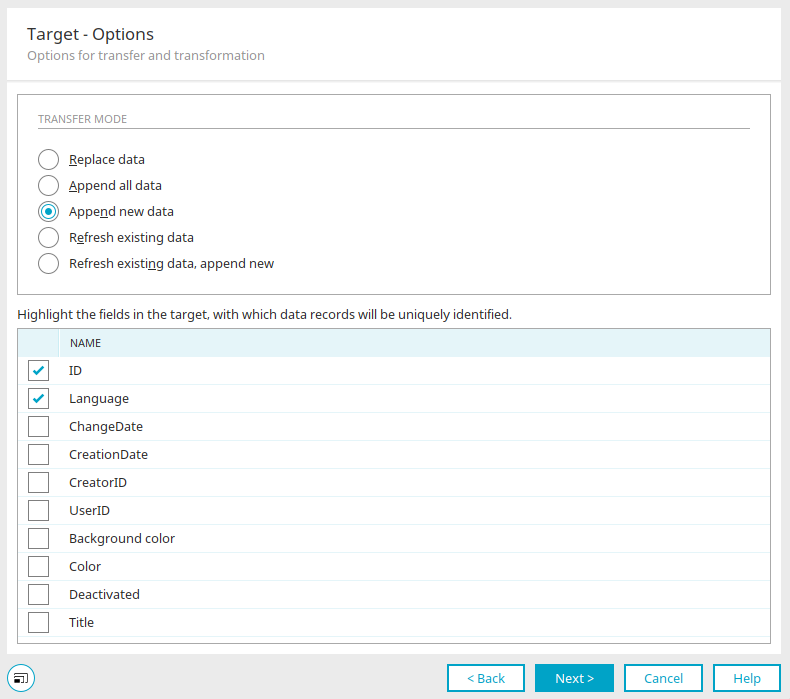
This option displays all fields in the target data group at the bottom of the dialog box. Select the fields whose values can be used to identify a record as new. These fields must be linked to a corresponding field in the target data group during field mapping so that the value from the source data is imported each time. This also applies to the following options: "Refresh Existing Data" and "Refresh Existing Data and Append New Data."
Update existing data
The existing data is updated here if changes have been made to the source data set in the meantime.
Update existing data, append new data
This is the same as the "Append New Data" option, except that the existing records in the target data group are refreshed—that is, updated—if changes have been made in the source data group in the meantime.
Transformation - Field Mapping
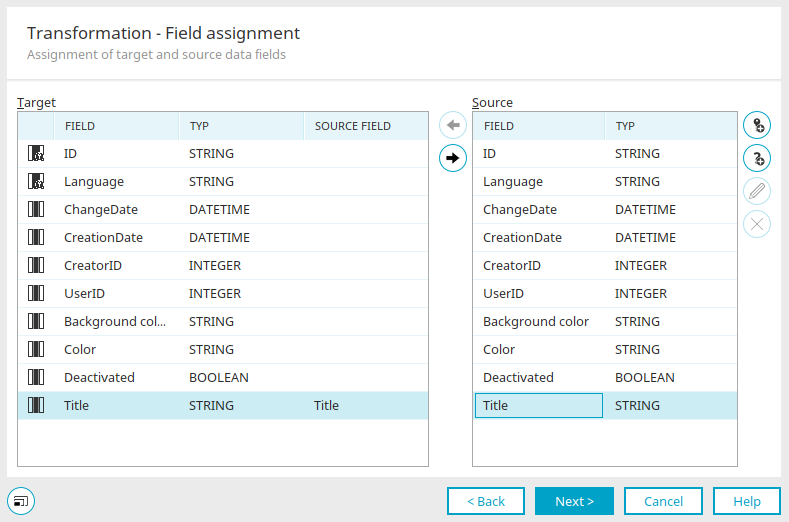
Select the destination and source data fields here. The assignment can then be made using the arrow buttons and, if necessary, undone.
 Add Car Value
Opens a dialog box where an auto value can be generated.
Car Value Field
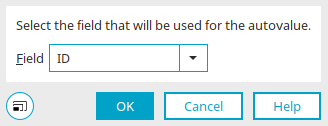
You can select integer data fields here. The maximum value found in the field is automatically increased by 1 and written to the corresponding target data field during data transfer.
Click "OK" to save your changes and close the dialog box.
 Add a query
If the data source is a child data group, you can click "Add Query" to define the key used to map the child records to a record in the parent data group.
Define Target Query
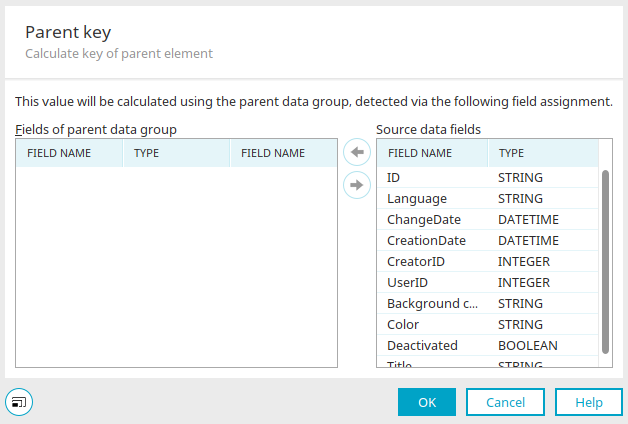
If the data source is a dependent data group (e.g., customer contacts), you can specify here which field will serve as the key for assigning child records to a record in the parent data group.
Click "OK" to save your changes and close the dialog box.
Schedule
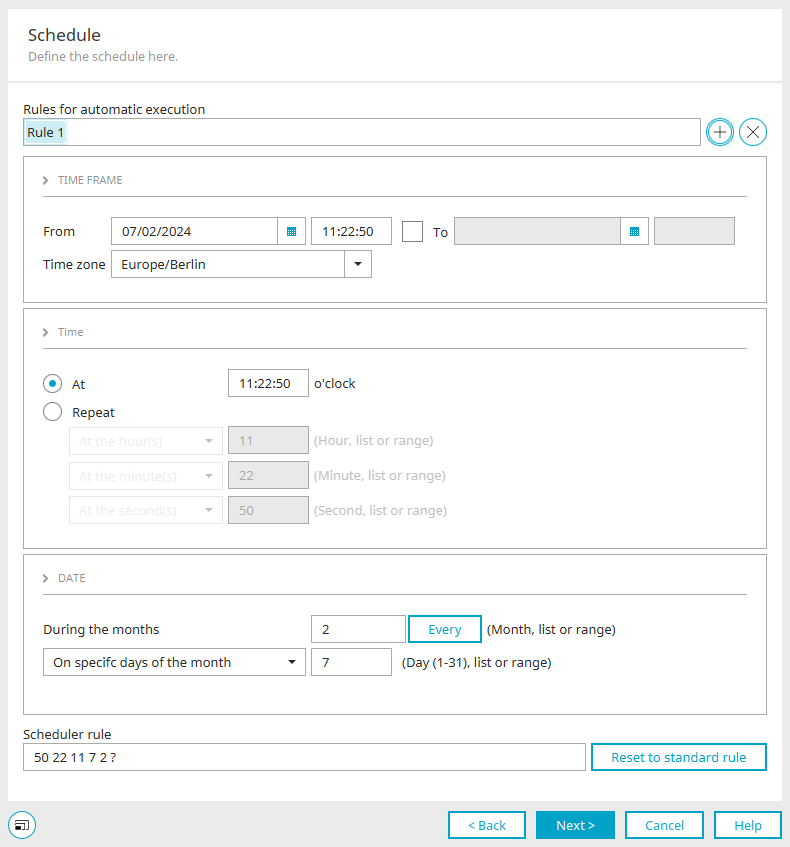
In the next step, you can set the schedule for the automatic data transfer.
You can find all the information you need here.
Follow-up orders
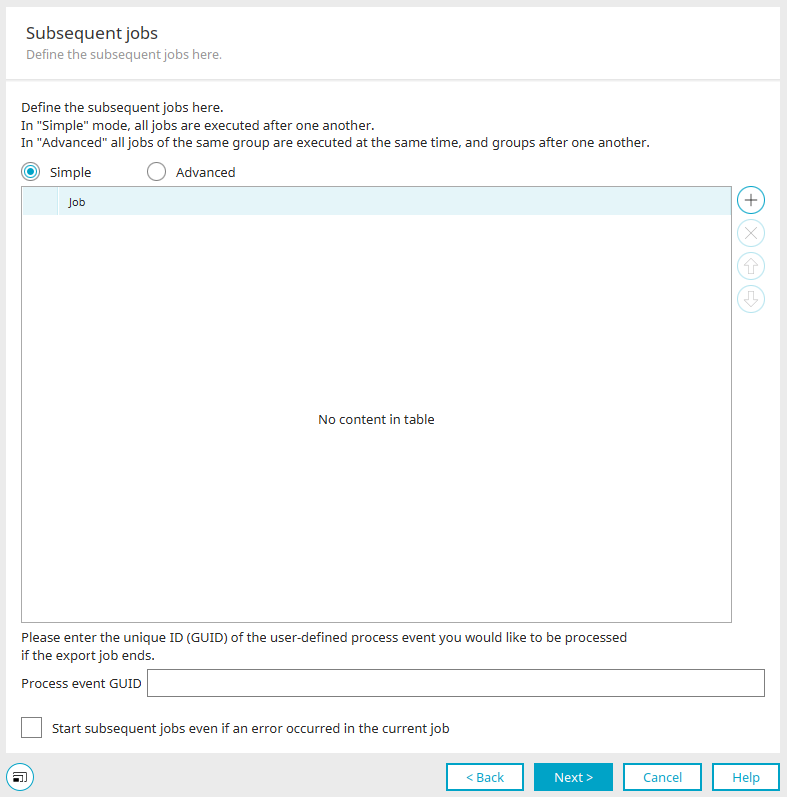
You have the option to have Intrexx automatically execute additional follow-up tasks after the actual data transfer is complete. You can find all the information here.
Microsoft Exchange - Third-Party Data Groups
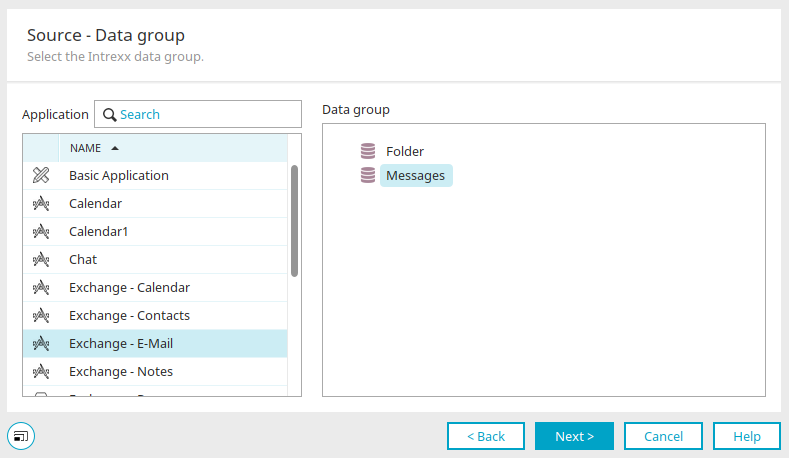
When you select a Microsoft Exchange data group in the configuration of a data transfer, you can map Intrexx users to Exchange users in the next step.
Data Group - Microsoft Exchange Users
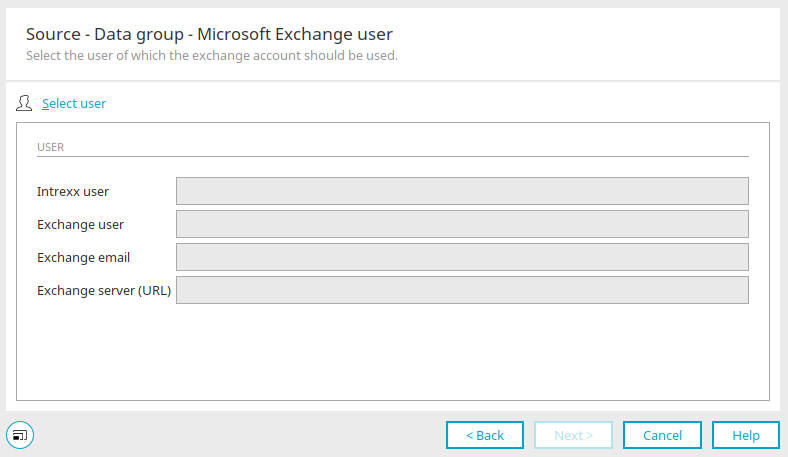
Select a user
Opens a dialog box where you can select portal users that have already been created and assigned to Exchange users from the data source configuration.
User
The data is automatically entered here after a user is selected.