

Input field
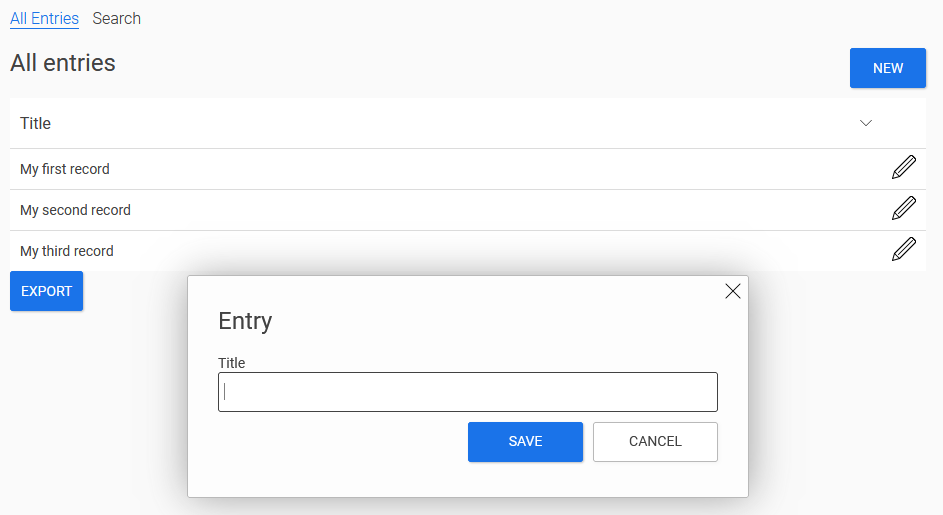
The "Input Field" application element is one of the basic controls. The input length is limited to 255 characters. In the figure above, you can see the "Title" input field, where you can enter a title. This entry can be saved by clicking the corresponding button, provided that a data field is linked to the input field.
Input fields can be configured for different data types. There are a variety of control types available.
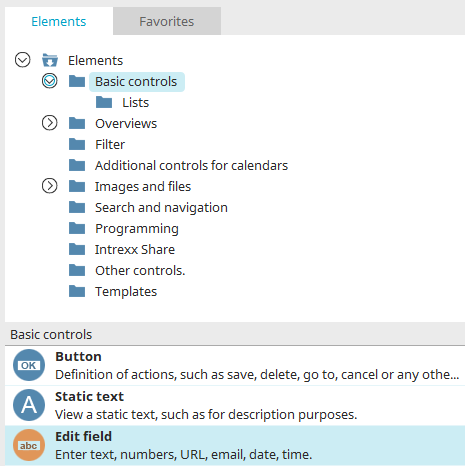
You can find the input field element in the "Applications" module under "Elements. " You can create a new input field by dragging and dropping the element from here onto the workspace.
For more information on creating elements, click here.
The Properties dialog box for an input field element opens automatically when a new input field is created. You can open the Properties dialog box for an existing input field by double-clicking the element on the workspace, selecting "Properties" from the context menu, or choosing "Edit / Properties" from the main menu, provided the input field is selected on the workspace.
General
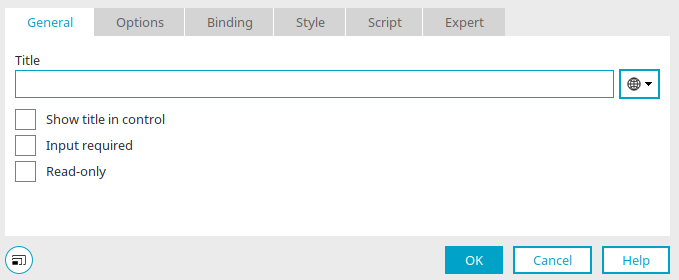
In the Properties dialog box for input fields, you'll find the following settings on the "General" tab:
Title
Enter the title of the input field here. You can find information about multilingual titles here.
Show Titles Under Control
This setting causes the title to appear in the input field when the page is displayed in the browser.
Input Required
With this setting, an input field becomes a required field.
Read-only
With this setting, you can no longer enter data in this field.
Show the numeric keypad when clicked
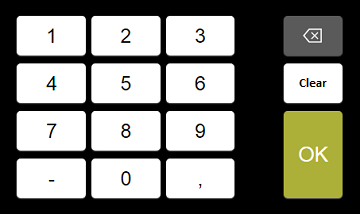
This setting is available for input fields with the "Integer," "Floating-Point," or "Currency" control type on pages that have been optimized for mobile devices. A numeric keypad is displayed on the mobile device, which can be used to select and enter numbers.
On the "Options" tab, you'll find different settings in the input field for the various control types.
Options - "Text" Control Type
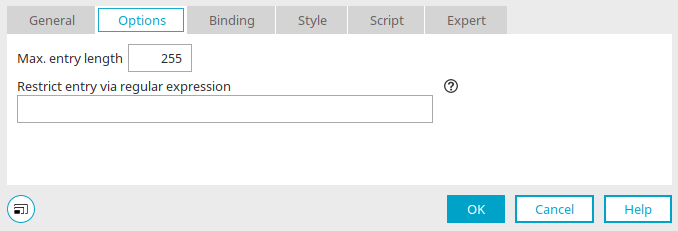
Maximum input length
This setting specifies the maximum number of characters that can be entered in the input field. If no value is entered, a maximum of 255 characters is allowed. If the character limit is exceeded, a message will be displayed while you are typing.
Regular expression for character restrictions
Here, you can enter a regular expression that defines which characters are allowed in the input. Other characters will not be accepted. The following regular expressions are allowed:
-
[a-z]
exactly one lowercase letter from a to z
-
[a-z]*
0 to infinitely small letters from a to z
-
[0-9]
exactly one digit between 0 and 9
-
[a-zA-Z0-9_]
exactly one character from the following set: letters (upper- and lowercase), digits, and the underscore
-
[abc]
a, b, or c
-
[^abc]
not a, b, or c
Characters that must be escaped with a backslash:
(){}[]\|/+?*.^&-<>^=$!
Options - "Email" Control Type
Maximum input length
This setting specifies the maximum number of characters that can be entered in the input field. If no value is entered, a maximum of 255 characters is allowed. If the character limit is exceeded, a message will be displayed while you are typing.
Check the validity of the email address
Checks whether the entered email address contains an @ symbol and a domain name.
Options - "URL" and "Phone" Control Types
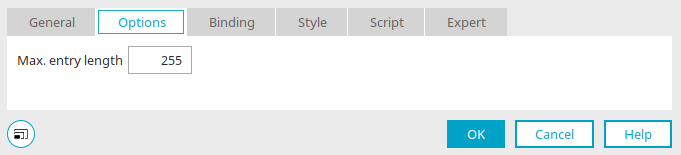
Maximum input length
This setting specifies the maximum number of characters that can be entered in the input field. If no value is entered, a maximum of 255 characters is allowed. If the character limit is exceeded, a message will be displayed while you are typing.
"Color" Control Type
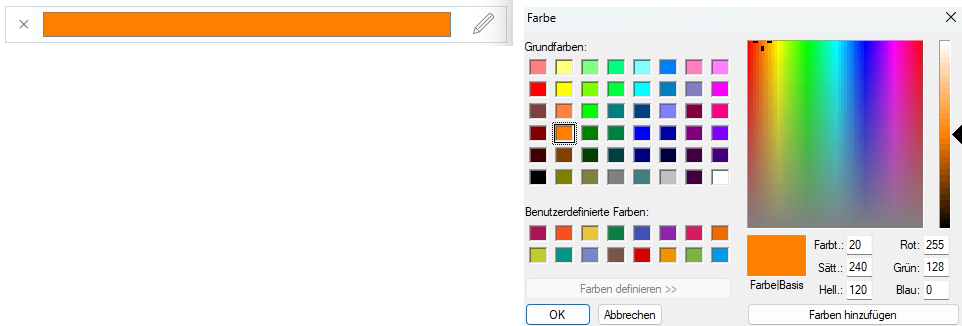
Input elements with the "Color" control type do not have any optional settings. In the browser, clicking in the input field opens a palette from which you can select the desired color.
Options - "Integer" Control Type
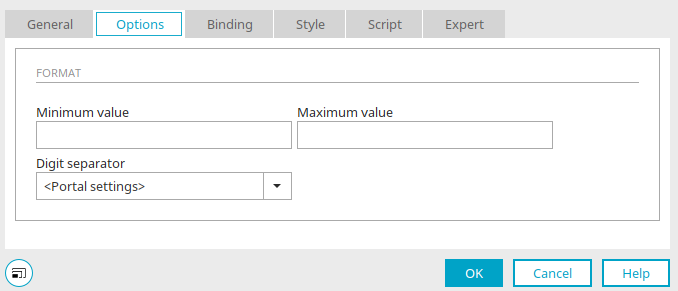
Minimum Value / Maximum Value
Here, you specify the value that must not be exceeded or fallen below when entering data. The value is checked before the page is saved. If the values are invalid, a corresponding message will be displayed.
1,000 separator
Can be represented as a period or a comma. If you select the "Portal Settings" entry, the separator will be displayed according to the number format setting in the portal's country settings for the respective language.
Options - "Floating-Point Number" and "Currency" Data Types
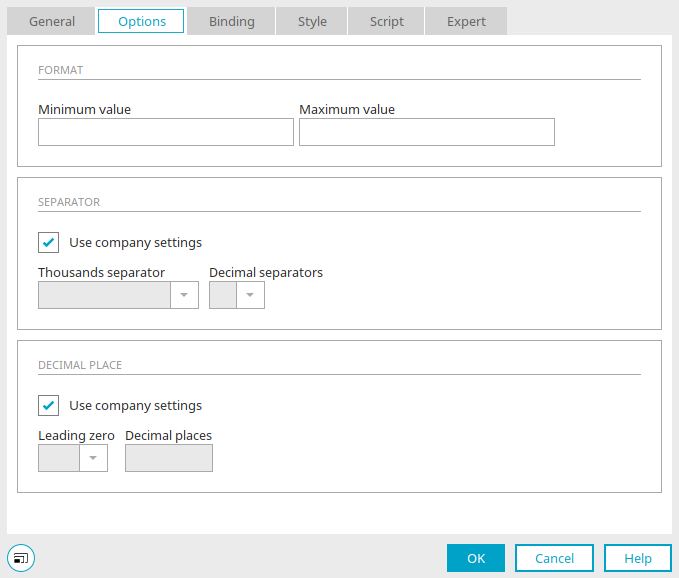
Minimum Value / Maximum Value
Here, you specify the value that must not be exceeded or fallen below when entering data. The value is checked before the page is saved. If the values are invalid, a corresponding message will be displayed.
Delimiter
Use Portal Settings
With this setting, the separator used is determined by the number format setting in the portal's regional settings for the respective language. If you want to set the thousands separator and decimal separator differently from the portal settings, disable this setting so that the "Thousands Separator" and "Decimal Separator" settings are enabled.
1,000 separator
Select the desired separator here.
Decimal separator
Select the desired decimal separator here.
decimal place
Use Portal Settings
With this setting, the decimal place is determined based on the number format setting in the portal's regional settings for the respective language. If you want to set the decimal place differently from the portal settings, disable this setting so that the "Leading Zero" and "Decimal Places" settings are enabled.
Leading zero
Specifies the format of leading zeros (e.g., 0.7 or .7).
decimal places
Enter an integer here to specify how many decimal places should be displayed.
Options - "Date," "Time," and "Date & Time" control types
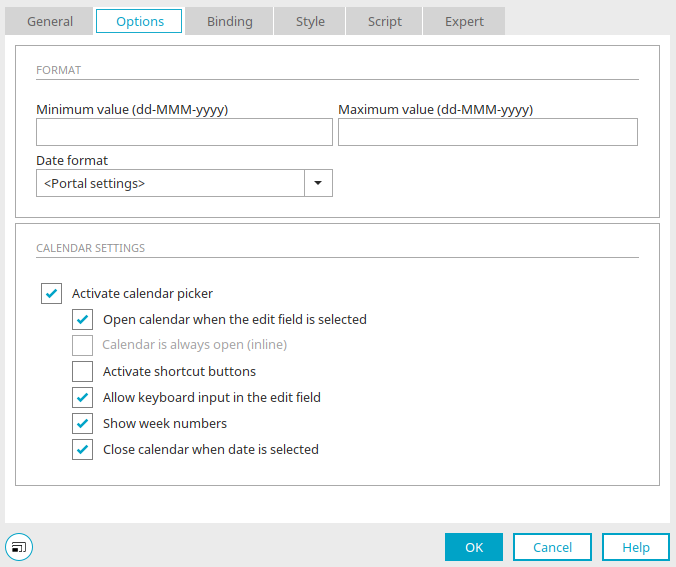
Minimum Value / Maximum Value
Here, you specify the value that must not be exceeded or fallen below when entering data. The value is checked before the page is saved. If the values are invalid, a corresponding message will be displayed.
Date Format
This is where you set the date display format. In this context,
-
dd
the two-digit display of the day
-
MM
the two-digit display of the month
-
yyyy
the four-digit year display
When "Portal Settings" is selected, the format from the portal's country settings for the respective language is used.
Time Format
This is where you set the time format. In this context,
-
HH
the two-digit hour display
-
mm
the two-digit minute display
-
ss
the two-digit second display
When "Portal Settings" is selected, the format from the portal's country settings for the respective language is used.
Calendar Settings
You can find all the information about these settings here.
Binding
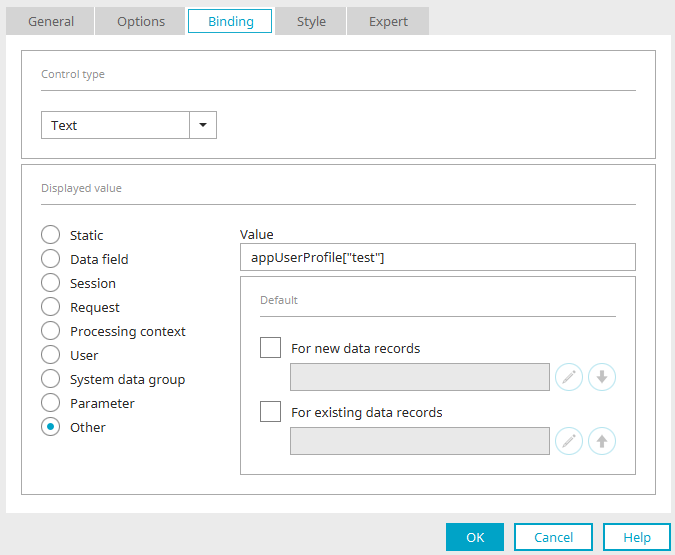
On this tab in the Properties dialog box, you can define the display values for the element. You can find all the information about these settings here.