Portal properties
The portal properties are the central location in Intrexx, where a lot of information and settings for your portal are displayed. At the same time, you have the option of changing settings made when creating the portal (retrospectively) and making settings that are only required after a portal has been created.
In the portal properties, you can also perform actions such as porting (migrating) databases or adding certificates.
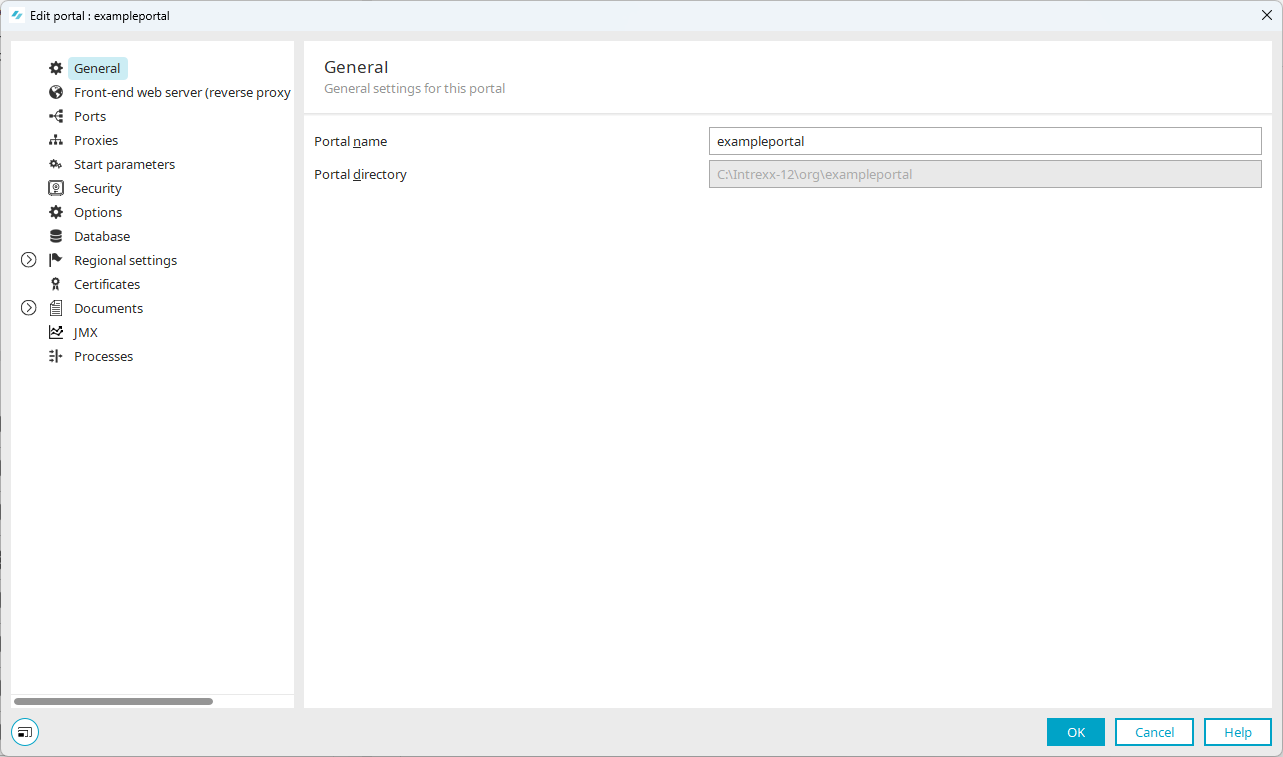
General
The portal name and the portal directory are displayed here.
Portal name
The portal name that you assigned when creating a portal is displayed hereGeneral settings).
If you change the portal name, this only leads to changes in the display within the Portal Manager. For example, the (changed) portal name is displayed in the title bar of the Portal Manager or the "Options" dialog.
Changing the portal name does not lead to changes in the portal directory or the files stored there, nor does it lead to changes in the database.
The portal name does not correspond to the URL with which you call up the portal in the browser. You define the URL in the front-end web server. (See Add website in IIS.
Portal directory
The portal directory that you selected when creating a portal is displayed hereGeneral settings).
Frontend web server (reverse proxy / load balancer)
The settings you made when setting up the front-end web server are displayed here. The settings differ depending on which front-end web server you use.
See section Frontend web server.
If you want to make a change in connection with the front-end web server, you can do so in this dialog.
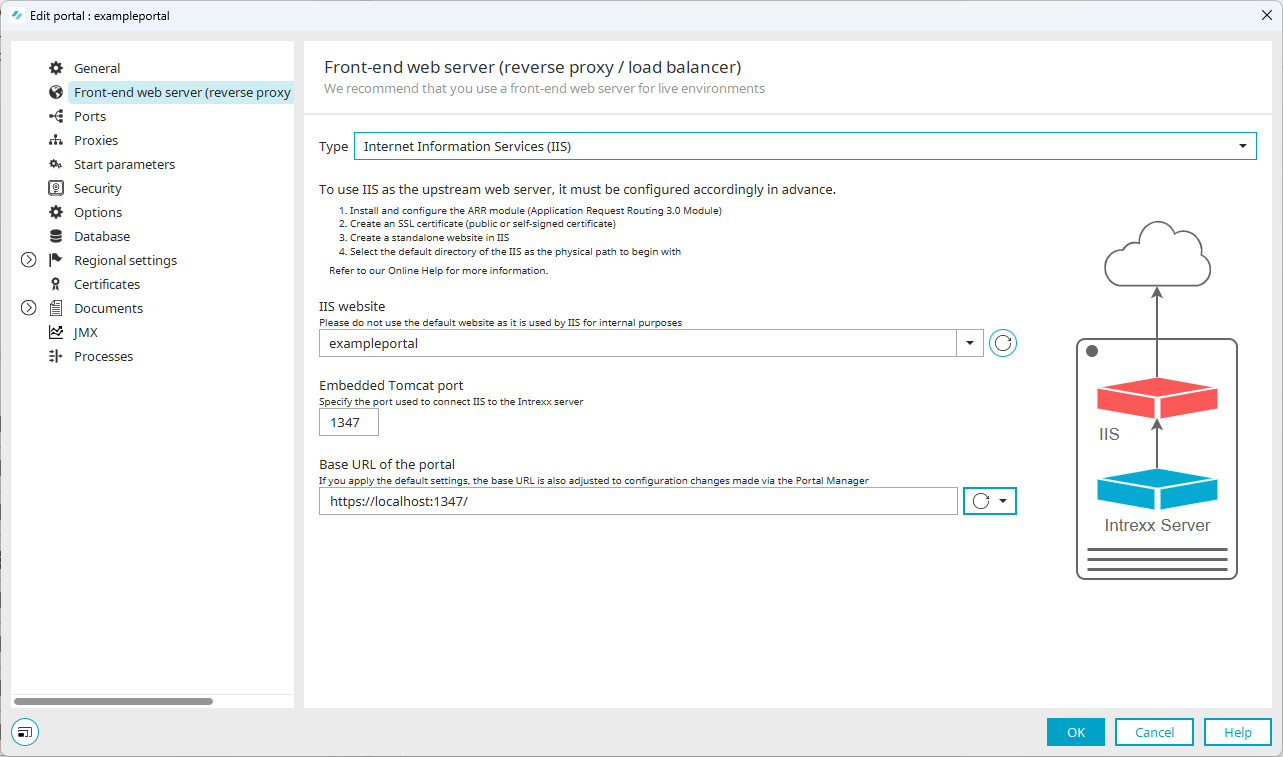
IIS
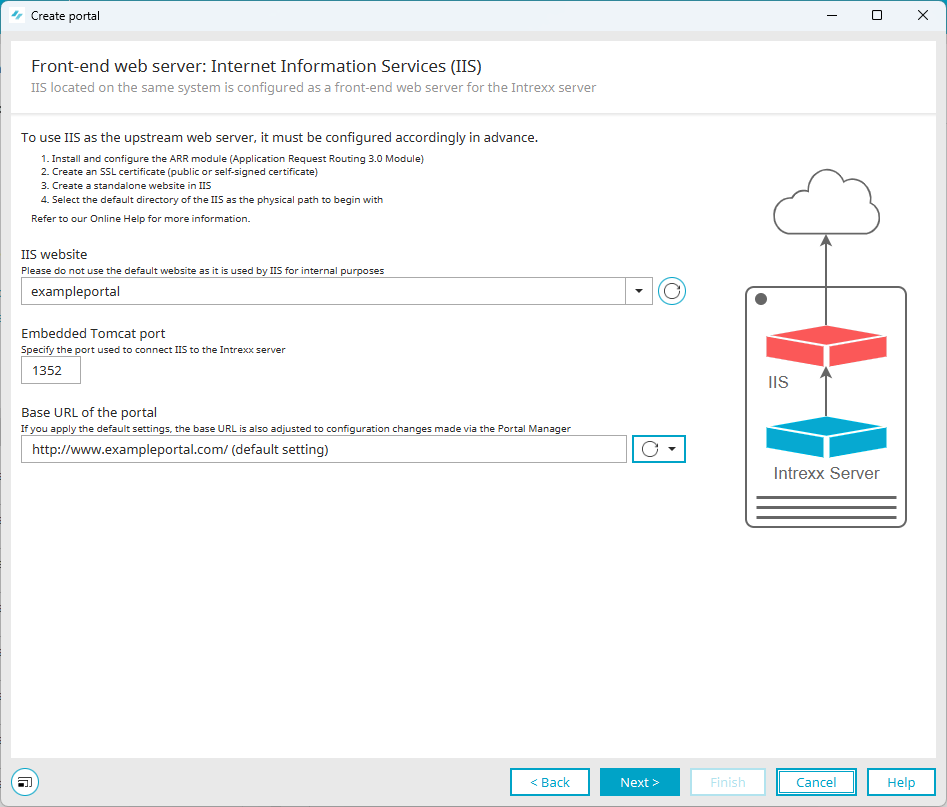
IIS website
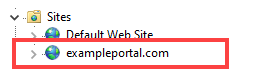
Select the website that you added to IIS for your portal earlier. Do not use the ""Default Web Site"" from IIS.
Embedded Tomcat Port
The port that you used in the previous version of Intrexx will be shown here. You can leave this port as it is.
Note For a new installation, a free port, e.g. 1337, is preset here.
Base URL of the portal
The basic URL of the portal is displayed here.
By default, the displayed base URL is derived from the website binding information in the Internet Information Service (IIS). These are the details for "Type" and "Hostname". (See section Add website in IIS)
The base URL displayed here is transferred to the "Base URL" field in the portal properties under "General" after the portal has been created.
NGINX
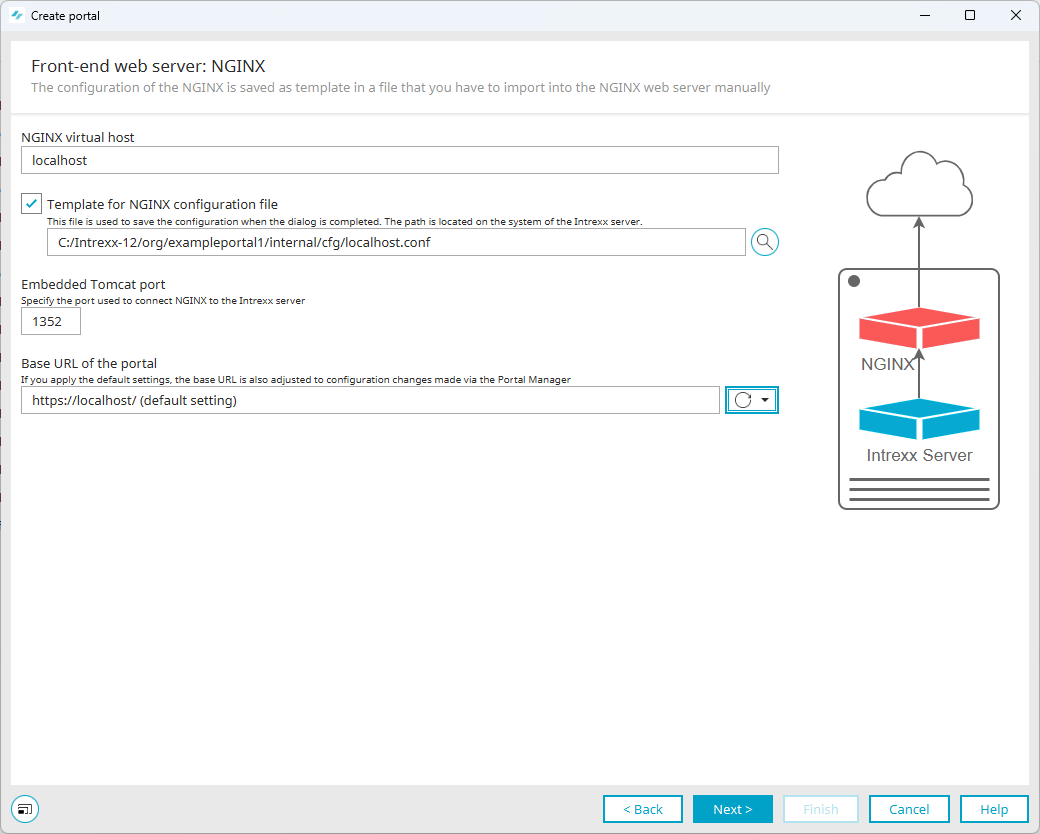
NGINX virtual host
"NGINX Virtual Host" refers to the Embedded Tomcat. NGINX connects to the Intrexx portal service via the virtual host. Usually "localhost" is to be entered here. (One exception to this is when NGINX is installed on a different server to Intrexx. In this case, the Intrexx server should be specified here.)
NGINX configuration file
You can generate the NGINX configuration file with Intrexx.
Enter the path to the directory that the NGINX configuration file should be generated in.
Example: /myfolder/portal.example.com.conf
Then copy the NGINX configuration file to the desired location below "/etc/nginx".
Example: /etc/nginx/sites-available/ portal.example.com.conf
Embedded Tomcat Port
The port for the Embedded Tomcat is displayed here. (For a new installation, this is port 1337.)
Base URL of the portal
The base URL needs to be entered here. The first part refers to the protocol. Please note that https is specified here. The second part is made up of the hostname that you defined in the NGINX configuration file. Please make sure that this ends with a slash (/). It is essential that this is correct so that your portal can be accessed in the browser.
No front-end web server

Embedded Tomcat Port
The port for the Embedded Tomcat is displayed here. (For a new installation, this is port 1337.)
Encryption (HTTPS)
Activate this checkbox if you want to establish an encrypted connection between Intrexx or Embedded Tomcat and the browser.
Selfsigned certificate for "localhost"
Select this option if the communication between the Embedded Tomcat and the browser is to be encrypted with a self-signed certificate (for test or development portals).
In this case, Intrexx automatically generates a self-signed certificate and uses it for the encrypted connection.
Certificate file
You can search for the certificate file using the ![]() icon.
icon.
Certificate type
Select the type of certificate store (keystore) that the certificate is saved in.
Keystore password
Enter the password for the keystore that the certificate is saved in.
Certificate key password
Enter the password for the certificate (certificate file).
Note The keystore password and certificate key password are often identical.
Base URL of the portal
The base URL needs to be entered here. The first part refers to the protocol. Please note that https is specified here. The second part consists of the host name. Please make sure that this ends with a slash (/). It is essential that this is correct so that your portal can be accessed in the browser.
You can generate a CSR (Certificate Signing Request) in this dialog. Detailed information on this can be found in section Generate CSR (Certificate Signing Request) without a front-end web server.
Manual setup

Base URL of the portal
The base URL needs to be entered here. The first part refers to the protocol. You have configured an encrypted connection between the Intrexx portal server and the browser. The second part consists of the host name. Please make sure that this ends with a slash (/). It is essential that this is correct so that your portal can be accessed in the browser.
Ports
The settings for the ports used are displayed here.
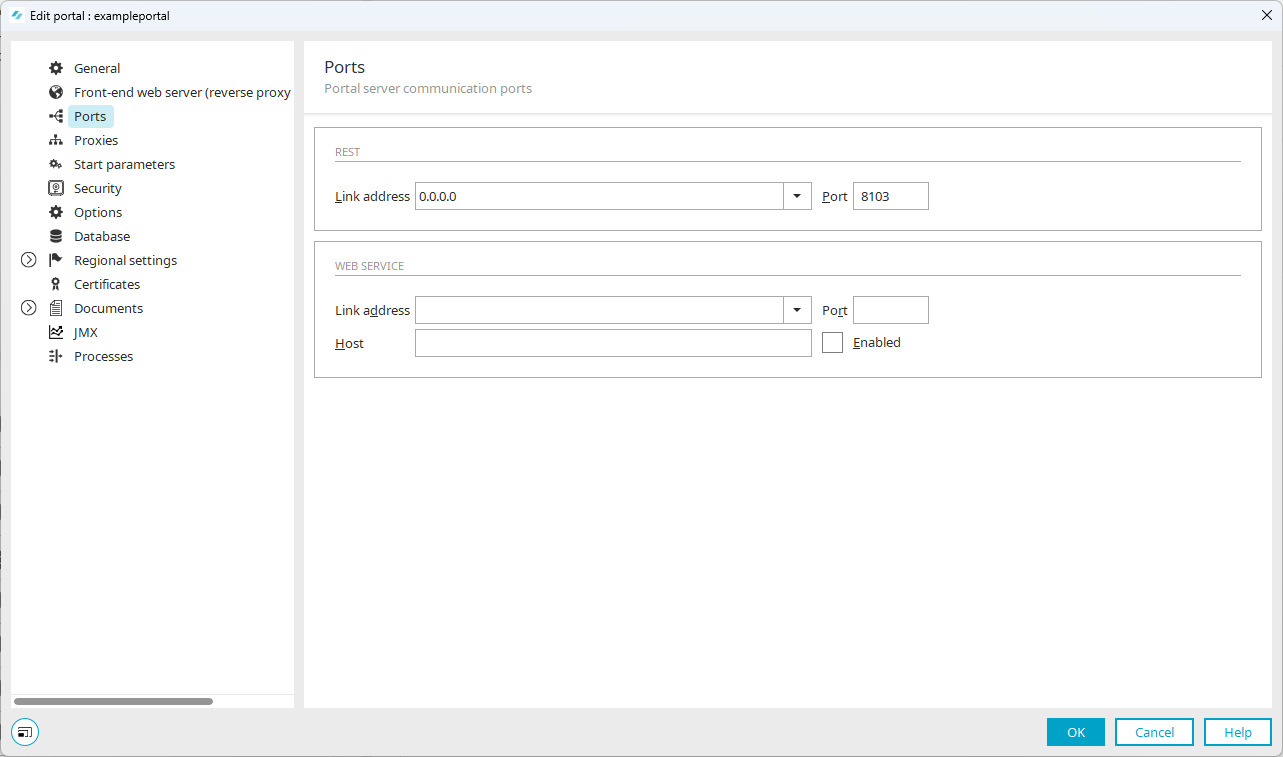
REST
Communication between the Portal Manager and the corresponding portal on the Portal Server takes place via the REST port. The REST port must be specified each time you log in to the portal. See section Connecting to your portal.
The values that Intrexx automatically assigned when the portal was created are displayed here. If necessary, for example if security aspects require it, you can change the values. A change requires a restart of the portal service.
Link address
By default, the value 0.0.0.0 is stored here in order to be ready to receive on all available addresses.
Port
When creating a portal, Intrexx automatically determines a suitable port. This port is displayed in this field.
Web service
In Intrexx, you have the option of offering web services in the "Integration" module.
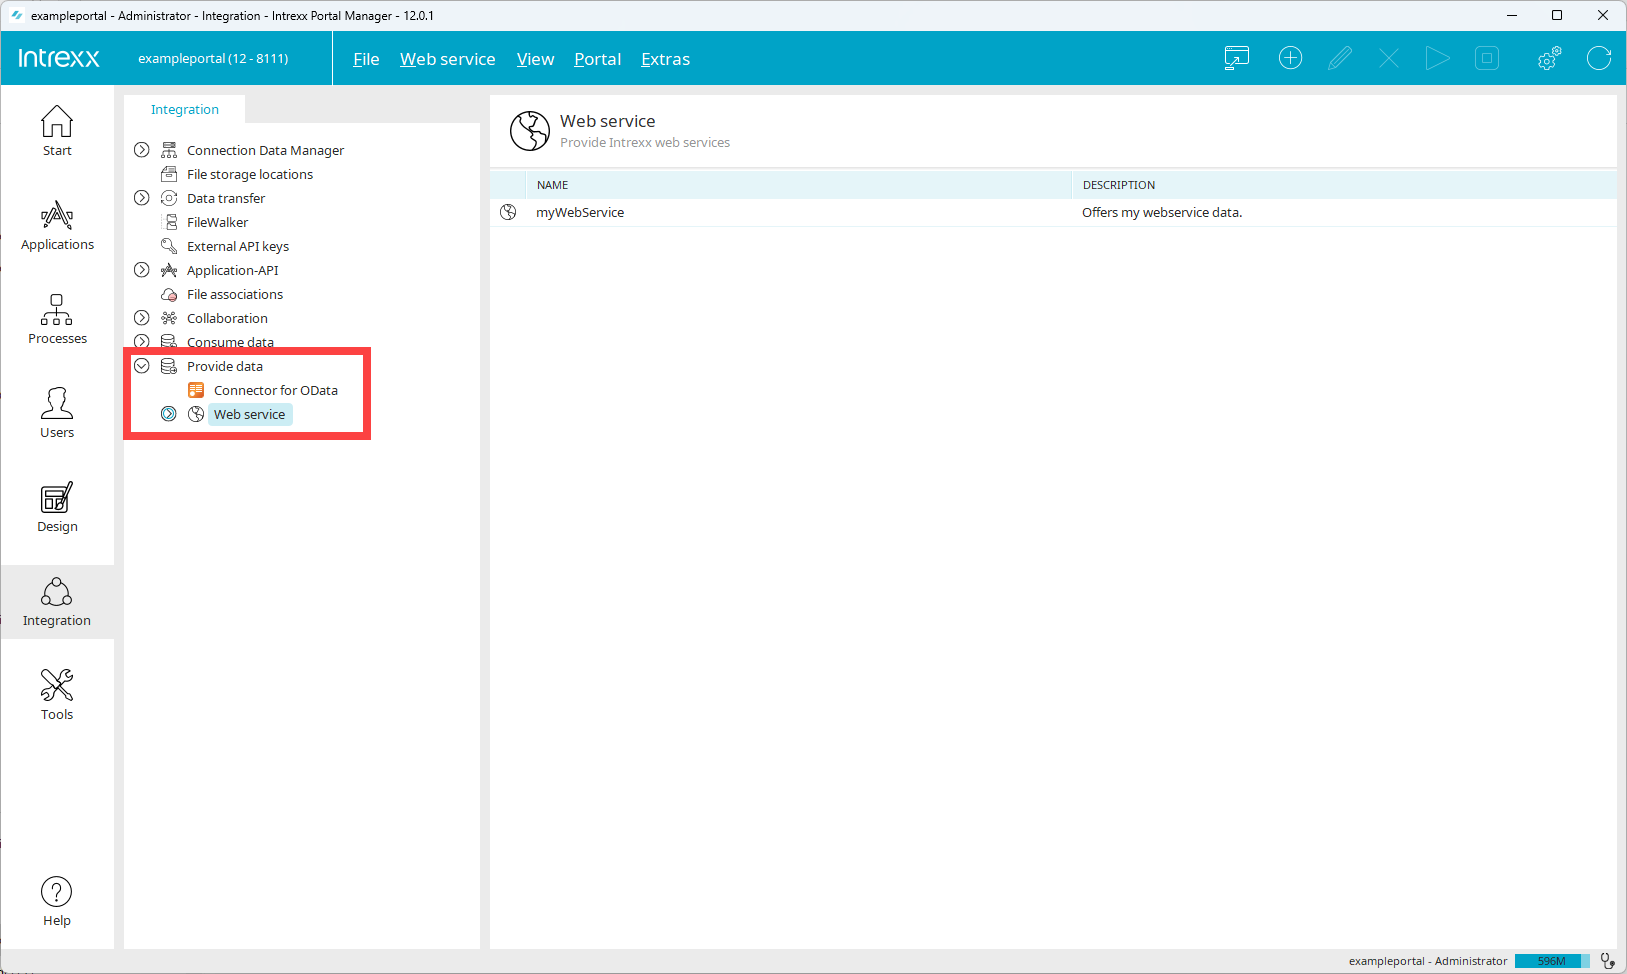
You can make the settings required for the web service either in the "Integration" module or centrally in the portal properties. The settings stored in the portal properties are transferred to the settings in the "Integration" module.
The following screenshot shows the dialog with the settings in the "Integration" module.

The settings that you can enter centrally in the portal properties are described below.
Link address
The binding address (IP or server name) can be entered here.
Port
You can enter the port here.
Host
You can enter the web service host here.
Active
If you activate this checkbox, the web service is active.
More information
Proxies
You can create and manage proxies here. The proxies set up here are used for communication between Intrexx and external websites and internet services.
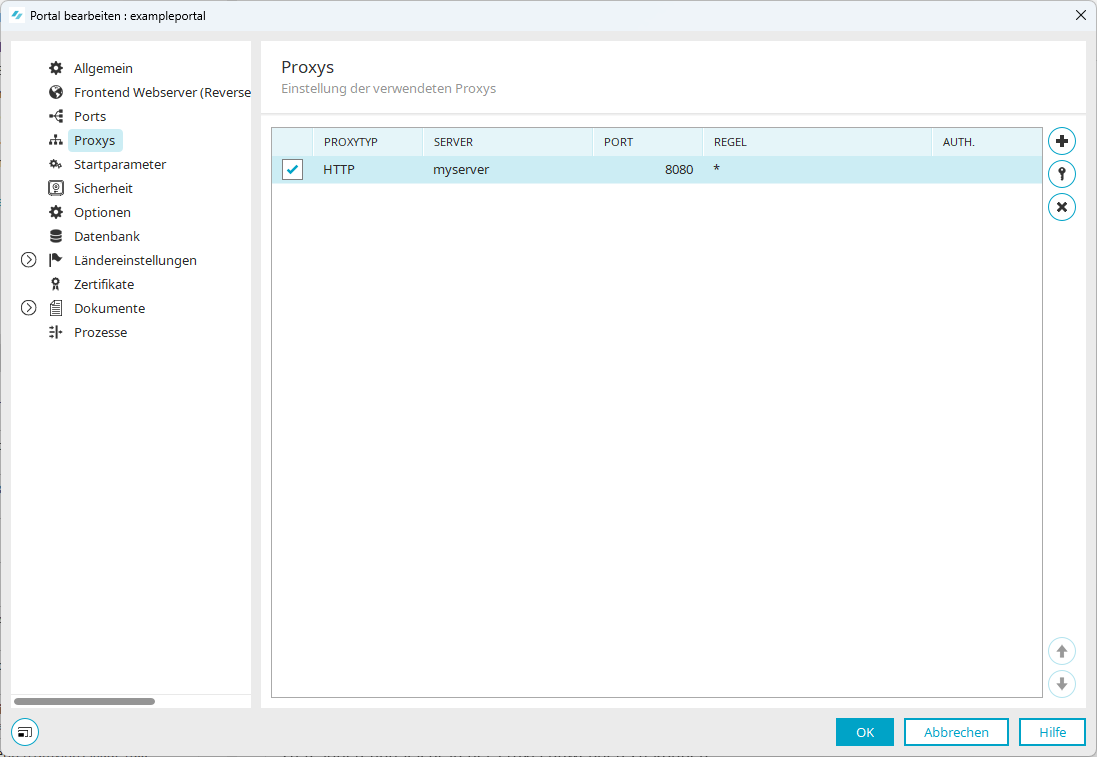
First column (checkbox)
Clicking in the first column will activate or deactivate a proxy. The setting is always to be understood from the perspective of the Intrexx Portal Server.
Proxy type" column
Select the proxy type here. If you do not select a proxy type, this means that no proxy should be used for the specified URL pattern.
Server/Port" column
In the third column, enter the server name or the IP address. The port only needs to be changed if port 8080 is already occupied.
Rule" column
A list of rules can be entered here with a comma-separated list which are then routed through the proxy. At least one of the rules must apply. With the wildcard *, everything will be routed through the proxy.
Example 1
https://server\\\.tec\\\.example\\.com:4444/services*
This rule accepts exactly those URLs that begin like this:
https://server.tec.example.com:4444/services
Example 2
https://server.tec.example.com:4444/services*
This rule accepts exactly those URLs that begin like this:
https://server.tec.example.com:4444/services
Example 3
https://*/services/*_"
This rule accepts URLs that begin like this:
https://
And include the following:
/services/
Make sure you define the rules in such a way that they only apply in the cases for which they are intended. Otherwise, unexpected behavior may occur - e.g. the use of the rule https://* may lead to URLs of the local computer (e.g. https://localhost:8983) also being affected, which is generally not intended.
Auth." column
A key symbol is displayed in this column if you have set up proxy authentication. (See also Authentication.)
![]() Add proxy
Add proxy
You can add another proxy using this symbol. One row is inserted at a time. Click in the respective fields to edit them.
![]() Delete proxy
Delete proxy
You can delete a proxy using this symbol.
It may be necessary to store authentication data in the proxy.
To do this, click on the symbol ![]() .
.
The "Proxy authentication" dialog box is displayed.
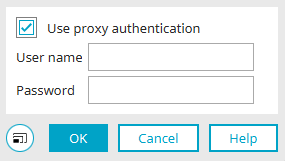
Activate the "Use proxy authentication" checkbox and enter the user name and password.
More information
Start parameters
You can define start parameters here. These include the memory requirements for the working memory and the duration of a "portal session" before an automatic logout occurs.
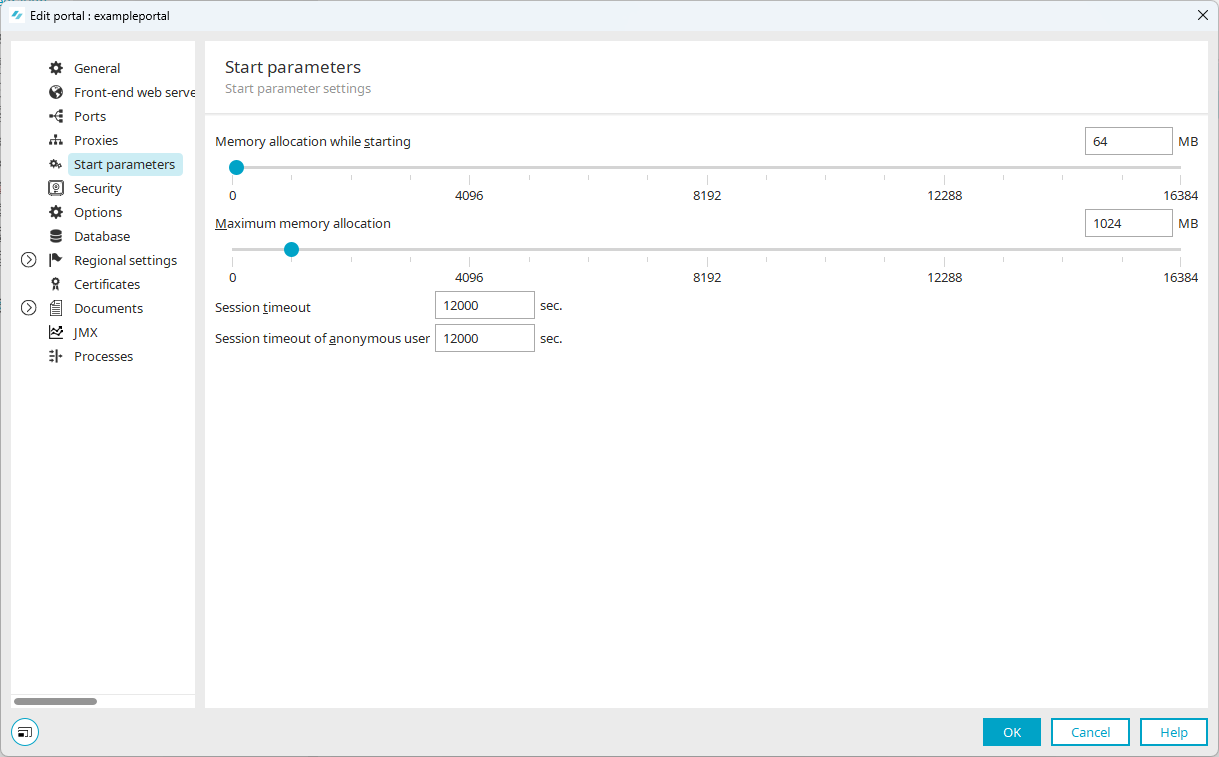
Memory allocation while starting
Here it is possible to define start parameters, which will optimize the performance of the portal. With the sliding bars, you can set the amount of memory space the portal will be assigned while starting The initial value is 64 MB. This is enough for almost all cases. If you want to increase the value, we recommend a value of 256 MB. The value should be increased to 512 MB at the most.
Maximum memory allocation
Here, define the maximum amount of memory that can be assigned to the portal. The maximum memory value depends directly on the size of the portal. Because of this, we cannot give a real recommendation here. Experience shows that a live system should be operated with at least 2048 MB RAM. Portals that are well used and have about 100 active users require 4096 MB according to experience. If your portal requires an allocation of more than 8 GB RAM, we recommend that you contact technical support.
Session timeout
Enter the number of seconds, after which an inactive session will be ended automatically.
The session timeout must not be greater than 2073600 sec. (24 days).
Session timeout of anonymous user
Enter the number of seconds, after which an inactive session of an anonymous user will be ended automatically.
The session timeout must not be greater than 2073600 sec. (24 days).
Session Notifier (automatic Logout)
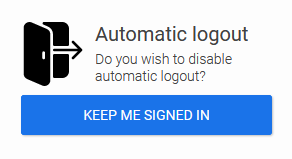
The layout of the message that is displayed at the bottom right of the portal for automatic logout after a session timeout can be changed in the "Design" module.
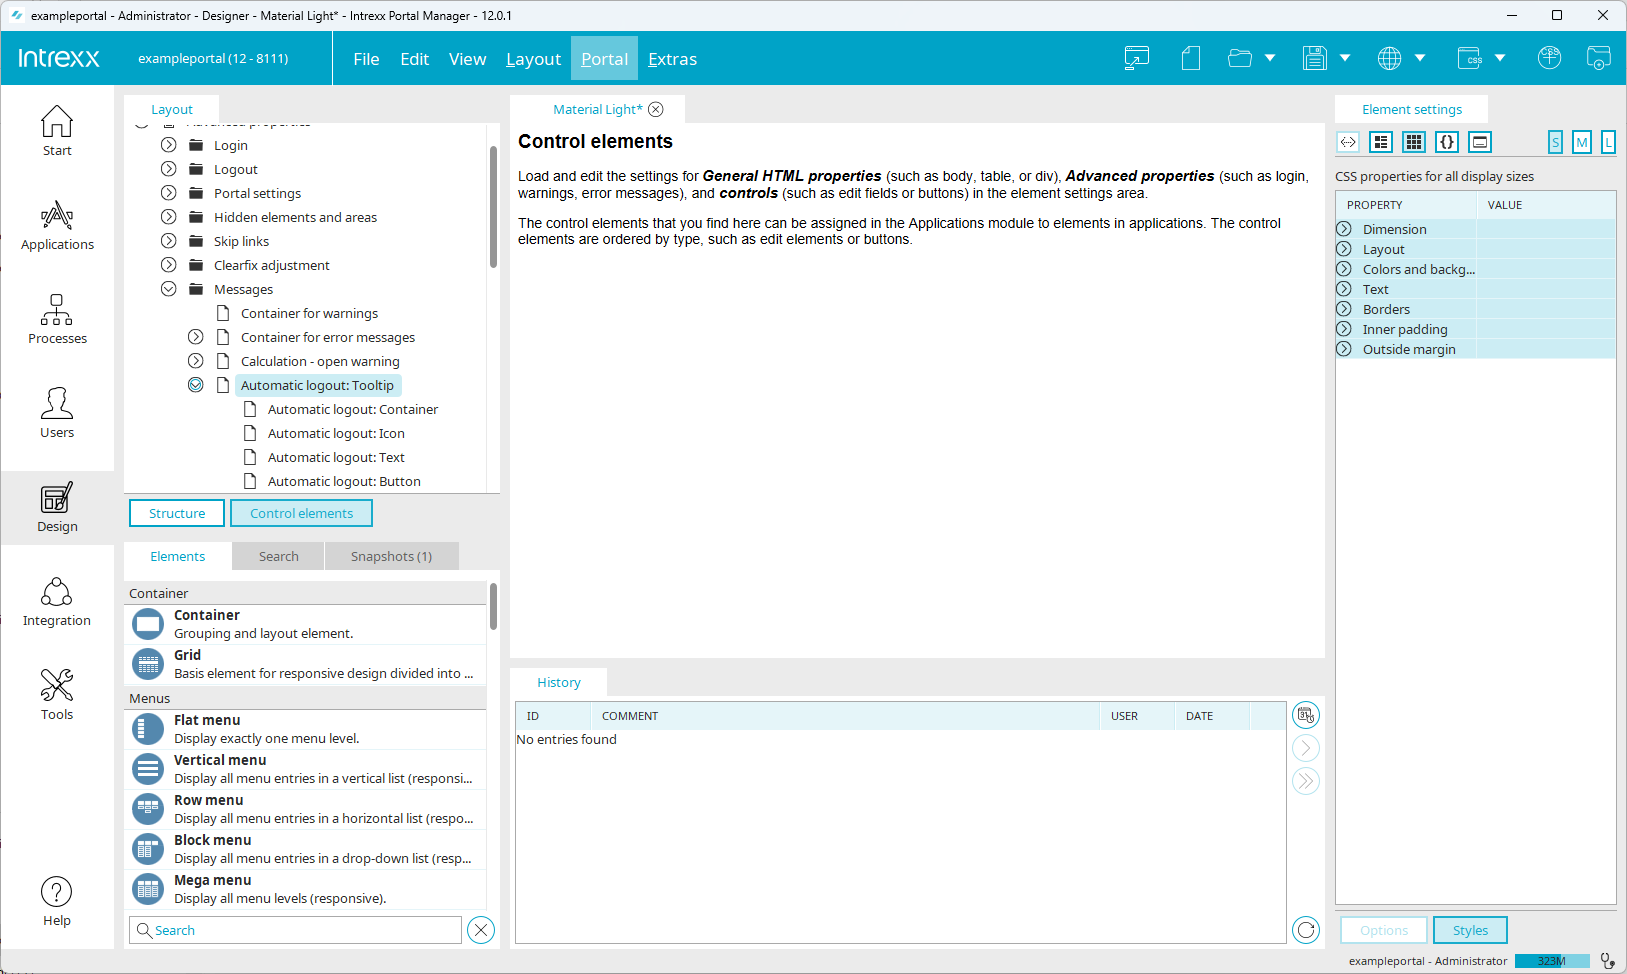
The corresponding styles can be found in the "Layout / Control elements / Extended properties / Messages" area.
Security
You can make security settings here. This involves settings for the following points:
-
Session cookies
-
CORS settings for API login endpoints
Session cookies
Intrexx version 12.0.0

Intrexx version 12.0.1
Use secure flag for session cookies
With this setting the session cookie is set the secure flag. This prevents the browser from sending the session cookie in HTTP requests which prevents reading when accessing unencrypted resources. The session cookie is consequently sent only on HTTPS requests to the same domain. There are three options available:
-
Always
-
Schema-dependent (only possible with https:// in base URL)
-
Never
SameSite attribute for session cookies
Here are three options available:
-
Lax
-
Strict
-
None
The "None" option should only be used if the connection is encrypted from the browser's point of view.
Further information on this topic can be found at https://developer.mozilla.org under the following link Set-Cookie.
CORS settings for API login endpoints
You can make CORS settings for the Login API endpoints supplied as standard and the API endpoints you have created. You can use the CORS settings to control from which websites or portals the API endpoints can be called (in the browser).
Further information on API login endpoints can be found in section CORS - Cross Origin Resource Sharing.
Options
Here you will find a range of different setting options for your portal. The settings range from user tracking to activating Groovy Remote Debugging.
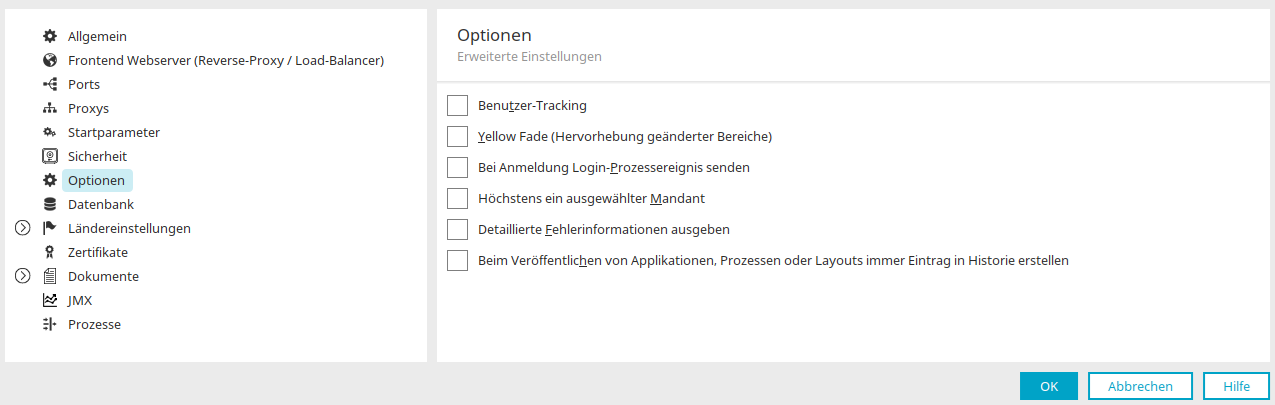
User tracking
With this setting, the GUID of the user is also written to the log file in the portal directory internal/statistics when application pages are accessed.
Please note the relevant data protection regulations.
Yellow fade
In some contexts, the (dynamic) loading of data can take some time. If you activate this checkbox, changes are highlighted in yellow for a short time during this period.
Enable login process event
This setting has the effect that the login of a user is sent in the form of a server event and can be used in the "Processes" module with a Groovy event handler.
At most one selected tenant
With this option, a user can only select one client and therefore only sees the data of the selected client.
Show detailed error information
Any server errors that occur are reported as such on the web. If this setting is set here, the error details are also displayed.
Always create an entry in the history when publishing applications, processes or layouts
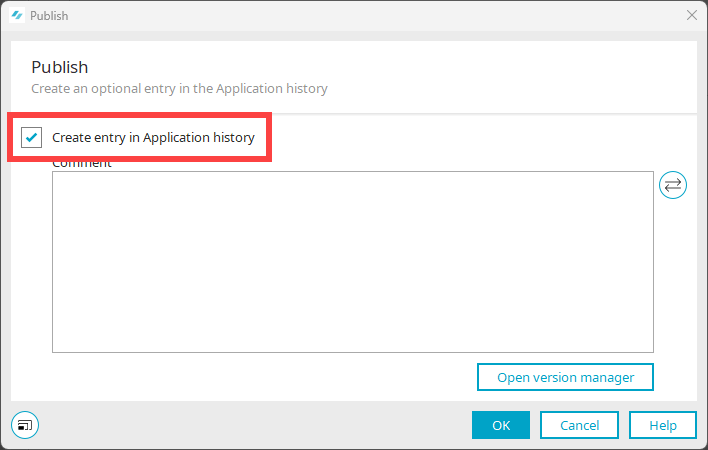
If you activate this checkbox, you must always enter a comment on the history when publishing (saving) applications, processes and designs.
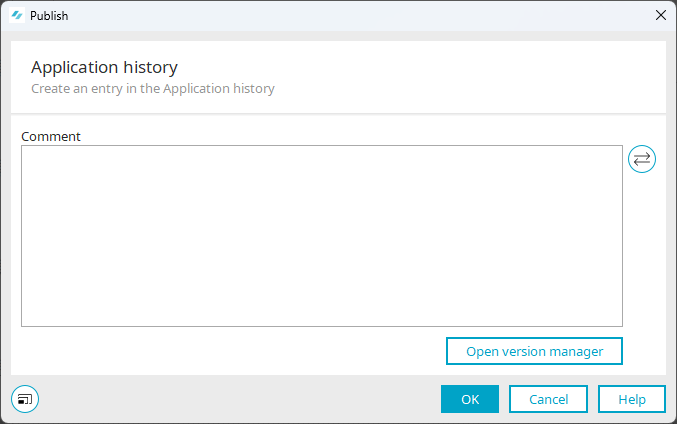
The checkbox with which you can prevent the entry of a comment is then not displayed.
Further settings for entering comments can be found in the main menu "Extras/Options". There you can set the settings for publishing applications, processes and layouts with or without history for each module.
The option "Always create entry in history when publishing applications, processes or layouts" described here in the portal properties overrides the setting that you can define for each module.
Further information on versioning can be found in section Versioning.
Database
The database settings that you made when creating a portal are displayed here.
Detailed information on this can be found in the Database server section.
At the same time, you have the option of porting databases.
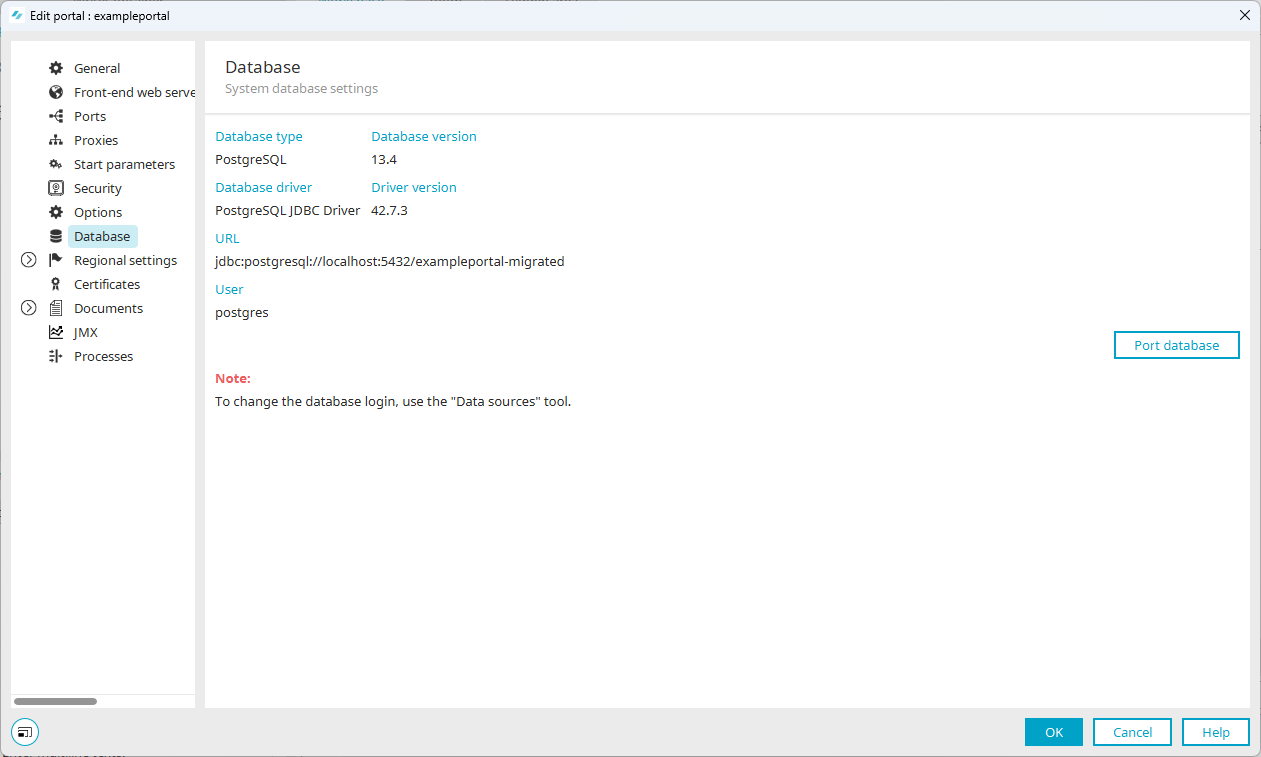
Here you will be notified of the type of database, the database version, the current driver, the driver version, the database name, and the username used to access the database.
Database porting - Database migration
Regional settings
Here you have the option to customize the country settings of your portal. These include formats, time zones, languages and global texts. You can set up multilingual portals here. Detailed information on this can be found in the section Multilingual portals.
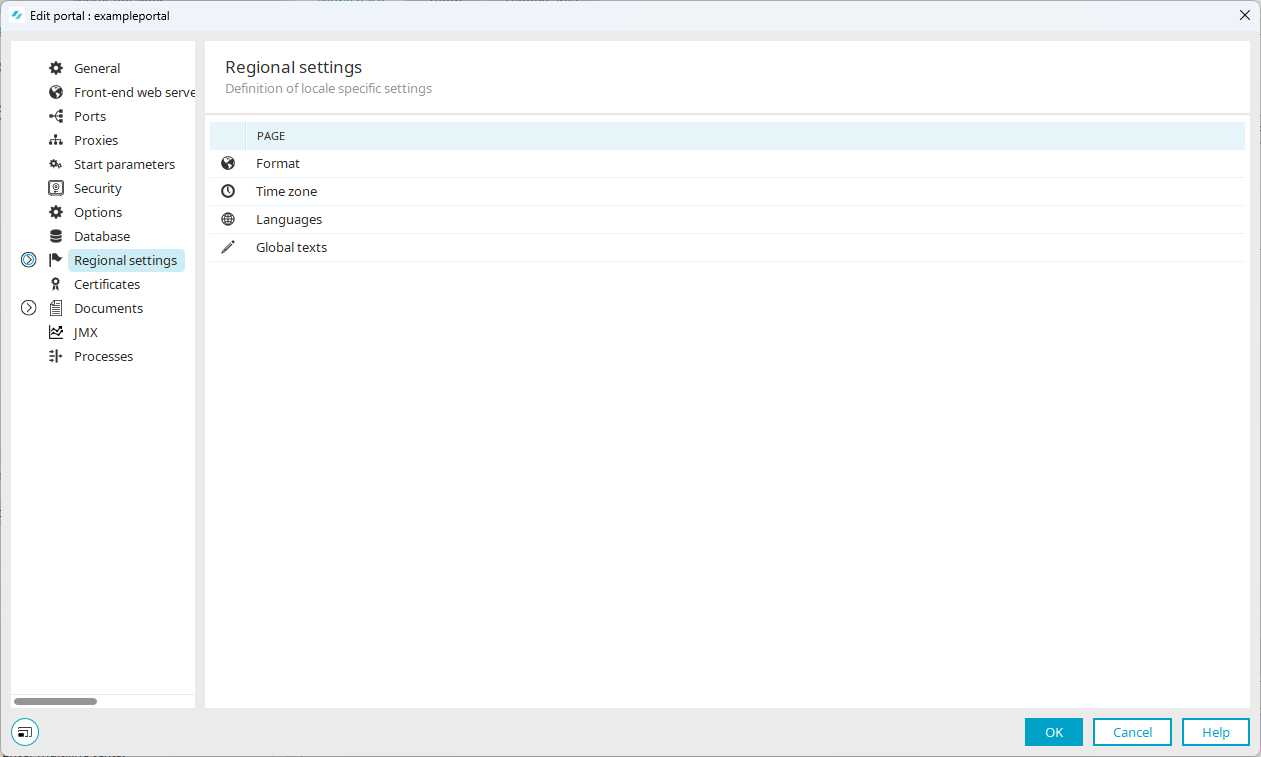
Format
Different formats for displaying date and number values are used across the world. To provide portal users with the option to use formats that correspond with their region, so-called formats can be defined.
Detailed information on this can be found in the Format section.
Time zone
A time zone can be assigned to the portal here. Usually, this is the time zone of the server or the company headquarters. If the portal users work in different time zones, the respective time zone can be assigned to the individual users in the "Users" module in the user properties. The time zone set in the portal properties is used if no individual time zone is entered for a user.
Detailed information on this can be found in the Time zone section.
Languages
Any number of languages can be activated for your portal.
Detailed information on this can be found in the Languages section.
Global texts
In the global texts area, the default texts that appear in the portal can be modified in each of the portal languages.
Detailed information on this can be found in section Global texts
Certificates
You can configure the certificate store of the portal server here. Certificates that are required for accessing web services, LDAP servers, RSS feeds or OData services, for example, are obtained from this store.
Detailed information on certificates can be found in the section Certificates and encrypted connections in Intrexx.

Import certificate into certificate store
Step-by-step guide
To import a certificate into the certificate store of your portal, proceed as follows:
-
Open the portal properties ("Portal > Portal properties").
This takes you to the "Edit portal pagee.
-
Click on "Certificates".
This takes you to the "Certificates" page.
The lock symbol and the link are only displayed if you have not yet accessed the certificate store in the current session.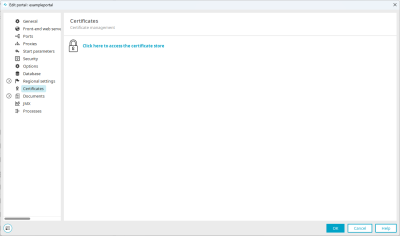
-
Click here to access the certificate store.
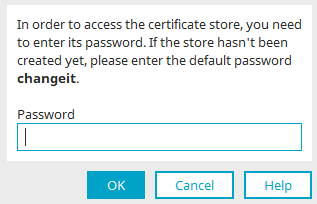
The "Certificate store password" dialog box appears.

Enter "changeit" as the password if you have not yet assigned your own password for the certificate store. (You can change the password for the certificate store in the next dialog.)
Enter your own password if you have assigned one for the certificate store.
-
Click on "OK".
You will now see a list of all certificates included with Intrexx.
-
Make the necessary entries.
-
Click on "Next".
Details of the certificate selected in the previous step are shown in the next dialog. -
Click on "Next".
-
Enter an alias name for the certificate in the subsequent dialog.
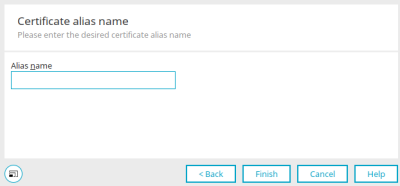
The alias name helps you identify the certificate in the certificate store. -
Click on "Finish".
You will now be returned to the certificate store. The certificate you have imported is displayed.
You have imported a certificate into the certificate store of your portal.

Click on ""+"".
![]()
The "Certificate import" dialog box appears.

|
Name |
Description |
|---|---|
|
Download from URL |
A certificate can be loaded here. Enter the corresponding URL. |
|
Download from Internet address |
Allows you to download certificates. |
|
Server / Port |
Enter the download server (its name or IP address) and the port. |
|
Import the file |
A certificate file can be integrated with this option. |
|
Opens a dialog where the certificate file can be selected. |
|
|
Import of the certificate text |
Enables the direct import of certificate texts. Insert the corresponding text in the input field. |

To complete the import of a new certificate or to prevent a deleted certificate from continuing to be used, the portal server must be restarted.
Edit password
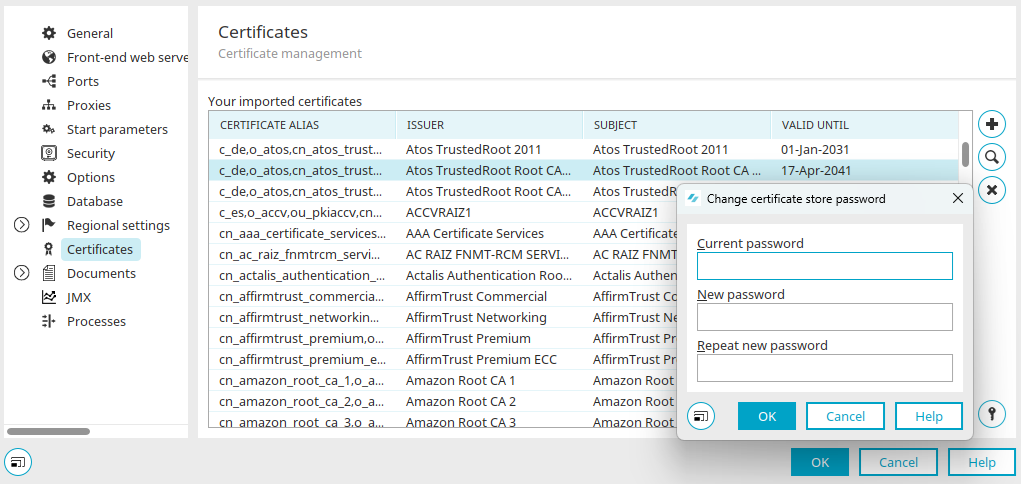
The password for the certificate store can be changed by clicking on the key symbol at the bottom right of the dialog.
Reset certificate store
If you no longer know the password for the certificate store (Portal > Portal properties > Certificates), you must reset the certificate store. (It is not possible to "reset" the password)
To reset the certificate store, replace your portal's certificate store at the file level with the certificate store that was delivered with Intrexx.
You can find your portal's certificate store here:
<intrexx installation directory><org><portalname>/internal/cfg/cacerts
You can find the certificate store that was delivered with Intrexx here:
<intrexx installation directory>/orgtempl/blank/internal/cfg/cacerts
Please note that any certificates you have added will be lost when the certificate store is reset.
Documents
Here you can define settings for creating documents.
Detailed information on this can be found in the section Generate documents.
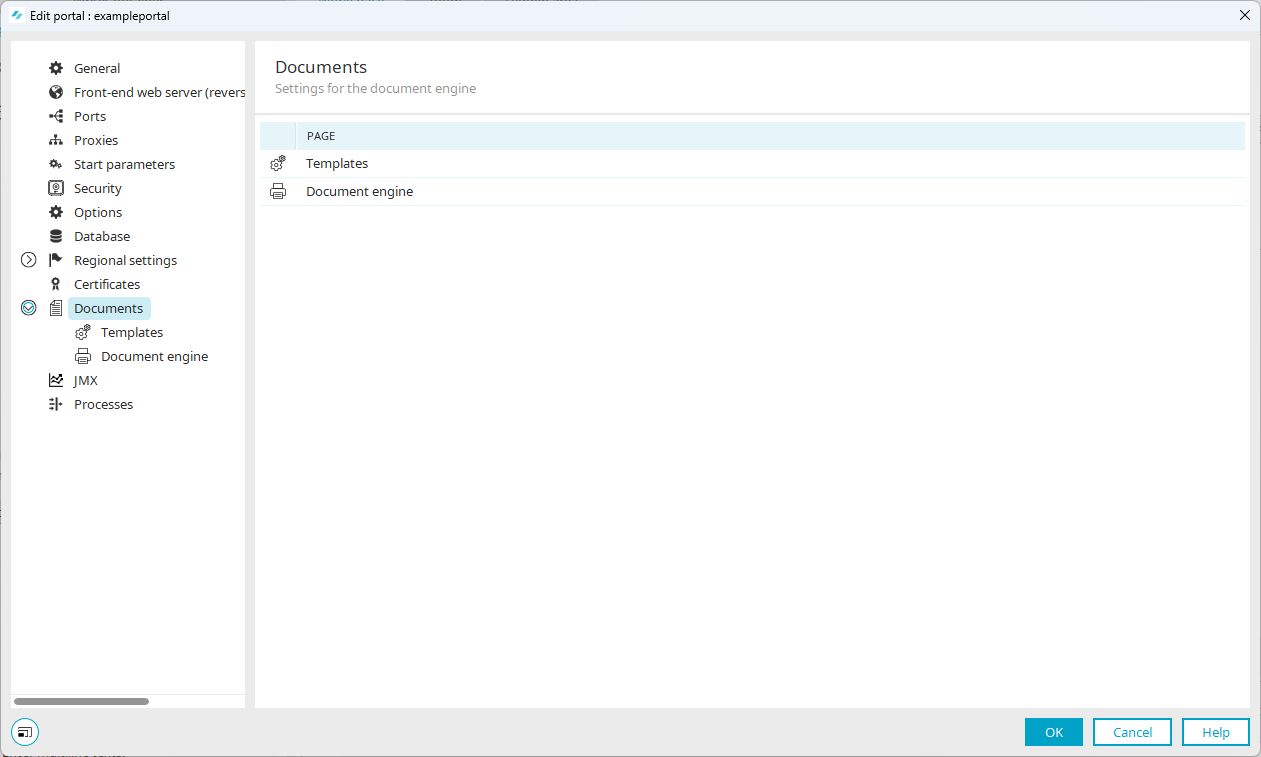
Templates

Detailed information on this can be found in the Templates section.
Document generation

Detailed information on this can be found in section
JMX
This page is only displayed if the expert options(Options - Portals) are activated for the portal.
Here you can activate JMX (Java Management Extensions).
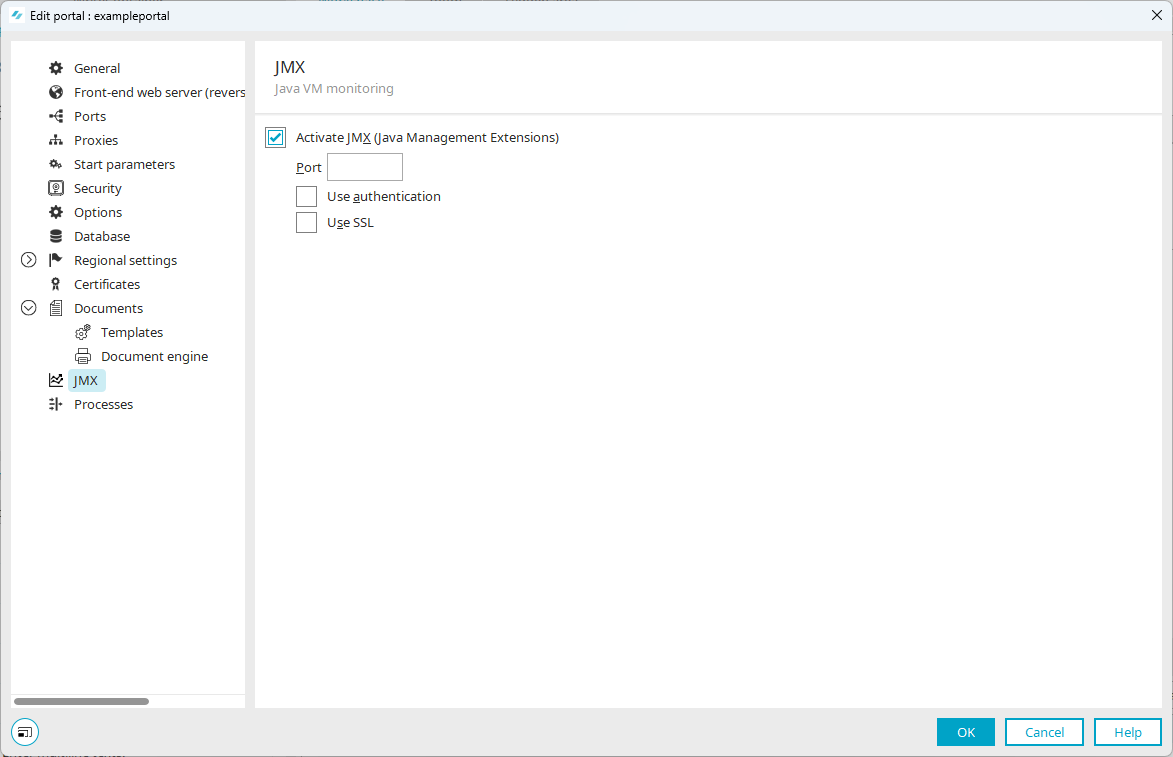
The settings set the following properties in the portal.wcf file:
-
com.sun.management.jmxremote.port=<port number>
-
com.sun.management.jmxremote.authenticate=[true/false]
-
com.sun.management.jmxremote.ssl=[true/false]
<intrexx-installation directory>\org\<portalname>\internal\cfg\.
If necessary, you can make manual changes to the file.
More information
Processes
Here you can define a standard user for Global timer in processes.
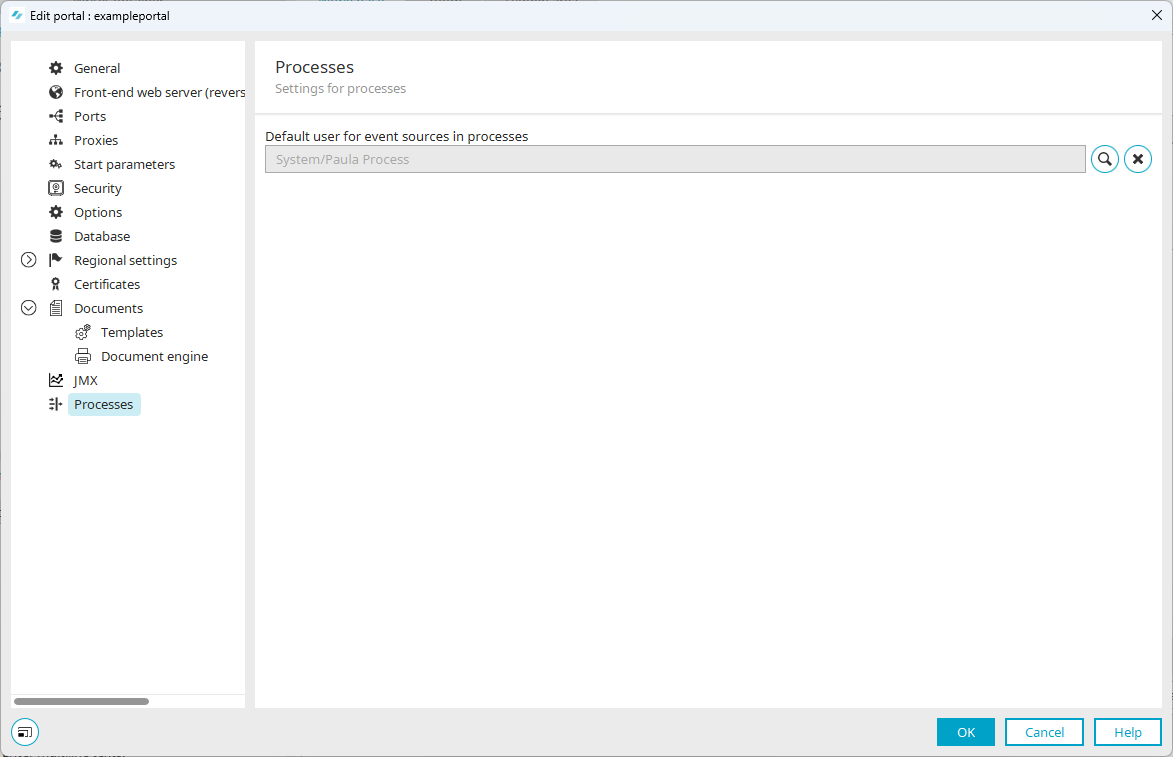
Default user for event sources in processes
Here you can define a default user for event sources in processes. This will be used by Intrexx as the "Executing user" of the process if you have not defined another user in the event source.
Background Processes must always run in the context of a user in Intrexx, so that Intrexx can, for example, perform rights checks or so that users can be written to a data record for data group actions that can follow event sources.
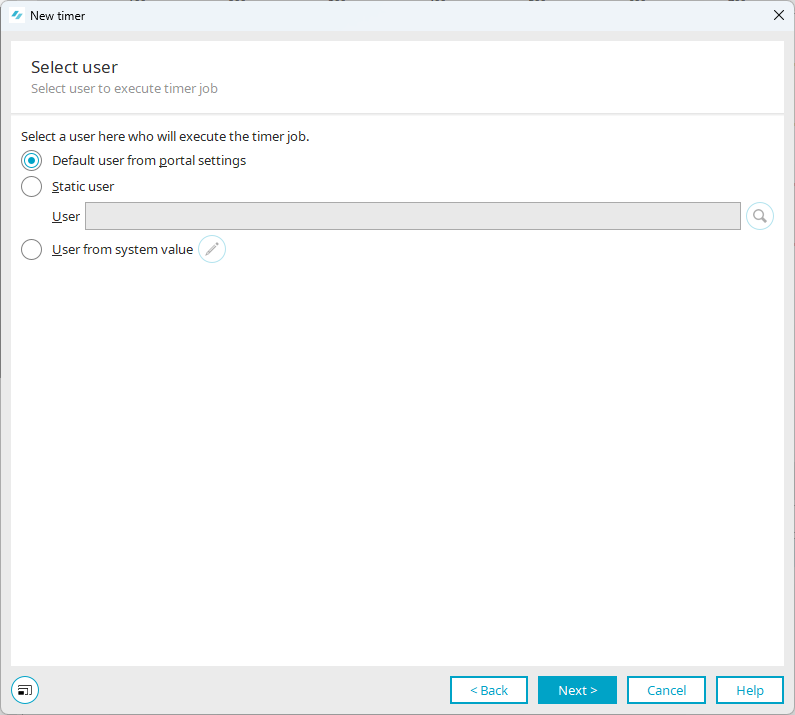
The following screenshot shows a timer as an event source in which the user stored in the portal properties has been selected as the "Executing user".
More information