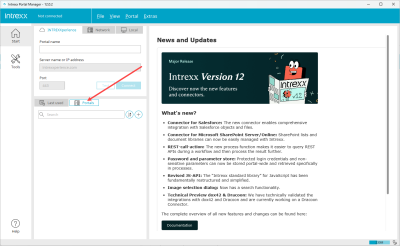
Getting started with the Portal Manager
After you have started the Intrexx Portal Manager, the start screen will be displayed.
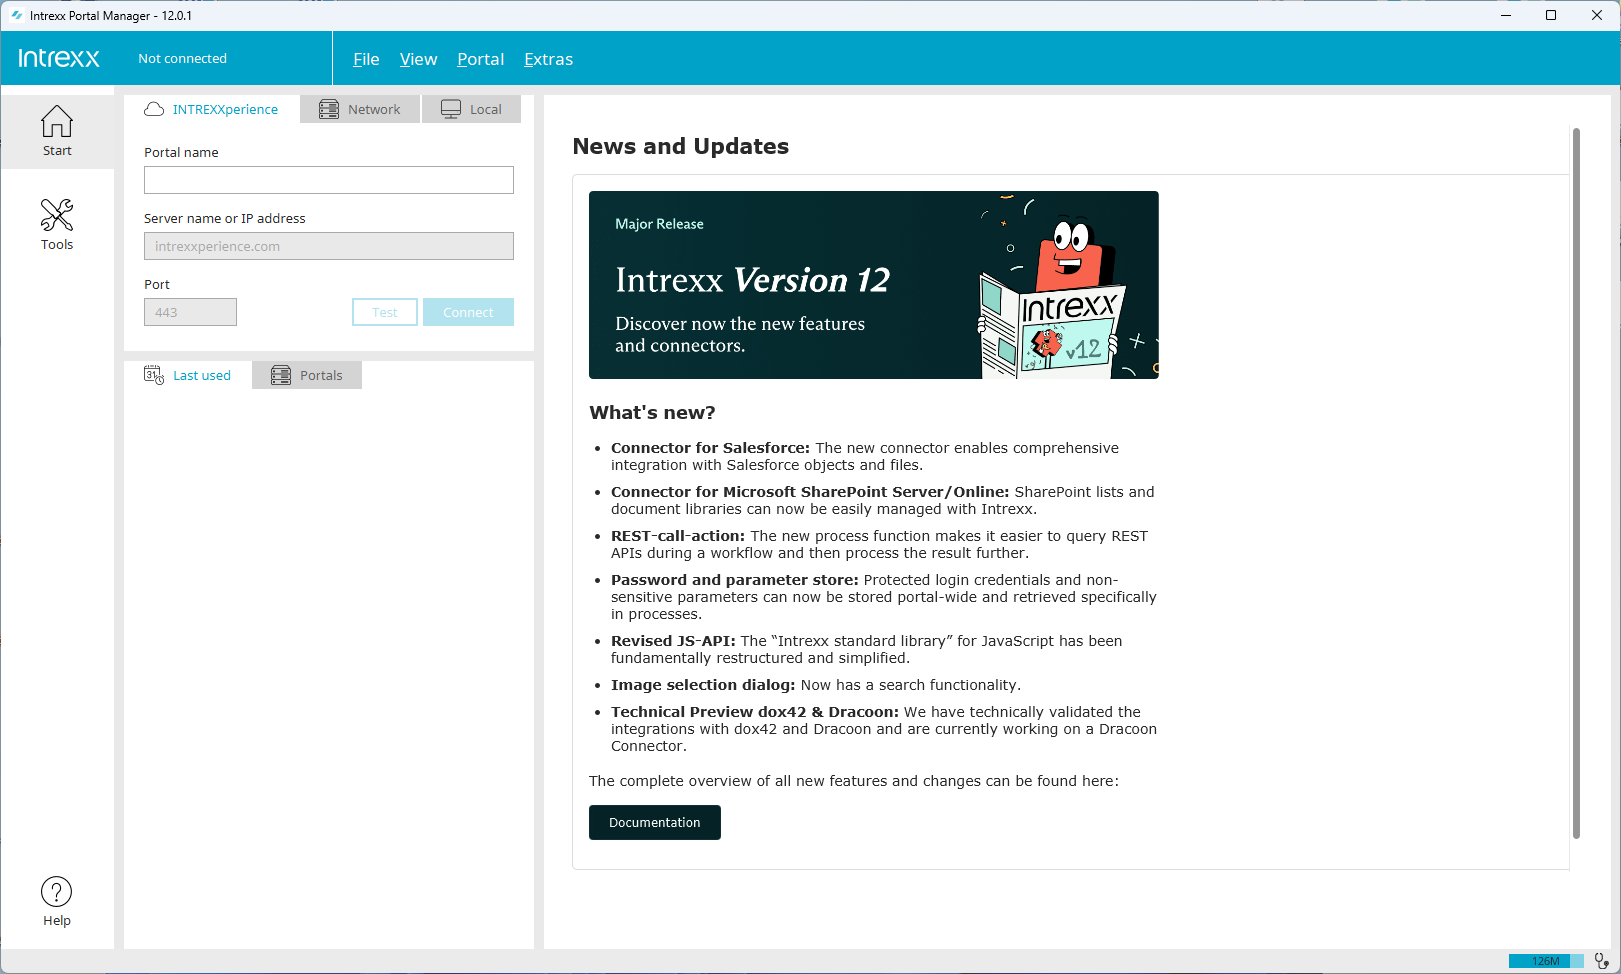
Connect to your portal
In the login area of the home screen, you will find the three tabs "INTREXXperience" ![]() , "Network"
, "Network" ![]() and "Local"
and "Local" ![]() .
.

Which of the three login options is right for you depends on how you use the Portal Manager or how Intrexx is implemented in your organization.
Option 1 – Local
This login option is right for you if you have installed Intrexx locally (in your) IT infrastructure and if you want to access your portal with the"Integrated Portal Manager", which is also installed when you install Intrexx.
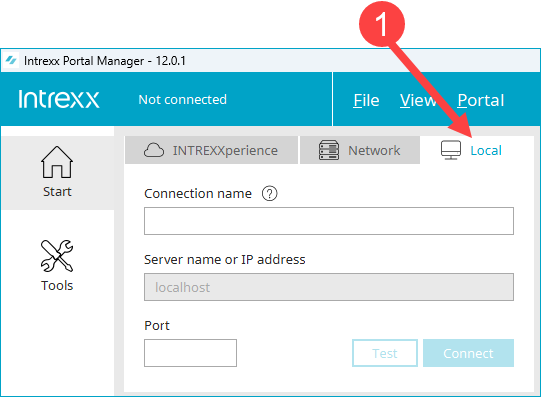
Connection name
Enter a name for your portal connection here. Choose any name you like. The name is then saved and displayed in the login area as a hyperlink under "Last used". For later registrations, you only need to click on the hyperlink displayed.
Server name or IP address
With this login variant, "localhost" is stored. You cannot change this entry.
Port
Enter the port for the portal you want to connect to here.
The port can be determined in the portal properties or in the "portal.cfg" file. You can find it at the following location:
<intrexx installation directory>/org/<portaldirectory>/internal/cfg/portal.cfg
This button allows you to test whether the Portal Manager can connect to the portal.
You can use this button to connect to the portal.
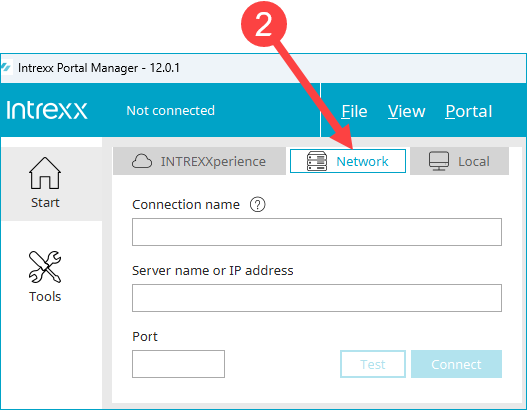
Option 2 - Network
This registration option is correct for you in the following two cases:
-
The Intrexx Portal Server is installed on a server in your IT infrastructure and you can access it via your network.
-
You use Intrexx as a PaaS ("Platform as a Service") and have received the corresponding access data from INTREXX GmbH.
This is a cloud solution. This means that INTREXX GmbH provides you with the infrastructure together with the Intrexx Portal Server.
In both cases, use the Portal Manager to log in.
(The Portal Manager does not require installation. You can download it and start right away. The Portal Manager can connect to different versions of the Intrexx Server. It automatically adapts its own version to the version of the portal server.)
Download
You can download Portal Manager from the following links:
|
Windows |
Download |
|
Linux |
Download |
|
Mac |
Download |
Connection name
Enter a name for your portal connection here. Choose any name you like. The name is then saved and displayed in the login area as a hyperlink under "Last used". For later registrations, you only need to click on the hyperlink displayed.
Enter the name you received from INTREXX GmbH here.
Server name or IP address
Network Enter the server name or the IP of the server on which the Intrexx Portal Server is installed here. The server name must be entered as the hostname without a preceding protocol or a slash at the end.
PaaS Enter the server name that you have received from INTREXX GmbH here.
Port
Network Enter the port of the portal you wish to connect to here.
The port can be determined in the portal properties or in the "portal.cfg" file. You can find it at the following location:
<intrexx installation directory>/
PaaS Enter the port of your portal here. As a rule, this is port 8101.
You can use this button to test whether the Portal Manager can establish a connection to the portal server or the portal.
You can use this button to connect to the portal server or the portal.
Option 3 – Intrexxperience
This registration option is right for you if you would like to get to know Intrexx and have received access to a so-called INTREXXperience portal via our website or by contacting an Intrexx employee. The INTREXXperience portal is a test portal with numerous pre-installed applications. It is hosted by INTREXX GmbH and you can access it via the Internet.
Detailed information on INTREXXperience can be found in section INTREXXperience - Test Intrexx for 30 days.
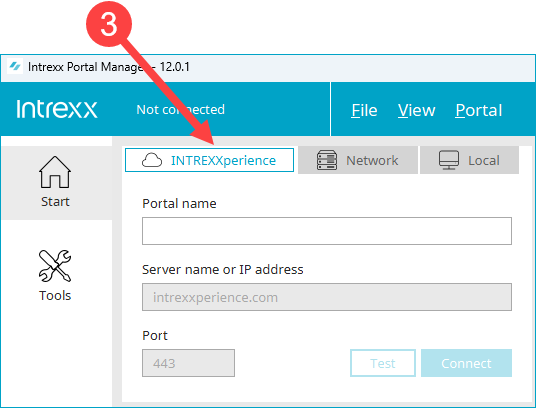
Portal name
The name of the portal will be communicated to you by INTREXX GmbH.
Server name or IP address
With this login option, "intrexxperience.com" is stored as the server name. You cannot change this entry.
Port
Port 443 is stored for this login option. You cannot change this entry.
You can use this button to test whether the Portal Manager can establish a connection to the portal.
You can use this button to connect to the portal.
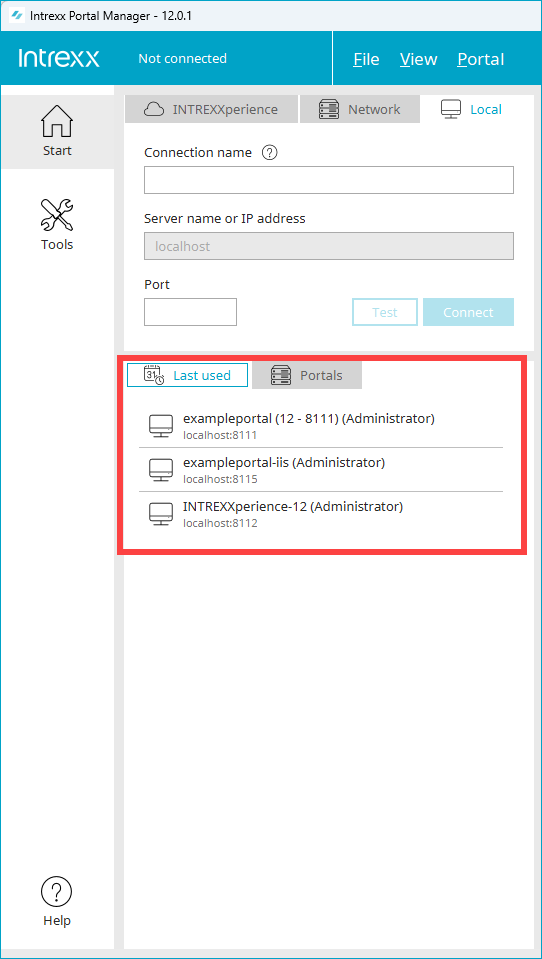
Display of the connections used
All recently successfully used connections are displayed in the login area. The connections are displayed in the order in which they were made.
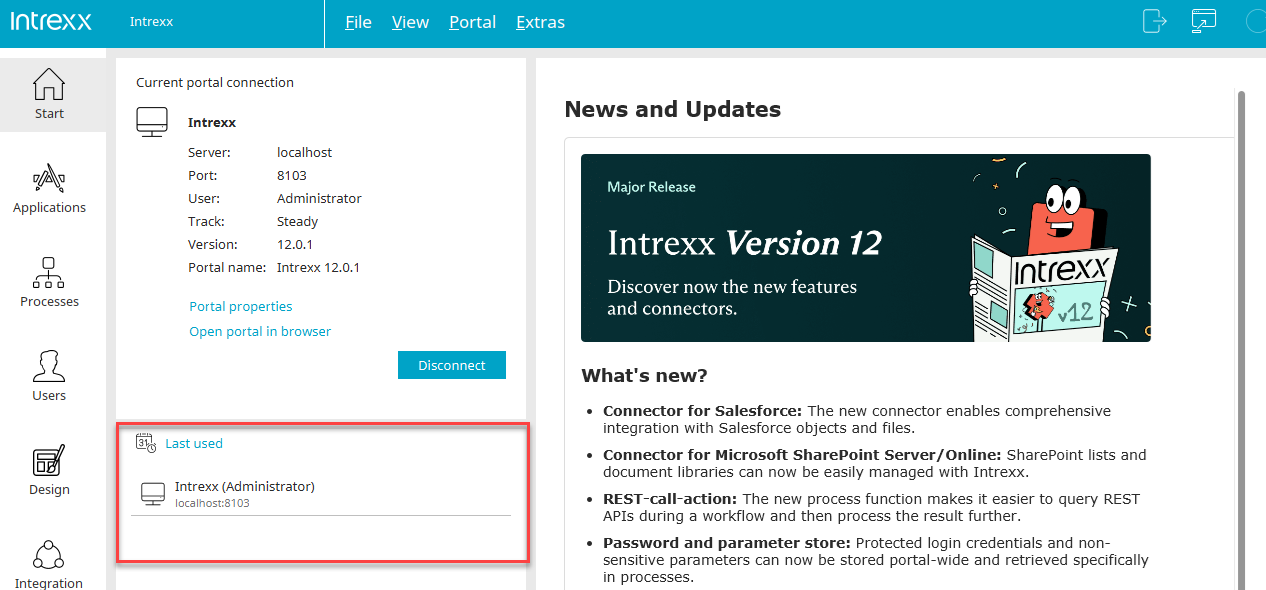
If you want to log in to a portal again, simply click on the corresponding link. The login dialog is then displayed.
Create and manage portal list
You have the option of creating a list of the portals you wish to connect to in the login area of the start screen.
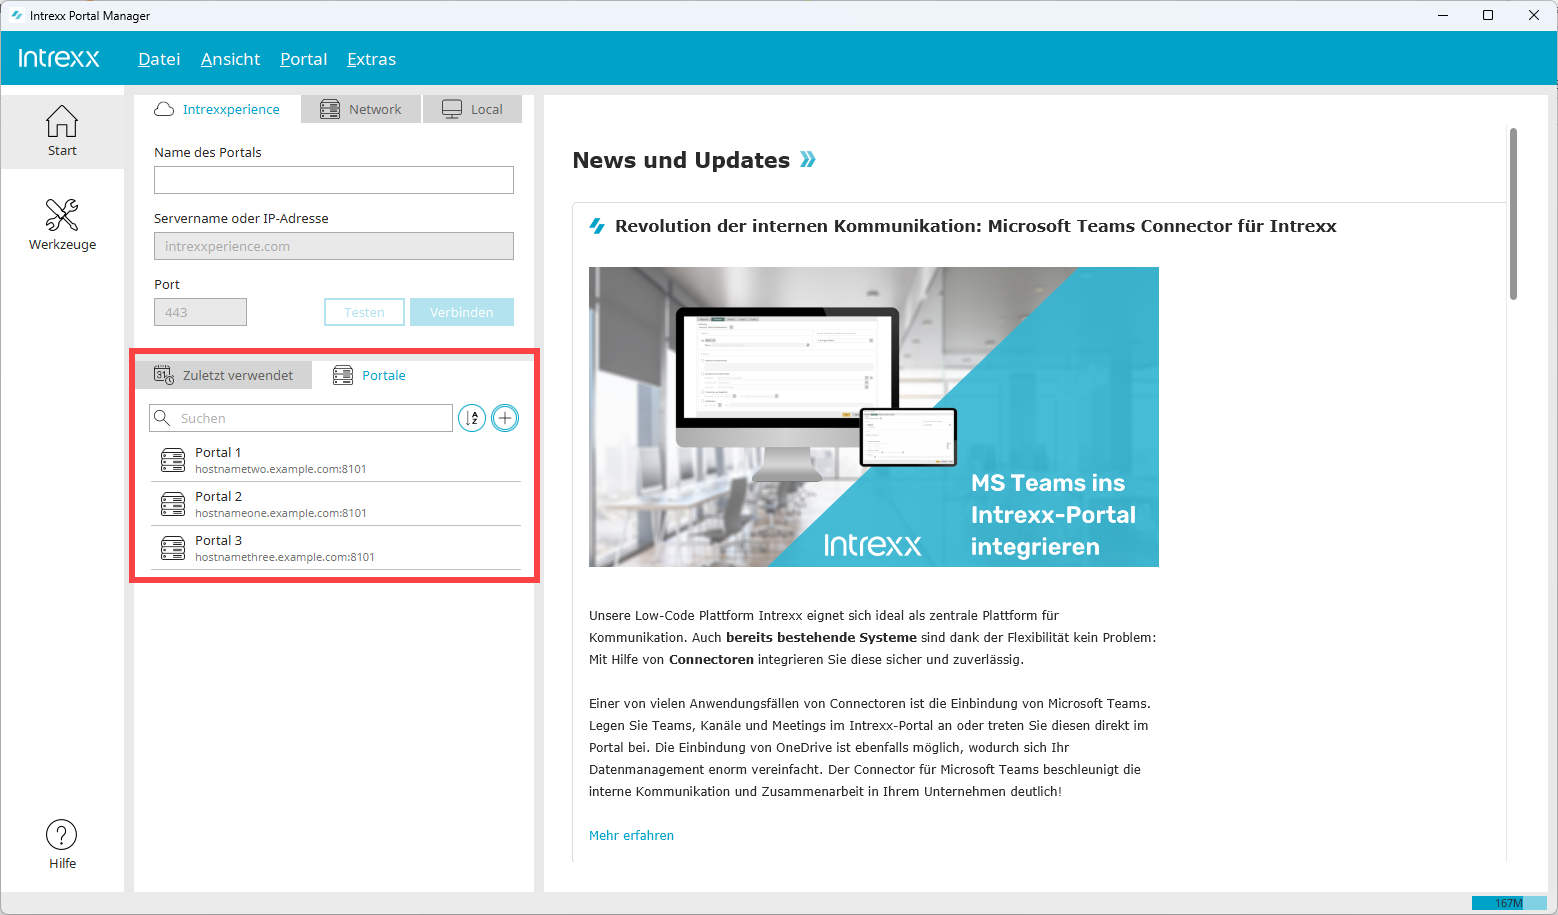
If you want to log in to a portal again, simply click on the corresponding entry. The login dialog is then displayed. You can sort and search the portal list in different ways.
The portal list is not displayed by default. You must activate the display via "View > Show portal administration".
Step-by-step guide
To create a portal list, proceed as follows:
-
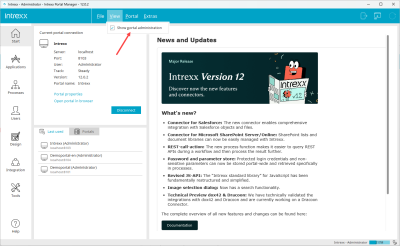
Click on "View > Show portal administration".
-
The "Portals" tab is displayed.
-
Click on the
 icon.
icon.
The "Register portal" dialog box is displayed.
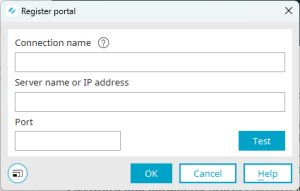
Connection name
Enter a name for your portal connection here. You can use the name of the portal for this.
The name is then saved and displayed as a hyperlink in the "Portals" tab. To connect to the portal later, simply click on the hyperlink displayed.
Server name or IP address
The value you need to enter here depends on how you operate Intrexx and whether you use the Portal Manager or the Integrated Portal Manager.
See also the section Getting started with the Portal Manager.
localhost
Enter "localhost" if you are working on the server on which the Intrexx Portal Server is also installed. As a rule, you use the Integrated Portal Manager for this.
Server name or the IP of the server
Enter the server name or IP of the server you wish to log on to here. The server name must be entered as the hostname without a preceding protocol or a slash at the end.
intrexxperience.com
Enter "intrexxperience.com" here if you are currently testing Intrexx and have received the corresponding access data by email. Detailed information about "INTREXXperience" and how you can test Intrexx for 30 days can be found in section INTREXXperience - Test Intrexx for 30 days.
Port
Enter the port here for the portal you want to connect to.
The port can be determined in the portal properties or in the "portal.cfg" file. You can find it at the following location:
<intrexx installation directory>/
-
Click on "OK".
The previously registered portal is displayed.
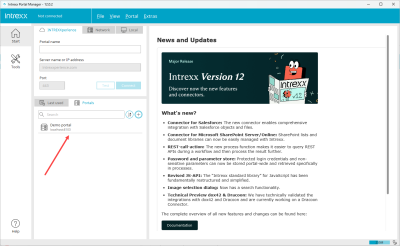
You can now start the login dialog for the corresponding portal with a simple click.


Further information
Further information on how Intrexx can be implemented and which different login options result from this can be found in the following section: