

Create a Teams meeting
You can use the "Create Meeting" action, for example, when a project reaches a specific milestone, to create a Teams meeting with the project members—either automatically or by clicking a button. When training sessions are scheduled, an invitation to an online meeting can be sent to all training participants.
To use this process action, a Microsoft 365 application must be registered in the "Integration" module under Collaboration / Microsoft 365.
Create a Teams meeting
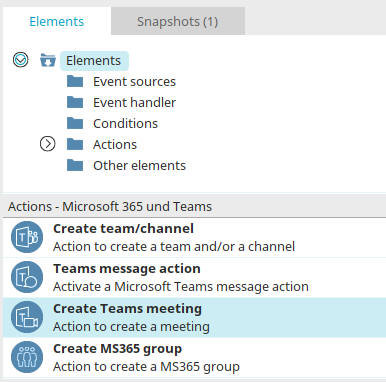
You can find the "Create Team Meeting" action in "Processes" under the "Elements" section. It belongs to the "Promotions - Microsoft 365 and Teams" category. From there, it can be dragged and dropped into the desired location in the process chain and then configured. General information on creating process elements can be found here.
If you have created the "Create Teams Meeting" action on the workspace, double-click the item to open the Properties dialog box.
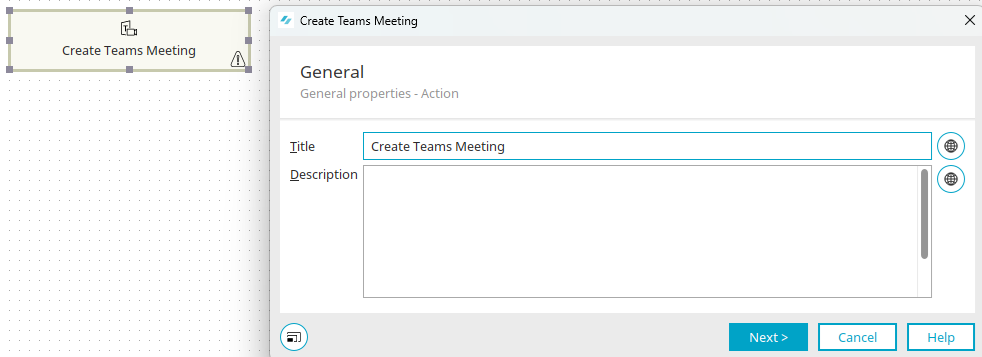
You can find all the information about the settings in this dialog box here.
Click "Next."
Microsoft 365 Configuration
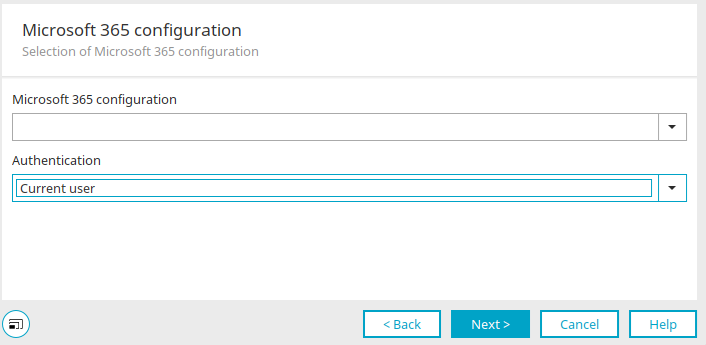
Select an existing Microsoft 365 configuration here. You can log in using the current user, a static user, or a service account.
Click "Next."
Configuring the Theme and Text
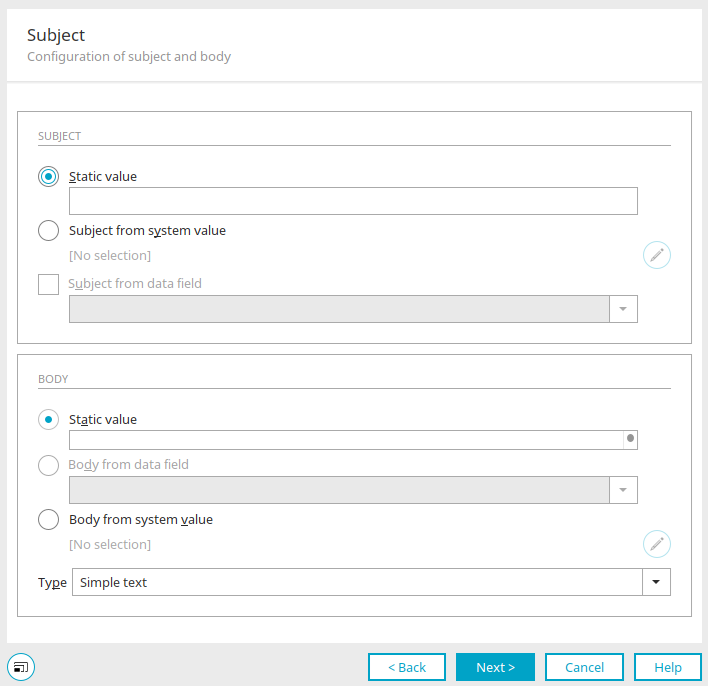
Topic
Static value
It's easier to enter a single-language text as the topic here.
Topic from System Value
The subject or text can be retrieved from a request value, a session variable, a variable in the processing context, a system data field, or a data field in the user data group.
Subject from Data Field
This option is available if the action has a data group context—for example, if a data group event handler has been defined as the event source. Here, a data field is selected from the data group; its content forms the topic or text.
Text
The same settings can be applied to the topic text as to the topic itself. In addition, the "Type" drop-down list is used to specify whether the content is plain text or HTML.
Click "Next."
Configuring Participants
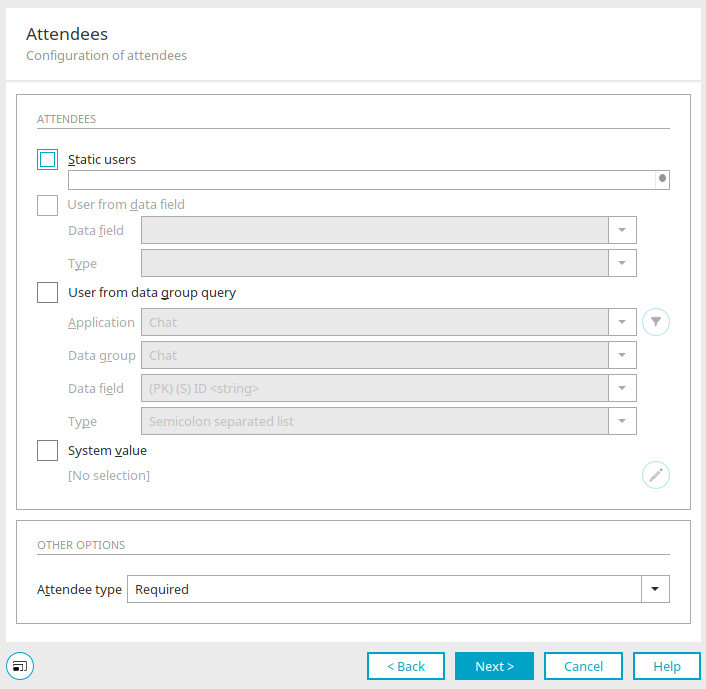
Static Users
If you want to use static users as participants, enter the participants' email addresses here exactly as they are stored in Entra ID (formerly Azure AD) as the principalUserName. Email addresses must be entered separated by commas or semicolons. Alternatively, you can enter one email address per line.
User from data field
This option is available if the action has a data group context—for example, if a data group event handler has been defined as the event source. Here, you select a data field from the data group that contains the email addresses. The type specifies how the data is formatted for collecting email addresses (e.g., semicolon-separated, GENERIC (which extracts email addresses from free text according to RFC 5322), distribution list selection (pipe-separated list of organizational structure GUIDs), and double-pipe-separated.
Users from a data group query
Here, a data field is selected from a published application that stores the data, just as with the "User from Data Field" setting. Here, too, you must select the appropriate formatting type.
System Value
For users from the system value, email addresses are determined using a session variable, a request parameter, a variable in the processing context, or a system data field.
Participant Type
Select here whether these are required, optional participants, or resources.
Click "Next."
Times
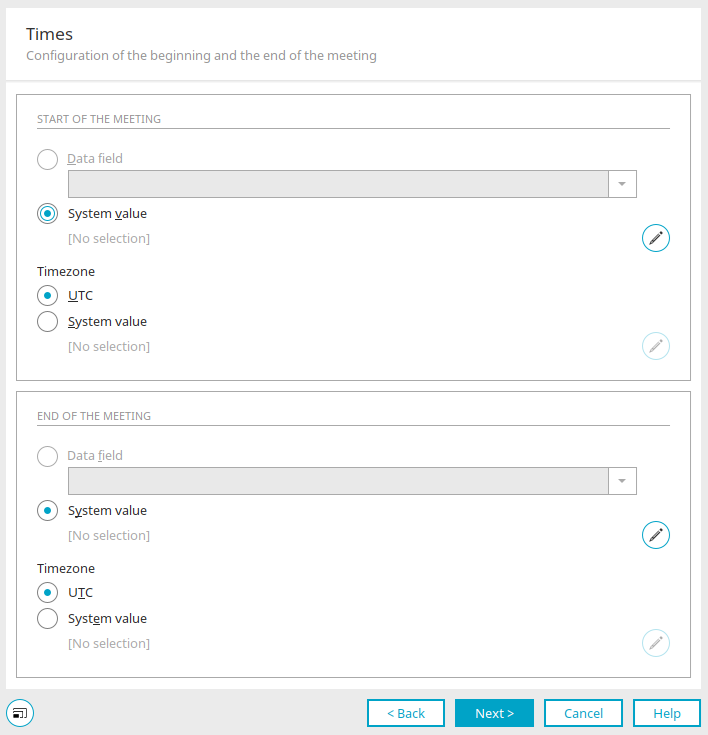
Here, you can set the start and end times of the meeting using the "From Data Field" and "From System Value" options. The "From Data Field" option is available only if the action has a data group context.
In addition, the time zone (specified as UTC or taken from a system value) must be defined for the start and end of the meeting.
By clicking "Edit System Value" at  , you can open a dialog for each of the "From System Value" options, where you can define the system value.
Click "Next."
Options
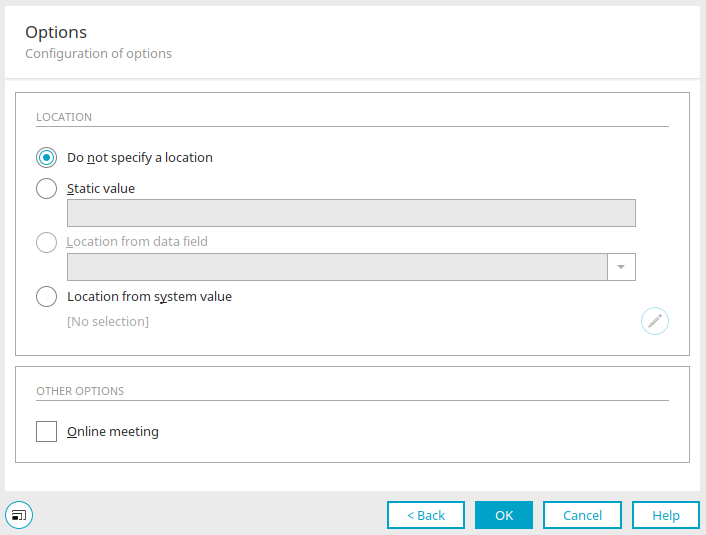
You can specify the location of the meeting here.
Do not specify a location
With this setting, no location is specified.
Static value
Enter simple, monolingual text here.
Location from data field
This option is available if the action has a data group context, for example, if a data group event handler has been defined as the event source. Here, you select a data field from the data group whose content specifies the location of the meeting.
Location from System Value
The value is retrieved from a request value, a session variable, a variable in the processing context, a system data field, or a data field in the user data group. Clicking "Edit System Value" at will open a dialog box where you can define the system value.
More Options
Here, you can specify whether the meeting is an online meeting or not.
Exception Handling
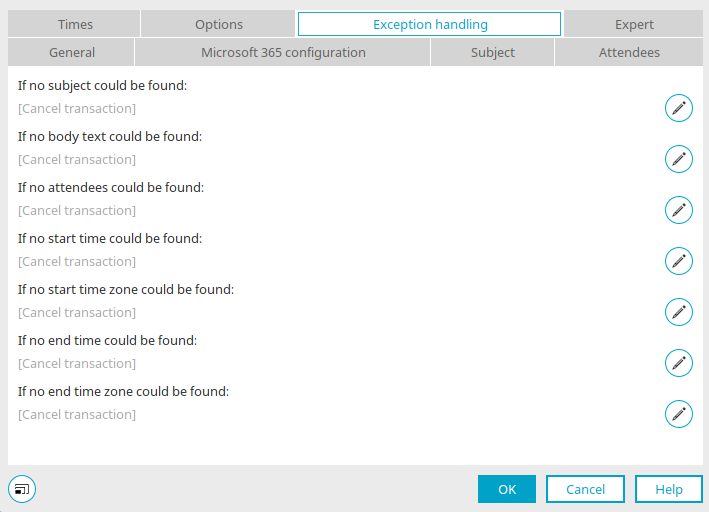
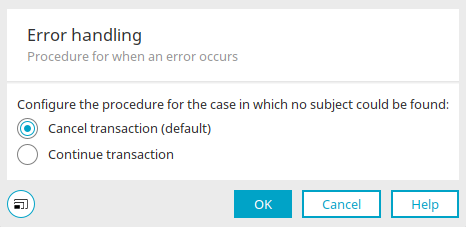
You'll only see this tab for a process element that has already been created when you open the Properties dialog box. Here you can specify whether the transaction should be canceled or continued if no subject or text is provided, no participants could be identified, no start time or end time for the meeting was set, and no corresponding time zone was specified.
To do this, click "Configure Exception Handling" under " " in each case.
More Information
Connector for Microsoft 365 and Teams