Push notification action
This action lets you send users a push notification. The basic requirement for this is the use of the Intrexx Mobile App. You can define the sender, recipients, content and link destination of the action in the properties dialog.
Create push message action
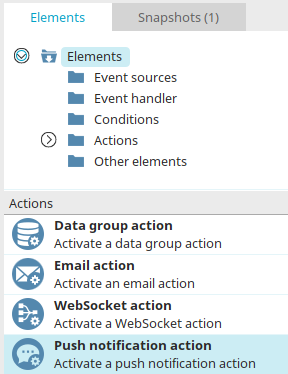
The push message action can be found in processes in the "Elements" area. It belongs to the "Actions" category. From there, it can be dragged and dropped to the desired position in the process chain and then configured. General information on creating process elements can be found here.
If you have created the push message action on the workspace, open the properties dialog by double-clicking on the element.
General
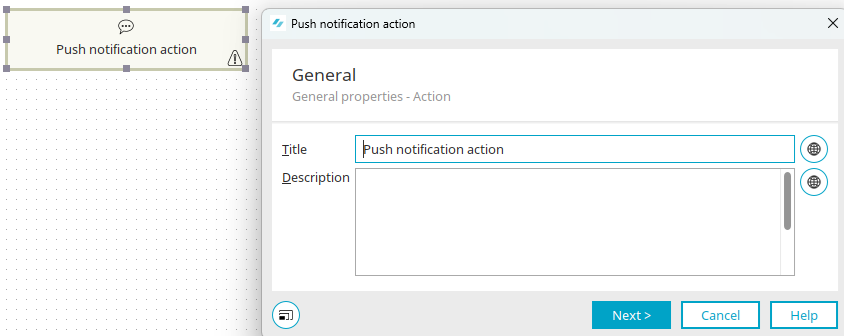
All information on this dialog can be found here.
Click "Next".
Sender
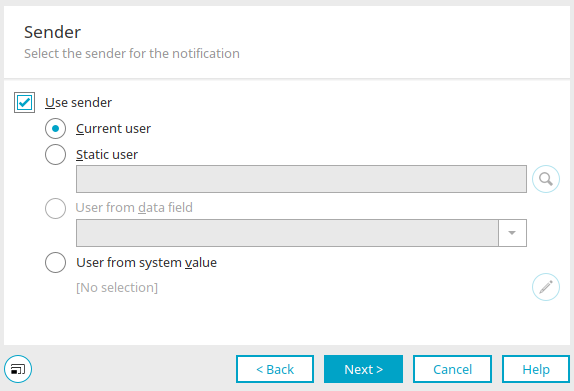
Use sender
If this setting is not set, no sender will be displayed in the mobile app. If the setting is set, a sender can be defined here.
Current user
Uses the logged-in user who triggers the Push notification action.
Static users
Displays the path and name of the user selected from the "User" module.
![]() Search for user
Search for user
Opens a dialog from which a user can be selected.
Users from data field
A data field which contains the sender data can be selected here. String data fields must contain user GUIDs, container GUIDs or set GUIDs. If the field contains the GUID of a user group, for example, all users who are members of the user group are taken as the sender. Integer data fields must contain user IDs. The generated push notification contains the GUID and qualified login name (combination of login name and domain) of the user.
User from system value
With this option, a system value, which provides a user, can be used. The currently selected system value type is shown here.
![]() Edit system value
Edit system value
Opens a dialog in which the system value can be defined.
Click "Next".
Recipient
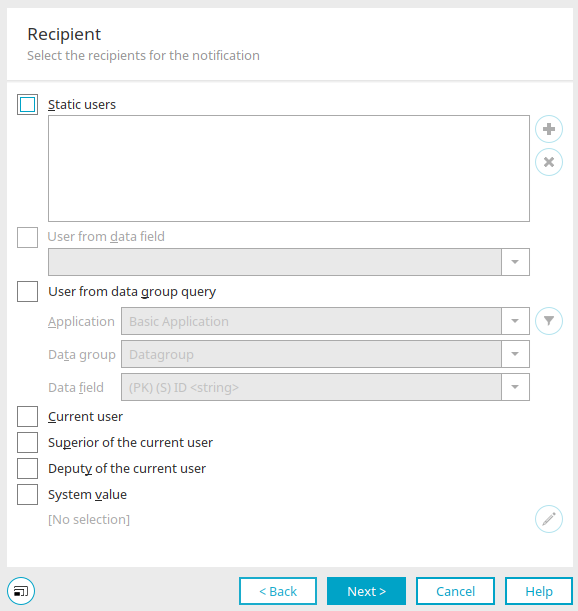
Static users
Displays the user selected from the "User" module.
![]() Add user object
Add user object
Opens a dialog in which an object (e.g. user group) can be selected from the "User" module.
![]() Remove user object
Remove user object
Removes the currently selected user object from the list.
Users from data field
A data field which contains the recipient data can be selected here. String data fields must contain user GUIDs, container GUIDs or set GUIDs. If the field contains the GUID of a user group, for example, all users who are members of the user group are taken as recipients. Integer data fields must contain user IDs. The generated push notification contains the GUID and qualified login name (combination of login name and domain) of the user.
User from data group query
Application, Data group, Data field
Here a data field, which contains recipient data, can be selected from an application and data group. String data fields must contain user GUIDs, container GUIDs or set GUIDs. If the field contains the GUID of a user group, for example, all users who are members of the user group are taken as recipients. Integer data fields must contain user IDs.
![]() Edit filter
Edit filter
Opens a dialog in which the address list can be restricted in advance using filter criteria.
Current user
Uses the logged-in user who triggers the Push notification action.
Superior / Deputy of current user
This setting is used to query the user GUID of the current user's manager or deputy.
System value
With this option, system values can be used. The system value must contain recipient data (User GUIDs, Container GUIDs, Set GUIDs or User IDs).
![]() Edit system value
Edit system value
Opens a dialog in which the system value can be edited.
Recipients must have registered their mobile device to the portal with the mobile app. Push notifications will not be sent to recipients who are not registered.
Click "Next".
Title
Static text
A static text can be defined as the title of the push notification here.
Text from data field
Here, a data field can be selected that provides the title.
Text from system value
With this option, a system value can be used as the source of the title.
![]() Edit system value
Edit system value
Opens a dialog in which the system value can be edited.
Click "Next".
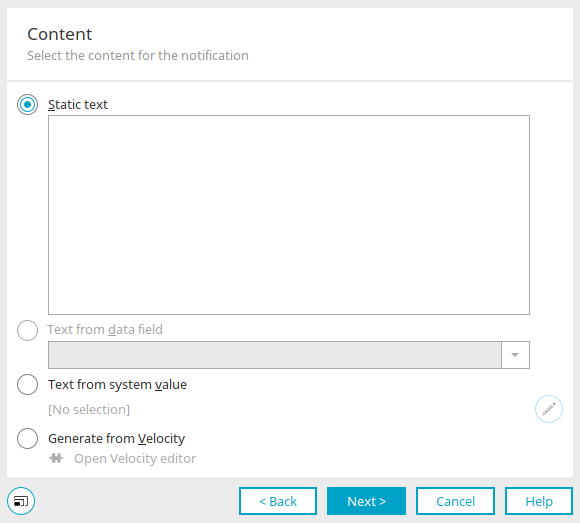
Content
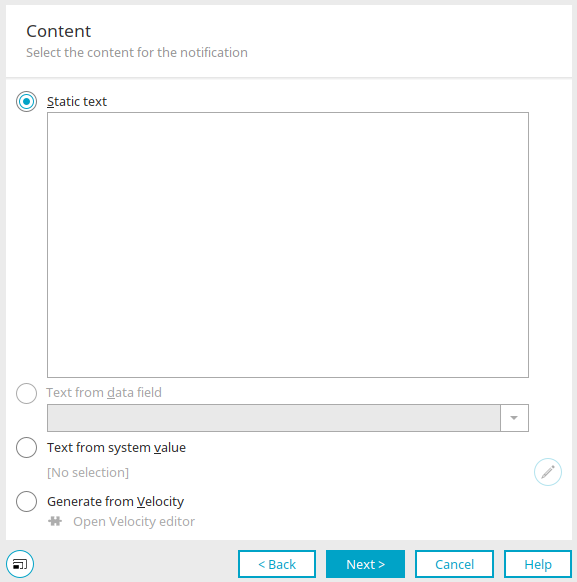
Static text
A static text can be defined as the content of the push notification here.
Text from data field
Here, a data field can be selected that provides the content.
Text from system value
With this option, a system value can be used as the source of the content.
![]() Edit system value
Edit system value
Opens a dialog in which the system value can be edited.
Generate from Velocity
With this option, Velocity script can be used to generate the content.
Open Velocity editor
Opens the velocity editor.
Click "Next".
Options
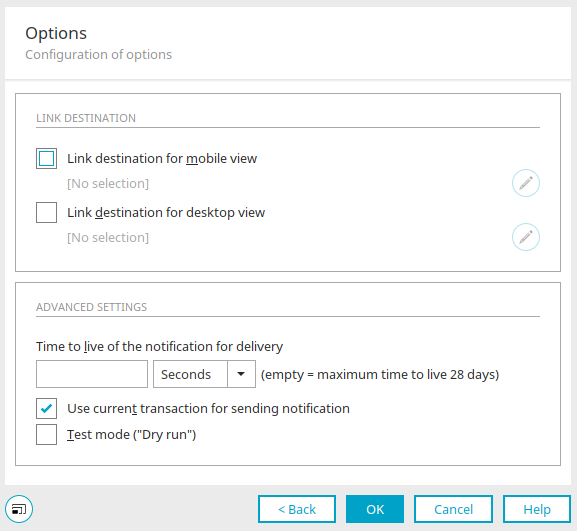
Link destination
Link destination for mobile / desktop view
With these settings, a link destination can be defined that will open when a user clicks on a push notification in the mobile app. Depending on the layout of the portal used in the mobile device, the mobile or desktop link destination is opened.
![]() Edit jump target for mobile / desktop view
Edit jump target for mobile / desktop view
Opens a dialog in which the jump target can be defined.
Further settings
Lifetime of the notification for delivery
This setting determines how long the message is maintained if the recipient's mobile device is offline. Enter the length of the time to live here. The desired unit (seconds, minutes, hours, days) can be selected from the drop-down list. If you do not enter anything here, the maximum lifetime is 28 days.
Use current transaction for sending notification
This setting means that the notification is sent asynchronously internally. The option is preset - no message is sent in the event of an error.
Test mode ("Dry run")
With this setting, the query to the notification service can be tested without actually sending the notification.
Click "OK" to complete the configuration.
Exception handling
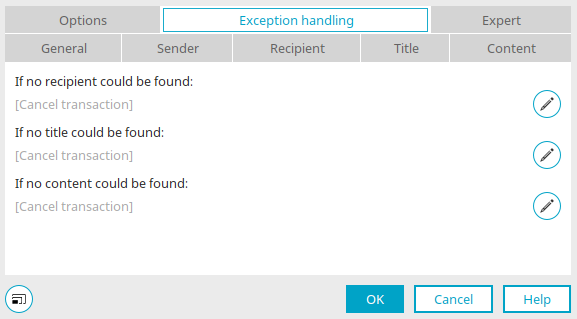
Exception handling can only be configured in the properties dialog for process elements that have already been created. Here you can specify whether the transaction should be canceled or continued if there is no recipient, no content or no title. To do this, click on ![]() "Configure exception handling".
"Configure exception handling".
Behavior when an error occurs
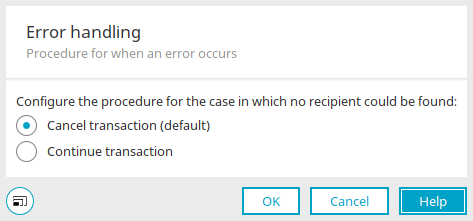
You can also find this dialog in the properties of the process elements MS365 Create group, Plugin feed action, Text feed action,"Create group" and"Manage group".
Depending on the context, you will find the description of the case for which the procedure is to be configured in the upper part of the dialog.
Cancel transaction (default)
Causes the entire process to be aborted if an error occurs - e.g. if a data field relevant for sending does not contain any valid data.
Continue transaction
The error is ignored. If messages are affected, they will not be sent. The process will continue with the next action.
More information
Create and manage processes