Portal and application area
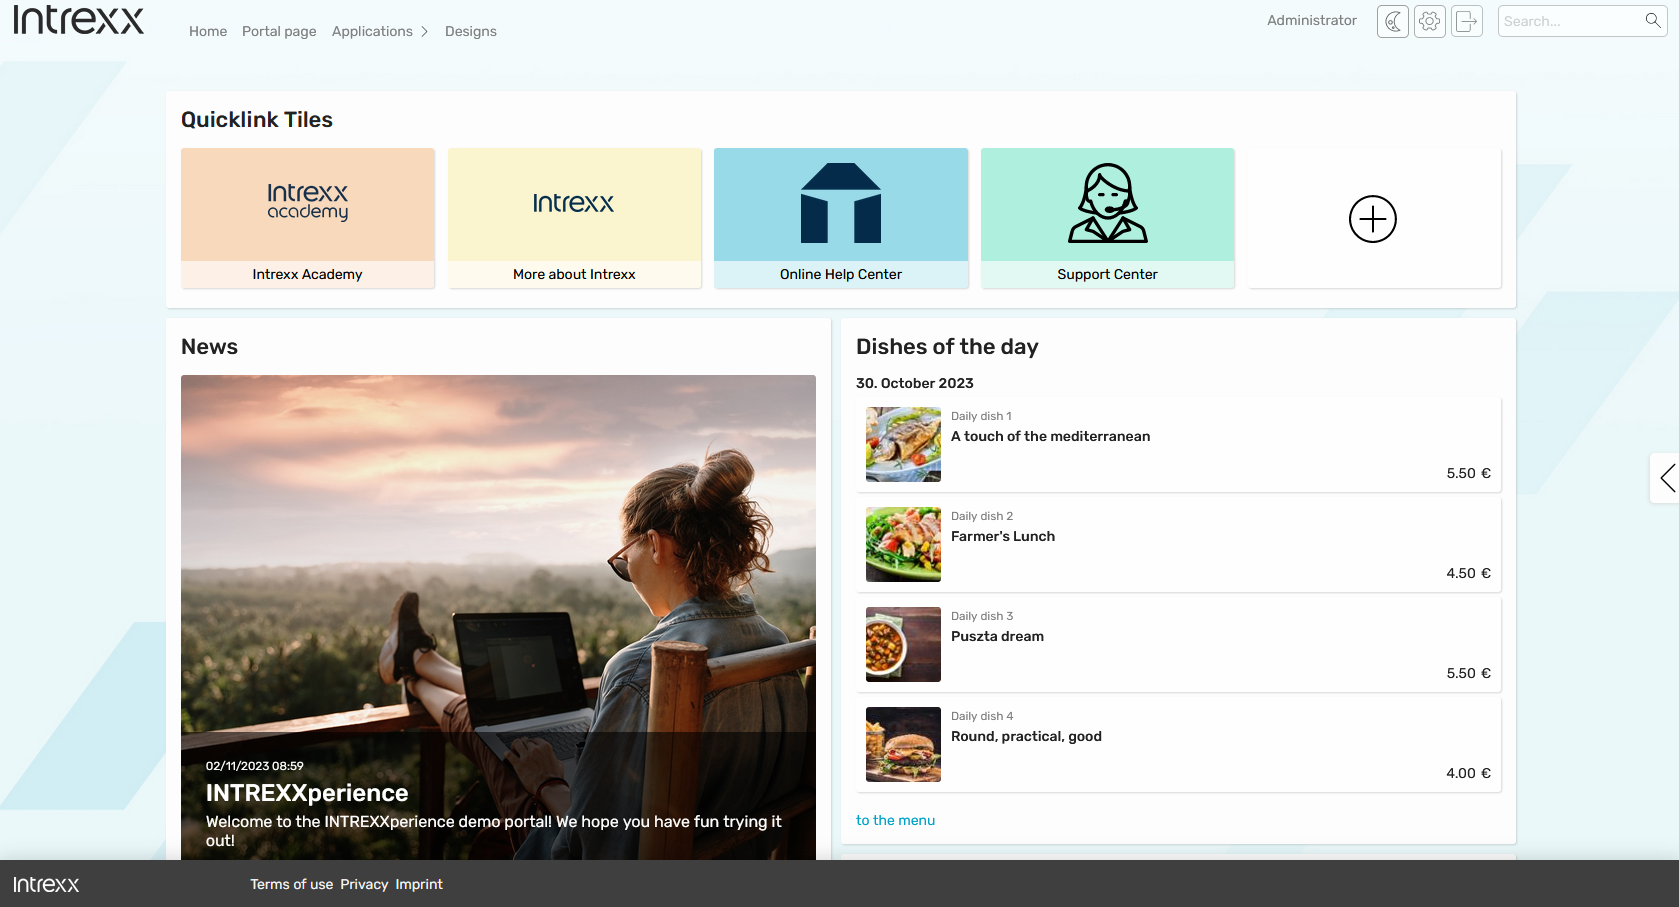
In a layout, both the pages of applications and portal pages are loaded in the portal and application area.
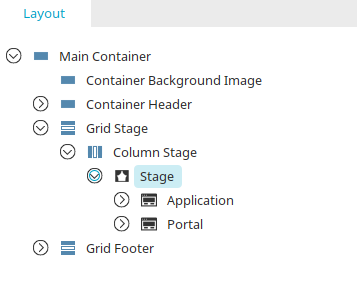
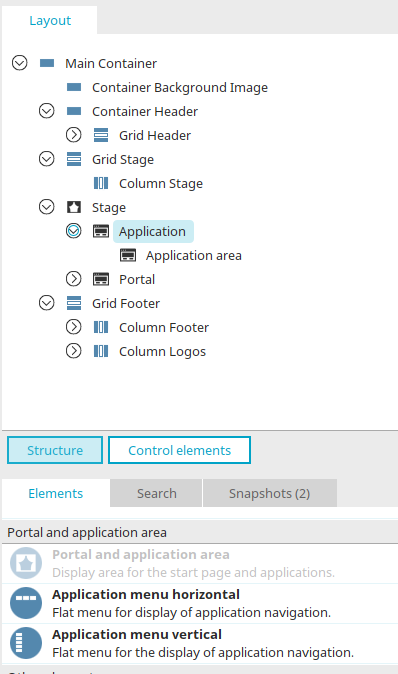
In the "Design" module, you will find the portal and application area in layouts that were created on the basis of the Intrexx layout templates in the structure in the "Layout" area under the name "Stage". Application styles, e.g. for the application menu or the application name, can be edited here. For portal pages, for example, the styles of portlets can be edited.
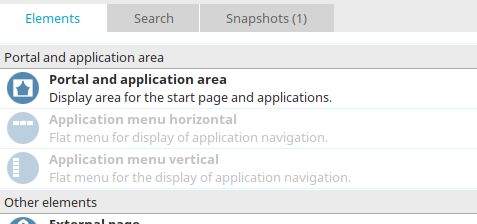
The portal and application area is also available as an element. If no portal and application area exists in the layout, the element can be selected here. Information on how to create elements can be found here.
Properties
The properties of an existing portal and application area can be edited via the main menu "Edit" or by double-clicking on "Stage" in the layout structure. When editing the properties, you are supported by a wizard that guides you step by step through the most important settings.
1. Portal and application area - General
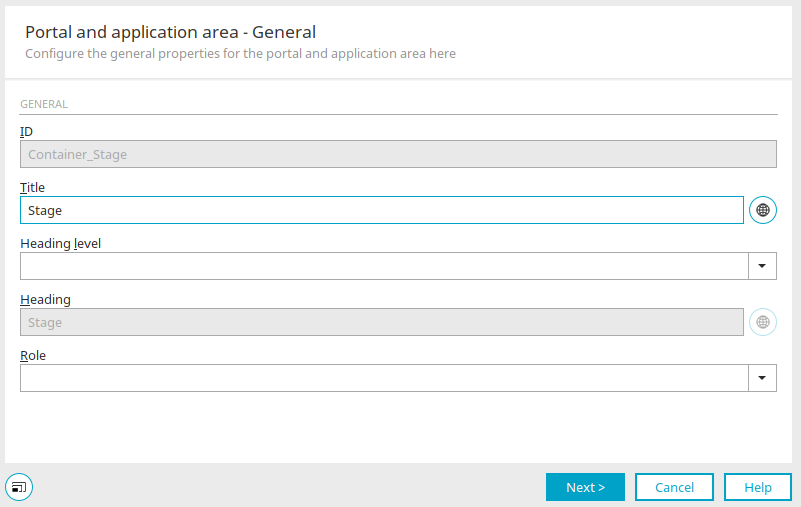
When creating a new portal and application area, and editing an existing portal and application area, the general settings are first displayed in the wizard. You can find out all about these settings here. Click "Next".
2. Portal and application area - positioning and size
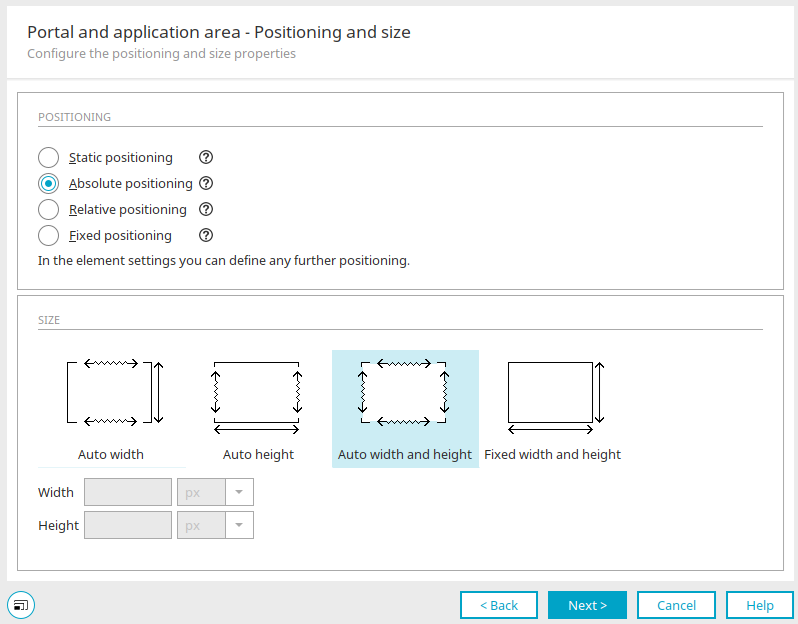
The positioning and size of the portal and application area can be defined here.
Positioning
Static positioning
A line break is entered in the HTML after an element with this setting.
Absolute positioning
With this setting, elements have no influence on following or neighboring elements. Absolute positioned elements can overlap with other elements. The positioning orients itself to the next superordinate element that is not statically positioned.
Absolute positioning should be used if an element is to be independent of its surroundings.
Relative positioning
The element is positioned relative to its normal position.
Fixed positioning
The element is positioned relative to the viewport.
Size
Auto width, auto height, auto width and height
The position of an element is defined by the order in the document. With automatic size settings, the element follows the type of positioning.
For absolute positioning, the height, width, or height and width will be automatically adjusted to the space available between its absolute positioned neighbors. The adjustment can be controlled via the values right, left, top and bottom.
For static positioning, automatic width ensures that the element takes up the width of its surrounding container. Automatic height complies with the content of the element in this case.
Fixed width and height
With this setting, the element's dimensions on the workspace will be retained.
Width / Height
Enter the desired width and height here for the fixed width and height setting.
Click "Next".
3. Portal and application area - Background
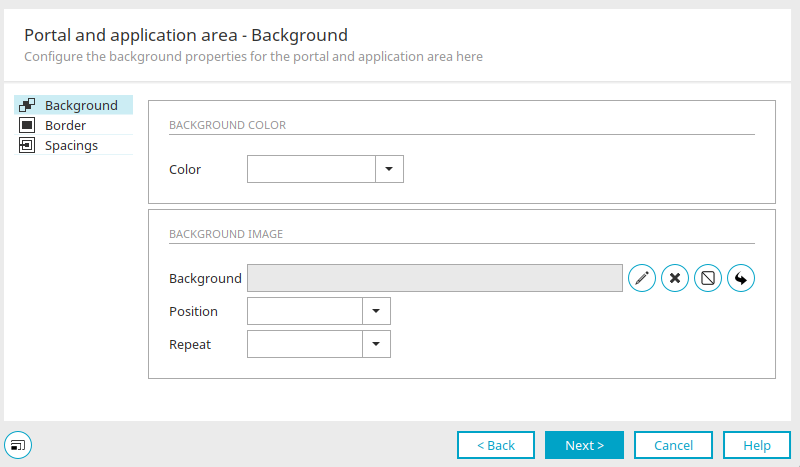
The background, border and spacings for the portal and application menu can be defined here.
Background color
The desired color can be selected here. Further information on this topic can be found here.
Background image
The path and filename of the selected background image are shown here.
![]() Select image
Select image
Opens a dialog in which an image can be selected. The formats .png, .jpg and .gif are recommended.
![]() Delete image
Delete image
Removes the selected image.
![]() No image
No image
Adds the property background-image:none to the CSS of the element.
![]() Adopt property from higher-level element
Adopt property from higher-level element
The inherit value is entered in the CSS.
Location
You can define the position of the background image within the element: left, left top, left bottom, right, right top, right bottom, top, bottom or in the middle.
Repeat
Here you can define how the image should be repeated, where appropriate. The X repeat will repeat the image on the horizontal axis and Y repeat on the vertical axis. No repeat means the image will be shown in its original size.
Borders
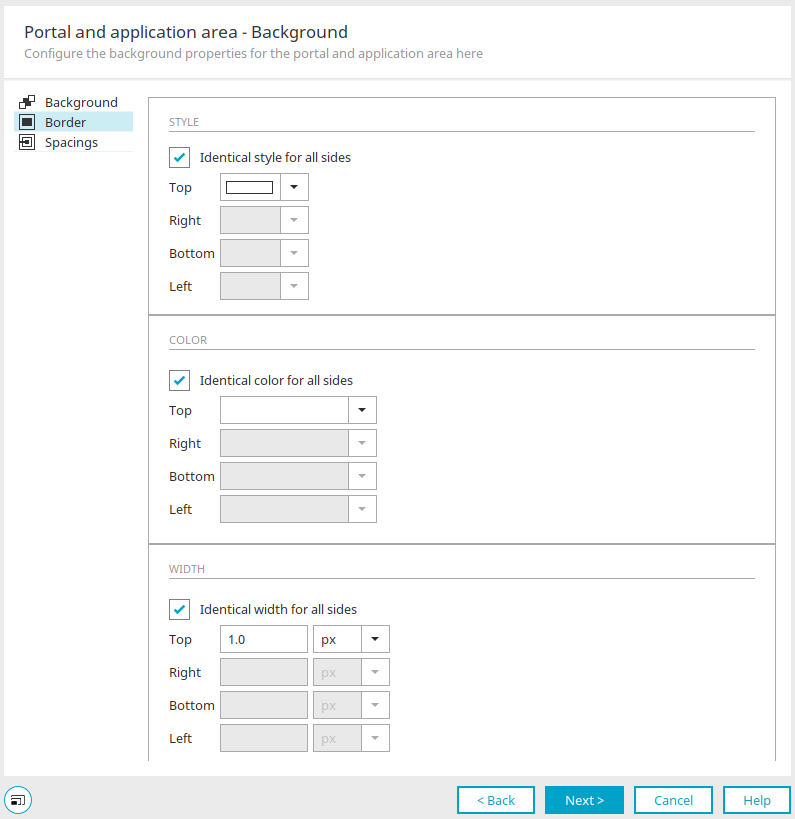
Style
The type of border can be defined here.
Color
The desired color can be selected here. Further information on this topic can be found here.
Width
The width of the border can be defined here.
Identical style for all sides
The style defined for the top border is applied to all border sides. If you deactivate the setting, all frame pages can be set differently.
Spacings
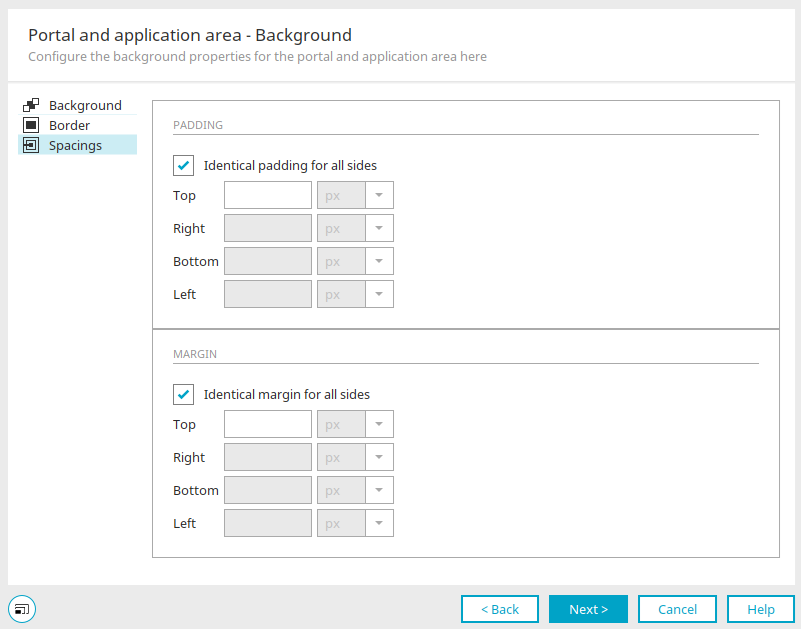
Padding
With the padding, you control how far away the content of the element (such as text) is from its borders. Text that is located within an element will therefore be moved up, down, left or right, based on the number of pixels entered here.
Margin
With the margin, you control the spacing between the element and other elements outside of it. This offset will not be calculated from the content of the element (e.g. text), but rather from the area of the element. So if you have entered an inner distance of 10 px and an outer distance of 10 px, the content of the element is a total of 20 px away from the next adjacent element. If you have defined a frame for the element, the frame would be displayed at a distance of 10 px around the element. The margin, on the other hand, controls the distance from the border to the next element, so that in this example 10 px free space will be displayed around the borders as well.
Identical margin for all sides
The margin defined for the top is applied to all sides. If you deactivate the setting, all pages can be set differently.
Click "Next".
4. Application menu - arrangement
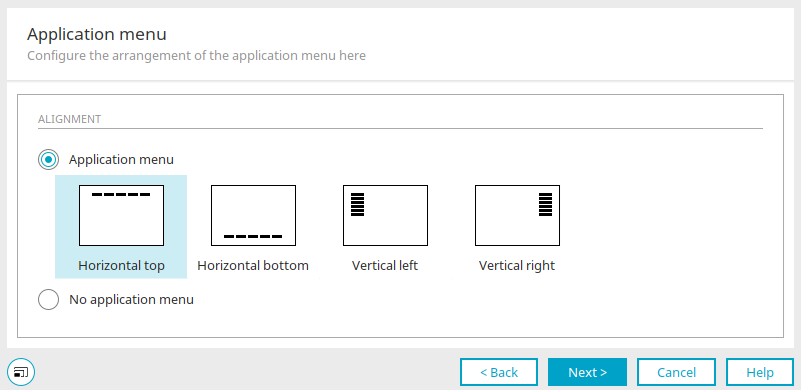
Alignment
The alignment for the application menu can be defined here. The following methods are available
-
Horizontal top
-
Horizontal bottom
-
Vertical left
-
Vertical right
This allows you to decide whether the application menu should be placed horizontally above, horizontally below, vertically to the left or vertically to the right of the area where the application pages are displayed. The menu items of the application menu are defined in the application properties.
No application menu
Hides the application menu.
Click "Next".
5. Application menu - Background
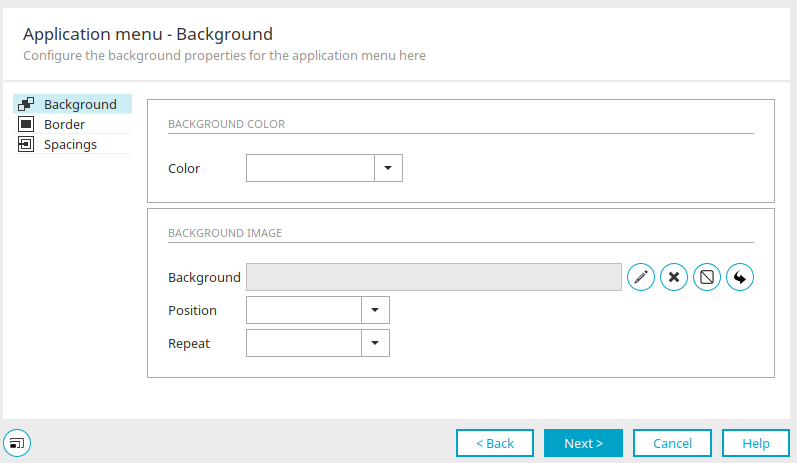
In the same way as for the portal and application area, the background, frame and spacing of the application menu can be defined here. Click "Next".
6. Application menu - Menu items
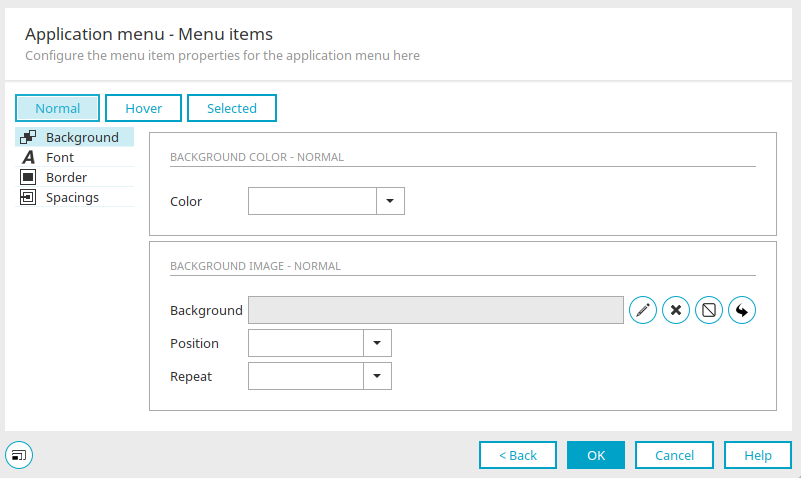
The appearance of the menu items in the application menu is defined here.
Normal / Hover / Selected
These buttons at the top of the dialog represent three statuses for the menu items:
-
Normal
Menu item without mouse contact
-
Hover
Menu item with mouse contact
-
Selected
Selected menu item
The properties in the lower part of the dialog can be defined in each case for the selected status.
Background
Information on the possible background settings can be found here.
Font
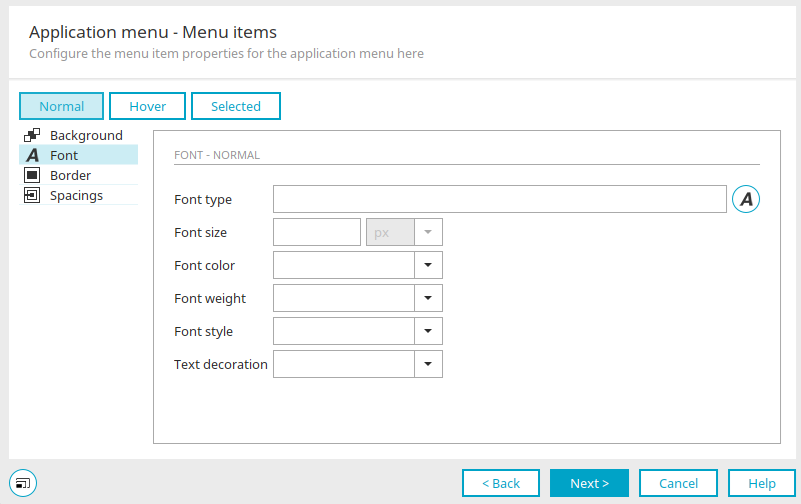
Font type
The currently selected font type is entered here.
![]() Select font
Select font
Opens a dialog in which a font can be selected.
Font size
Enter the font size here.
Font color
The desired color can be selected here. Further information on this topic can be found here.
Font weight, font style, text decoration
The desired font properties can be selected here for each option.
Borders / Spacings
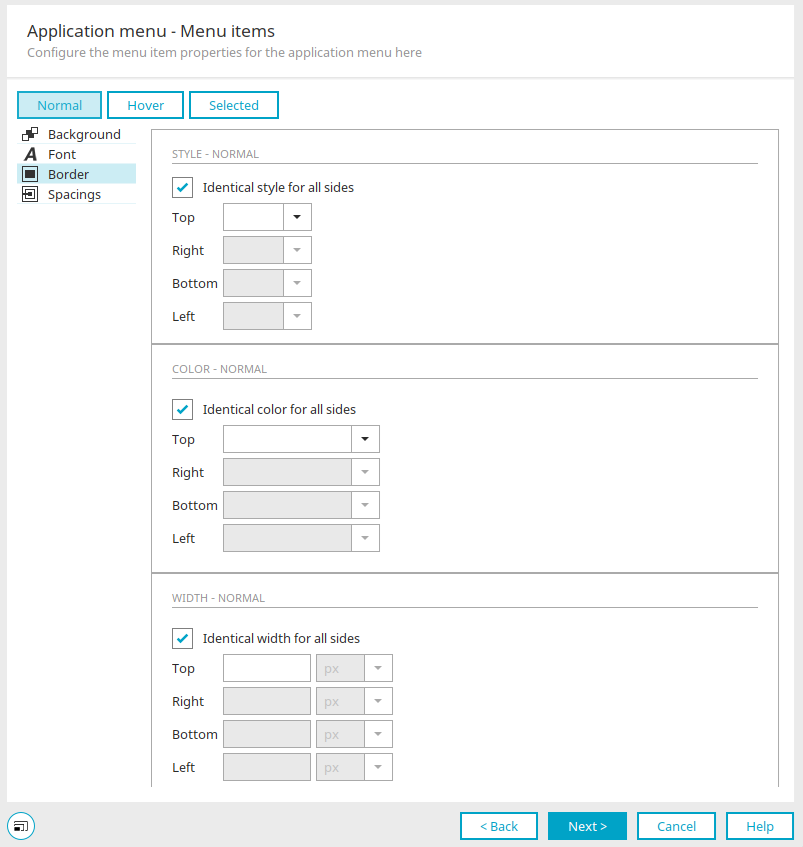
Information on the possible settings can be found here. Click "Next".
7. Application area - Background
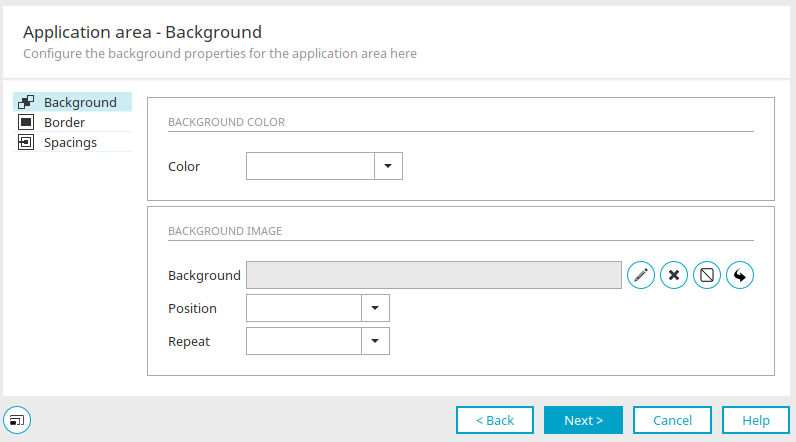
Here you decide how the background of the application area should appear. Information on the possible settings can be found here.
8. Portal page - Background
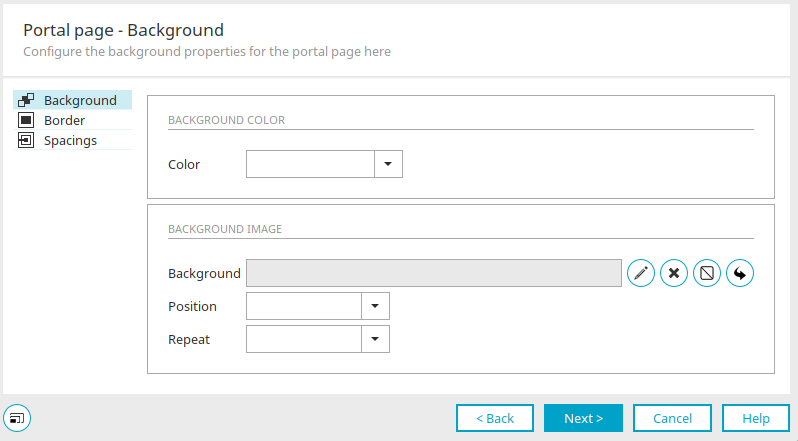
The background appearance of the portal page can be edited here. Information on the possible settings can be found here.
9. Portal page - Portlets - Heading
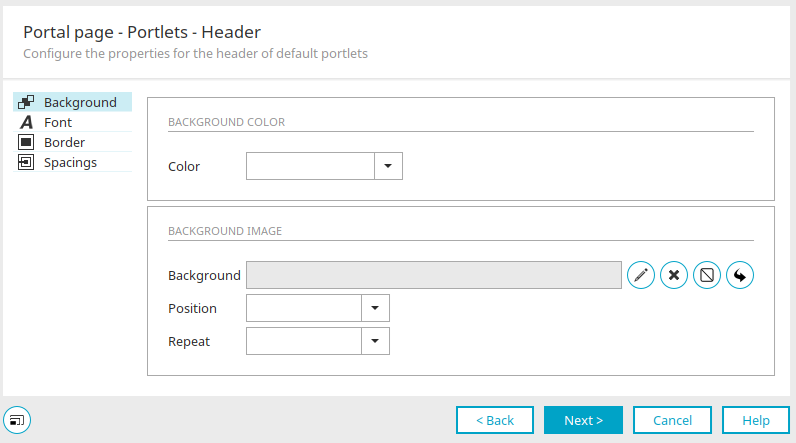
Define the appearance of the portlets on the portal page here.
Information on the possible settings for background, frame and spacing can be found here.
Information on the font settings can be found here.
10. Portal page - Portlets - Content area

The layout of the content area in the portlet can be defined here. Information on the possible settings for background, frame and spacing can be found here.
Information on the font settings can be found here.
Clicking on "OK" saves all the settings you have edited in the wizard and closes the dialog.
Elements: Application menu horizontal / vertical
These elements can be created if there is not yet an application menu in the application area.
Element settings - Application menu
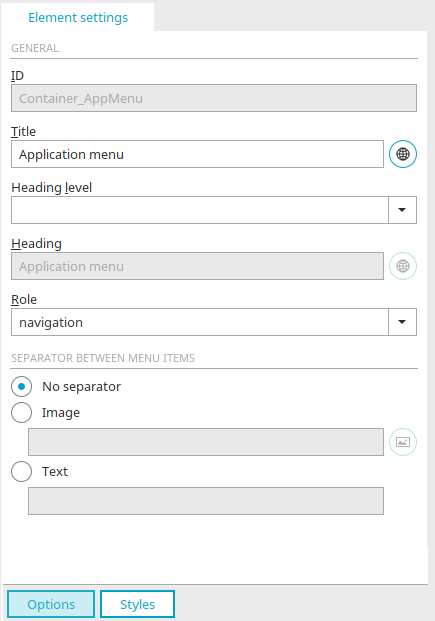
In the element settings of application menus, you will find the settings for the separators in addition to the general settings described here.
Separator between menu items
No separator
With this option, a separator will not be shown between menu items.
Image
With this option, an image of your choice can be used as the separator.
![]() Select image
Select image
Opens a dialog in which an image can be selected.
Text
With this option, text that will be displayed between the menu points can be inputted.