Layout in applications
The layout of application elements can be edited at various points in applications.
View" tab
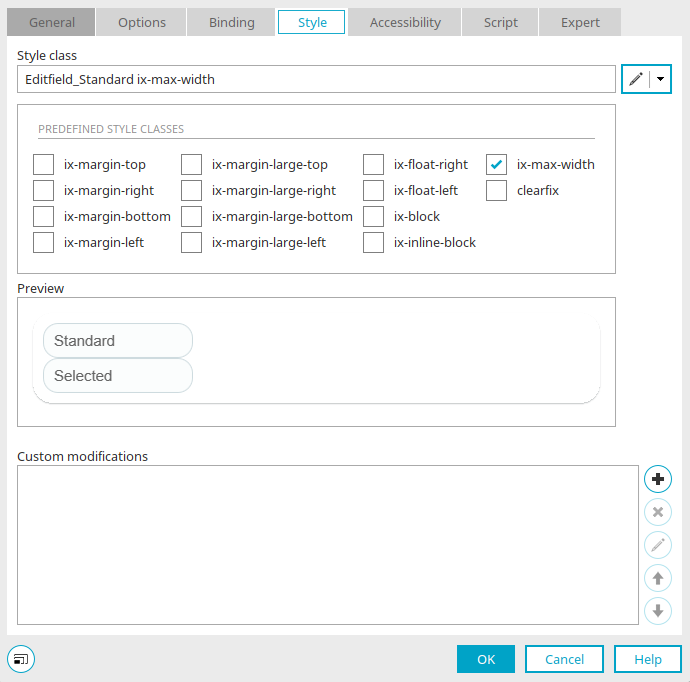
The "View" tab can be found in the properties dialog for elements. Style classes thatare defined in the "Design" module can be assigned here.
Style class
Displays the name of the selected style class.
![]() Edit style class
Edit style class
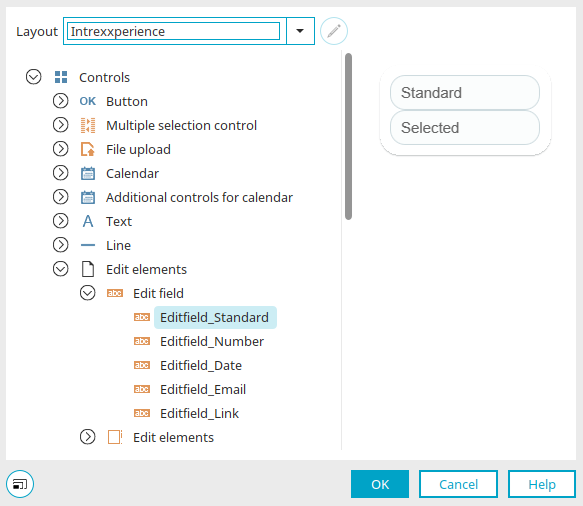
Layout
All layouts that arepublished in the currently open portal in the "Design" module can be selected here.
Style classes
Select the desired style class on the left-hand side of the dialog.
Preview
You will see a preview of the selected style class on the right.
Close the dialog by clicking on "OK", which also saves all changes here.
![]()
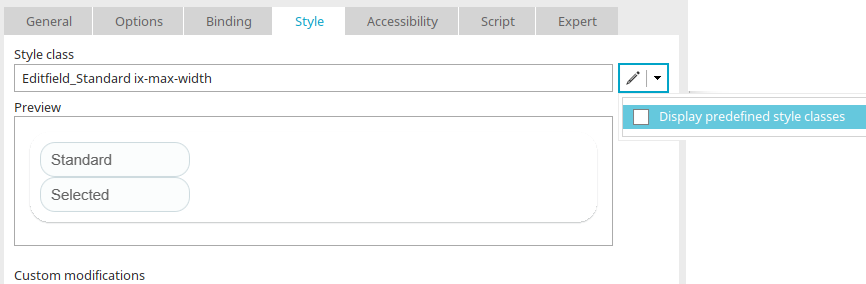
![]() Edit style class - arrow symbol
Edit style class - arrow symbol
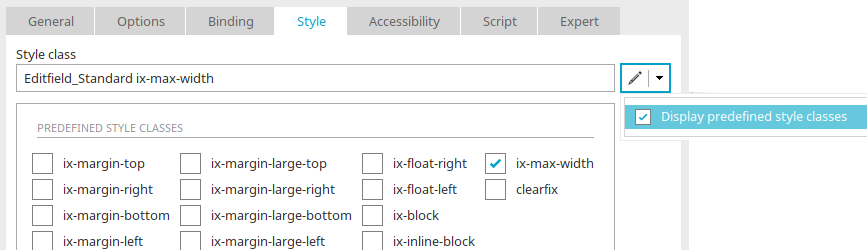
Predefined style classes can be selected via the "Show predefined style classes" menu by clicking on the corresponding checkbox. If "Show predefined style classes" is deactivated, the preview is displayed instead.
Preview
Displays a preview of the selected style class.
Individual settings
All CSS customizations are listed in the "Individual customizations" section.
![]() Add CSS rule /
Add CSS rule / ![]() Edit CSS rule
Edit CSS rule
Opens a dialog where new CSS rules can be created or existing CSS rules can be edited.
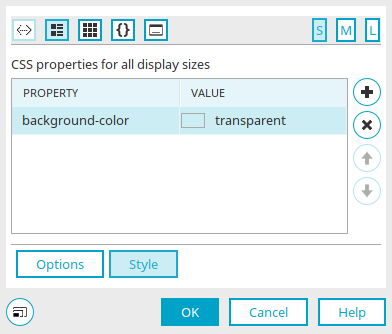
Styles
All information about the settings in the "Styles" area can be found here.
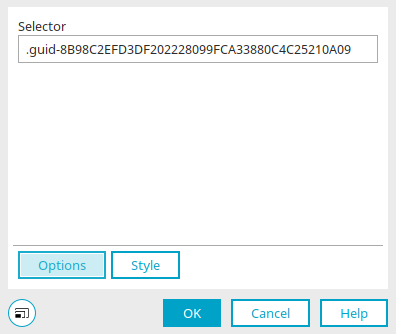
Options
The selector can be edited by clicking on the "Options" button.
Click on "OK" to save changes to CSS rules and close the dialog again.
![]() Remove CSS rule
Remove CSS rule
Removes the CSS rule from the list.
![]()
![]() Move CSS rule up / down
Move CSS rule up / down
Adjust the order of the CSS rules.
Individual styles are only valid within the application, not portal-wide.
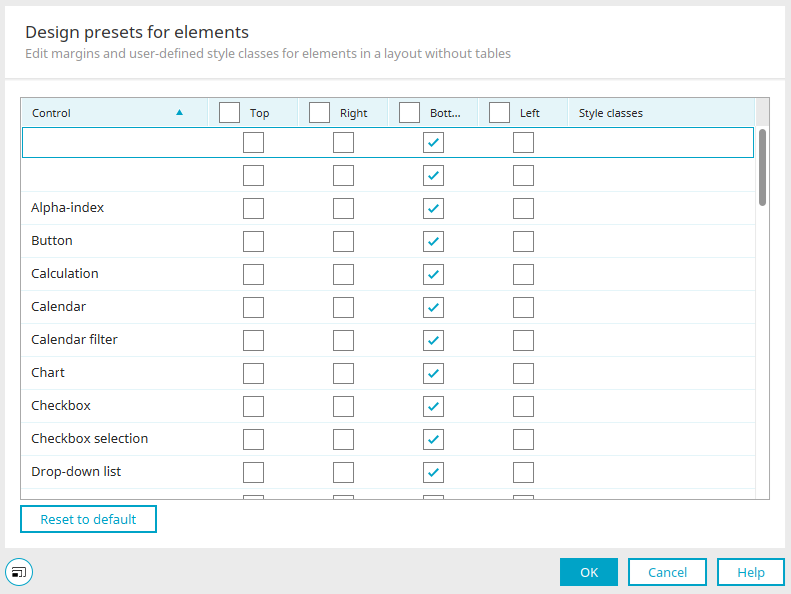
Design presets for elements
The outer spacing of elements on pages where the "Use table layout" setting is deactivated can be defined in the design settings for elements.
You can access the "Design specifications for elements" dialog via the main menu "Edit / Edit layout".
Control
This column lists all application elements for which outer spacing and style classes can be defined within a DIV container.
Top / Right / Bottom / Left
Clicking in one of the checkboxes in the column header selects all the checkboxes in the corresponding column. It is also possible to select or deselect individual checkboxes in the columns. If a checkbox in a column is selected, an outer spacing is created on the corresponding side of the element. The following style classes are initially assigned to the respective element:
-
Top
ix-margin-top
-
Right
ix-margin-right
-
Bottom
ix-margin-bottom
-
Left
ix-margin-left
The spacing size is entered in the style classes and can be edited in the "Design" module. Simply search for the name of the style class there. When creating an element in a div container, when moving or copying to a div container or when grouping, the style classes named above will be used. When moving an element with these style classes to a container that is not a DIV container or ungrouping an element, the style classes are retained.
Style classes
Each element can be assigned additional style classes here, these will be added automatically to the control when creating an element in a div container.
Please make sure that you spell style classes correctly. And please note that they are case-sensitive. If several style classes are specified, they must be separated by spaces (e.g. MyFirstClass MySecondClass). The specified style classes must be available in the portal layout in order to be used.
Reset to default
Clicking this button restores all settings to their default values.
Tooltip positioning - Appearance
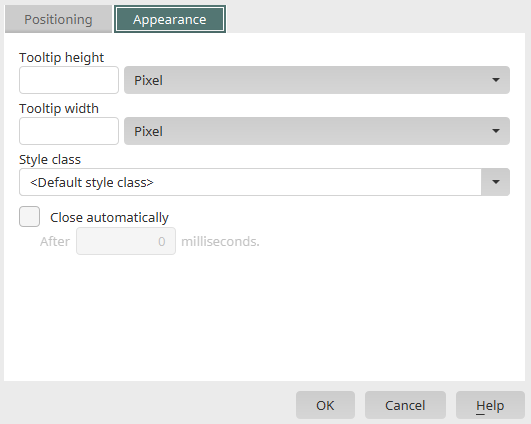
The "Display" tab can be found in the properties dialog for buttons under tooltip positioning. Style classes that aredefined in the "Design" module can be assigned here. Further information on this dialog can be found here.