Creating and editing elements
Creating new elements
To create a new element, please select an element in the "Elements" area. Drag the element that you would like to create to the desired position in the "Structure" area. A preview of the element's position is provided by the line. When you let go of the mouse button, a wizard will open that will help you configure the element.
All information about the areas in the "Design" module can be found here.
Editing element properties
The properties of elements can be edited in two ways: In the "Element settings" area or via the properties dialog, which helps you to set the most frequently required properties of the element in the form of a wizard.
Element settings
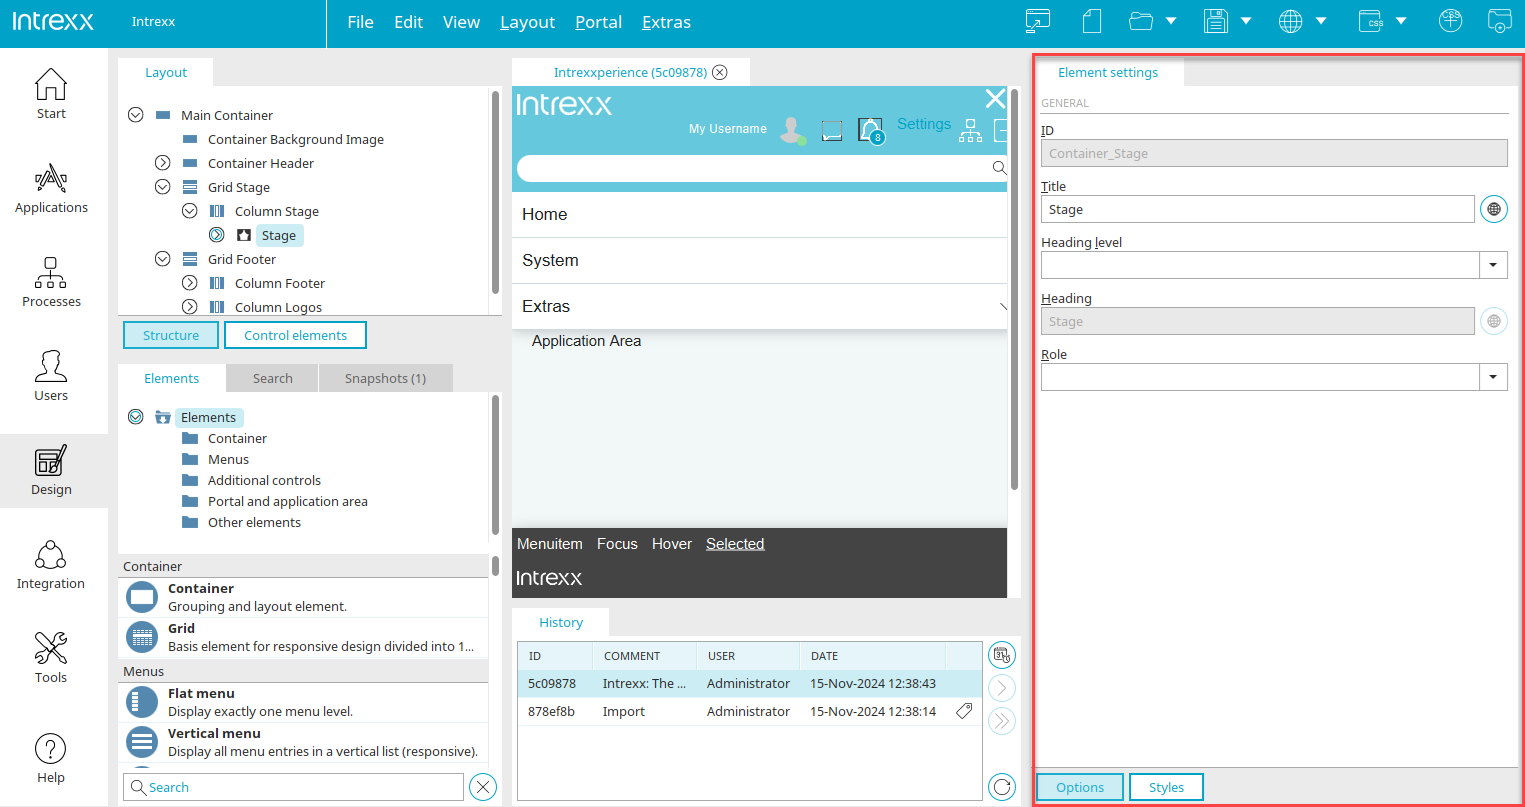
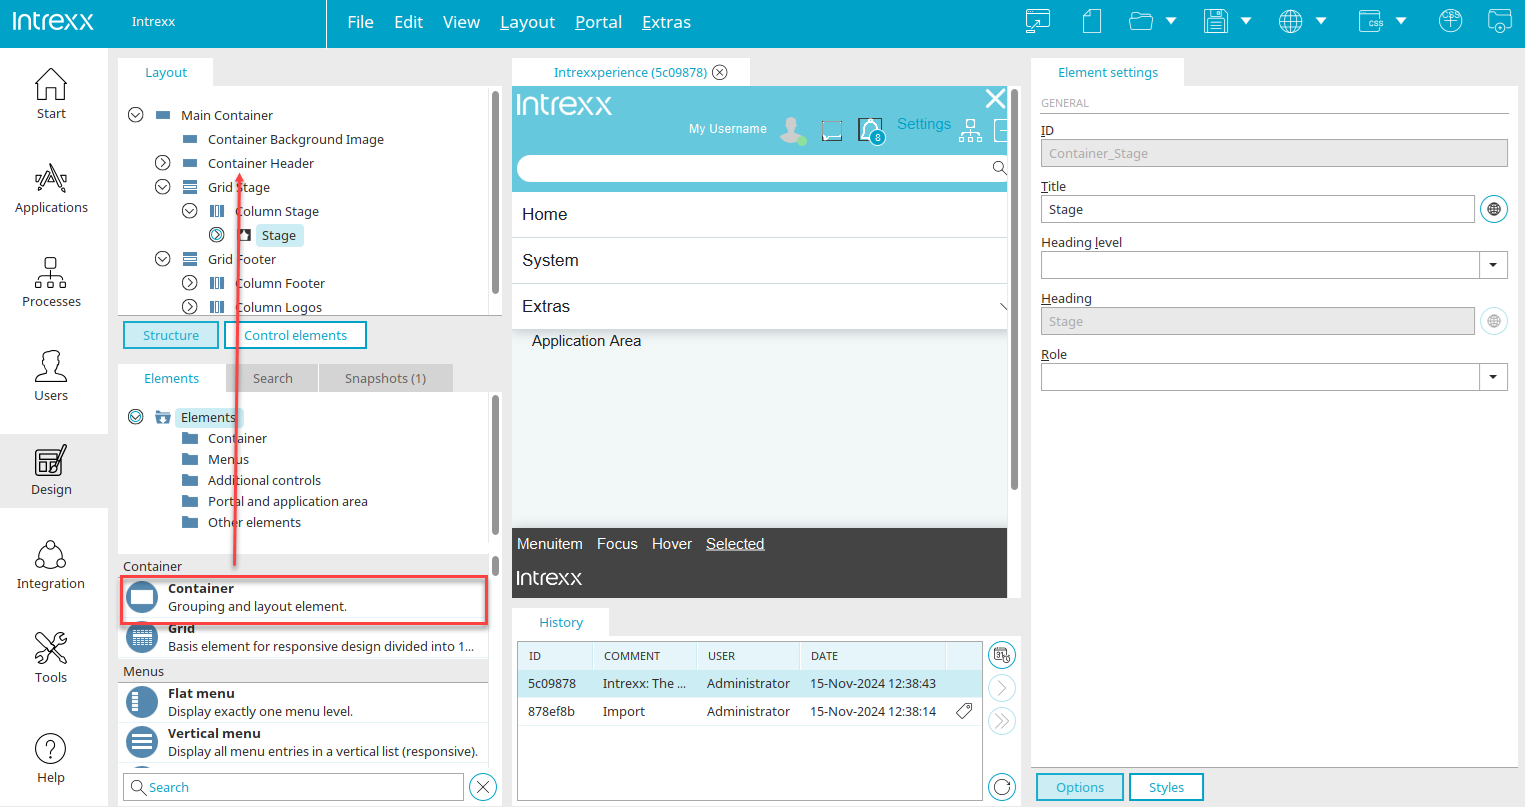
When you select a layout element in the layout structure, all the available settings for editing in the "Element settings" area are displayed.
Any other settings that can be made here in the "Options" area vary from element to element. Go to the respective element to find a description of all the other settings.
Properties
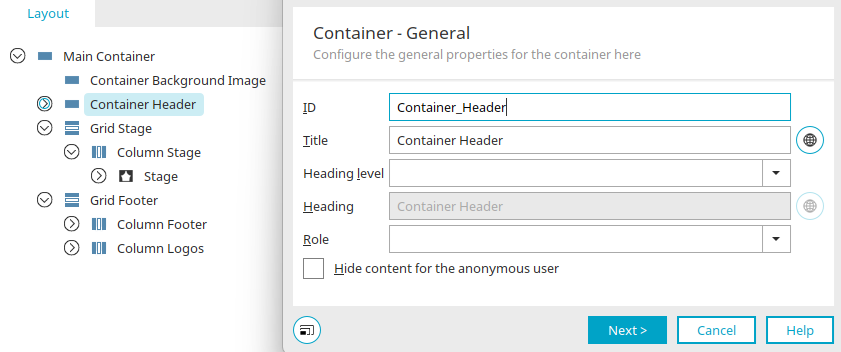
Double-click on an element in the "Layout / Structure" area to edit the element's properties in the properties dialog. A wizard appears to help you edit the element settings.
Click on "Next" to open the next dialog page on the wizard.
General settings
The following settings can be found in both the "Element settings" area and the settings dialog.
General
ID / Class
The "ID" or "class" by which an element is identified in the CSS can be found for all elements in the general part of the options. If the ID is editable here, you need to make sure that you use an ID that is unique in this layout. If you use an ID twice, your changes will be dismissed as soon as you click on another element in the workspace.
Title
You can also provide your element with a title here that will be used in all areas of the "Design" module.
Heading / Heading level
You can assign a heading level and enter a heading. The heading level has no impact on the hierarchy in the layout but will be written, as well as the heading, under the container in the HTML. This means that the heading can be used and read by screen readers and search engines.
Role
If you want to create accessible (barrier-free) pages or just want to create more transparency in your layout, you can assign a role to the element.
![]() Multilingualism
Multilingualism
Opens a dialog where each property (e.g. the title) can be defined in the different portal languages.
Appearance in the Elements area
Category overview
There is a category overview at the top of the "Elements" area. If you click on a category here, only the items from the selected category will be displayed below.
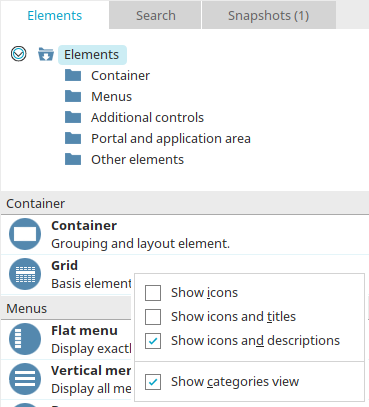
Context menu: Elements
How the elements are displayed in the "Elements" area can be changed via the context menu.
Show icons
Only the icons of the elements are shown with this option.
Show icons and titles
The elements' icons and titles are shown with this option.
Show icons and descriptions
The elements' icons and descriptions are shown with this option.
Show categories view
With this setting, the element categories will be shown in the top half of the Elements area.
Search
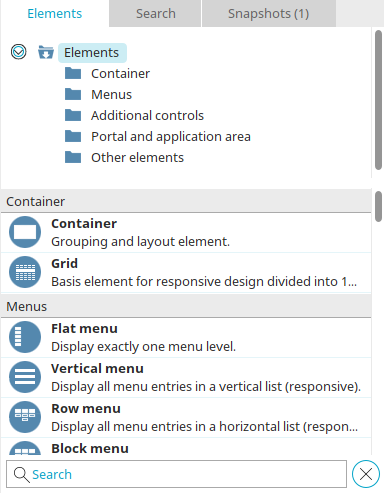
The search is at the very bottom of the "Elements" area. Enter a search term here. And the elements will be filtered based on your entry.
![]() Reset filter
Reset filter
Deletes the search term and removes the filter.