Requirements
You should have the following information available to set up the Intrexx Connector for SharePoint Server/Online:
Microsoft Azure
-
Directory ID (client); TenantID
-
Application ID (client)
-
Secret client key (value!)
Microsoft SharePoint
-
Name of the SharePoint page
-
Name of the SharePoint list
-
Name of the SharePoint document library
-
Tenant name
You will also need the following information:
-
Root URI( e.g.: https://login.microsoftonline.com)
To create a data group, you need the following information from SharePoint:
-
(Internal/technical) field names and data types of the fields you want to access.
Step-by-step guide
Proceed as follows to create the Intrexx Connector for SharePoint Server/Online:
-
Start the "Integration" module.
-
yUnder "Consume data", select the "Connector for Connector API" item.
-
Right-click on it.
-
Select "+ New data source".
The "General" dialog is opened.
General properties
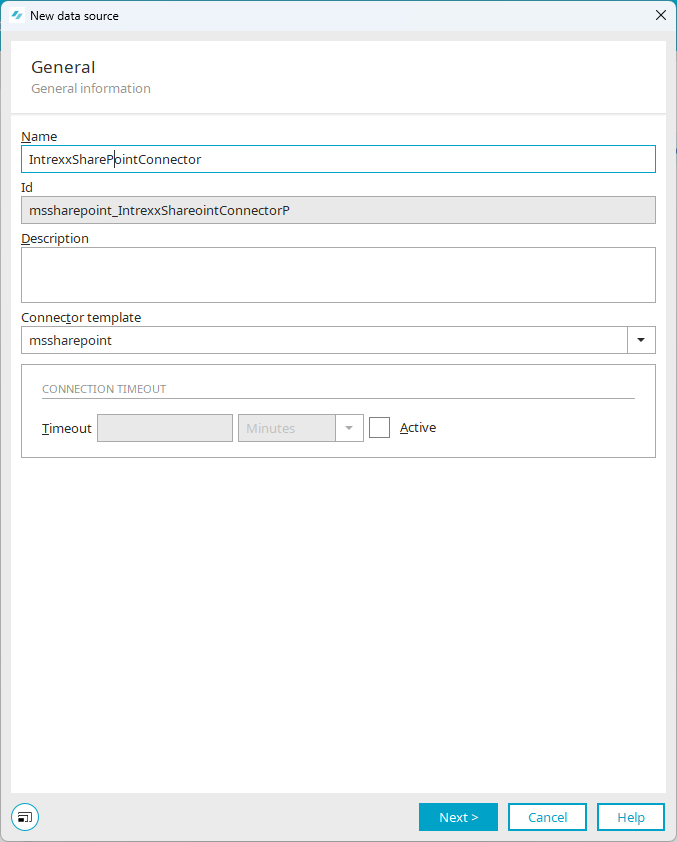
Name
Enter the name of the connection here. The name may only consist of letters [a-zA-Z], numbers [0-9], underscores and hyphens.
Displays the connector or connection ID. This is automatically composed of the connector template and the name of the connector, joined with an underscore.
Description
You can enter a description of the connector here.
Connector template
Select "mssharepoint" here.
Timeout
Enter the number of milliseconds, seconds, minutes or hours for the timeout here. Select the time unit from the drop-down list to the right of the field.
Active
The timeout settings are activated with this checkbox.
-
Click on "Next".
The "Data groups" dialog box appears.
Data groups

The data groups "SharepointFiles" and "SharepointList" have already been created. They serve as templates or examples. They contain information that you need when creating your own or additional data groups.
You can dispense with creating a data group at this point and do so after creating the Connector for SharePoint Server/Online.
Detailed information on creating a data group can be found in section Create data group in the Connector for SharePoint Server/Online.
-
Click on "Next".
The "Authentication" dialog box appears.
-
Select the value "OAUTH2" for the "Authentication type".
The fields with the required information for "OAUTH2" are displayed.
Authentication
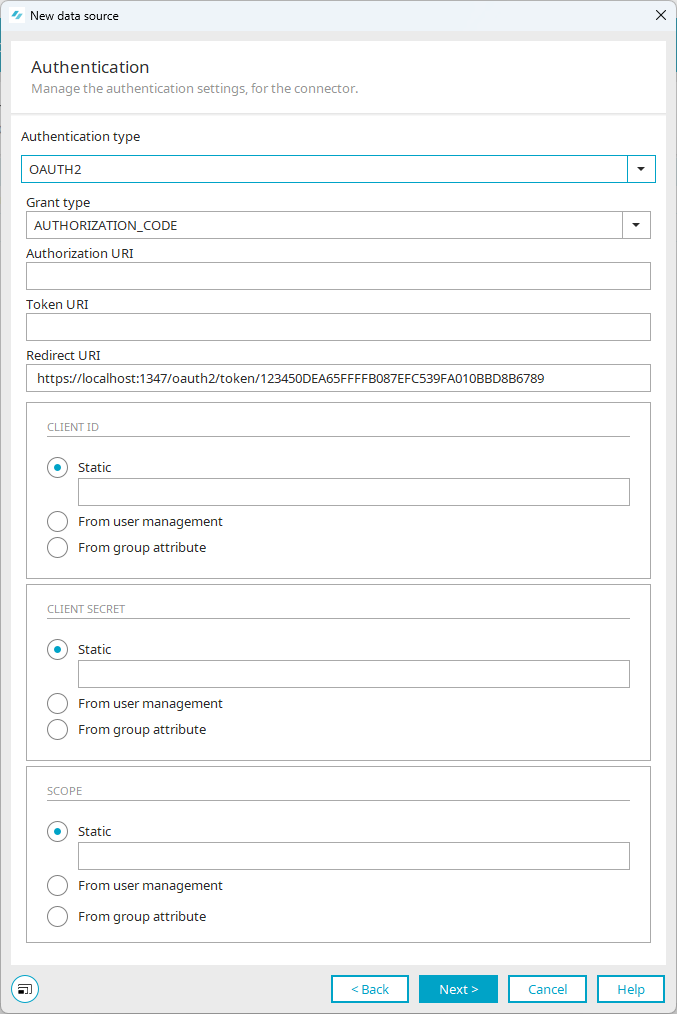
Authentication type
Select "OAUTH2" here.
Grant-Type
Select "AUTHORIZATION_CODE " here.
Authorization URI
Enter the Authorization URI here.
The Authorization URI is composed as follows:
<https://login.microsoftonline.com>/[TenantID]/oauth2/v2.0/authorize
Example
https://login.microsoftonline.com/1234e7e16-b7ee-41a3-ffff-76d9716789/oauth2/v2.0/authorize
Token URI
Enter the Token URI here.
The token URI is composed as follows:
<https://login.microsoftonline.com>/[TenantID]/oauth2/v2.0/token
Example
https://login.microsoftonline.com/12345-e16-b7ee-ffff-ak05-76d971-6789/oauth2/v2.0/token
Redirect URI
Here, the redirect URI is set automatically by Intrexx.
The redirect URI is composed as follows:
<BaseURL>/oauth2/token/<GUID of the Sharepoint Connector>
Example:
https://exampleportal.com/service/oauth2/token/123450DEA65FFFFB087EFC539FA010BBD8B6789
Base URL The base URL can be found in the main menu under "Portal > Portal properties > Front-end web server ".

GUID of Connector for SharePoint Server/Online If necessary, you can determine the GUID of Connector for SharePoint Server/Online yourself. You can find a detailed description of this in section Determine Connector for SharePoint Server/Online GUID (optional).
You must store the redirect URI (response URL) in Azure in the Intrexx Portal app. You can find a description of this in section Store redirect URI in Microsoft Azure.
Client ID
Static Enter the application ID from the IntrexxPortalApp that you have registered in Microsoft Azure here.
Client secret
Static Store the value (!) of the secret client key from the IntrexxPortalApp that you have registered in Microsoft Azure here.
Scope
Here you can define the permissions with which Intrexx users or Intrexx service accounts should access SharePoint.
Static You can enter a default value here. The Intrexx users or Intrexx service accounts then access SharePoint with the permissions that you have granted in Microsoft Azure.
If you want to use the default value, you must enter the following:
https://<TenantName>.sharepoint.com/.default
Example
https://examplecompany.sharepoint.com/.default
You can also store the permissions that you have granted in Microsoft Azure individually. The individual permissions must be separated by a space.
Further information on the authorizations in connection with Connector for SharePoint Server/Online can be found in section Specify API permissions for Intrexx Connector for SharePoint Server/Online
-
Click on "Next".
The "Service users" dialog box appears.
Service user
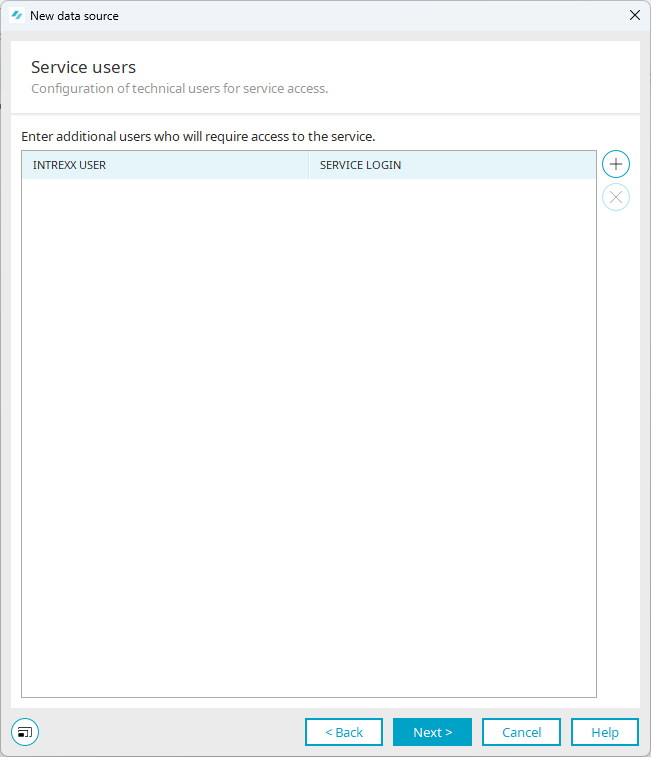
Service users offer the option of logging in to SharePoint without using a personal user. A service user is useful, for example, if an automated login to SharePoint is to take place when processes are executed. It is also possible to set up an external data group so that the login to SharePoint takes place via a service user.
Detailed information on creating and using service users can be found in the following sections:
-
Click on "Next".
The "Expert settings" dialog box appears.
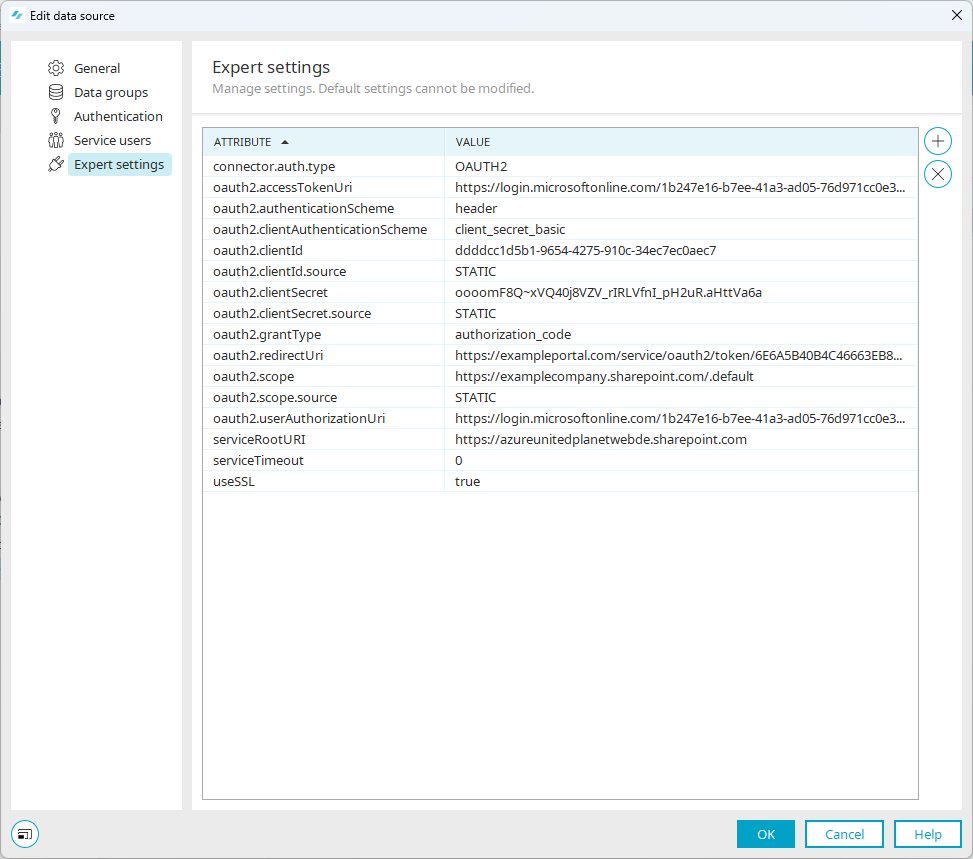
Expert settings

The following information is displayed here:
Attribute Value connector.auth.type OAUTH2 oauth2.accessTokenUri https://login.microsoftonline.com/12345e16-b7ee-41a3-ffff-76d971cc6789/oauth2/v2.0/token oauth2.authenticationScheme header oauth2.clientAuthenticationScheme client secret_basic oauth2.clientId 1234d5b1-9654-4275-ffff-34ec7ec06789 oauth2.clientId.source STATIC oauth2.clientSecret 1234~xVQ40j8VZV_ffff_pH2uR.aHtt56789 oauth2.clientSecret.source STATIC oauth2.grantType authorization_code oauth2.redirectUri https://exampleportal.com/service/oauth2/token/123435B47B25411A82E7ADA2D6C620FDDD56789 oauth2.scope https://example.sharepoint.com/.default oauth2.scope.source STATIC oauth2.userAuthorizationUri https://login.microsoftonline.com/12345e16-b7ee-ffff-ad05-76d971c6789/oauth2/v2.0/authorize serviceTimeout 0 Once the connector has been completed, more attributes are displayed.
-
Click on "Finish".
The connector is displayed.

-
Open the connector.
Further Expert settings are displayed.
-
Enter the corresponding value for the "serviceRootURI" attribute.
Attribute Value serviceRootURI https://[TenantName].sharepoint.com
The "serviceRootURI" attribute must contain the full URL of the SharePoint website.
useSSL true
Your next steps
Create data group in the Connector for SharePoint Server/Online (if not already carried out)