

Phone Book
This application allows you to manage internal and external contacts, as well as resources such as fax machines and rooms. Using the contact information, you can—among other things—launch the email client directly or make a phone call, provided the appropriate software is installed. To learn how to import the template, see: Importing Online Application Templates.
Roles
Roles are automatically created when the template is imported.
App_Phonebook_User
As a member of this role, you can view all contacts and resources, create contacts for specific categories, and delete contacts you have created yourself.
App_Phonebook_Manager
This role allows you to manage departments, positions, and categories, among other things, on the Administration page. In addition, it includes all the permissions of the App_Phonebook_User role.
To learn how to add portal users as members to these roles, see: Roles and Permissions in Application Templates.
Create a Contact

Step-by-Step
-
On the Phone Book page, click Create.
-
Select the contact type.

Contact Type: Employees and External Parties
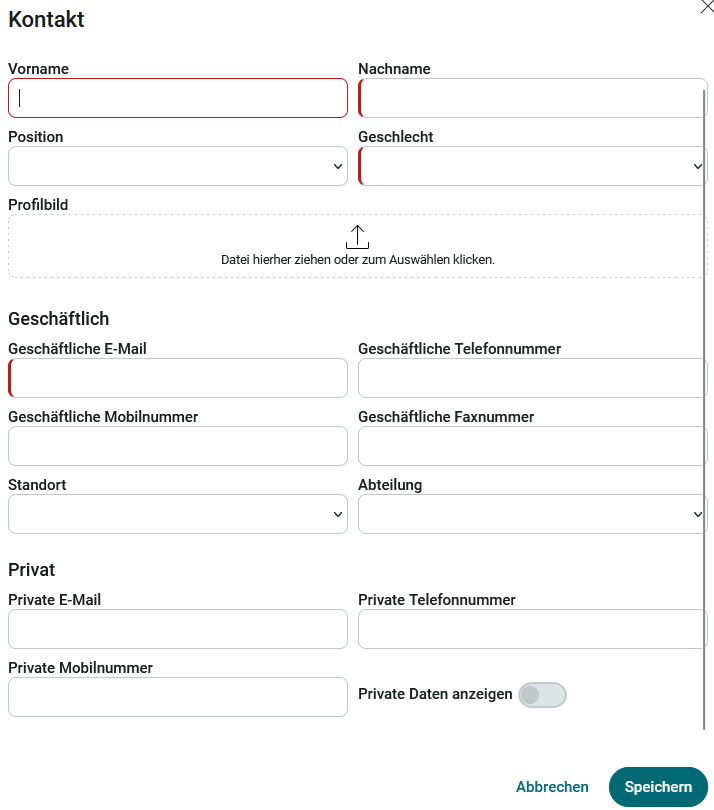
Enter the contact information here or select the desired information from the drop-down lists. The " Show Private Data " slider can be enabled, which then displays private data so that all users can see it.
Contact Type: Fax and Room
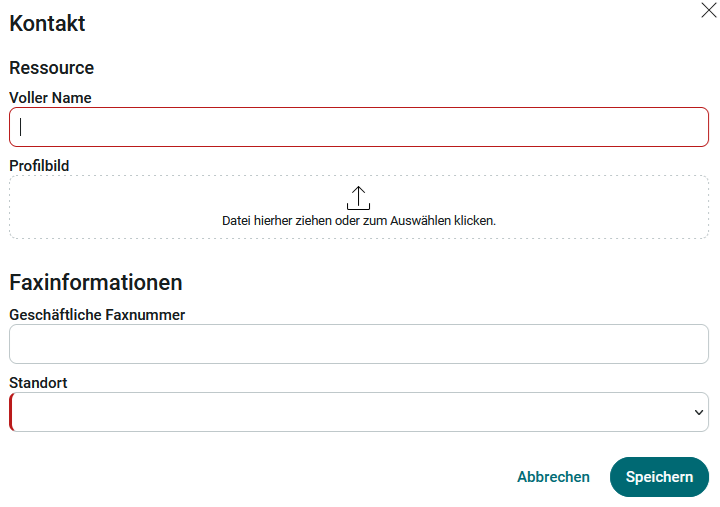
Enter the resource name and other relevant information here.
After saving, the new contacts will appear on the phone book page.
Mark Contact as a Favorite
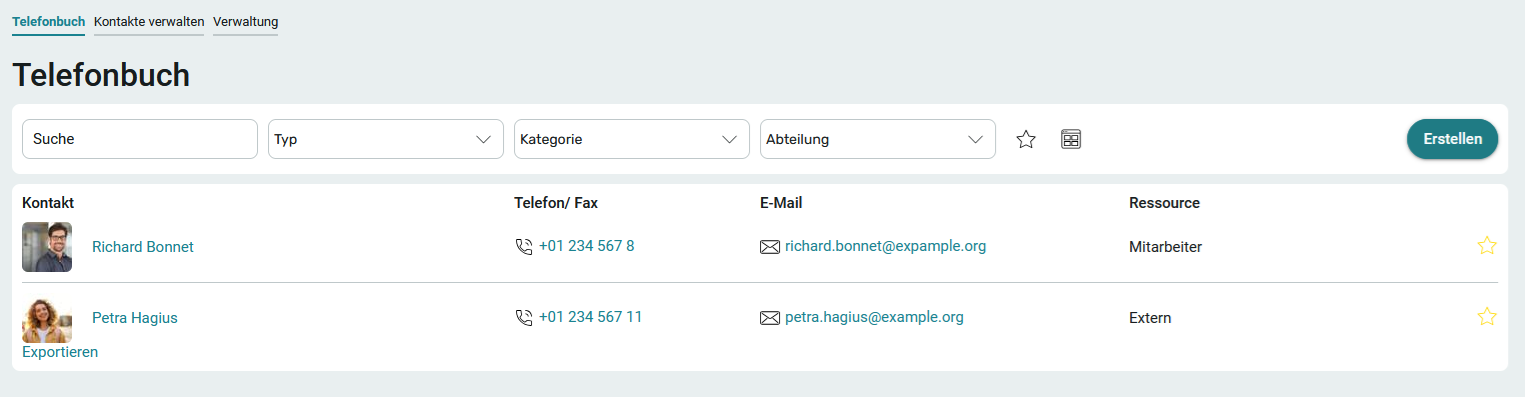
Existing contacts can be marked as favorites by clicking "  ." You'll also find the star icon above the table. Clicking it will display only the favorites in the list.
Above the table, you can switch between the  list view and the
  tile view.
Export Contacts
You can export the contacts in the list in various formats by clicking the " Export " link. For more information, see here:View Table / Export.
Edit and Delete Contacts
Click on a contact's name.
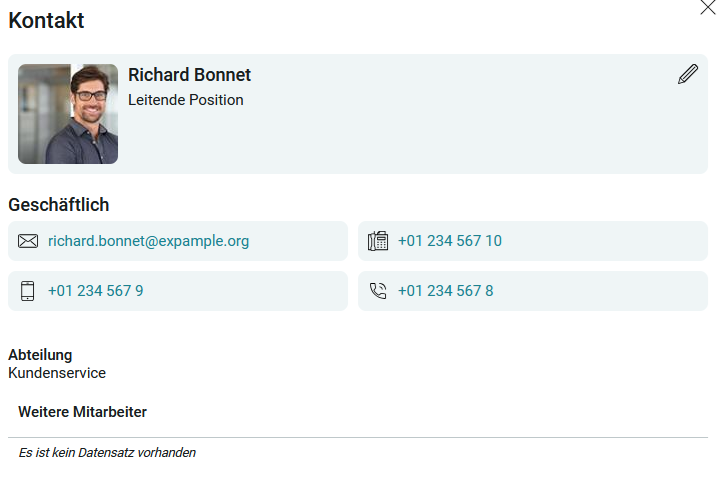
The contact details are displayed here. Click " Edit" next to "  ."
."
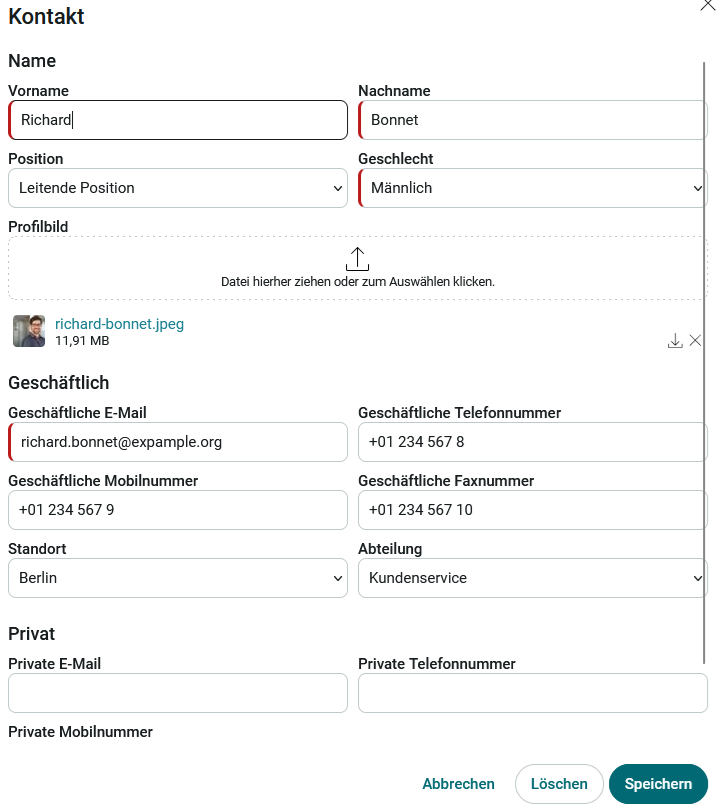
The input page appears, where you can edit the data. The contact can also be deleted. Members of the App_Phonebook_User role can only edit and delete the contacts they have created themselves.
Manage Contacts
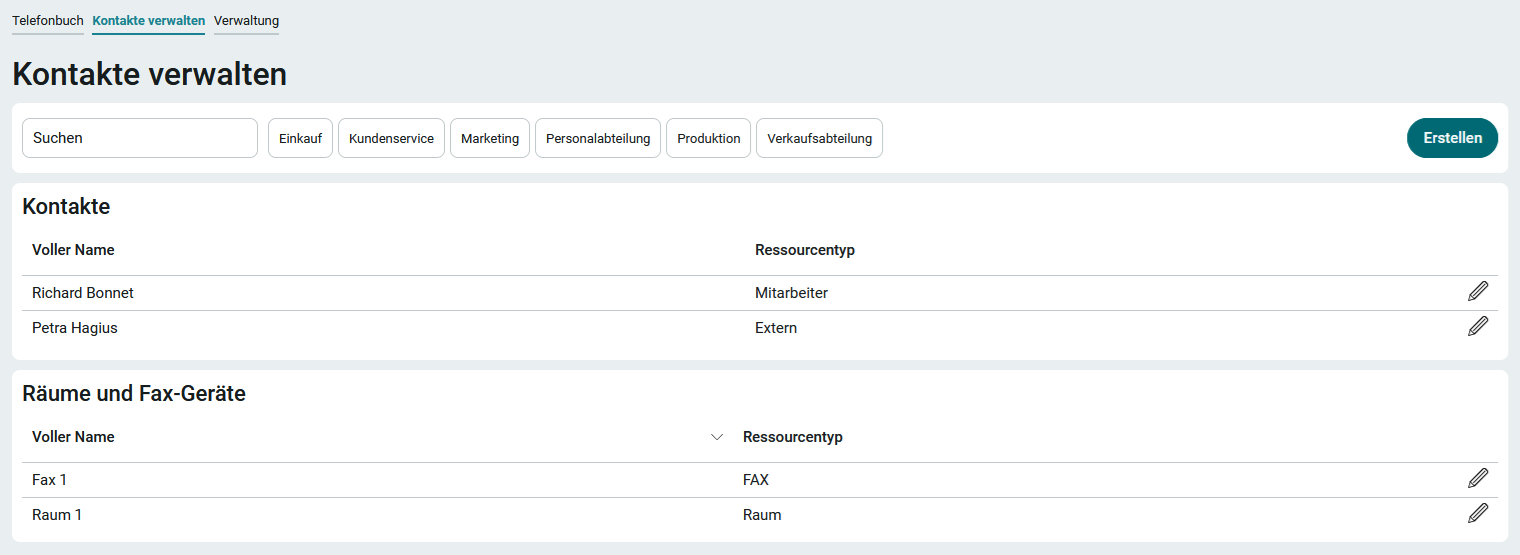
On this page, users with the appropriate permissions can manage all contacts, rooms, and fax machines. By clicking Create , you can create them in the same way as on the Phone Book page; by clicking Edit you can edit or delete them.
Synchronize Contacts
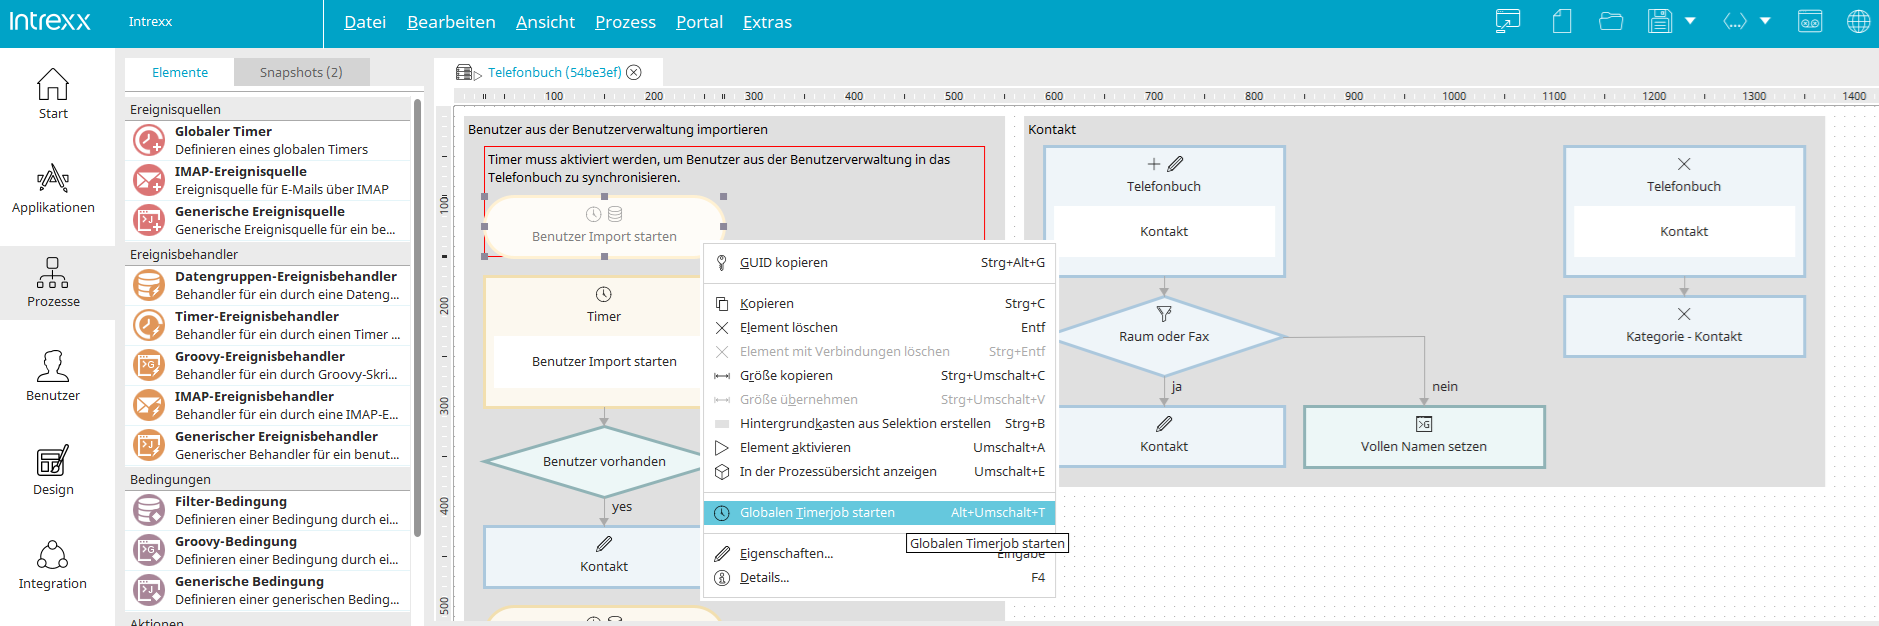
The phone book can be synchronized with the Intrexx portal's user management system. The users listed there will then be automatically added to the phone book. Synchronization is initiated by a global timer in the associated Phone Book process.
To start the timer, open the " Phone Book " process in Intrexx Portal Manager. There, in the upper-left corner, you'll find " Start Global User Import." Right-clicking on the timer opens the context menu. Select the " Start Global Timer" menu item there.
Imported users are updated regularly and automatically. Users who are no longer listed in User Management or who have been deactivated will also be deleted from the phone book.
Administration
Departments
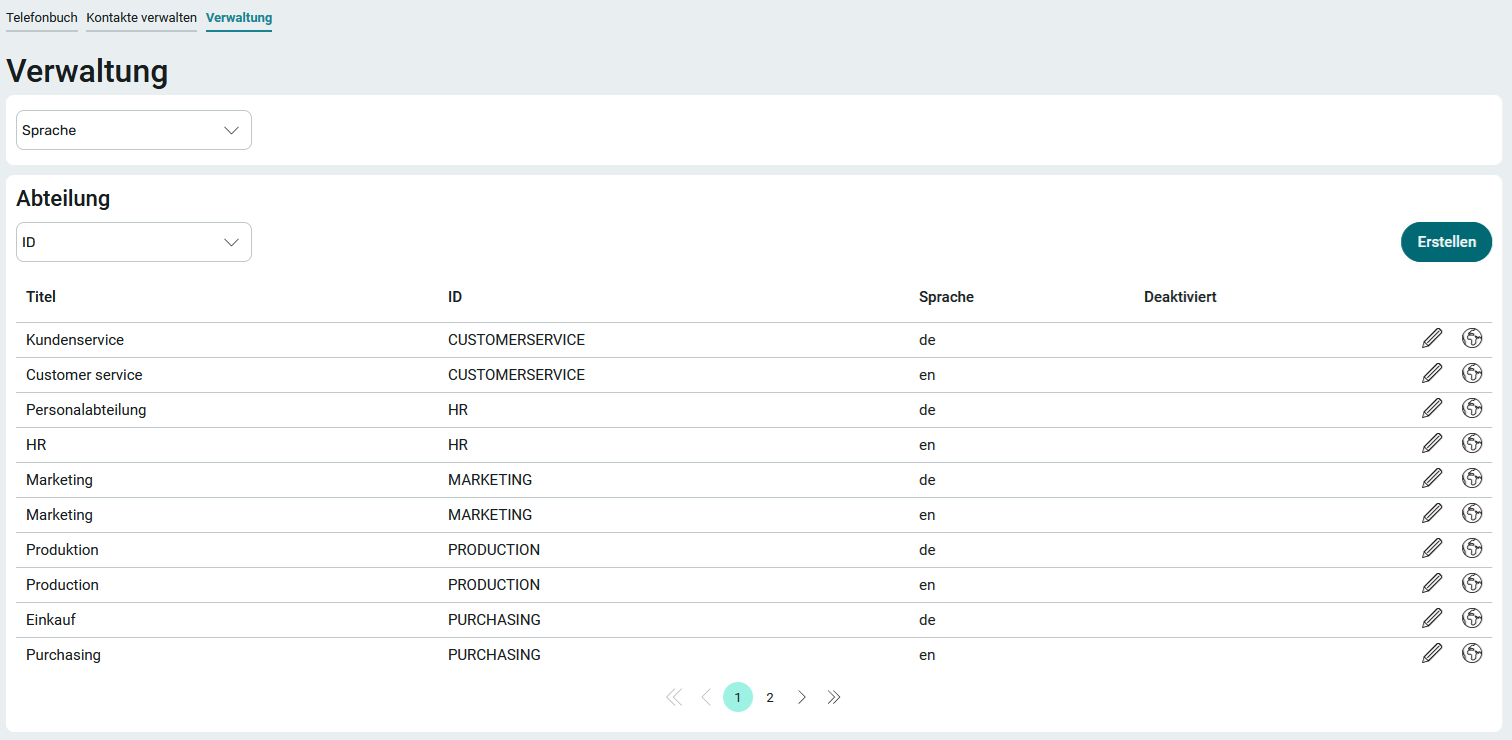
You can select departments on the Phone Book page and use them as filters for the contact list. In addition, the department can be selected when creating employee records.
Click Create to create a new department.
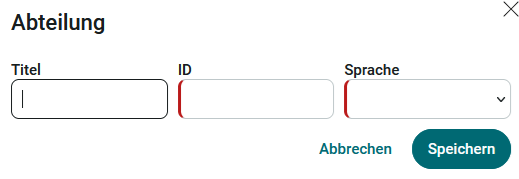
Enter a title and an ID. You can use any characters you like for the ID.
Once saved, the ID cannot be changed. Select the language you want and click Save.
You can edit a department by clicking " Edit " under " ."
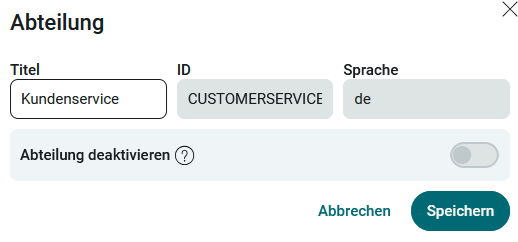
The ID and language cannot be edited later. Departments cannot be deleted directly. They must first be disabled here. If there are no longer any references to the department, it is automatically deleted by the associated process, which runs on a regular schedule.
Additional language versions can be created for existing departments. This section can be translated into another language. You can find all the information on this topic here: Multilingualism.
Categories
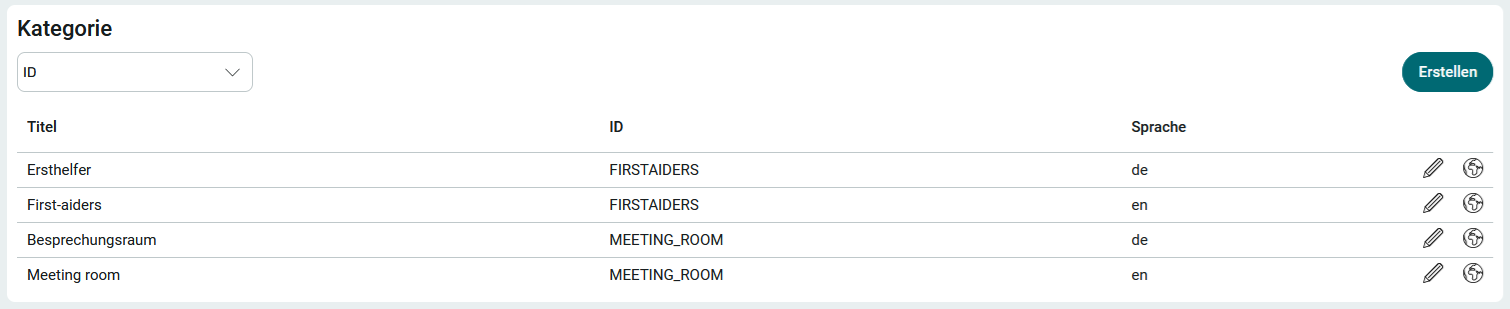
You can select categories on the Phone Book page and use them as filters for the contact list.
Click Create to create a new category.
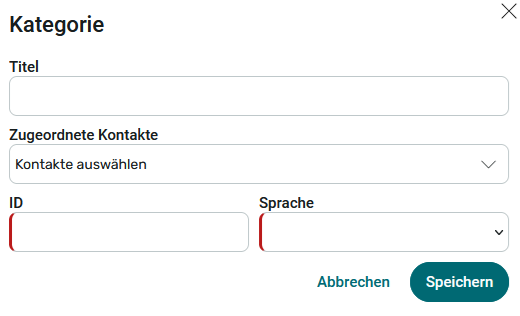
Enter a title and an ID. You can use any characters you like for the ID. Once saved, the ID cannot be changed.
Contacts can be assigned to "Assigned Contacts." The list of categories can then be filtered by category and displays the associated contacts when a category is being edited.
Select the language you want and click Save.
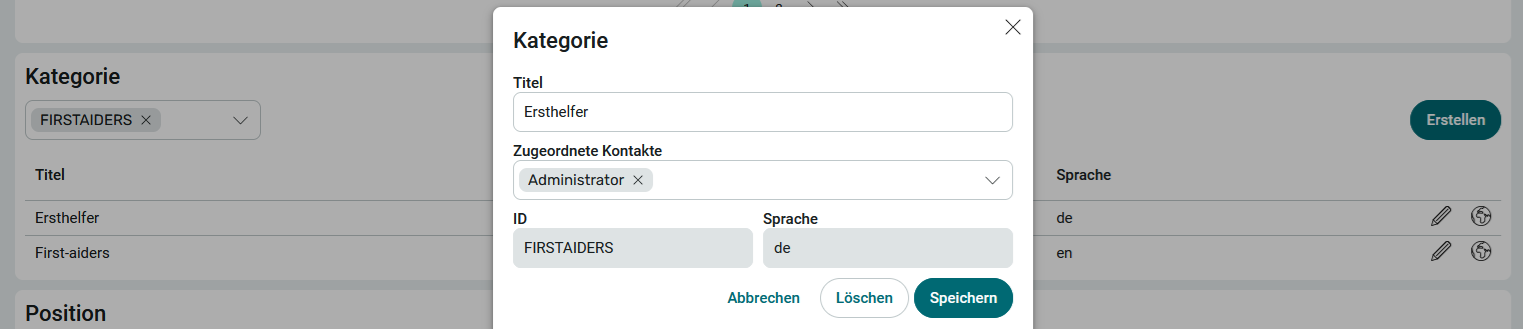
Categories can be edited in the same way as departments and can also be entered in multiple languages.
Positions
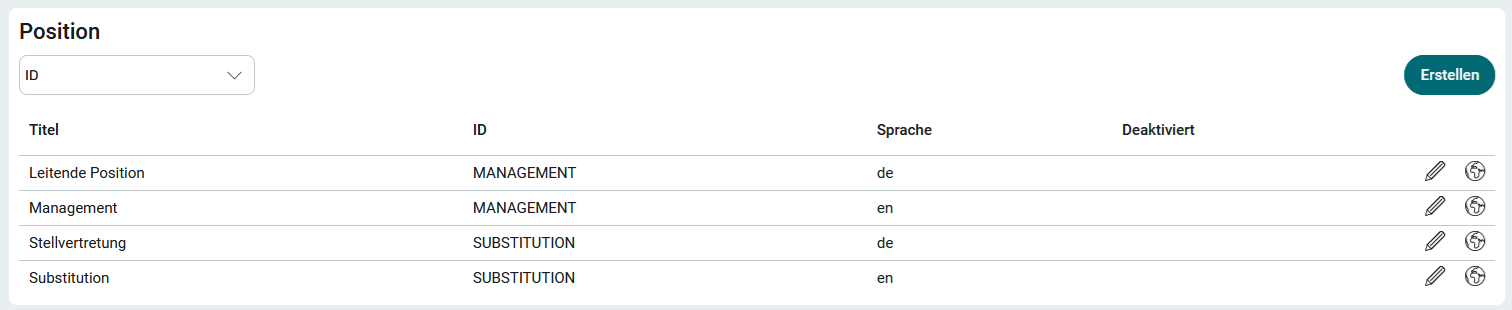
Positions can be created, edited, and entered in multiple languages in the same way as departments. They can be selected when creating employee and external user records.
Resource Types
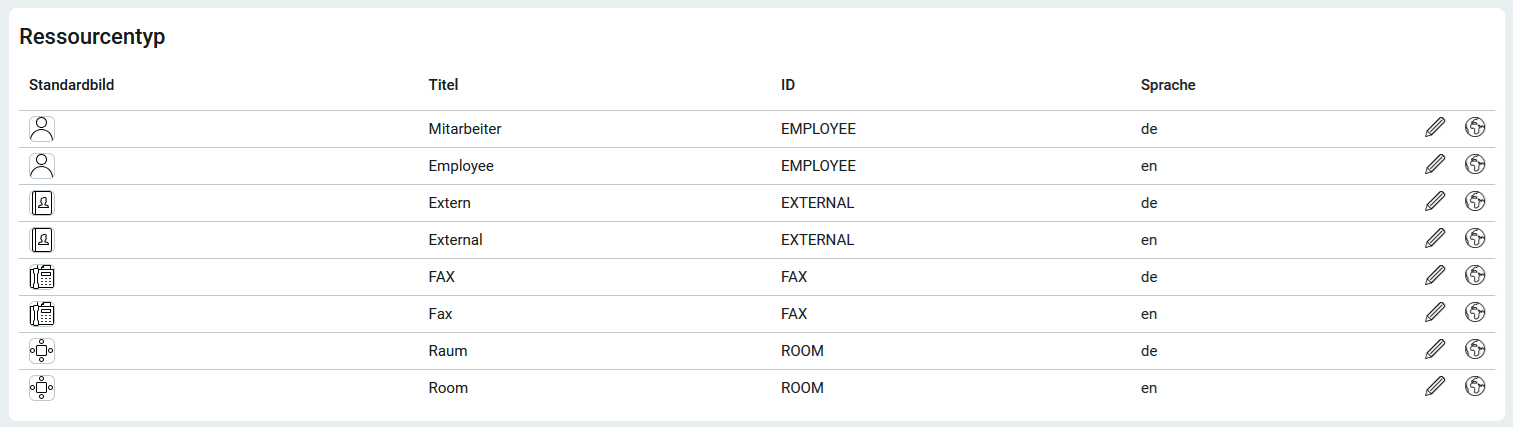
Resource types correspond to the options "Employee," "External," "Fax," and "Room" that you can select when creating contacts. New resource types cannot be created. Here, you can change the title and image of a resource type in the same way as you would for departments. In addition, another language variant can be added. You can find all the information on this topic here: Multilingualism.