Tips & Tricks - Page Wizard
This post shows how you can use the Page wizard to create attractive responsive apps quickly and easily.
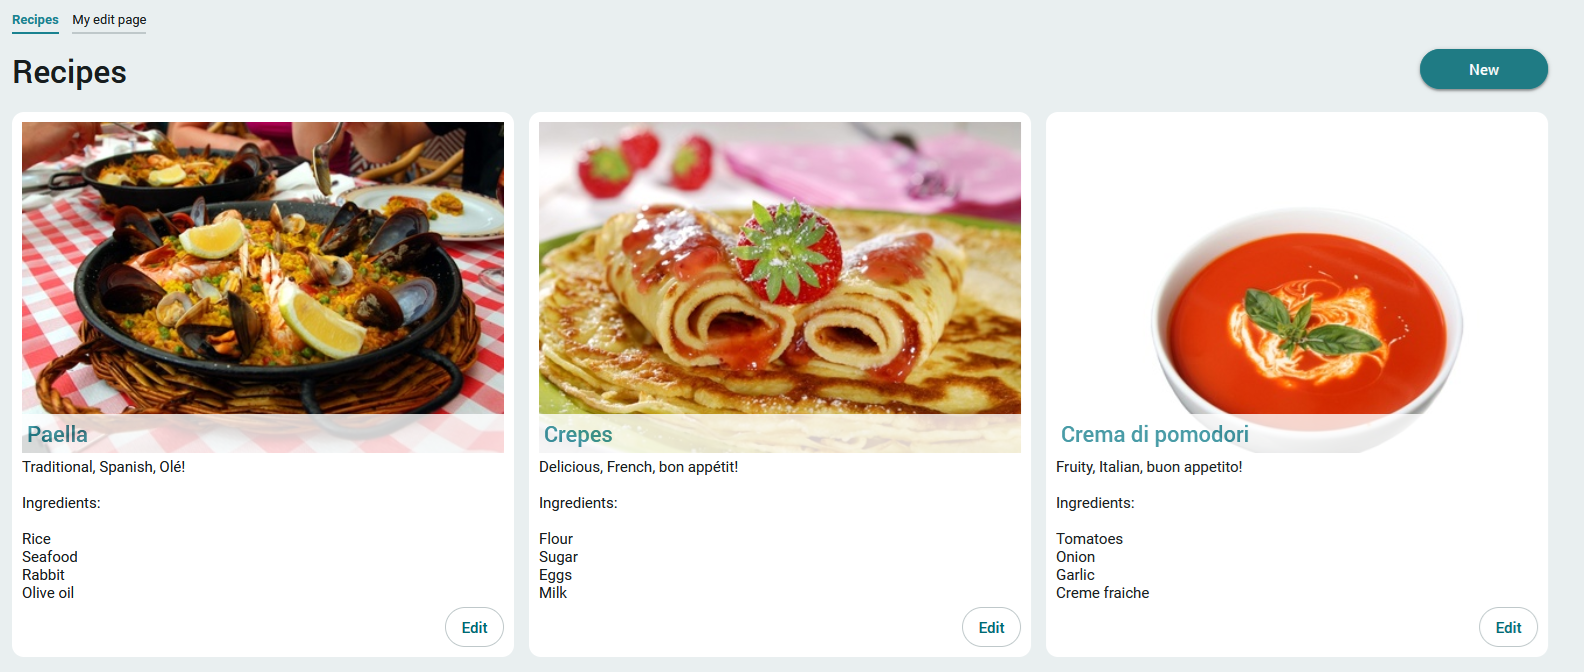
Here you can see the overview page of a recipe application created with the Page wizard.
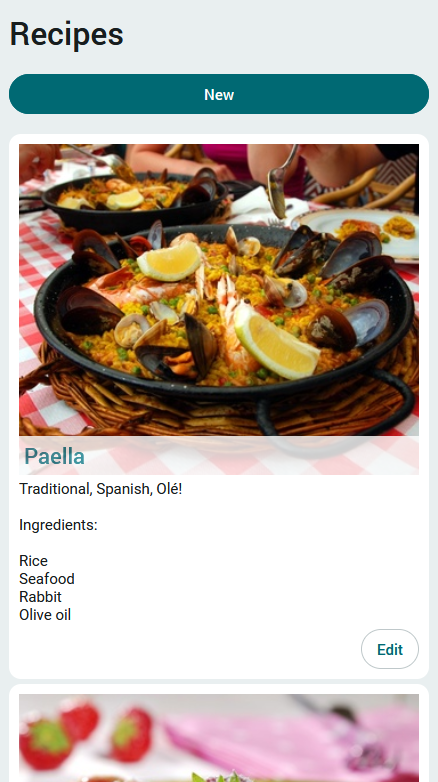
It adapts perfectly to different screen sizes.
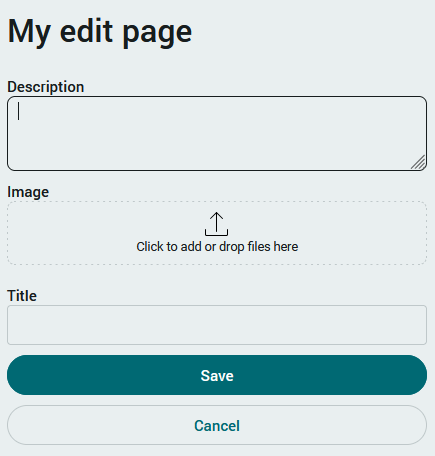
This also applies to the edit page we created with the Page wizard.
Create overview page
In the Portal Manager, the following steps are performed in the "Applications" module:
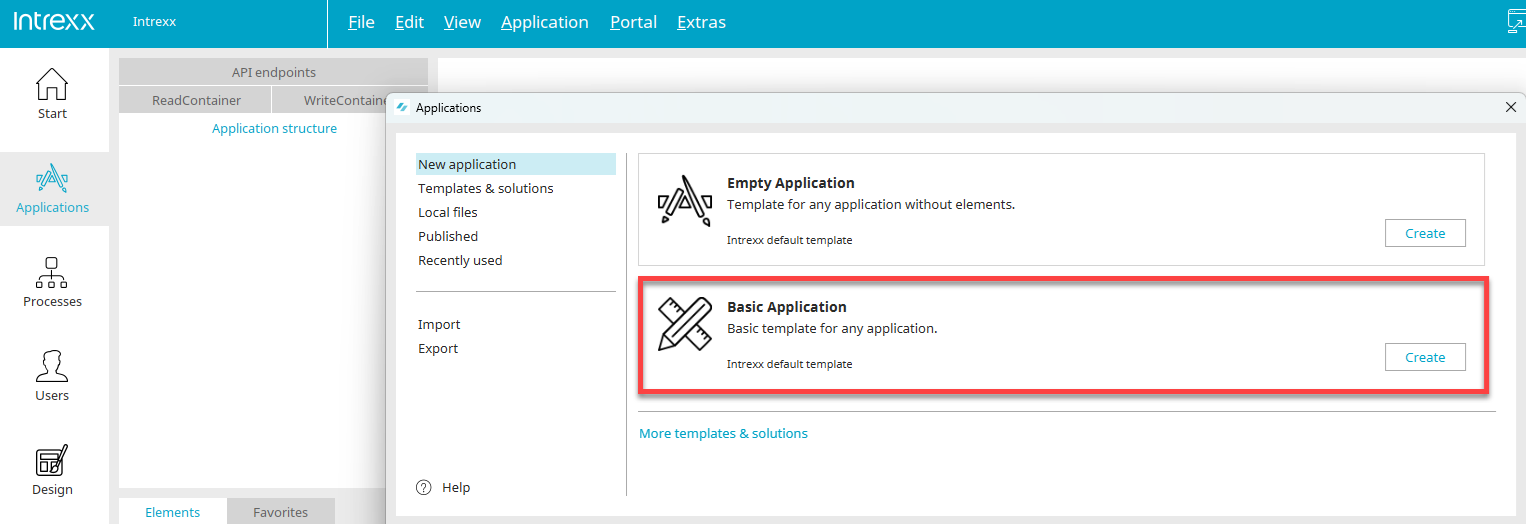
1. Create a new application based on the "Basic application" template.
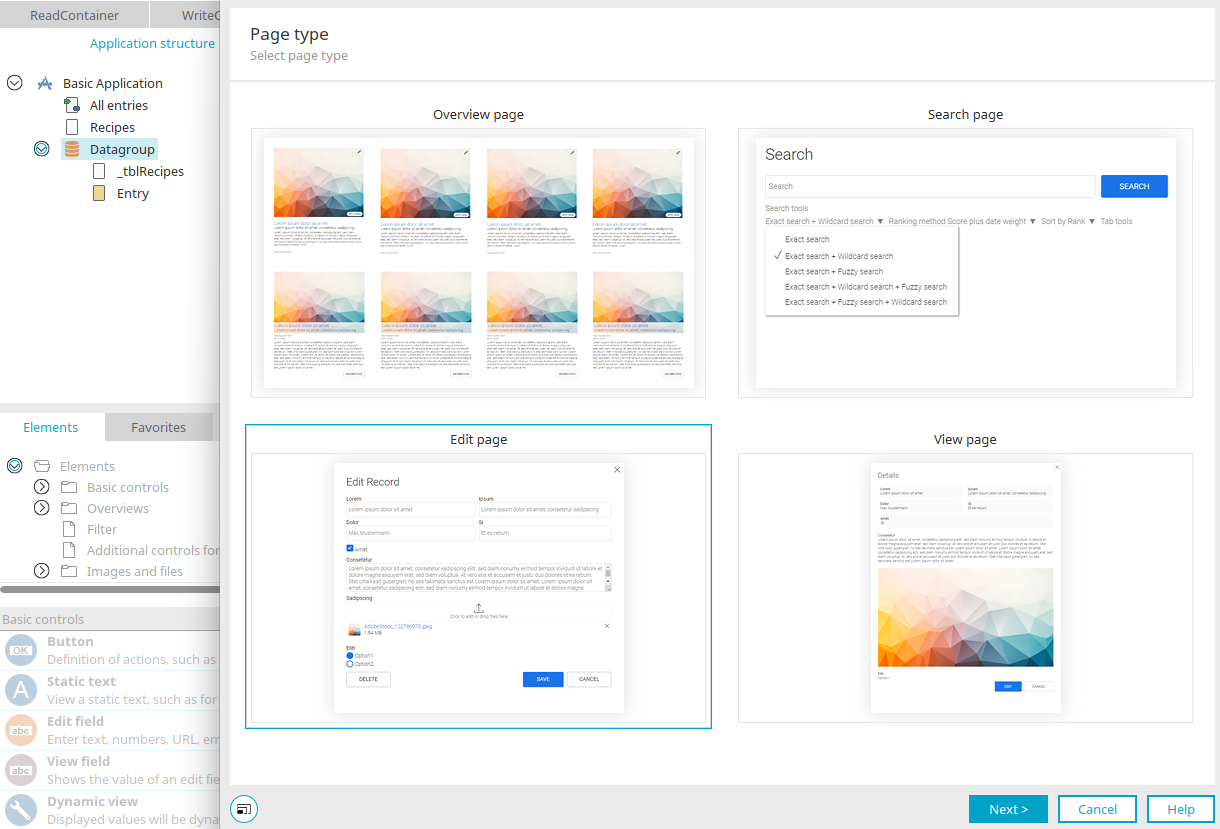
1. Select the "Create page with wizard" context menu of the application node.
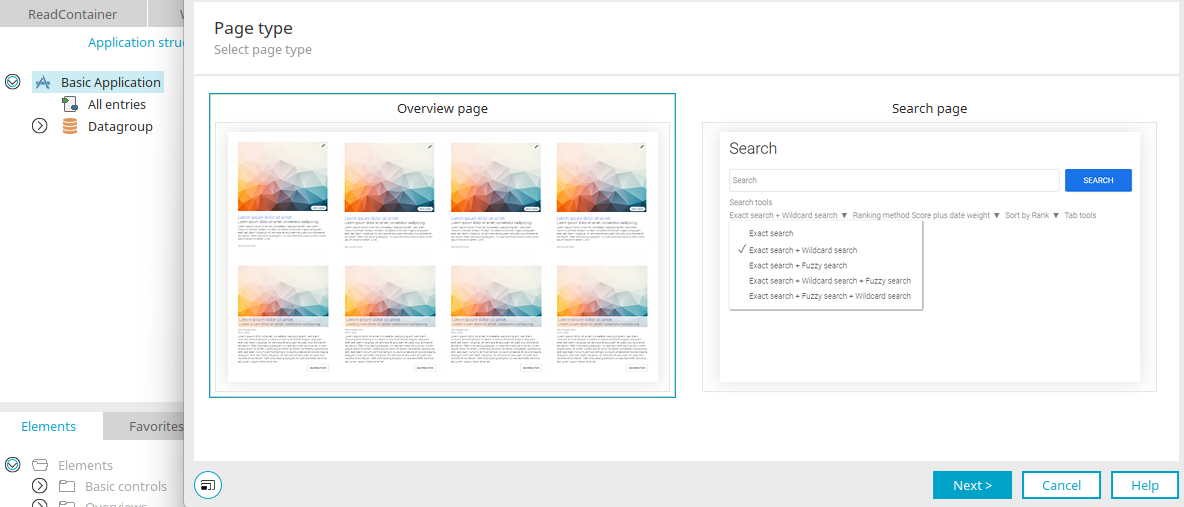
2. Then select "Overview page" in the dialog and click "Next".
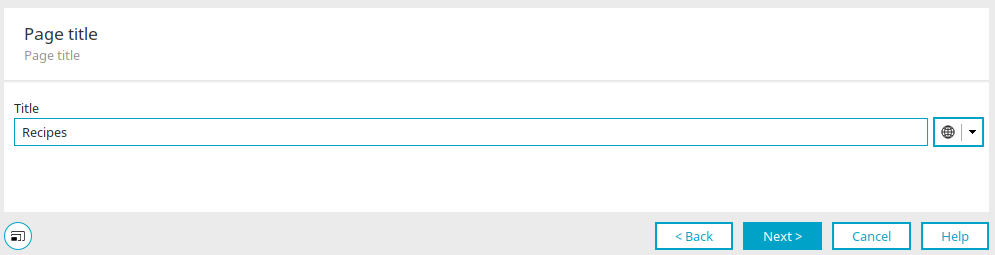
3. Enter "Recipes" as the title and click "Next".
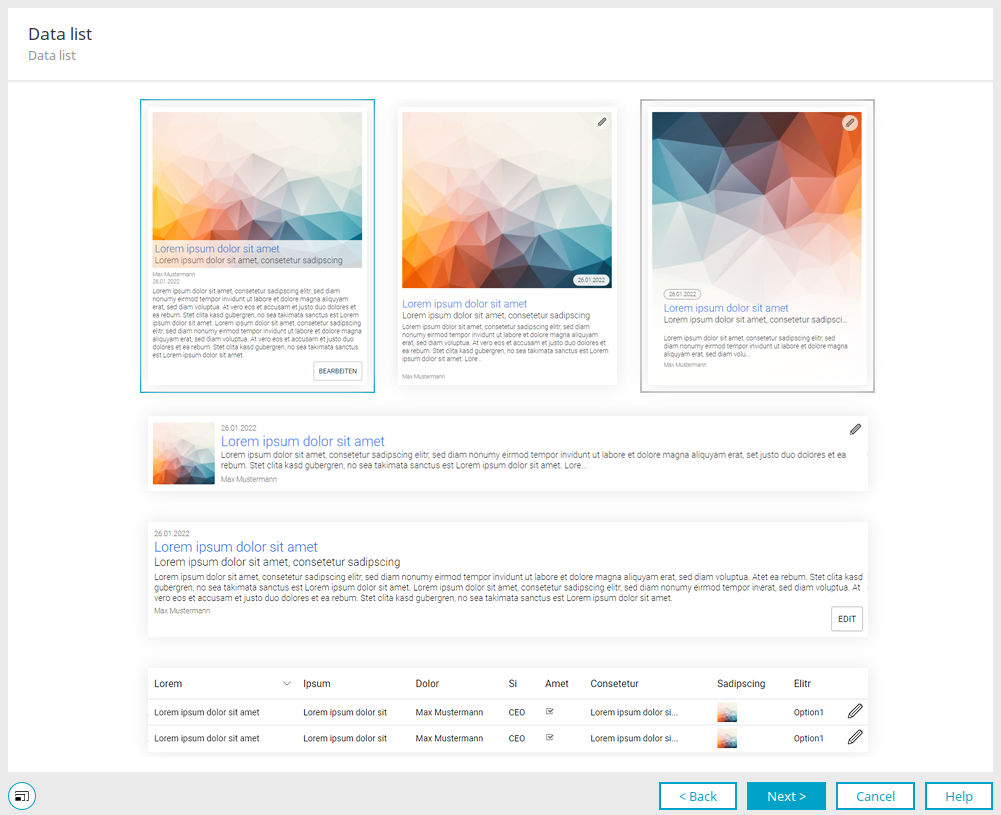
4. Select the first type of data list at the top left and click "Next".

5. Click on "Title" here.
6. In the dialog that opens, select the "Title" data field and click "OK".
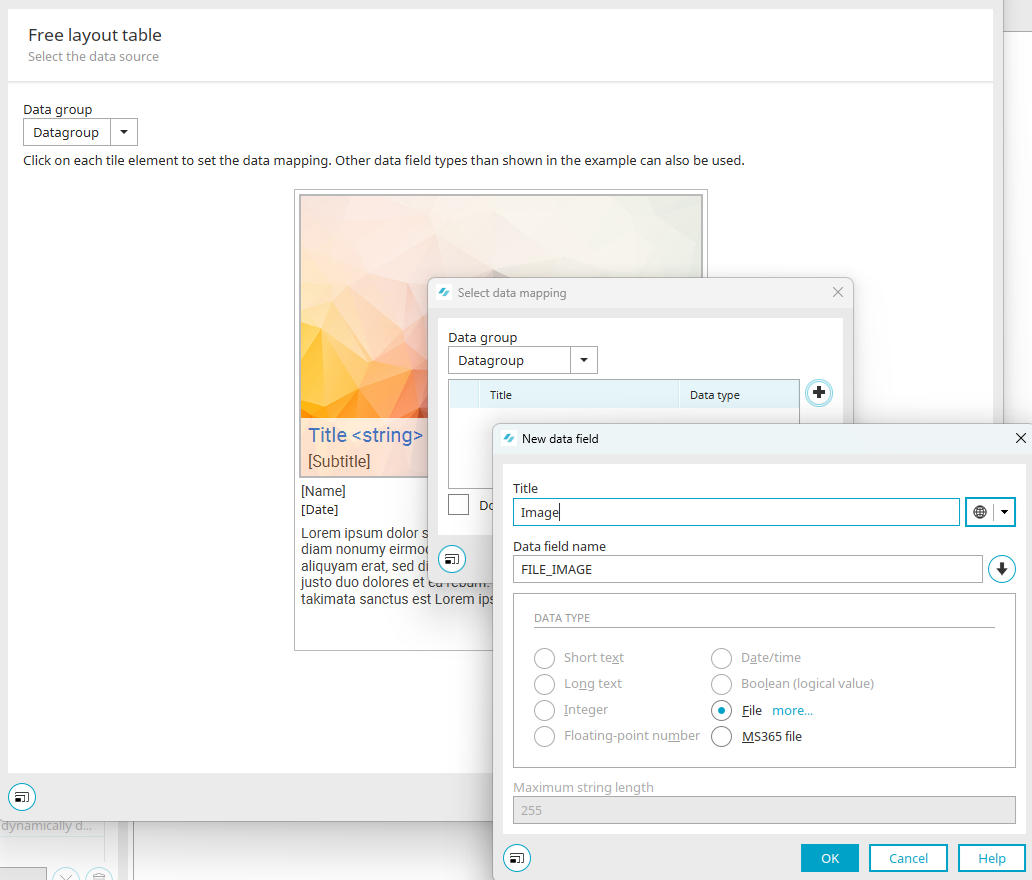
7. Click on the picture.
8. In the dialog that then opens, click on ![]() "Add".
"Add".
9. Enter "Image" in the "Title" field.
10. Close both dialogs by clicking on "OK".
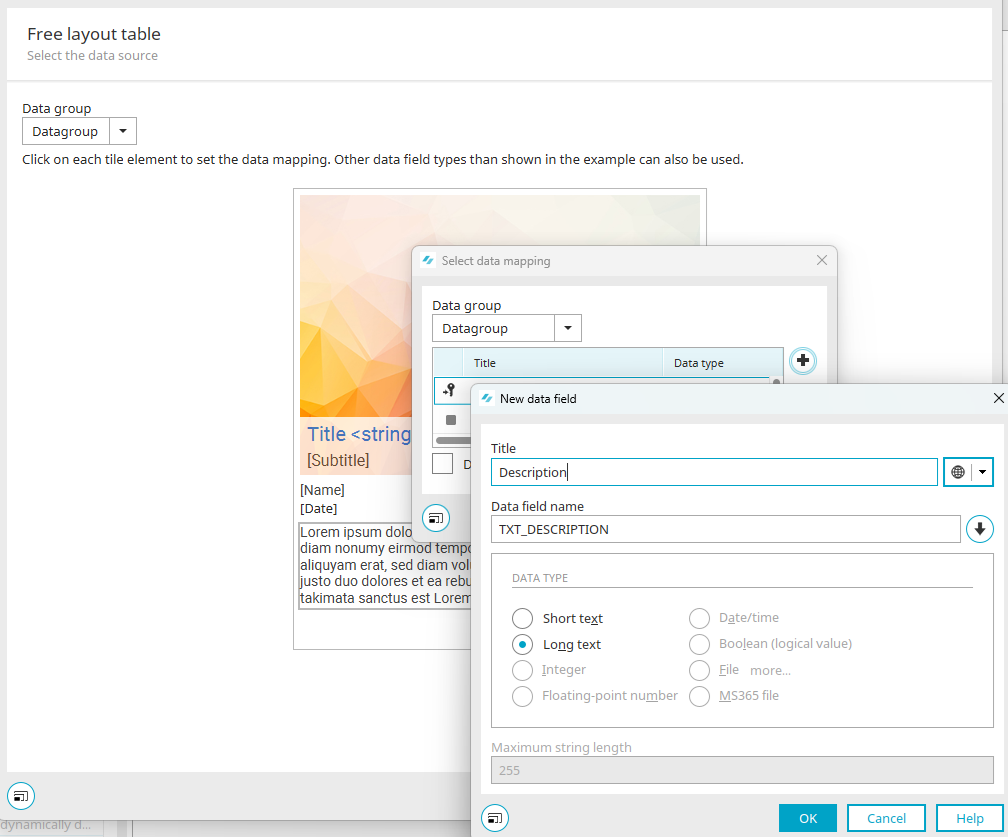
11. Click on the sample text (Lorem Ipsum...).
12. In the dialog that then opens, click on ![]() "Add".
"Add".
13. Enter "Description" as the title in the dialog that then opens.
14. Close both dialogs by clicking on "OK".
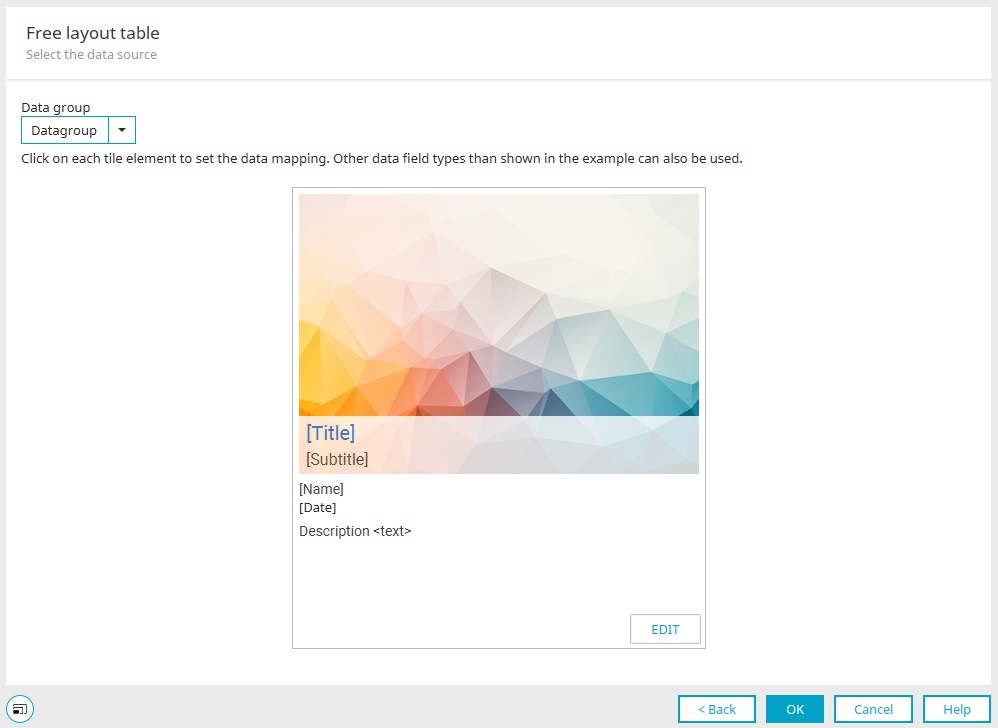
15. Click on "OK" here.
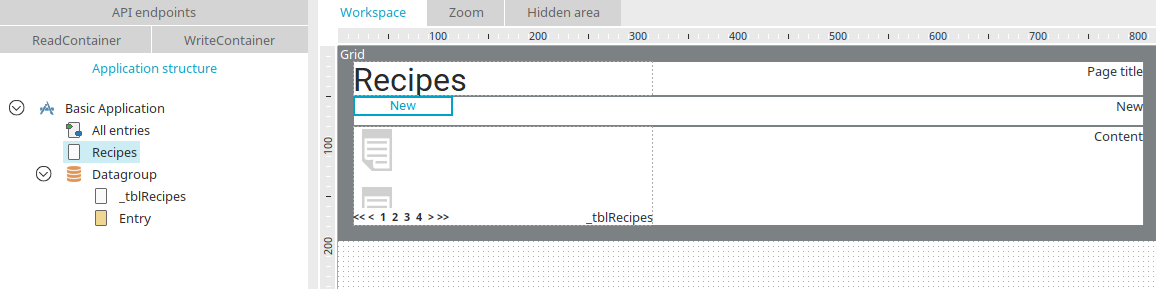
The "Recipes" overview page is now created.
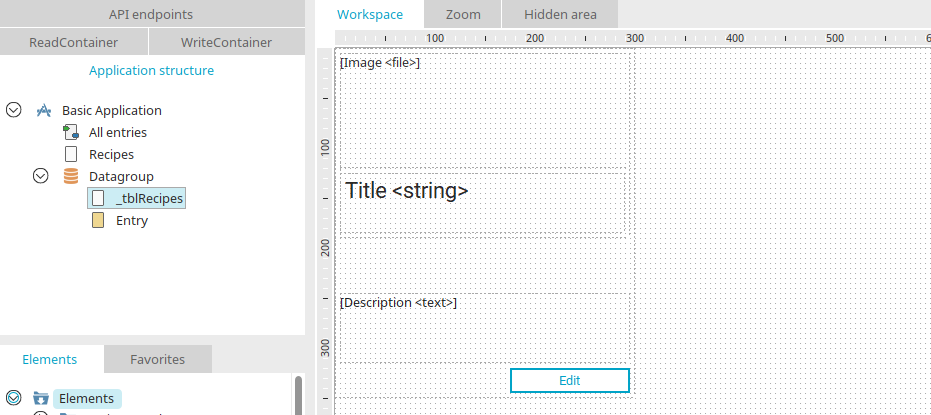
The page "_tblRecipes" in the data group is the view page that is integrated in the free layout table on the overview page "Recipes". It was also created by the Page wizard.
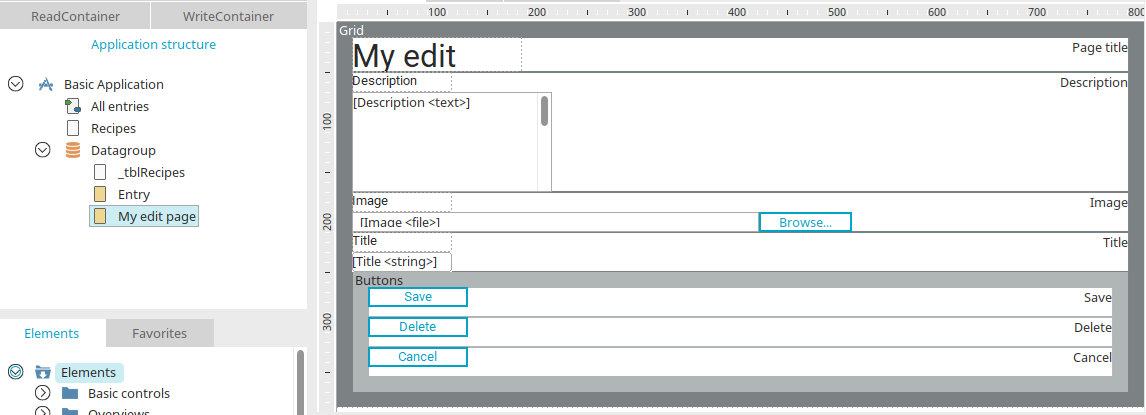
Create edit page
1. The "Create page with wizard" context menu of the data group is used to select "Input page" as the page type.

2. The title of the page can be entered in the next step. Click "Next".
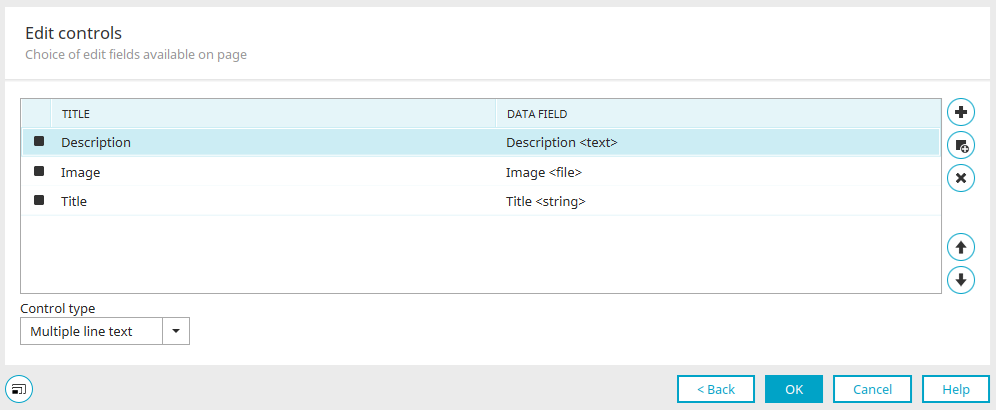
3. By clicking on ![]() "Add control", the image, title and description are added to the page as input elements.
"Add control", the image, title and description are added to the page as input elements.
Click "OK" to close the dialog and create the new edit page.
Pages in the application menu
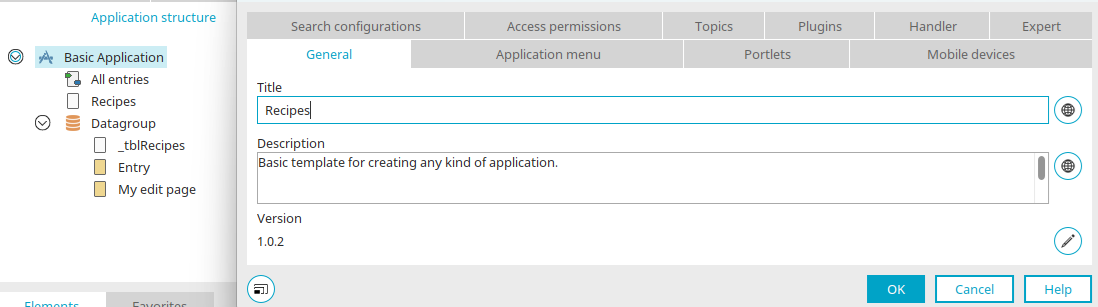
1. Open the properties dialog of the application by double-clicking on the application node.
2. The title of the application can be changed to "Recipes" here.
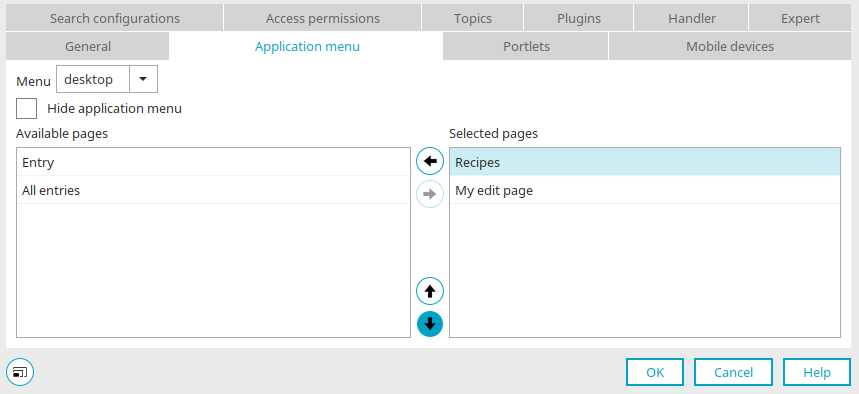
3. The "Recipes" and "My input page" pages are selected on the "Application menu" tab.
4. Save the new settings by clicking on "OK".
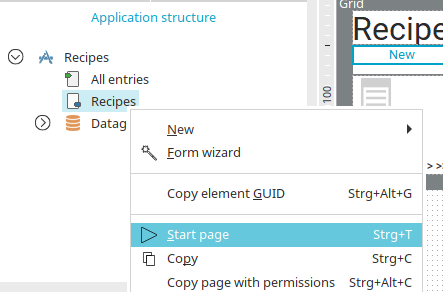
5. The "Recipes" page is defined as the start page via the context menu.
Customize link destinations
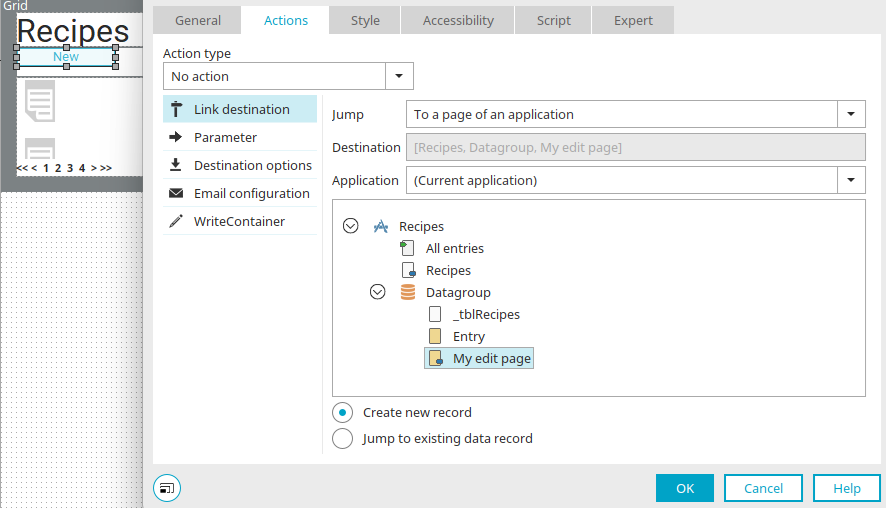
1. Open the properties dialog of the "New" button on the "Recipes" overview page.
2. The jump target "My input page" can be set on the "Actions" tab.
3. Save the new setting by clicking on "OK".
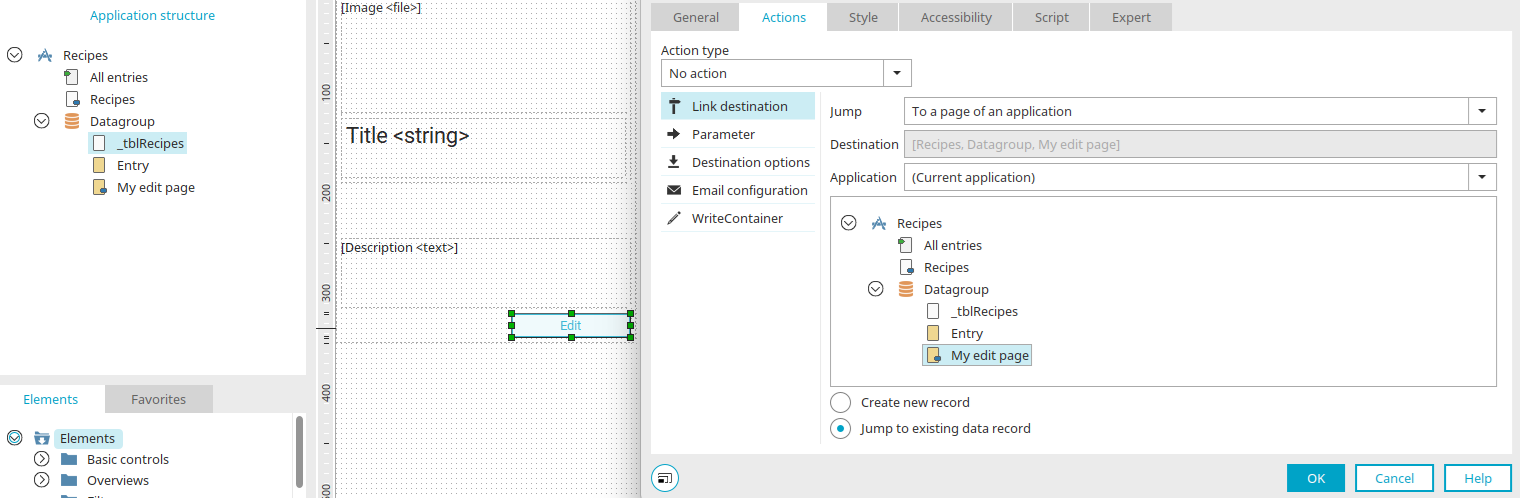
4. The same jump target is also set for the "Edit" button, which you can find on the "_tblRecipes" page.
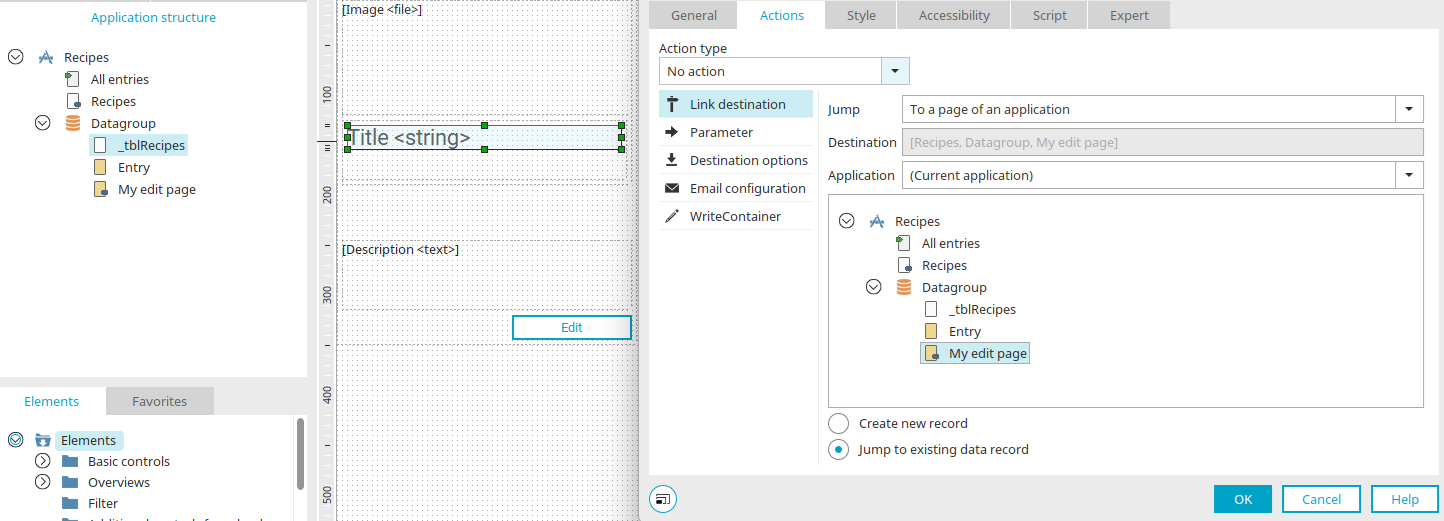
5. On the same page, set the jump target "My input page" for the title.
Of course, you can also create a view page with the Page wizard, which opens when you click on the recipe title. The possibilities are endless. In this tips & tricks post, we just wanted to show you the principle of the Page wizard.
The application is now ready. It can be saved, which thereby publishes it, and used in the browser.