Example 3 - Distribute applications to Intrexx instances
This example describes how you can use REST call actions to distribute or export applications from one Intrexx instance to other Intrexx instances at the click of a button. The REST call actions call endpoints of Intrexx's own IAA (Intrexx Administration API) to do this.
This scenario is ideal, for example, if you want to develop applications on a test system and implement them on the production system after the development phase.
Please note that the example does not describe a "fully-fledged" application for distributing and updating applications. Instead, it is intended to illustrate the basic possible uses of the REST call action. At the same time, you can use the example as a starting point for your own extended levels of configuration.
Requirements
For the example or scenario described here, you need two Intrexx instances: a source instance (Intrexx 1) and a target instance (Intrexx 2), which has a configured IAA (Intrexx Application API).
There must also be an application in the source instance that is to be exported to the target instance.
Information
Below you will find an overview with helpful links in connection with the example described here.
IAA (Intrexx Administration API)
Create applications
Creating applications – Main steps
REST call action
Main actions
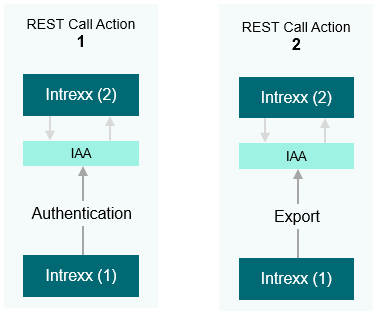
To create the example described here, you must perform the following three main actions in Intrexx:
1. Storing the IAA password in the login information memory ("Integration" module)
The corresponding password is required to log in to the IAA of the target instance (Intrexx 2). You must store this in the credential store of the source instance (Intrexx 1). The IAA password is written to the processing context later in the process using a REST call action to enable authorization at the target instance.
2. Create an application ("Management application") that contains the applications to be exported ("Applications" module)
To be able to export an application, you need a "management application". The "management application" is operated by a portal user. This uploads the applications to be exported to a file field in the "Management application". It also records the required data of the target instance (Intrexx 2), such as the host and portal name.
As soon as a data record of the management application is saved, the process for exporting the application to be exported is started.
3. Create a process that automatically executes the export of the application ("Processes" module)
You need a process to be able to execute the export to the target instance automatically. This includes two REST call actions. The first is used to log in to or authorize on the IAA of the target instance, the second then exports the application.
The following describes how you can implement the three main actions in Intrexx. The main steps are described and illustrated using screenshots.
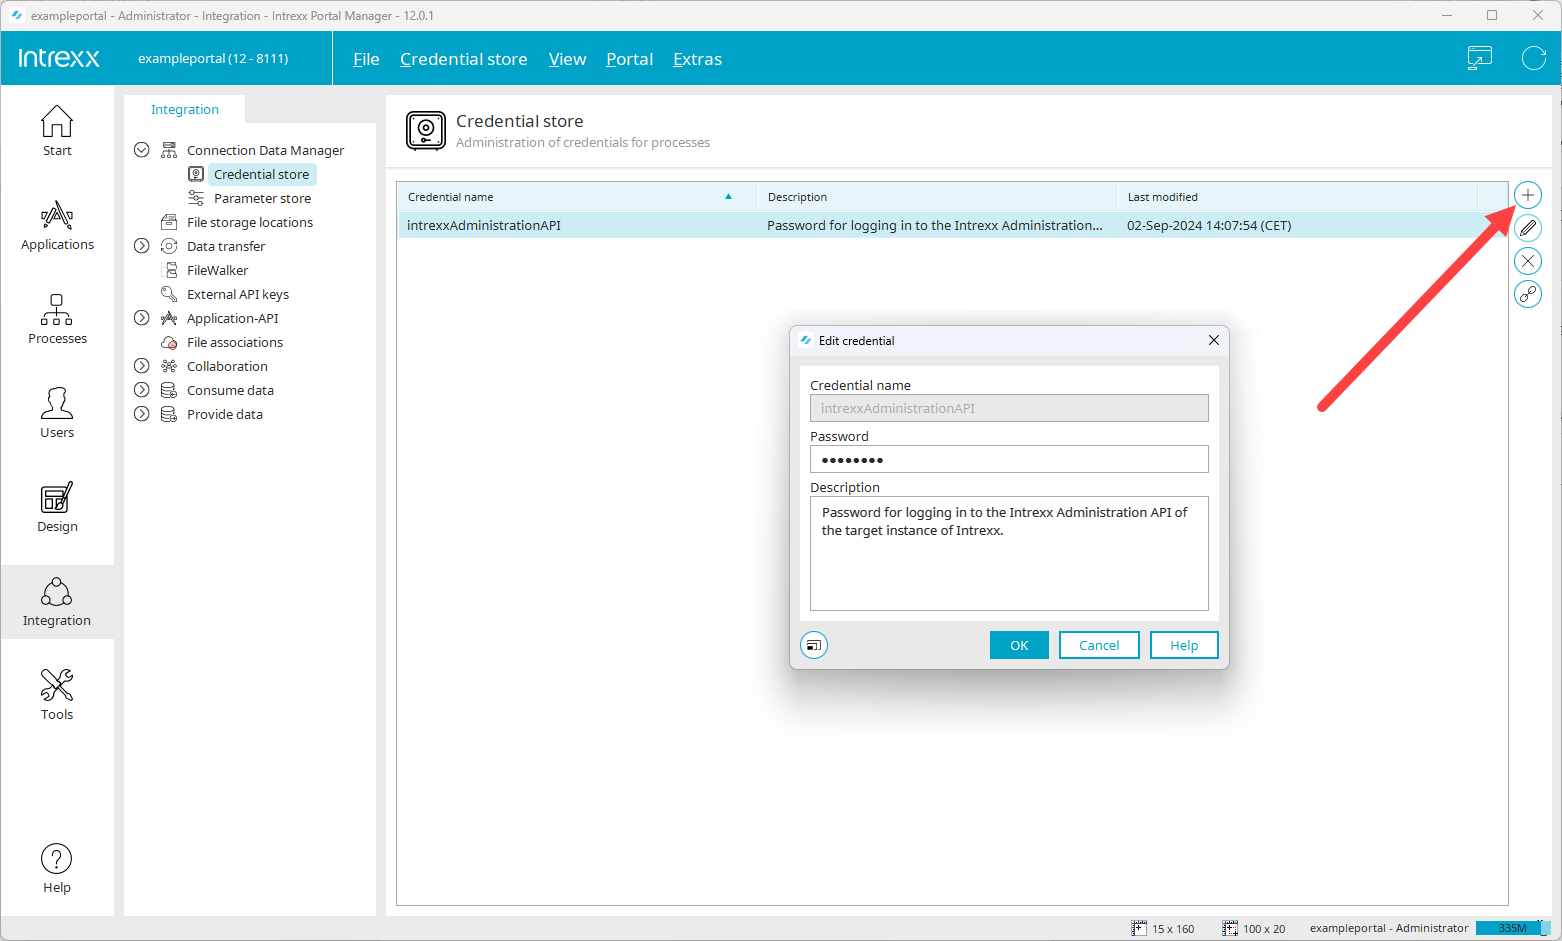
Store IAA password in the credential store
-
Start the "Integration" module.
-
Open the credential store ("Connection data management > Credential store").
-
Click on the
 icon and enter a data record with the password for the IAA of the target instance.
More information
Create management application
Portal view
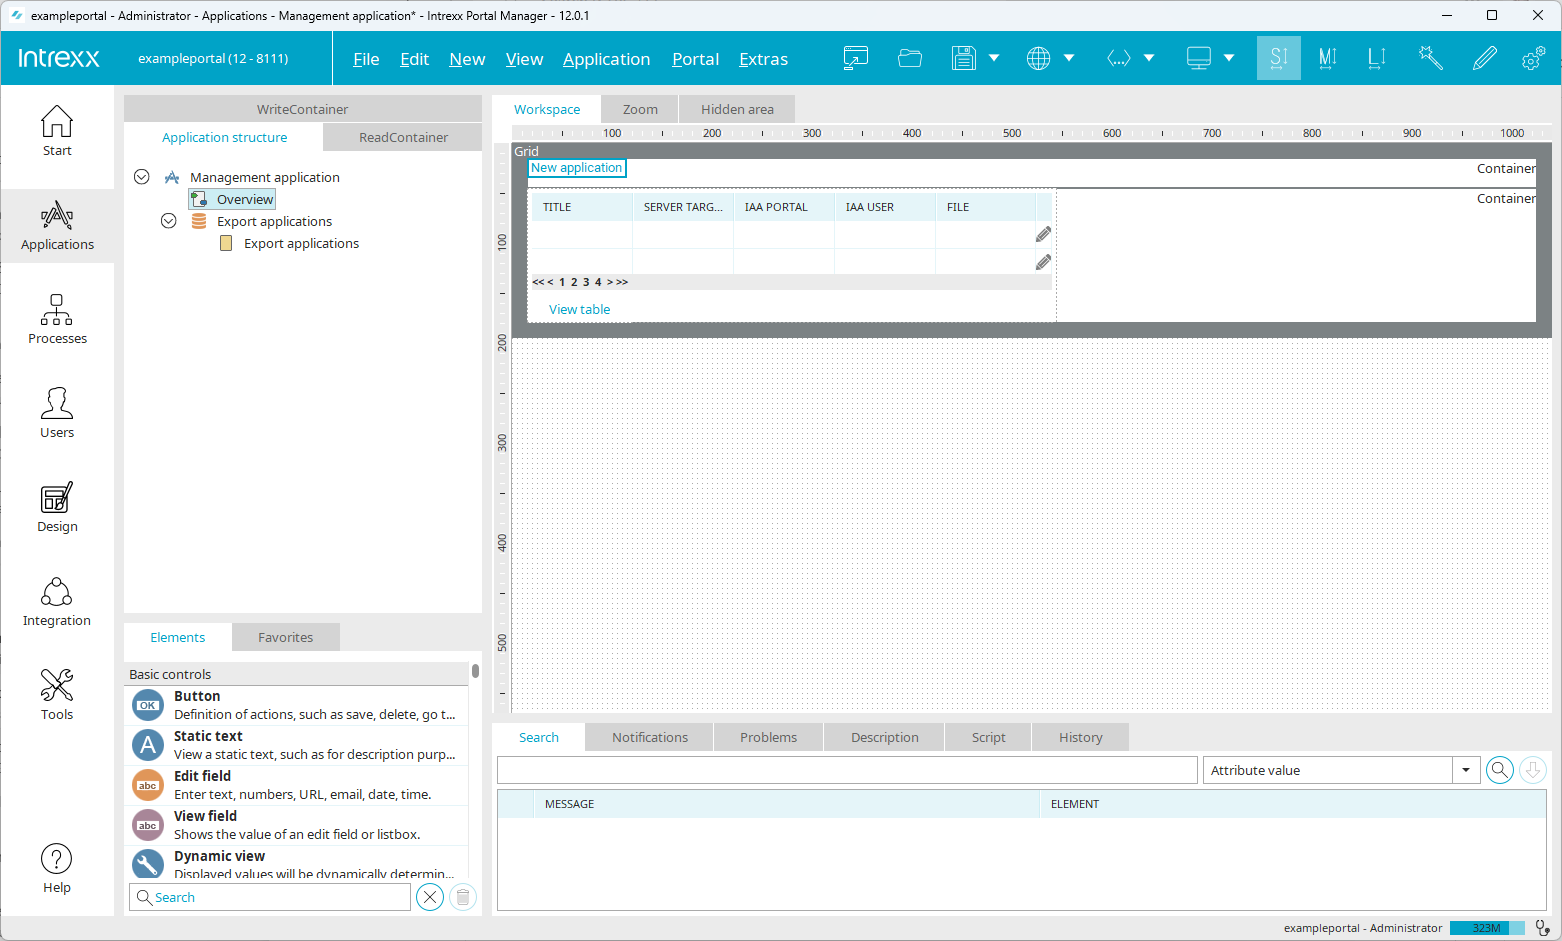
This is how the management application appears in the portal view:
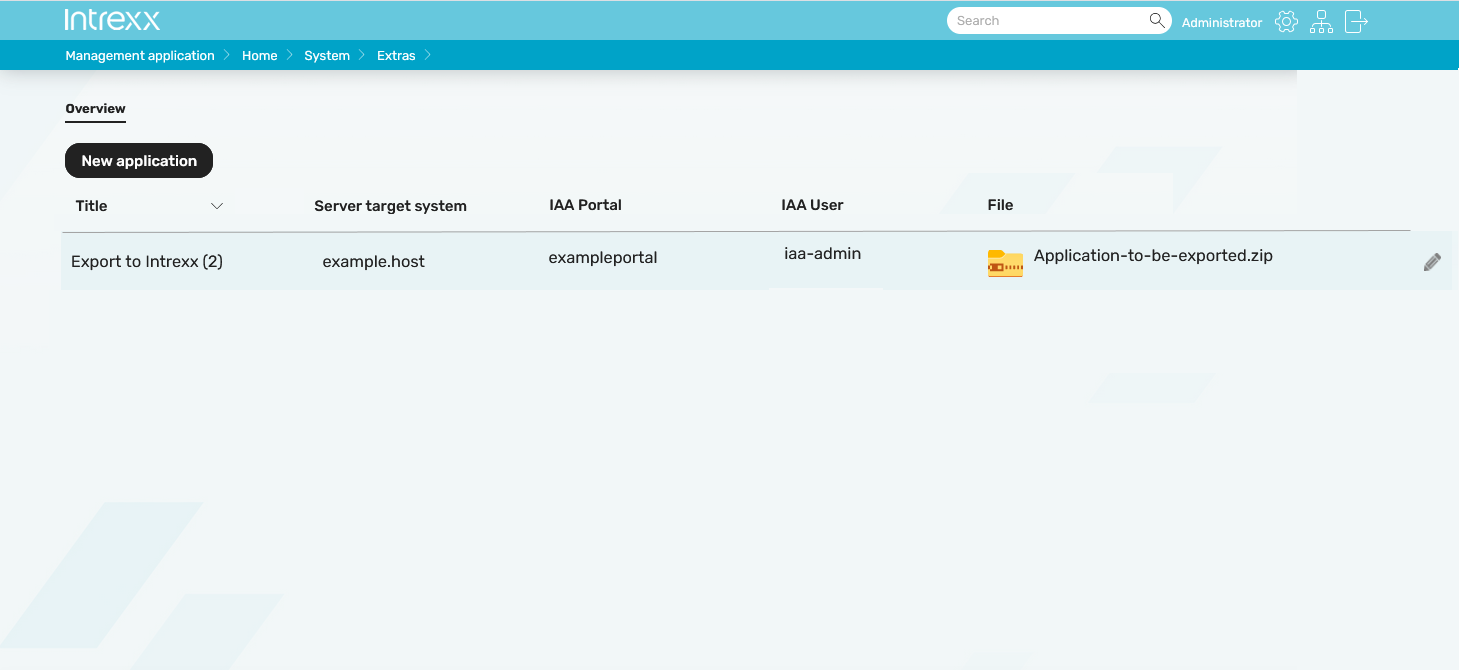
It consists of an overview page on which the applications to be exported are uploaded and provided with the corresponding export details.
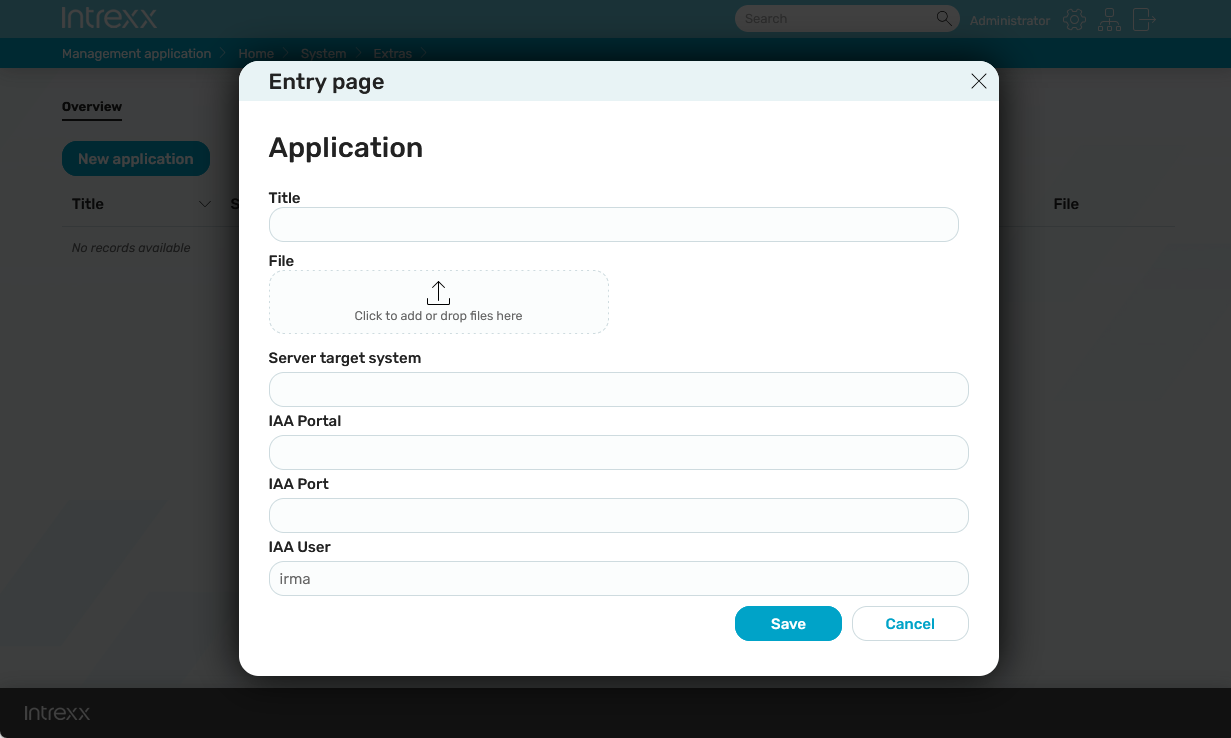
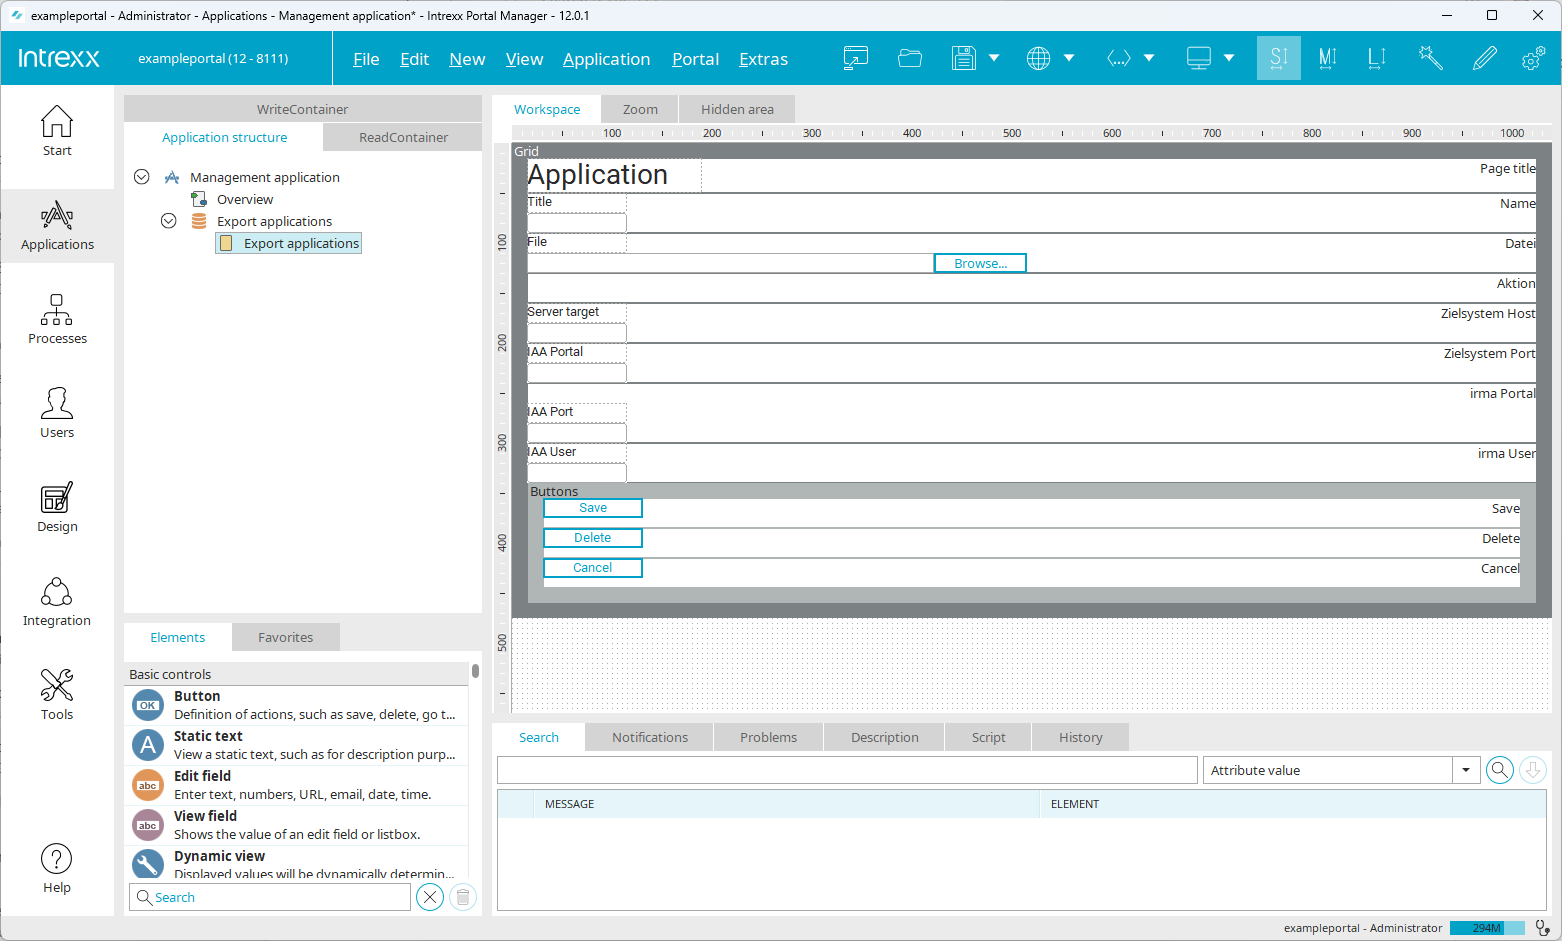
The input dialog looks like this:
Portal Manager
Data group
The management application requires a data group with the following data fields:
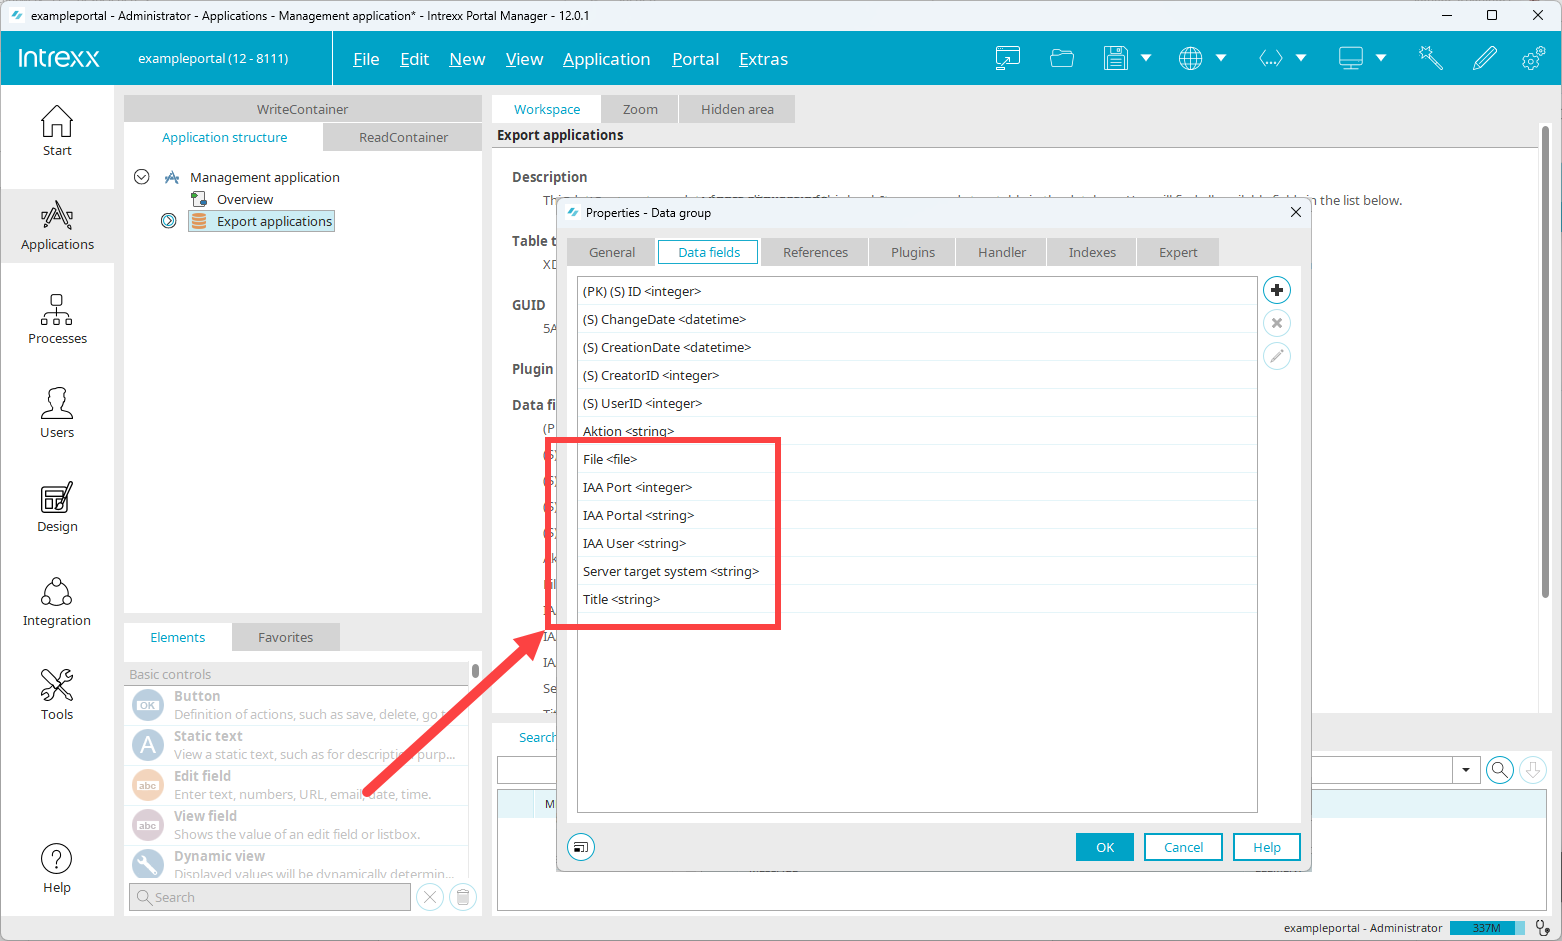
File (File)
This field is used to upload the application to be exported to the management application.
IAA Port (Integer)
The port of the IAA (Intrexx Application API) of the target instance must be entered here.
IAA Portal (String)
The name of the portal of the target instance must be entered here.
IAA User (String)
The name of the IAA user of the target instance must be entered here.
Target system server (String)
The host of the target instance must be entered here.
Title (String)
A title for the data record must be entered here.
Edit page
Create an edit page for the data fields.
Overview page
Create an overview page with a view table that displays the entries.
Create process
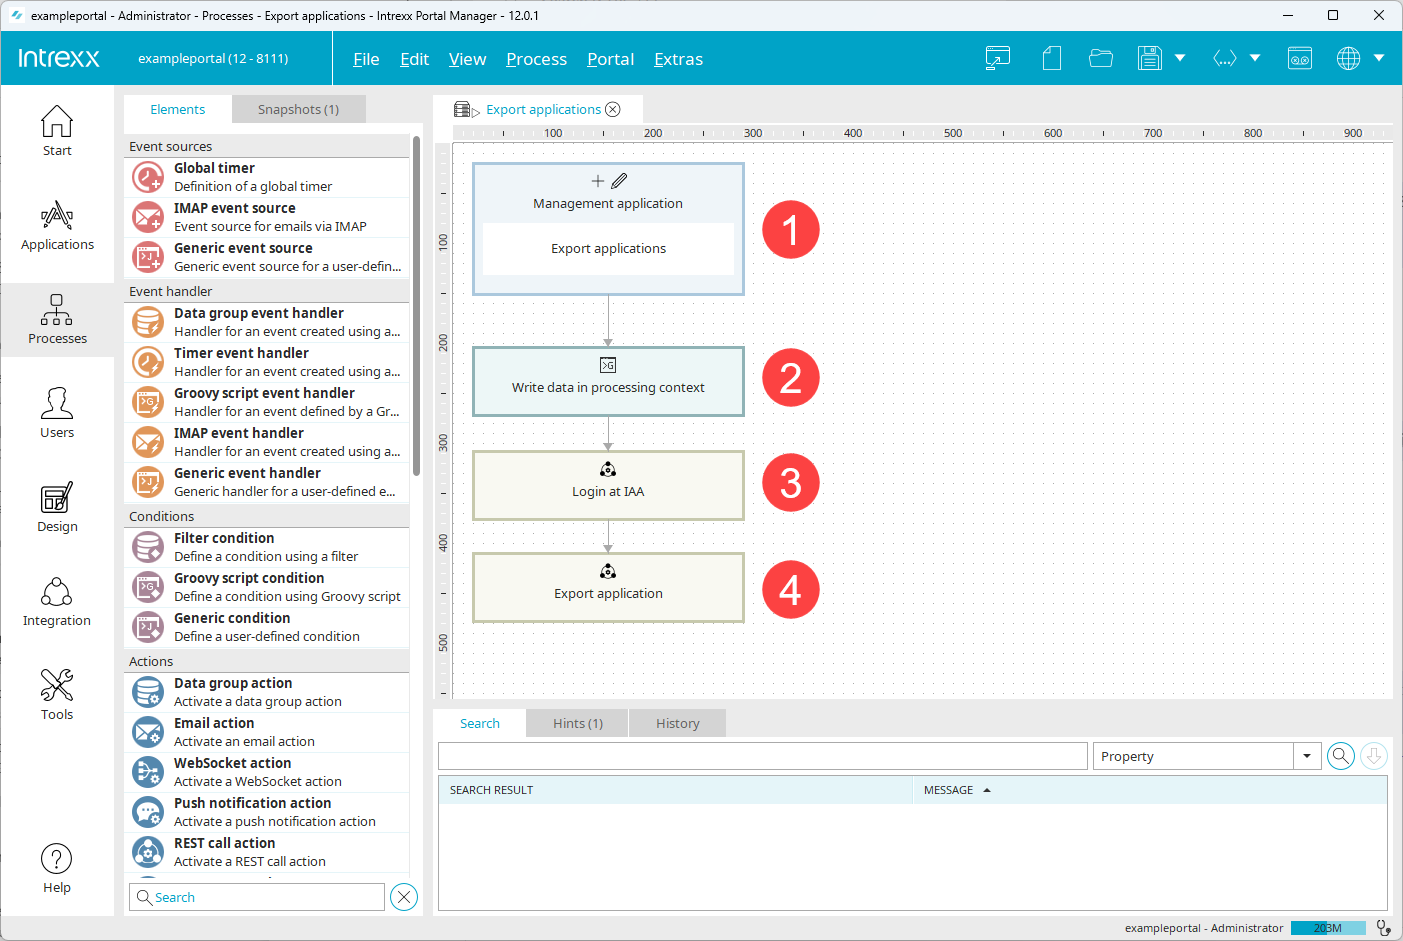
Trigger workflow (1)
The workflow starts when a data record is saved in the "Management application" application.
Add a data group event handler to the workflow and double-click to open the properties dialog.
The event handler should react wen new data records are added.
Make the following settings:

Title Export of applications
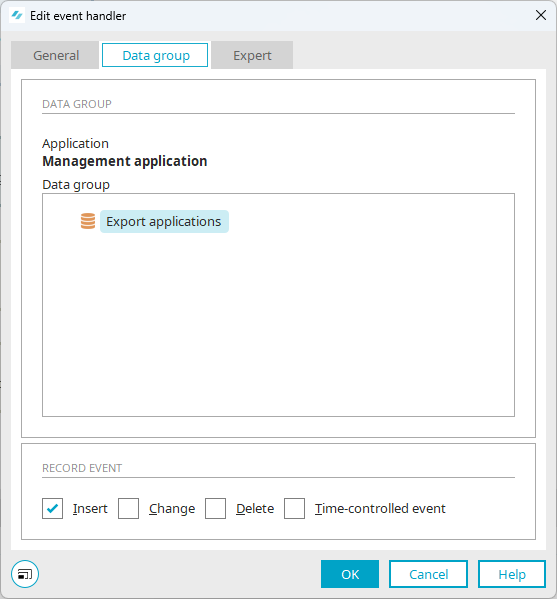
Application Management application
Data group Export applications
Record event The event handler should react when data are inserted.
Expansion stage
If you only want to change or update an application, you can create an event handler that reacts to "Change" for data record events. A separate API endpoint is available for updating applications to be exported: PATCH Applications.
Write values in processing context (2)
In the next step, we provide the data for logging in to the IAA (Administration API). We will write these to the processing context.
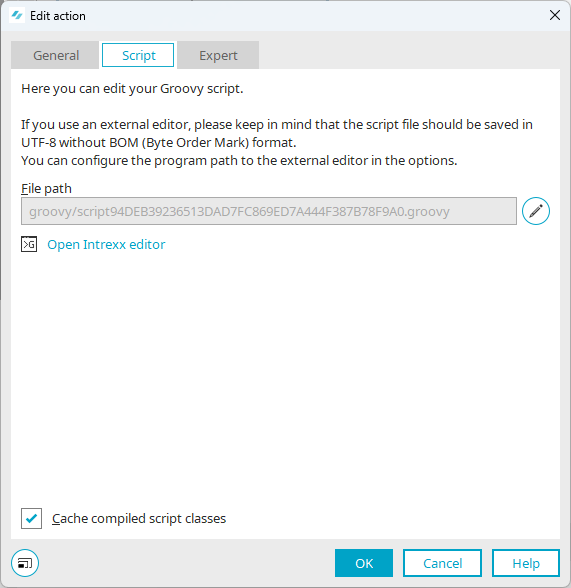
Add a Groovy action with the title "Write values to processing context" to the process.
A Groovy script is used to read the login data stored in the (respective) data record for the IAA and write it to the processing context.
We need the following information for the login via the Administration API:
-
remoteHost
-
iaaPort
-
iaaPortal
-
iaaUser
The password for the IAA is stored in the credential store and is determined from there later.
// Zugangsdaten in Request schreiben
// IAA-Passwort wird aus dem Credential Store geholt ("iaaPassword")

g_sharedState["remoteHost"] =  g_record["A229F3CBB5B28C229FB34A806CFDFF06E20EF3F6"].value /* datafield Server Zielsystem <string> */
g_sharedState["iaaPort"] = g_record["22509F36285E66D5D3A354DABDA6F66BBC097FF5"].value /* datafield IAA Port <integer> */
g_sharedState["iaaPortal"] = g_record["9AB6C3060C1A27F2BC997BD3938F2E95EF807A26"].value /* datafield IAA Portal <string> */
g_sharedState["iaaUser"] = g_record["DD1CF70C1C29C2603B1B0419EC85F099679BEFB3"].value /* datafield IAA User <string> */
Set up REST call - Login to IAA (3)
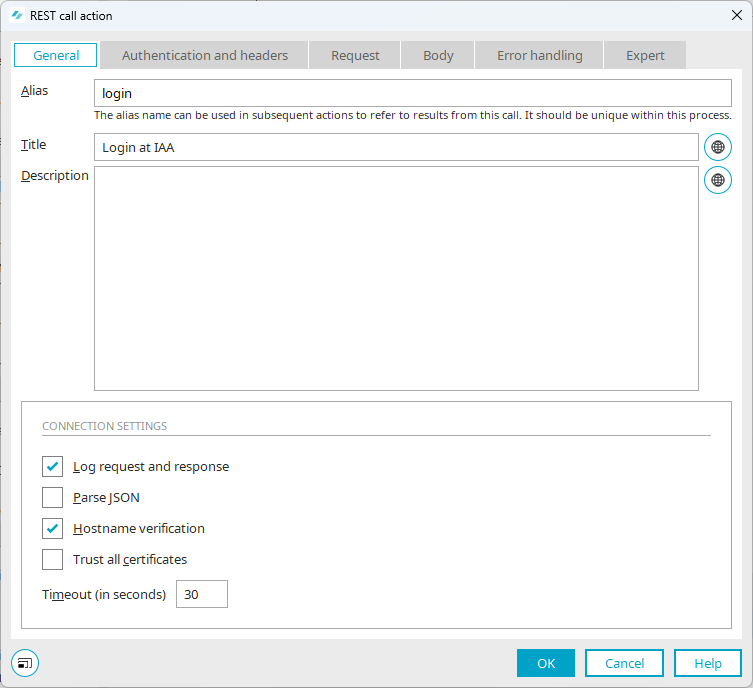
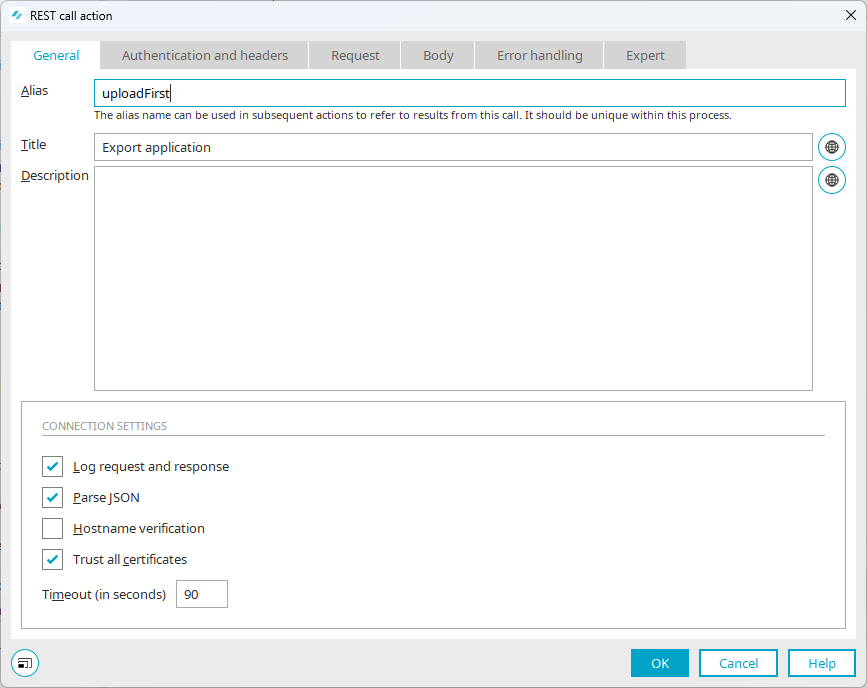
General Enter an alias for the REST call action.
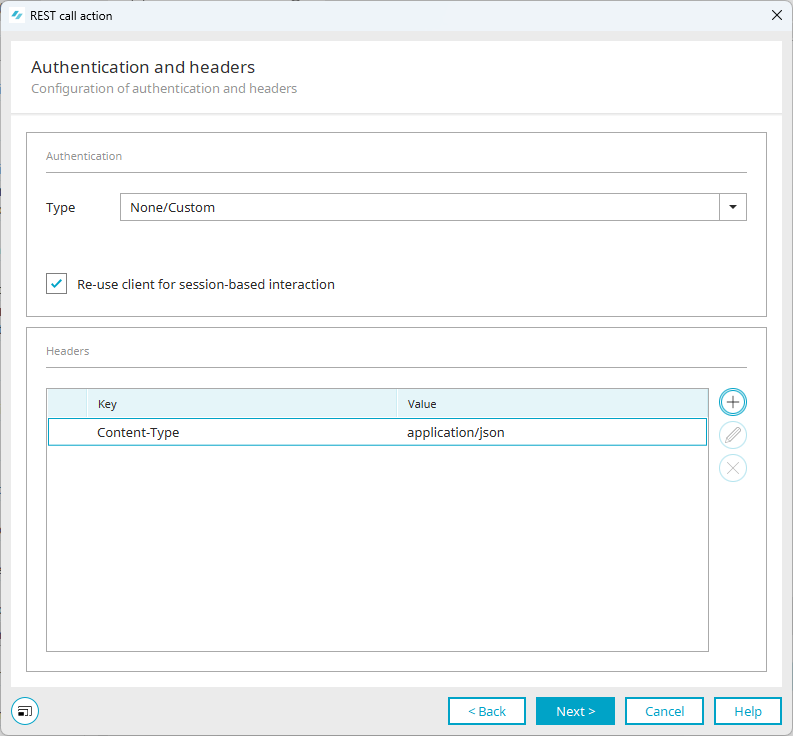
Authentication and header Select the authentication type "None / User-defined".
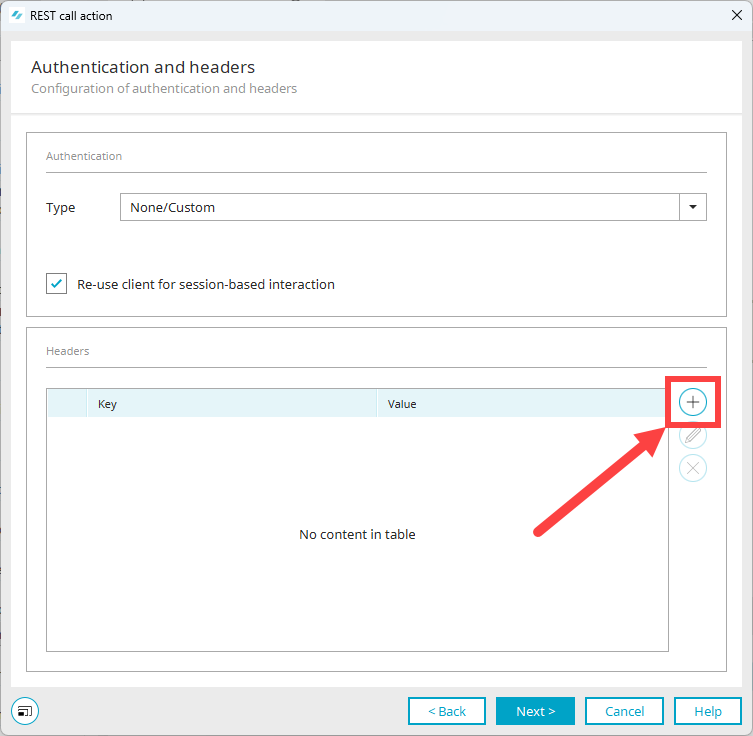
Click on the plus symbol to add a new entry to the header.
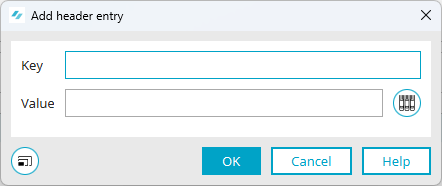
The header entry should contain the following information:
Key Content Type
Value application/json
Accept the dialog with "OK" and then click on "Next".
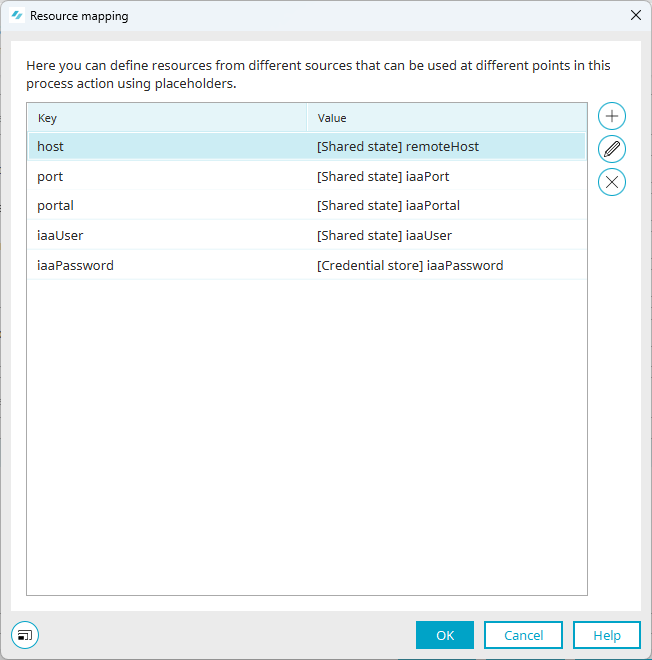
Request The request must be defined in this dialog. We will first write the required data from the processing context or the credential store to the resource mapping.
Click on the ![]() icon to start the dialog for resource mapping.
icon to start the dialog for resource mapping.
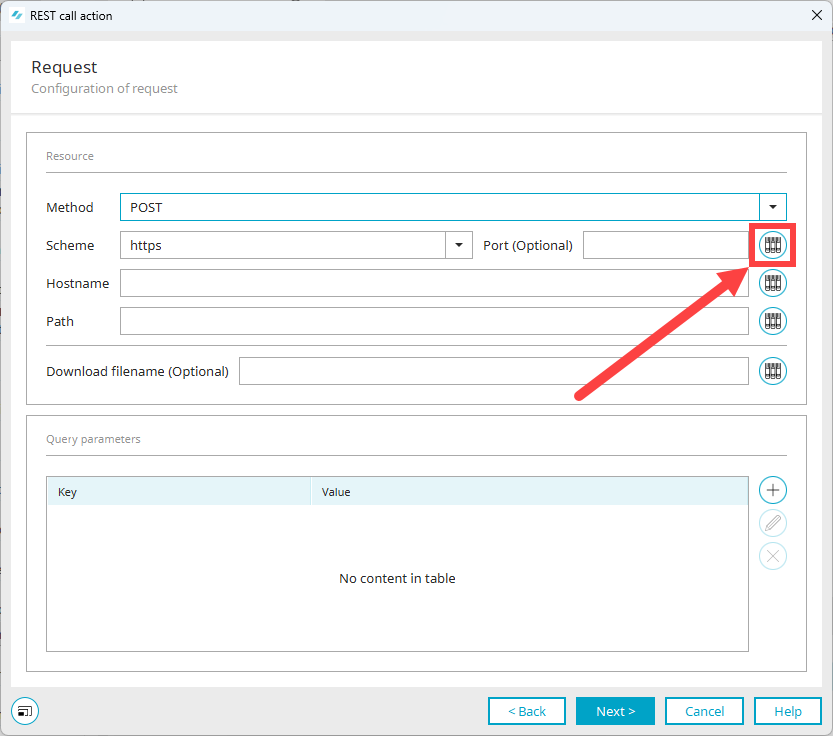
Click on the ![]() icon in the subsequent dialog.
icon in the subsequent dialog.
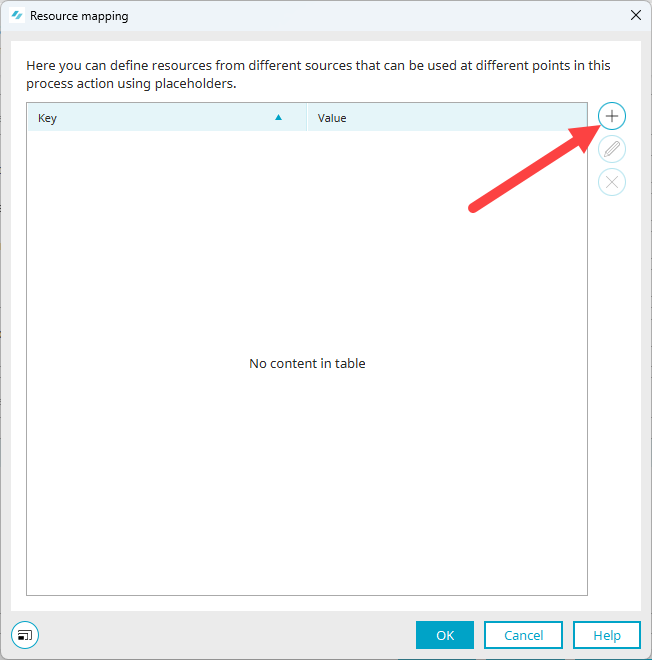
Add the following keys:
host The key "host" receives the value "remoteHost" from the "processing context".
port The key "port" receives the value "iaaPort" from the "processing context".
portal The key "portal" receives the value "iaaPortal" from the "processing context".
iaaUser The key "iaaUser" receives the value "iaaUser" from the "processing context".
iaaPassword The key "iaaPassword" receives the value "iaaPassword" from the "Credential store".
Fill the request with values:

POST method
Schema https
(Whether http or https must be used is specified in the cfg file of the IAA. This can be found at the following location: <Installation directory>/adminapi/cfg/admin-api.yaml)
Select the following values via the resource mapping:
Port ${port}
Hostname ${host}
Path auth
The end point for the IAA login does not contain any variable components, meaning a direct, fixed entry can be made.
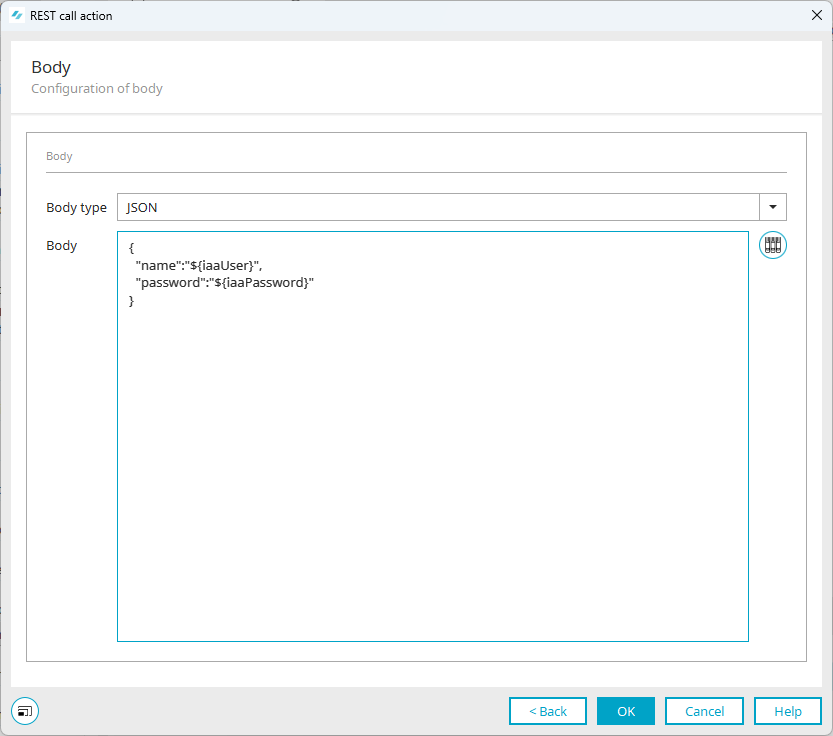
Body In the body, we first select the JSON body type.
Information on the "name" and "password" is required.
Click on the ![]() icon and enter the keys "iaaUser" and "iaaPassword".
icon and enter the keys "iaaUser" and "iaaPassword".
Set up the REST call - Export application (4)
Copy REST call action
You can copy REST call actions. This saves you having to (re-)enter the data for the resource mapping.
General Enter an alias for the REST call action.
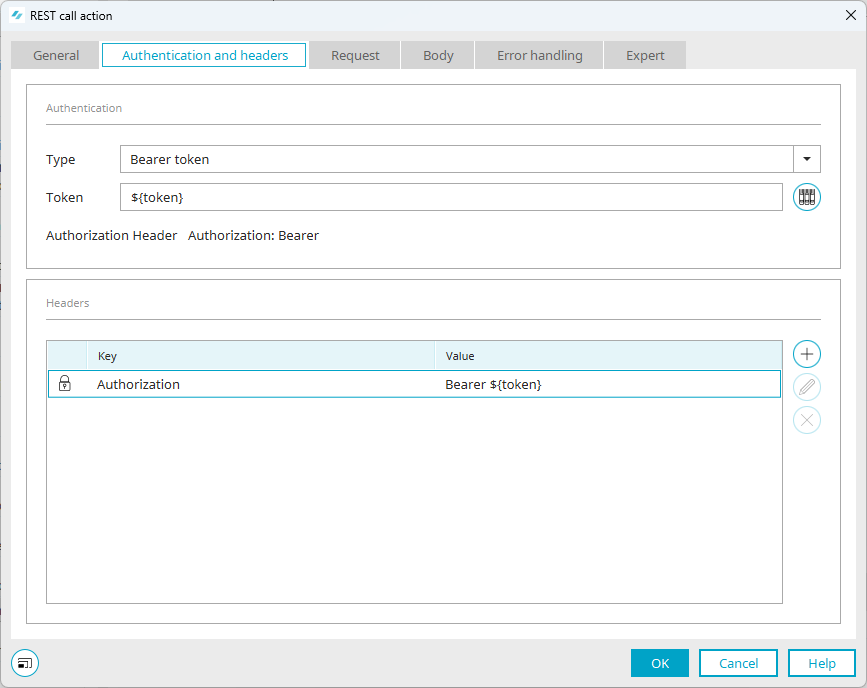
Authentication and header Select the authentication type "Bearer token".
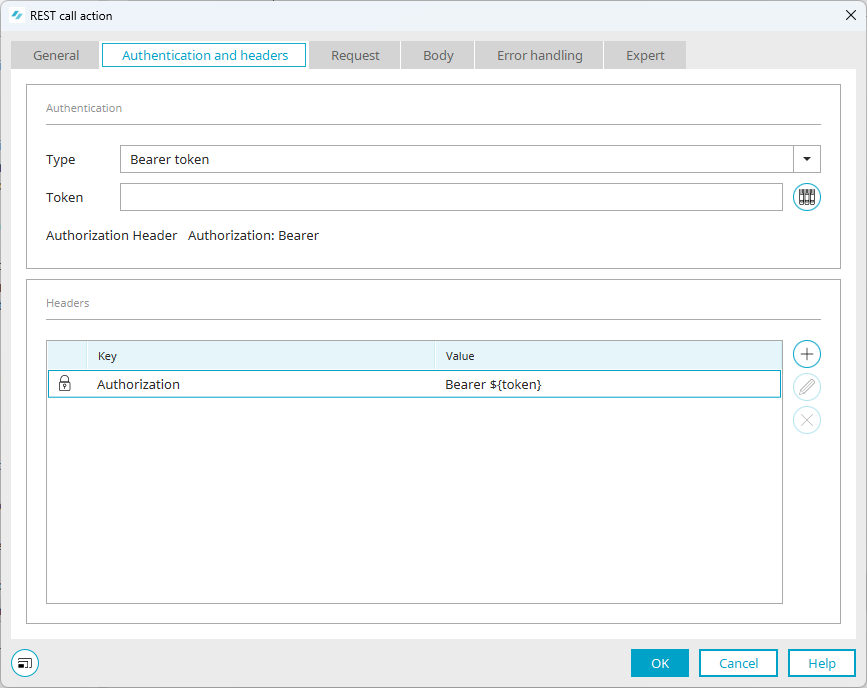
For authentication, we need the token that was sent to us in response to the previous login request.
Click on the ![]() icon to start the dialog for resource mapping.
icon to start the dialog for resource mapping.
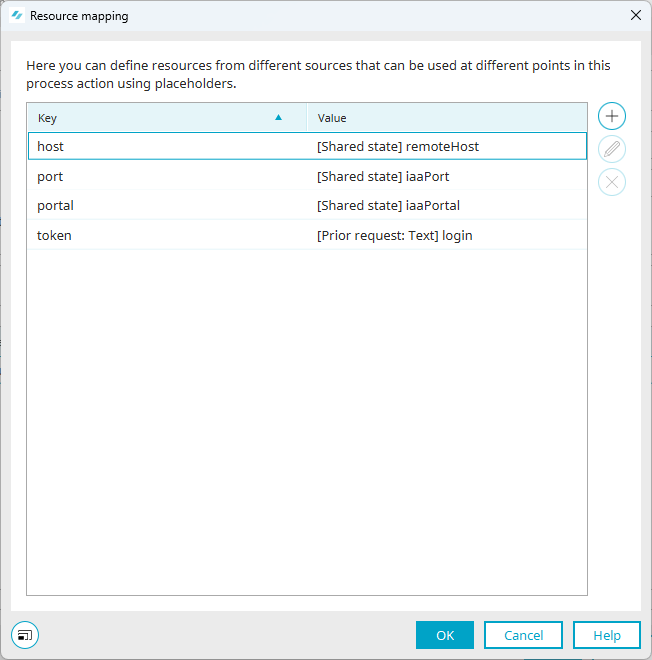
Add the following keys:
host The key "host" receives the value "remoteHost" from the "processing context".
port The key "port" receives the value "iaaPort" from the "processing context".
portal The key "portal" receives the value "iaaPortal" from the "processing context".
token The key "token" receives its value from the "login" REST call action. The qualifier is "Text" . The token is sent by the IAA as plain text.
Select the key "token" in the "Token" field. The header is compiled automatically using the previous entries.
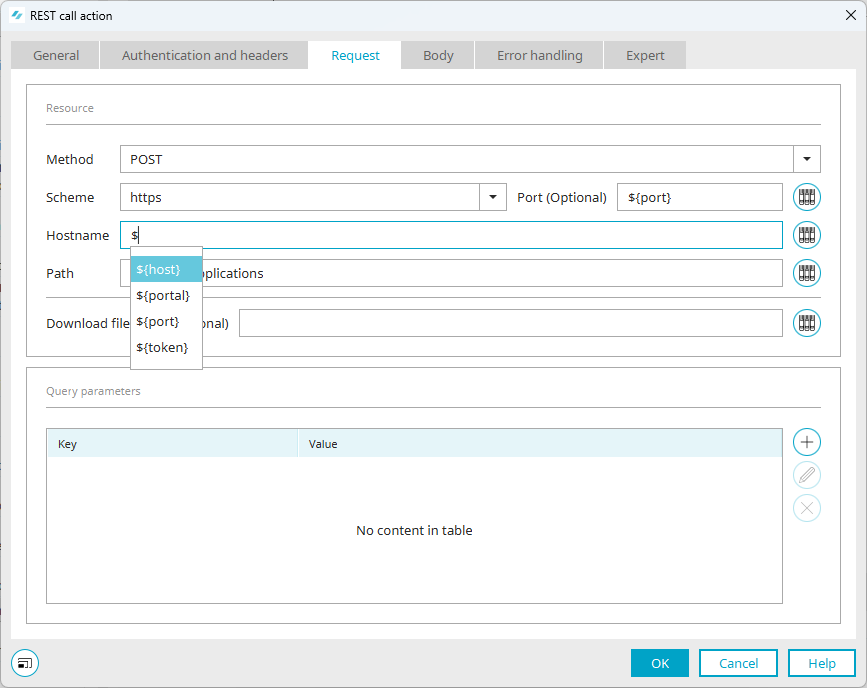
Request Enter the following information in the request:
Post method
Schema https
Select the following information from the resource mapping:
Port ${port}
Hostname ${host}
Path ${portal}/applications (see POST Applications)
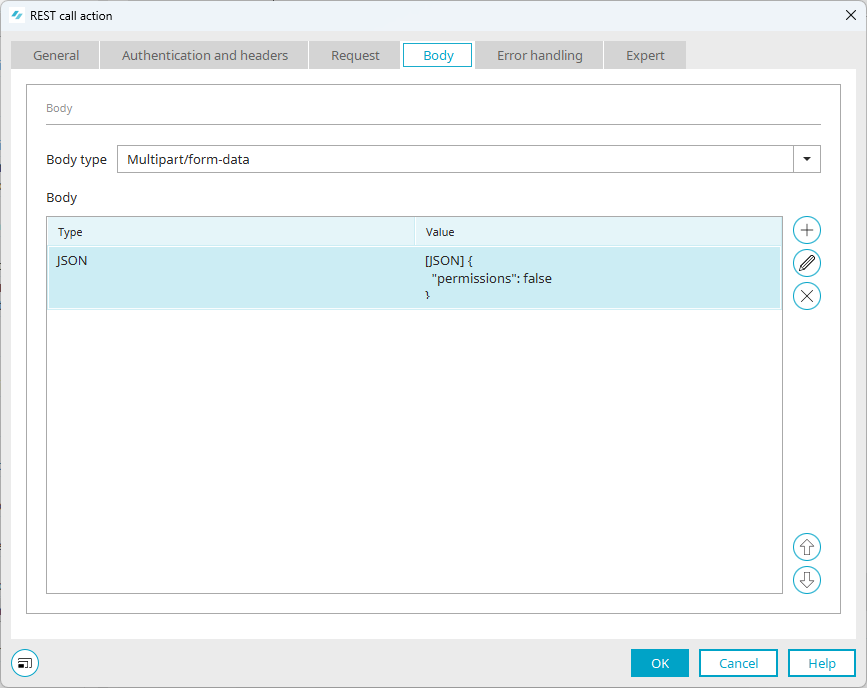
Body In the body, we first select the body type "Multipart/form data" since for an import, a JSON with settings must be sent in addition to the actual zip of the application.
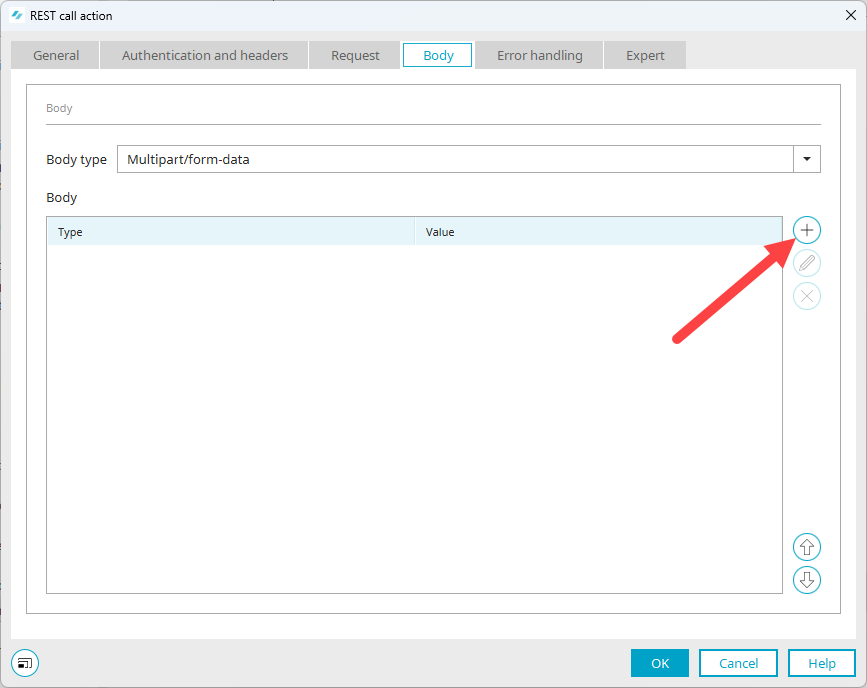
Click on the ![]() icon to create a body.
icon to create a body.
Make the following entries:
Body type JSON
Body
{
"permission":false
}
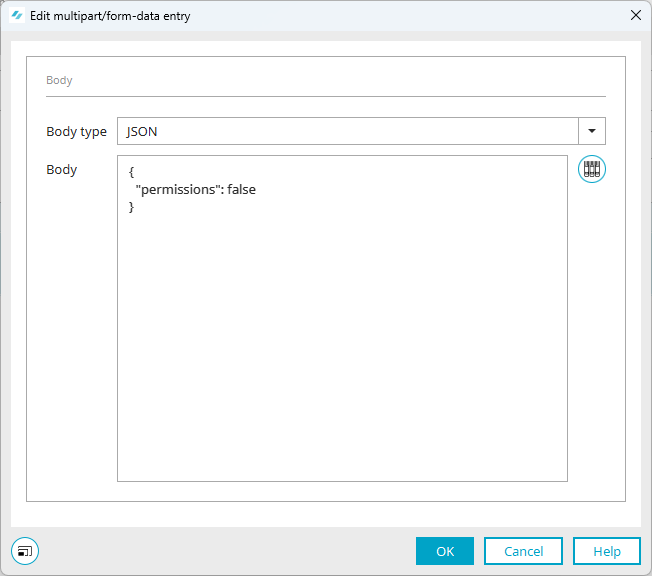
Click on "OK".
Click on the ![]() icon to create another body.
icon to create another body.
Make the following entries:
Body type File
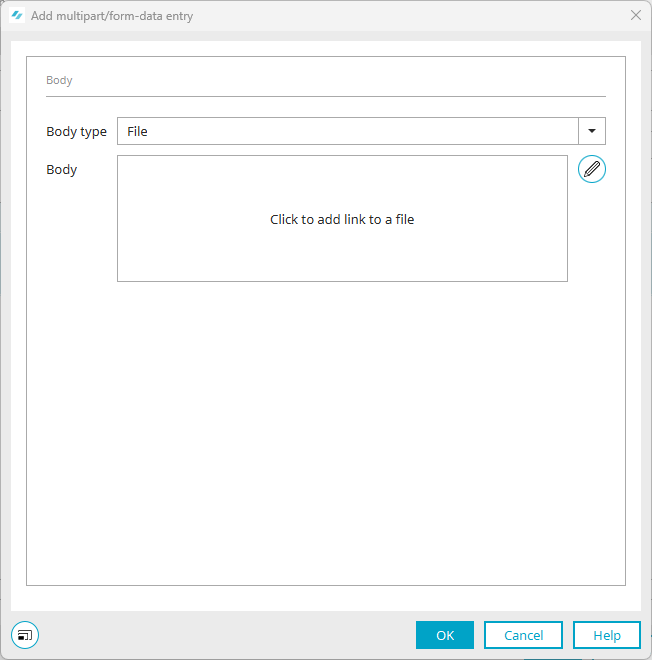
Click on the ![]() icon to enter the body.
icon to enter the body.
Resource Data group
Body Select the data field in which the application to be exported is saved.

Confirm the information you have entered.
You have now set up all the necessary actions.