Schema manager
You can access the schema manager in the "Users" module via the main menu "Users / Schema manager". General information on the subject of "Objects, classes and attributes" can be found here.
Classes
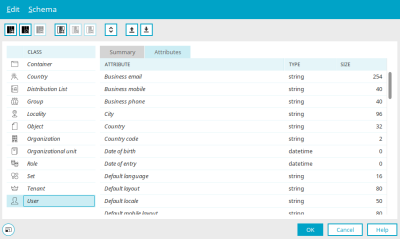
An icon for the type of class is displayed here.
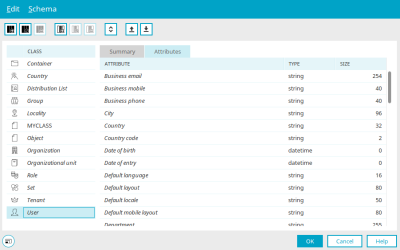
All standard object classes and user-defined classes are listed in the schema manager. Standard object classes are displayed with names in italics, user-defined classes in normal font. Standard object classes cannot be deleted or edited.
You can create your own classes in the schema manager via the "Edit / New class" menu or alternatively via the corresponding context menu when you select a class in the left-hand area.
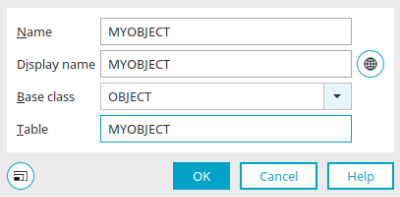
Create user-defined class
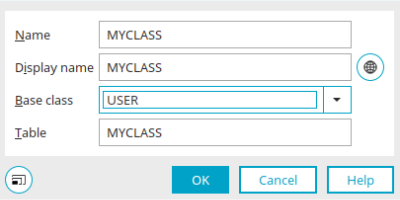
Give the new class a name here, using only letters and numbers. The name of the class cannot be changed afterwards.
This is the display name for the class in the schema manager.
Select the desired base class here.
Enter a table name using only letters and numbers. This name is used for the database table where the attribute values are saved.
Click "OK" to save the new class.
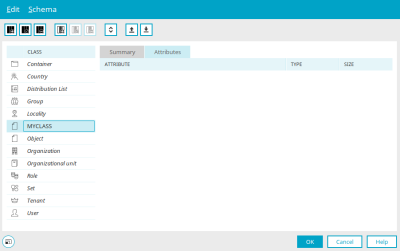
The user-defined class can be edited via the "Edit / Edit class" menu or alternatively via the corresponding context menu when you select a class in the left-hand area. You can use the "Edit / Delete class" menu to delete a class you have created yourself.
General
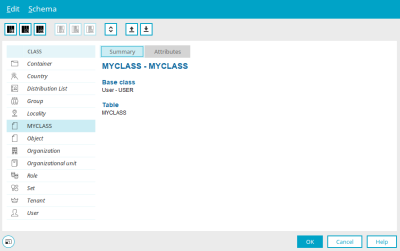
The name of the object class, the base class and the name of the database table are displayed here for the class selected in the left-hand area.
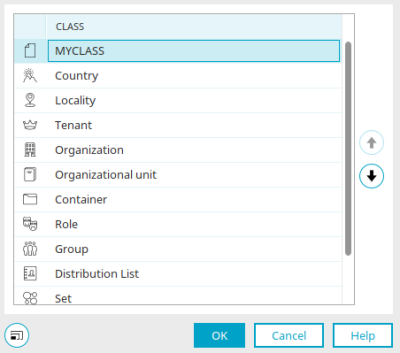
Class sorting
The "Edit / Class sorting" menu opens a dialog that can be used to change the sorting order for the display of objects (e.g. in the list view in the "User" module) using the ![]()
![]() arrow buttons.
arrow buttons.
User-defined object
If you create a user-defined object, select the base class "OBJECT" when creating a new class. Click "OK" to save the object. Close the schema manager by clicking on "OK".
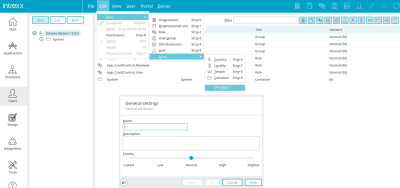
The new object is now available in the "User" module via the main menu "Edit / New / More..." reachable. If you select it, the general information can be edited in a dialog.
Enter the name and a description of the object.
The priority influences the order of the lists in the user administration. The higher the priority is set for an object, the further up it will be in the list.
Clicking on "Next" takes you to a dialog that is also used in the user administration in the user account. Values can be assigned there to the attributes that you have created for the object class. You can find more information here.
Attributes
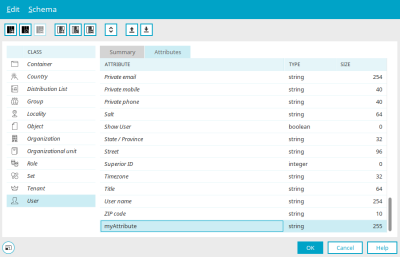
All attributes of the currently selected class are listed with data type and field length in the right-hand area of the schema manager. Standard attributes are displayed with names in italics, user-defined attributes in normal font. Standard attributes cannot be deleted or edited.
Create new attribute
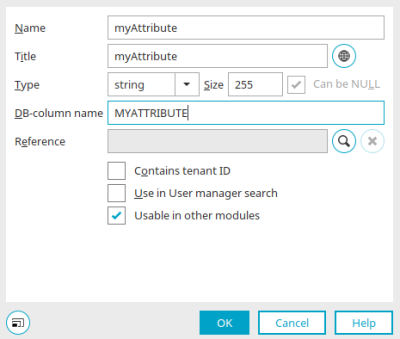
Enter a unique name for the attribute here. The name has system-wide validity.
For new attributes, the name is automatically validated so that it can also be used in Groovy scripts and as a default value. It must not contain certain characters and must not start with a number.
Title
Is used when using the attribute in application elements, filters and when displaying in the "User" module.
Type
Select the desired data type here.
Size
Enter the maximum number of characters for text attributes.
Can be NULL
Allows null values to be saved.
DB column name
The name of the database field where the value of the attribute is stored is entered here.
Reference
The details of the reference created are displayed here.
![]() Edit reference
Edit reference
Opens a dialog in which a reference can be created or edited.
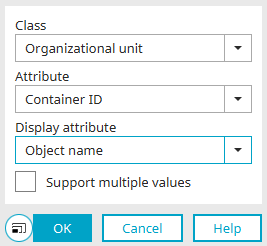
Edit reference
References are used, for example, when creating client dependencies. Information on this topic can be found here.
Select the class and the reference attribute here. Also select the attribute whose values are to be displayed.
Support multiple values
With this setting, additional references to the attribute can be created.
Click "OK" to save changes and close the dialog again.
Contains tenant ID
With this setting, the attribute is used to save the client assignment.
Use in User manager search
This setting can be used to search for the attribute in the "User" module and in the distribution list selection.
Usable in other modules
With this setting, the attribute is available as a data field in the user application and can be used anywhere. User-defined attributes can also be filled with values directly in the user account.
Click "OK" to save the new attribute.
The user-defined attribute can be edited via the "Edit / Edit attribute" menu or alternatively via the corresponding context menu when you select an attribute. You can use the "Edit / Delete attribute" menu to delete a self-created attribute.
Export and import of a schema
All information on this topic can be found here.
More information
Objects, classes and attributes
The areas of the "User" module
Replication - user and group import
Active Directory connection and replication configuration
Portal login via identity providers
Use proxy server for authentication
