Objects, classes and attributes
In a newly created portal, object classes with mandatory attributes are already defined, such as the object class "User" with the mandatory attributes first name and surname.
This class possesses a number of attributes with which a user can be described. There is a database field for each attrivute. Here, the values that you will enter for an object instance will be saved.
You may define an unlimited number of additional attributes for an object class; however, the mandatory attributes of a class may not be changed.
Objects (e.g. a portal user based on the "User" class) are created on the basis of the object classes. Object classes can be viewed as a type of template for the objects. The specific values of an object will be saved in the attributes.
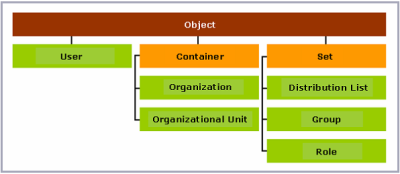
The object classes "Object", "Container" and "Set" are so-called base classes. Their attributes will be inherited by the classes that are created from them. For example, in addition to its own attributes, the "User" class also has all the attributes of the "Object" base class from which it is derived.
The following illustration shows a representation of the object class hierarchy in the "User" module.
All objects in the tree, which maps the structure of the user objects, can be assigned to other objects using drag & drop or the "Move" menu.
Object" class
This class is the base class for all object classes in the User Manager. This means that all other object classes have all the attributes of the "Object" class.
User" class
This class is derived directly from the "Object" base class and represents the individual users of the portal.
Container" class
This class is the base class of the object classes
-
Organisation
For objects that represent an organization or a business
-
Organizational unit
For objects that represent organizational units
-
Country, client, location
Country, client and location are basic objects for client control.
With objects of these classes, other objects can be grouped in a 1:n relationship. Other objects can therefore not be assigned to several organizational objects or organizational units. Likewise, for example, each employee (""Users"" object) may only be assigned to one organization, one organizational unit, or one role.
Class "Set"
This class is the base class of the object classes
-
Distribution list
For objects that represent a distribution list
-
Group
For objects that represent groups
-
Role
For objects that describe specific roles in an organization
The "Set" class can be used to map an m:n relationship. This means, for example, a user may be both a member of the group object ""Press"" as well as the group object ""Partners"".
Create user-defined class and attributes
You can define your own object classes and attributes in the schema manager.
Details
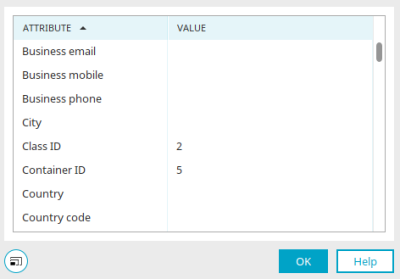
You can only access the "Details" dialog if the "Options for experts" are activated for the "Users" area. Then select the desired object (e.g. a user or an organizational unit) in the "Users" module and select the main menu "Edit / Details".
All attributes of the object are displayed in the dialog with the corresponding values.
Properties of objects
User properties
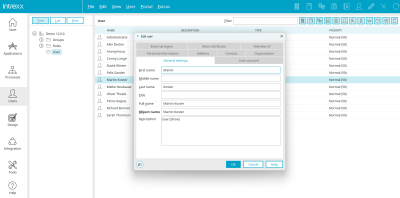
All information about the properties of users - the user account - can be found here.
Container properties
General
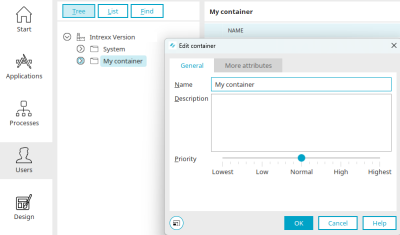
New containers can be created via the main menu "Edit / New / More... / Container".
For existing containers, you can access the properties via the main menu "Edit / Properties" or the context menu "Properties". The container must be marked in the left-hand area.
Enter the name and a description in the properties dialog. The priority determines the order in which this container is displayed in lists in the user administration.
Edit user - More attributes
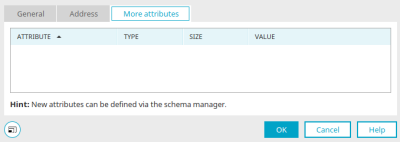
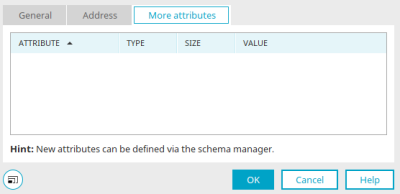
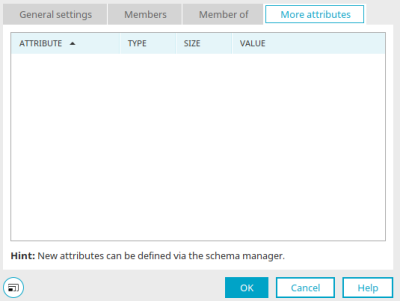
Additional attributes for containers can be created in the schema manager. The attribute, type and size are then automatically displayed here. The desired value can be entered by clicking in the "Value" column.
Organization - Properties
General
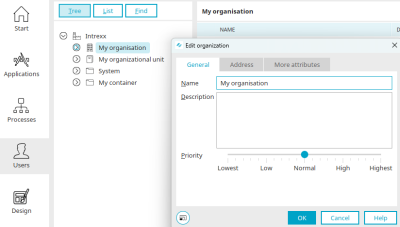
A new organization can be created via the main menu "Edit / New / Organization".
The properties of the "Organization" object can be accessed via the main menu "Edit / Properties" or the context menu "Properties" if the object is selected in the tree on the left.
Enter the name and a description of the organization here. The priority determines the order in which this client is displayed in lists in the user administration.
Address
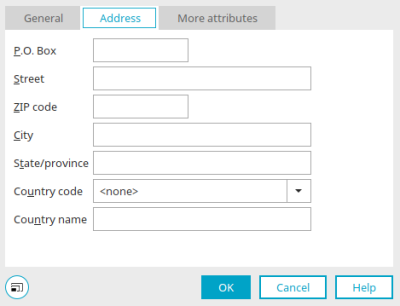
P.O. Box, street, postal code, federal state, country name
Enter the relevant address data here.
Country code
If you select a country code here, only the code (e.g. DE if you have selected DE - Germany) will be saved.
Edit user - More attributes
Additional attributes for the "Organization" object can be created in the schema manager. The attribute, type and size are then automatically displayed here. The desired value can be entered by clicking in the "Value" column.
Organizational unit - Properties
General
A new organizational unit can be created via the main menu "Edit / New / Organizational unit".
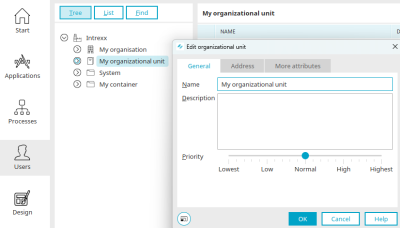
The properties of the "Organizational unit" object can be accessed via the main menu "Edit / Properties" or the context menu "Properties" if the object is selected in the tree on the left.
Enter the name and a description of the organizational unit here. The priority determines the order in which this client is displayed in lists in the user administration.
Address
P.O. Box, street, postal code, federal state, country name
Enter the relevant address data here.
Country code
If you select a country code here, only the code (e.g. DE if you have selected DE - Germany) will be saved.
Edit user - More attributes
Additional attributes for the "Organizational unit" object can be created in the schema manager. The attribute, type and size are then automatically displayed here. The desired value can be entered by clicking in the "Value" column.
Country - Properties
General
A new country can be created via the main menu "Edit / New / More... / Country".
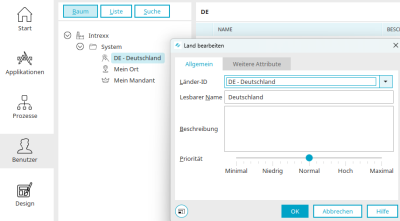
You can access the properties of a land object via the main menu "Edit / Properties" or the context menu "Properties" if the object is selected in the tree on the left.
Country ID
The country code can be selected here together with the country name.
Friendly name
A friendly name can be entered here.
Description
A description of the country can be entered here.
Priority
The priority determines the order in which this country is displayed in lists in the user administration.
Edit user - More attributes
Additional attributes for the "Land" object can be created in the schema manager. The attribute, type and size are then automatically displayed here. The desired value can be entered by clicking in the "Value" column.
Client - Properties
General
A new client can be created via the main menu "Edit / New / More... / Client".
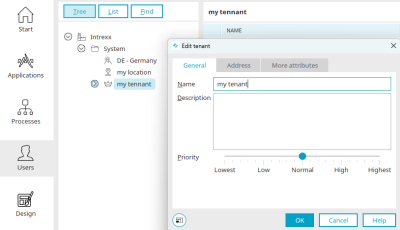
You can access the properties of a client object via the main menu "Edit / Properties" or the context menu "Properties" if the object is selected in the tree on the left.
Enter the name and a description of the client here. The priority determines the order in which this client is displayed in lists in the user administration.
Address
P.O. Box, street, postal code, federal state, country name
Enter the relevant address data here.
Country code
If you select a country code here, only the code (e.g. DE if you have selected DE - Germany) will be saved.
Edit user - More attributes
Additional attributes for the "Client" object can be created in the schema manager. The attribute, type and size are then automatically displayed here. The desired value can be entered by clicking in the "Value" column.
Location - Properties
General
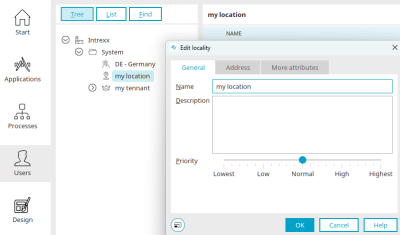
A new location can be created via the main menu "Edit / New / More... / Location".
You can access the properties of a location object via the main menu "Edit / Properties" or the context menu "Properties" if the object is selected in the tree on the left.
Enter the name and a description of the location here. The priority determines the order in which this location is displayed in lists in the user administration.
Address
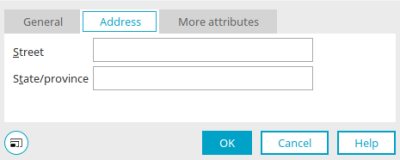
Enter the street and the federal state here.
Edit user - More attributes
Additional attributes for the "Location" object can be created in the schema manager. The attribute, type and size are then automatically displayed here. The desired value can be entered by clicking in the "Value" column.
Distribution list - Properties
General
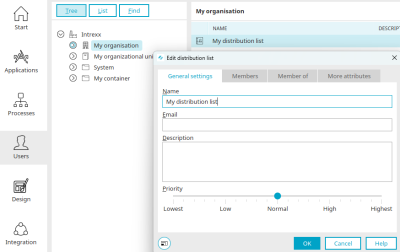
A new distribution list can be created via the main menu "Edit / New / Distribution list".
If the object is selected, you can access the properties of the distribution list via the main menu "Edit / Properties" or the context menu "Properties".
Enter the name, description and a valid e-mail address here. The priority determines the order in which this location is displayed in lists in the user administration.
Members
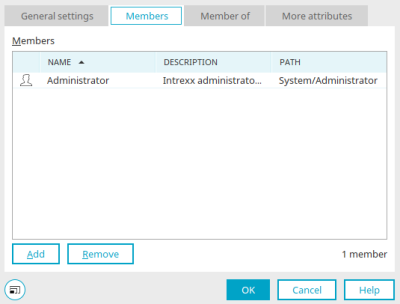
All information on this dialog can be found here.
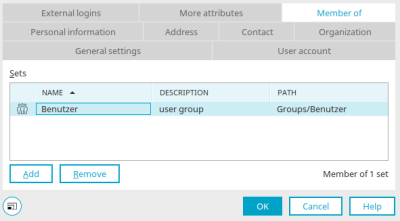
Member of
All information on this dialog can be found here.
Edit user - More attributes
Additional attributes for the "Distribution list" object can be created in the schema manager. The attribute, type and size are then automatically displayed here. The desired value can be entered by clicking in the "Value" column.
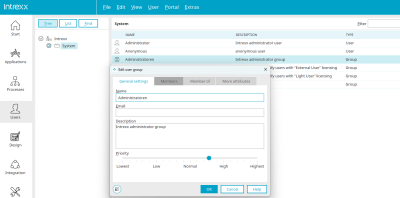
User group - Properties
All information on the properties of user groups can be found here.
Role - Properties
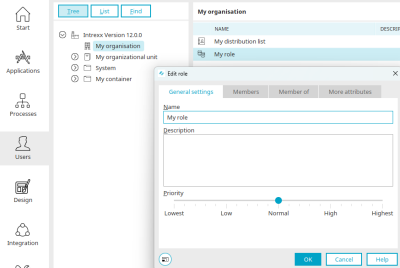
General
A new distribution list can be created via the main menu "Edit / New / Role".
If the object is selected, you can access the properties of the role via the main menu "Edit / Properties" or the context menu "Properties".
Enter the name and description here. The priority determines the order in which the role is displayed in lists in the user administration.
Members
All information on this dialog can be found here.
Member of
All information on this dialog can be found here.
Edit user - More attributes
Additional attributes for the "Role" object can be created in the schema manager. The attribute, type and size are then automatically displayed here. The desired value can be entered by clicking in the "Value" column.
More information
The areas of the "User" module
Replication - user and group import
Active Directory connection and replication configuration
