

Text
Click here to find out where to configure a text source for user and group import. Follow the steps described there, and then continue reading here.
Now that you have selected "Text" as the connection type in the previous dialog boxes and assigned a name to it, you can enter the connection details.
Import from a Text File
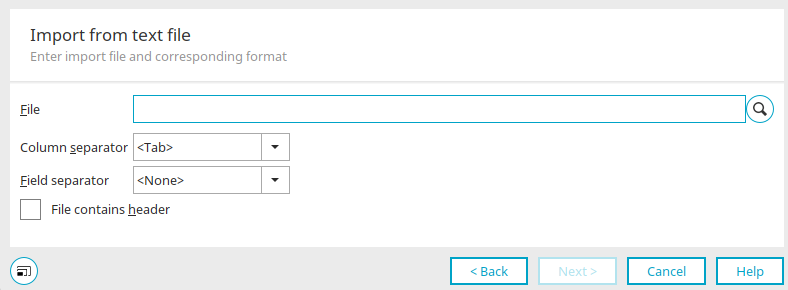
Click "  " and then "Select File" to select the import file. Also specify the character that separates the columns in the text file. If a field separator is used in the text file, select it here as well.
If the "File contains header" option is selected, the first row is not imported but is displayed as a column header on the following dialog pages.
Click "Next."
Column Types
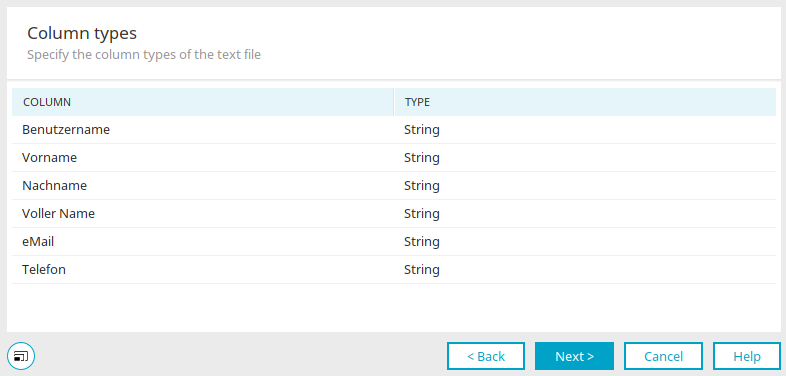
The name and type of the column from the text file are displayed here. When you click in the column, a list of possible data types will appear for you to select from.
Click "Next."
Field Mapping
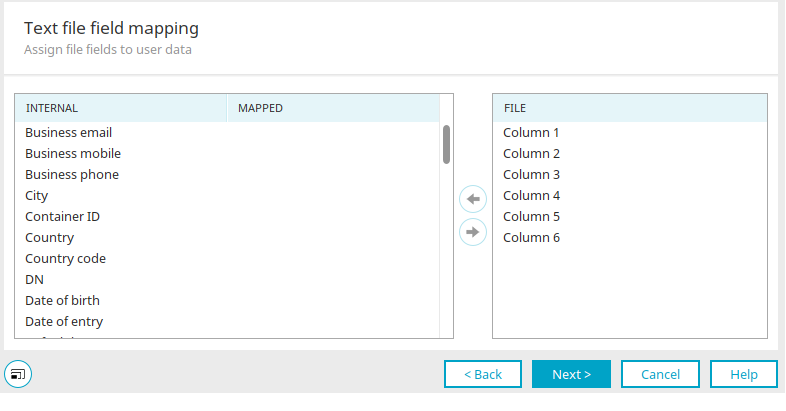
Here, you can map the fields from the "Users" module to the columns in the import file.
If the full login name is specified, the import data in this field takes precedence over the data from the "Username" and "Domain" fields.
Click "Next."
If all the entries are correct, a dialog box will appear where you can configure the import settings. You can find all the information here.
You will then have the option to set the schedule for automatic execution. You can find all the information here.
In the final step, the replication job can also be started immediately, if desired. You can find all the information here.
In the final step, you'll have the option to set the schedule for automatic execution. You can find all the information here.