

Calendar
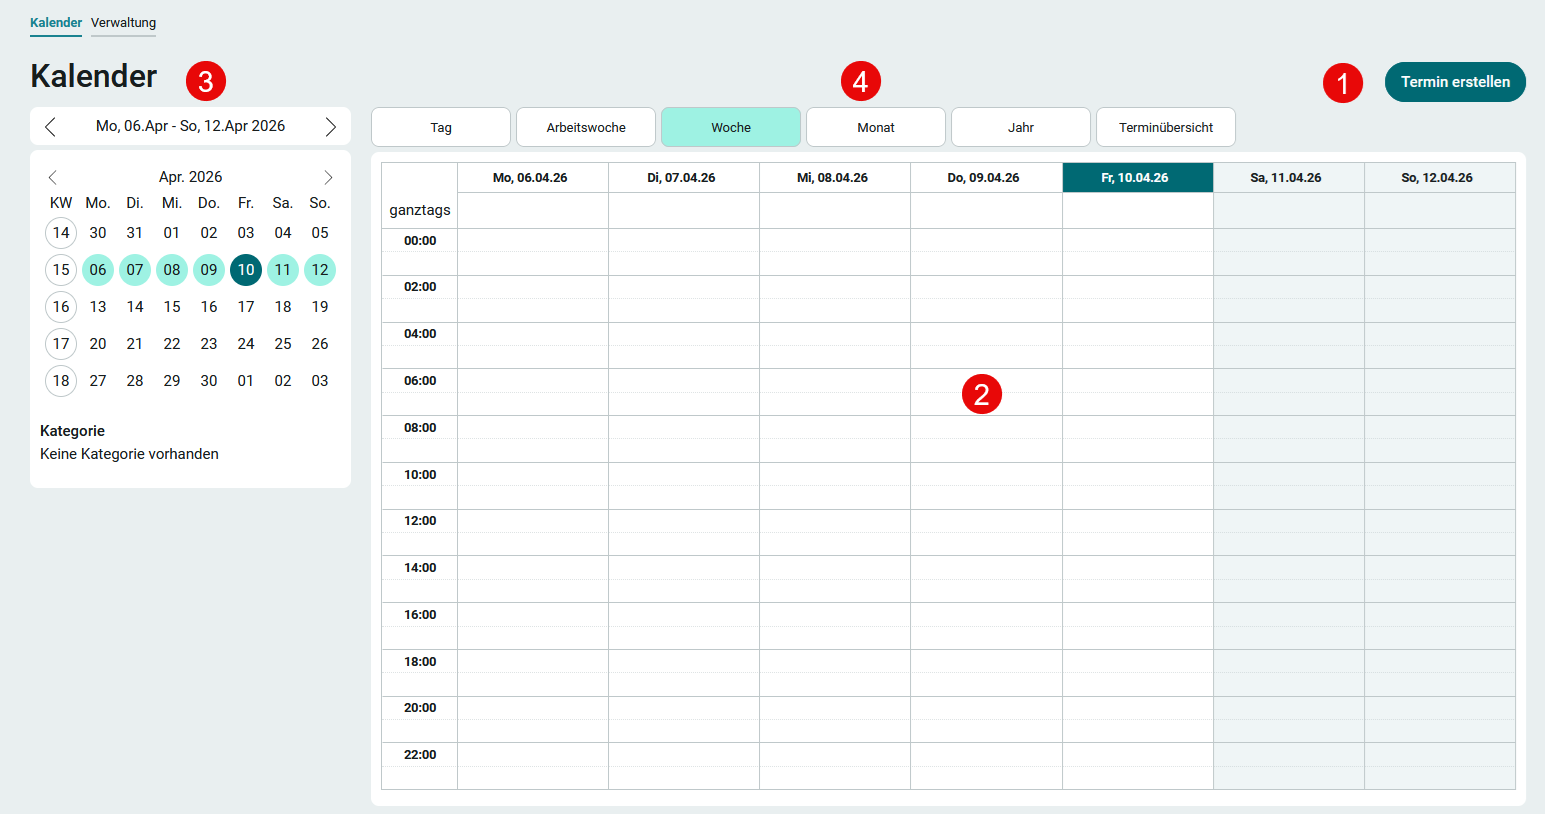
This app gives you a complete overview of all your appointments. To learn how to import the template, see: Importing Online Application Templates.
Roles
Roles are automatically created when the template is imported.
App_Calendar_User
As a member of this role, you have access to the Calendar page and can create appointments.
App_Calendar_Manager
With this role, you can edit categories and mark calendar days on the Administration page. In addition, it includes all the permissions of the App_Calendar_User role.
To learn how to add portal users as members to these roles, see: Roles and Permissions in Application Templates.
Calendar
On this page, you'll find the navigation calendar (3) on the left, which you can use to control the calendar chart ( 2). The view ( 4) of the calendar chart (2) can be changed by clicking on " Day," " Workweek," " Week," " Month," " Year," or "Appointment Overview ." For more information, see here:Calendar Item.
Create an appointment
Appointments can be created in three ways:
-
Click " Create Appointment " (1).
-
By clicking on a cell in the calendar chart (2).
-
By selecting an entire range—for example, several days—in the calendar chart (2).
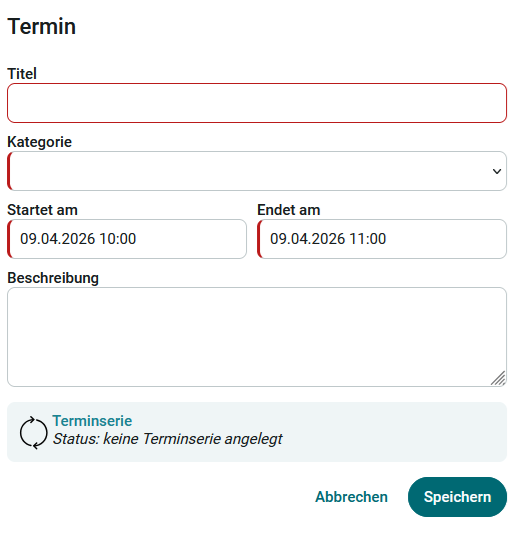
In all three cases, the input page opens. If a day or a range was selected in the calendar chart, the "Starts on " and " Ends on " fields are already pre-filled with the corresponding dates. Click " Recurring Event " to create a recurring event.
Series of Events
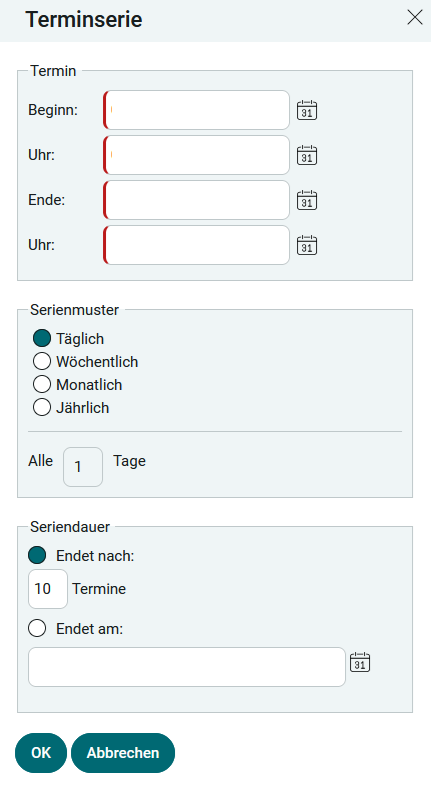
Enter the start and end times of the appointment here.
The " Series Pattern" setting specifies whether the recurrence should be Daily, Weekly, Monthly, or Annual .
In the "Series Duration" field, you specify the point at which the appointment should no longer be repeated and the series should therefore end. You can specify the number of repetitions or a specific date for the end of the series.
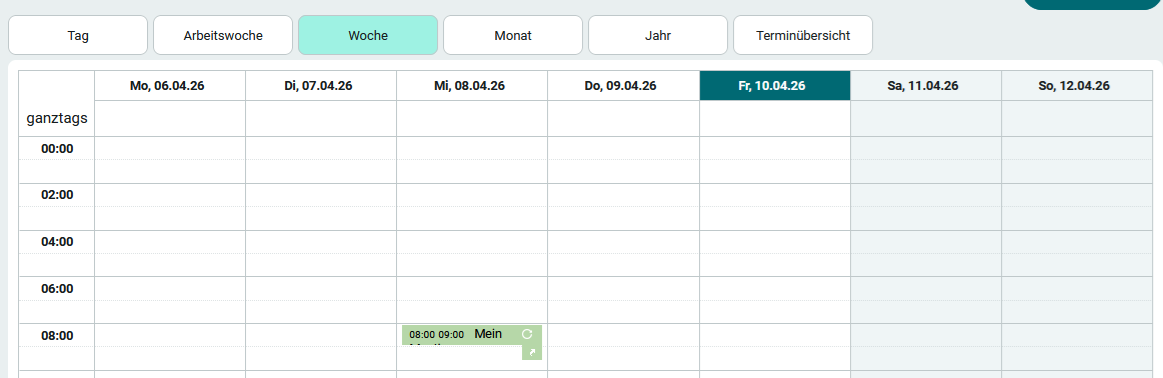
After saving, the appointment will appear on the calendar chart. Clicking on it allows you to edit or delete the appointment.
Export Appointment
Appointments can be exported in Outlook format (.ics). When you hover over an event in the calendar chart, a small arrow appears. Clicking on it starts the export and makes the .ics file available for download.
Administration
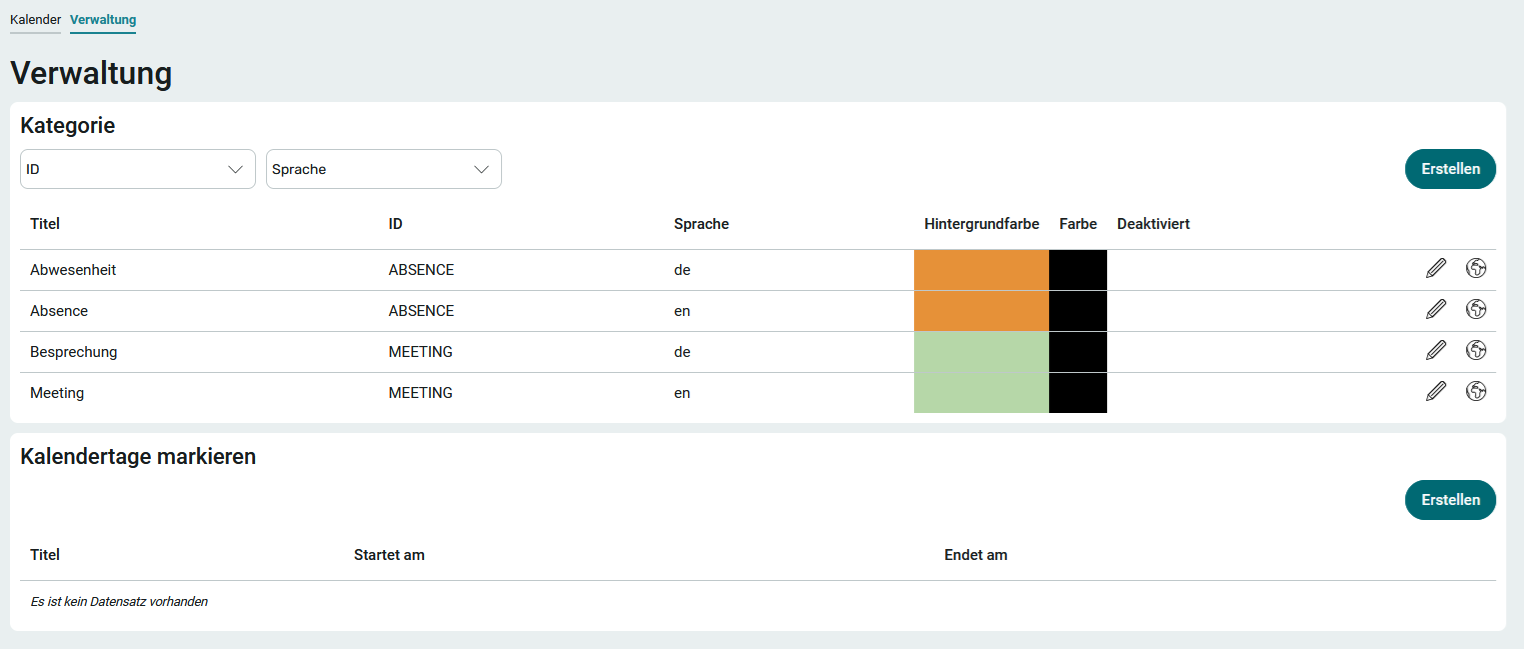
Category
Categories are primarily used to provide an overview of different types of appointments. In the calendar chart, appointments are color-coded based on their assigned category, making them easier to distinguish.
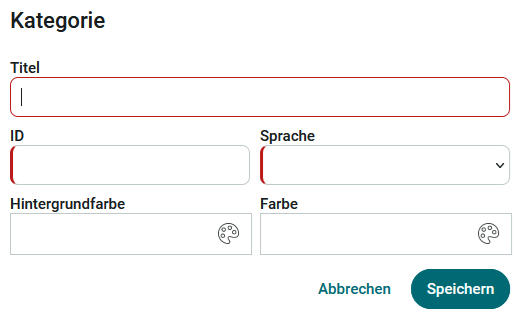
Click " Create" to add a new category. The ID must be unique and can consist of any characters. Once saved, the ID cannot be changed.
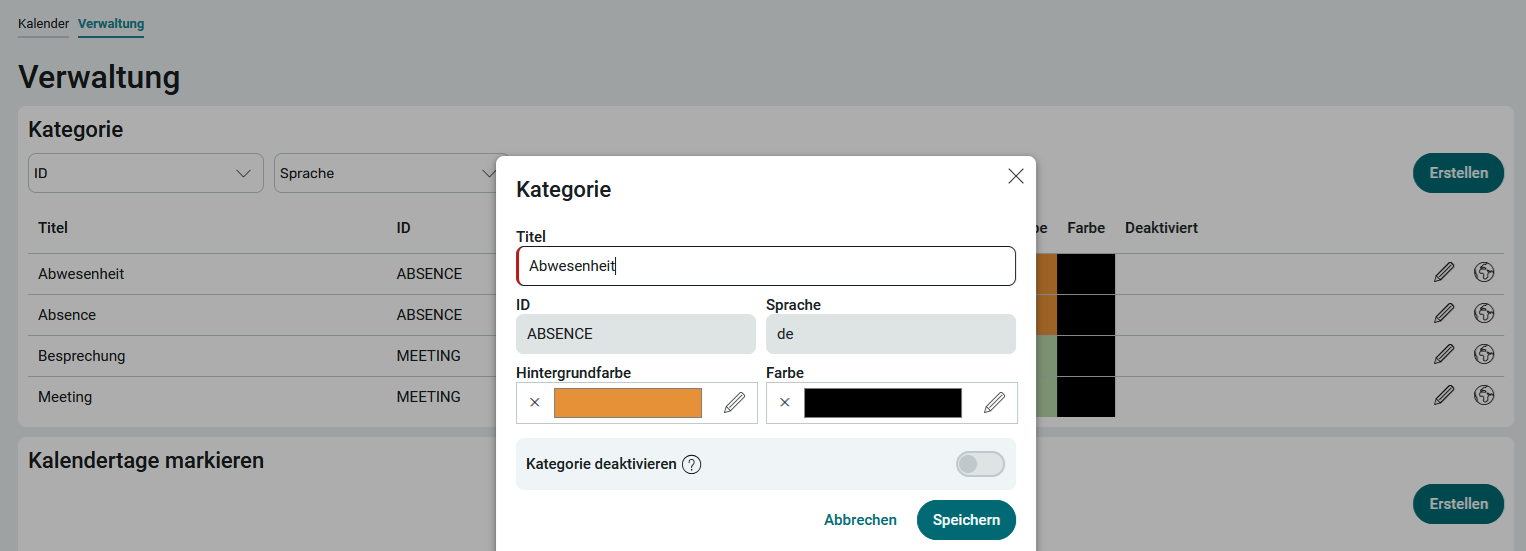
You can edit a category by clicking "  Edit ." Categories cannot be deleted manually. They must first be disabled. The system will then automatically check whether the category is still referenced. If this is not the case, it will be automatically deleted.
Additional language variants can be created for existing categories. This allows the category to be translated into another language. You can find all the information on this topic here: Multilingualism.
Mark calendar days
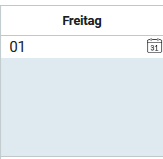
Calendar days can be marked (e.g., holidays). They will then be color-coded on the calendar chart. Clicking " Create " in the " Mark Calendar Days " section on the " Administration " page opens the corresponding input page.
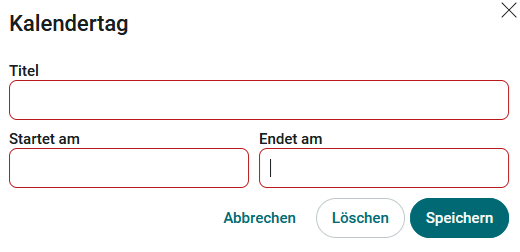
Enter the relevant information here and click Save.

Click on " " to edit a selected calendar day; you can edit it again or delete it.