

VTL Include
VTL stands for Velocity Template Language. Velocity is an open-source project of the Apache Jakarta Project that allows direct interaction with Java objects using an easy-to-learn scripting language. Your VTL file will be executed later at the location where you place the VTL include element on the workspace. The entire process is similar to including an ASP file with Visual Basic Script.
To use this element, you need knowledge of scripting languages and, ideally, Java development as well. Intrexx GmbH does not provide support for the use of VTL in Intrexx.
The "VTL Include" application element belongs to the "Programming" element category.
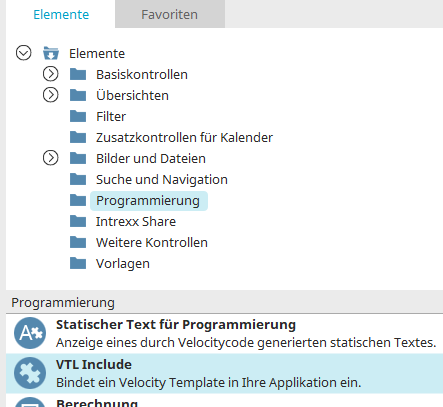
You can find the "VTL Include" element in the "Applications" module under "Elements. " You can create a new element by dragging and dropping it from here onto the workspace.
For more information on creating elements, click here.
The element's Properties dialog box opens automatically when the element is created. The Properties dialog box for an existing element can be opened by double-clicking the element on the workspace, selecting "Properties" from the context menu, or choosing "Edit / Properties" from the main menu, provided that the "VTL Include" element is selected on the workspace.
Settings
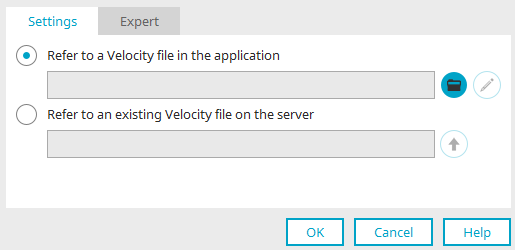
Reference the Velocity file from the application package
The path and name of the referenced Velocity file are displayed here. All Velocity files from the application package are stored in the portal directory internal/application/store/<AppGuid>/resources.
 Select Velocity File
Opens the Velocity File Manager, where you can select an existing Velocity file from the application package or create a new one .
 Edit Velocity File
Opens the Velocity Editor.
Reference an existing Velocity file on the server
Here, you can reference an existing Velocity file, which must be accessible on the server.
 Copy the Velocity file from the server to the application package
Opens the Velocity File Manager, where you can select a Velocity file.
Safety Notice
Please note:
Files with the extensions .vm and .vmi that contain Velocity script code are Velocity files. Velocity files are executed only if they are stored in specific subdirectories of the portal directory. These subdirectories are
-
internal/system/vm/
-
internal/layout/vm/
-
internal/application/vm/
-
internal/application/resource/
-
internal/workflow/<GUID>/velocity/
Velocity files with the .vm file extension can be accessed directly from the web using URL parameters. Therefore, permission checks may need to be performed in the code of VM files to prevent unauthorized access to sensitive information.
Examples:
Checking Read Permissions for a Data Set:
$AccessController.hasDatagroupPermissionFromPage($ProcessingContext, $appGuid, $dataGroupGuid, "read")
Checking access permissions for a page:
$AccessController.hasPagePermission($appGuid, $pageGuid, "access")
The file extension .vmi stands for Velocity include files. Unlike Velocity files with the .vm extension, VMI files cannot be accessed directly from the web. For this reason, security checks that have already been performed by the calling Velocity files do not need to be performed again in VMI files.
Velocity File Manager
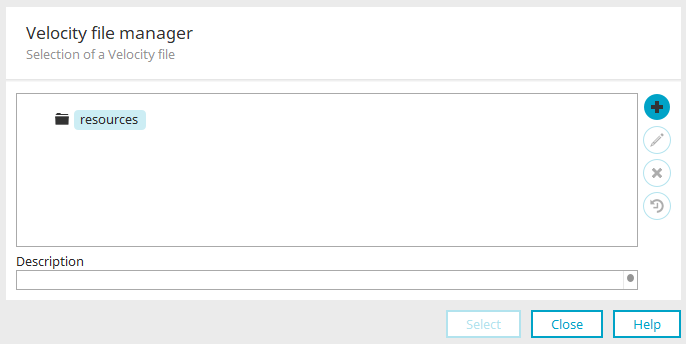
 Add
Add
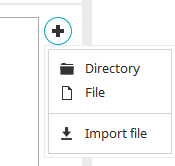
Displays a menu that allows you to create directories and Velocity script files. In addition, you can import Velocity script files created externally.
Directory
Clicking the "Directory" menu item opens a dialog box where you can create a directory.
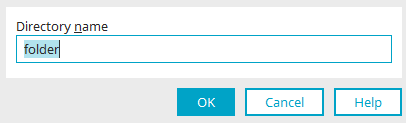
Enter the desired directory name here.
File Name
Clicking the "File" menu item opens a dialog box where you can create a file.
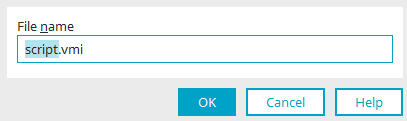
Enter the desired file name here.
Please note the following rules for valid names:
Allowed characters: letters, numbers, underscore (_). The name cannot start with a number. When adding files, please note: Velocity includes that are used only on the server side and must not be accessed directly from the web should have the file extension .vmi. Otherwise, the .vm file extension should be used.
Import File
Opens a dialog box where you can select the desired file.
Click "OK" to save your changes and close the dialog box.
Edit
Opens the script editor to edit the currently selected script file.
All elements can be moved to the desired position using drag-and-drop in the Velocity File Manager. Subdirectories can be created for existing directories when a directory is selected.
 Delete
Deletes the currently selected script file.
Description
The text entered as a comment at the very top of the Velocity file is automatically displayed in the lower part of the dialog box.
Safety Notice
Please note our safety notice.