Upgrade The following step-by-step guide assumes that you are upgrading an existing Intrexx installation.
This means that you install in the same directory in which the previous version of Intrexx is installed. The advantage of this approach is that all configurations are kept.
New installation You can also install Intrexx Intrexx Steady Track in a new directory and then transfer your data and portals from the earlier Intrexx version to Intrexx Steady Track . More detailed information is available in section Using parallel installation.
Note Start the upgrade from Intrexx Steady Track only after you have configured IIS (Windows) or NGINX (Linux).
Download Download the installation package for Intrexx Steady Track from Intrexx Support Center at "Intrexx Downloads > Intrexx Releases > Steady Track". Unzip the installation package.
Portalpatch If you install the upgrade in an existing directory, the portals will also be patched. During this process, Intrexx checks whether your portal from the previous version will function correctly in Intrexx Steady Track without any additional modifications. A corresponding report (logfile) will be generated that contains the respective notifications.
Step-by-step guide
-
Execute the "setup.exe" file as the administrator (right-click > "Run as administrator").
The start dialog for the Intrexx setup is displayed.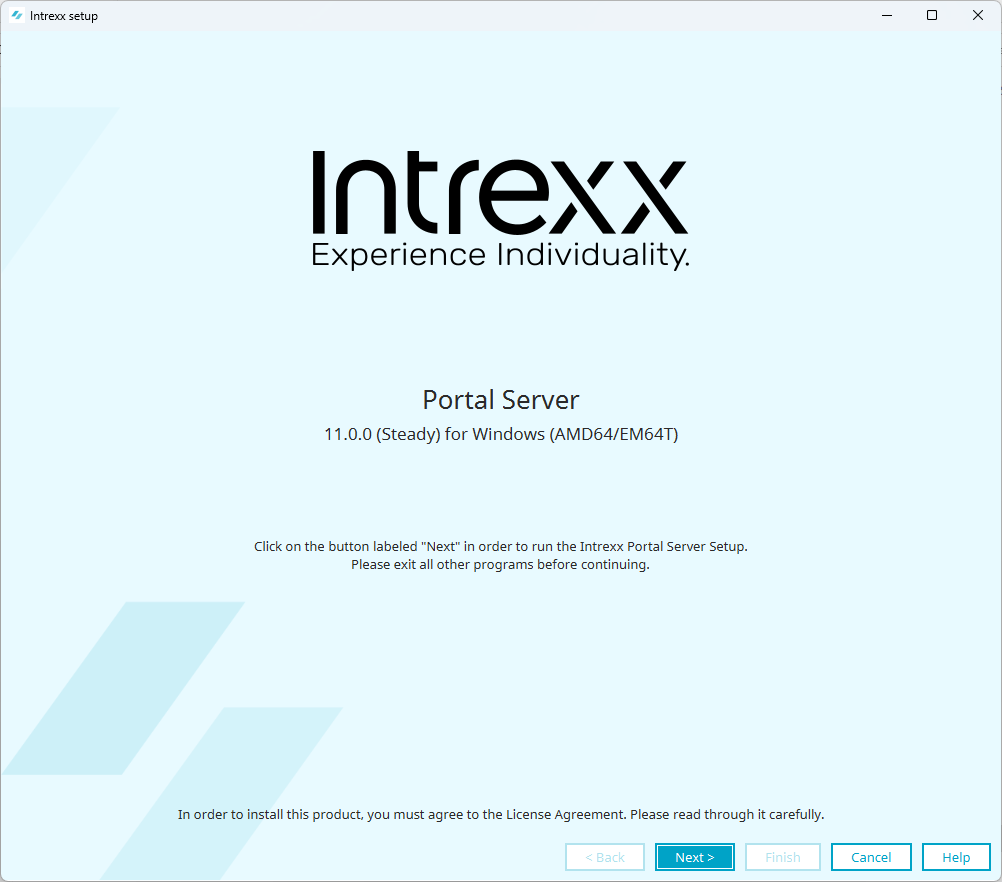
-
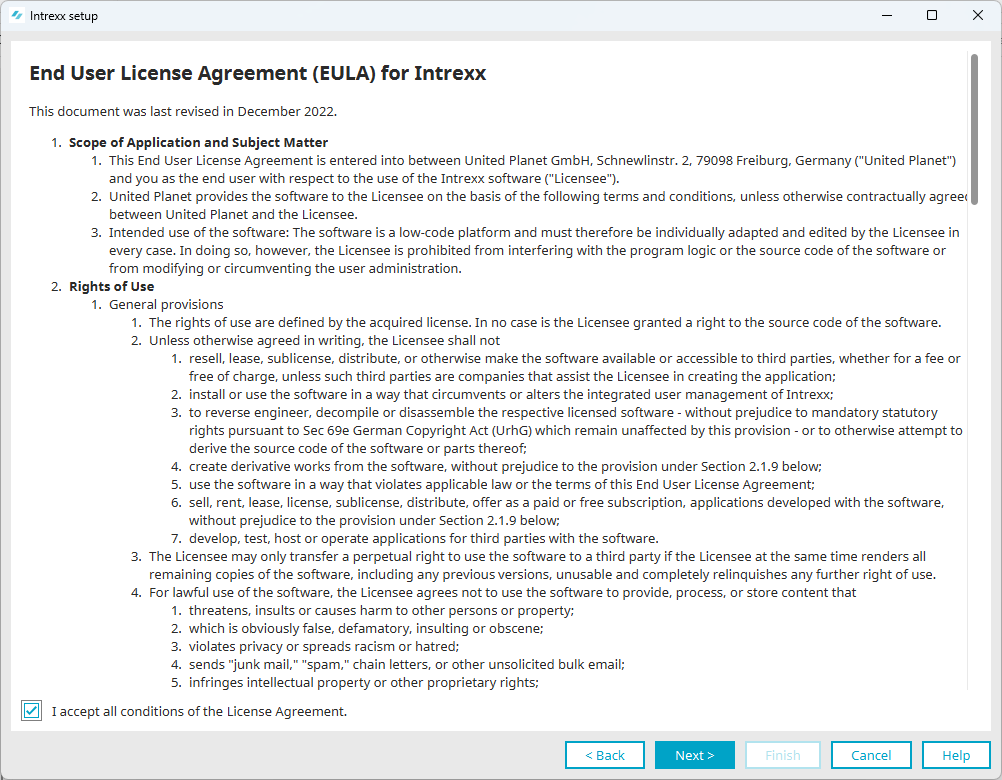
Click on "Next".
The dialog with the license conditions is displayed.
-
Agree to the terms of the License Agreement.
-
Click on "Next".
The "Installation path" dialog appears.
-
Select as the installation directory, the one in which you already installed Intrexx.
-
Click on "Next".
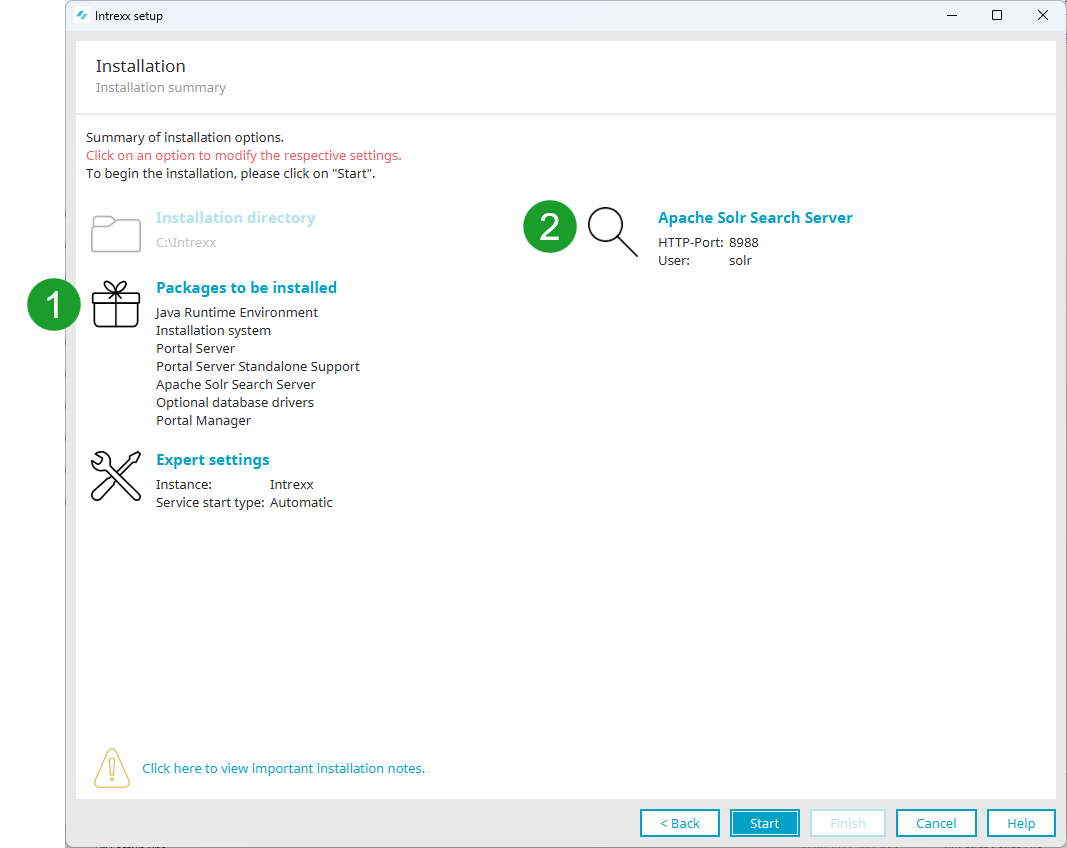
The "Installation" dialog appears.
 Updates or changes
The "Installation" dialog contains several changes.

 Previously, you could change the installation path in this dialog. This is no longer possible.
 In the packages to be installed, you have the option of installing the Intrexx Administration API with
  The settings for configuring the portal server are no longer necessary, as
  In
In  The software update takes place in
  Administration API
During installation of
Detailed information on the Intrexx Administration API can be found in the section Intrexx Administration API.
a. Click on "Packages to install" if you want to install the Administration API.
The "Component selection" dialog appears.
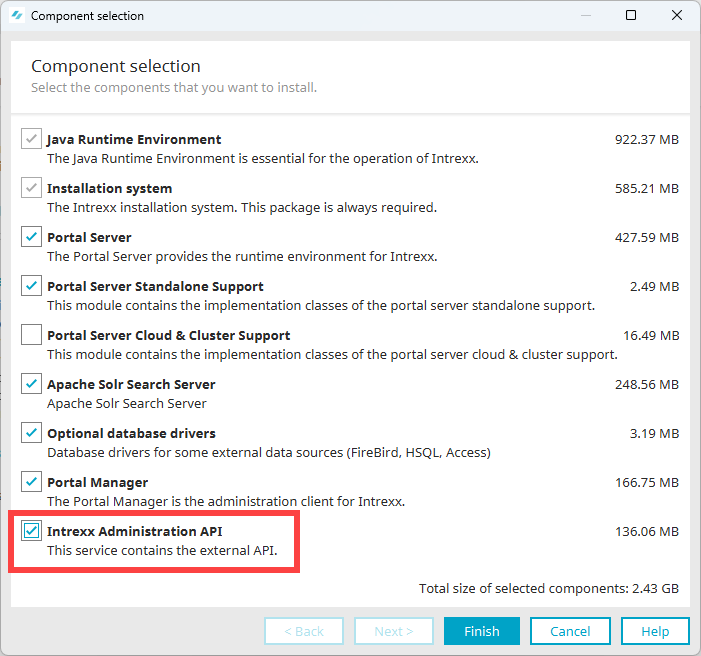
b. Activate "Intrexx Administration API".
c. Click on "Finish".
 Apache Solr search server
In
For detailed information on configuring the "Apache Solr Search Server", see the Solr Search Server, for example.
a. Click on "Apache Solr Search Server".
The Solr Configuration dialog box appears.
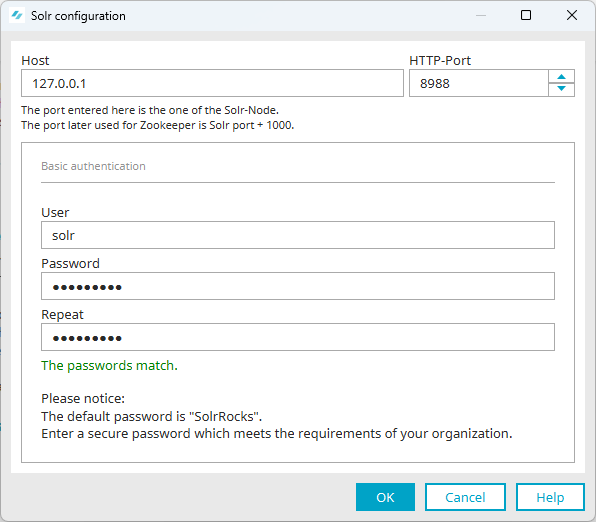
b. Change the password.
c. Click on "OK".
-
Click on "Start".
The dialog "Notes on update" appears
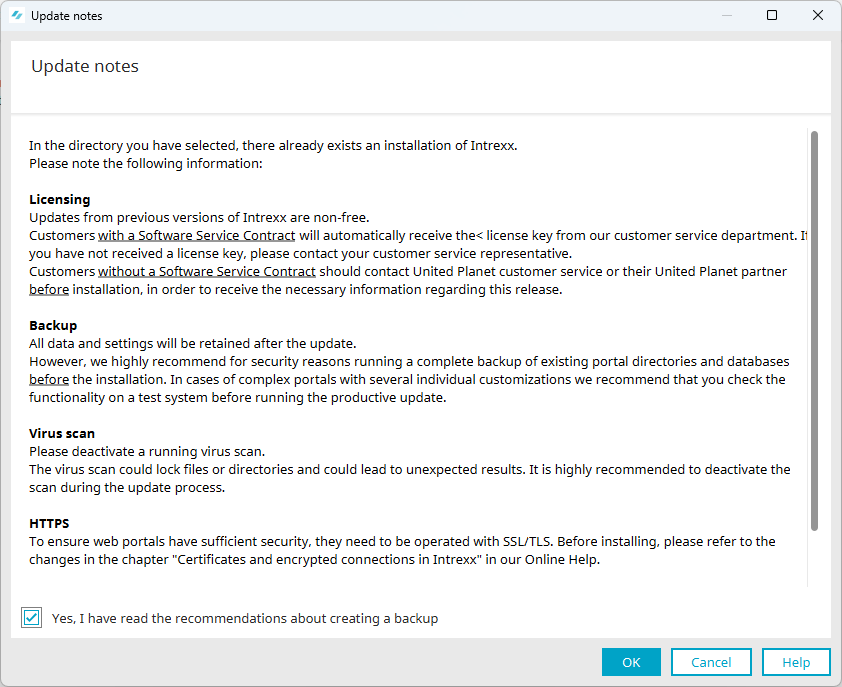
Read and confirm the update notes.
Be sure to create a backup before performing the update. -
Click on "OK".
The "Installation" dialog appears.

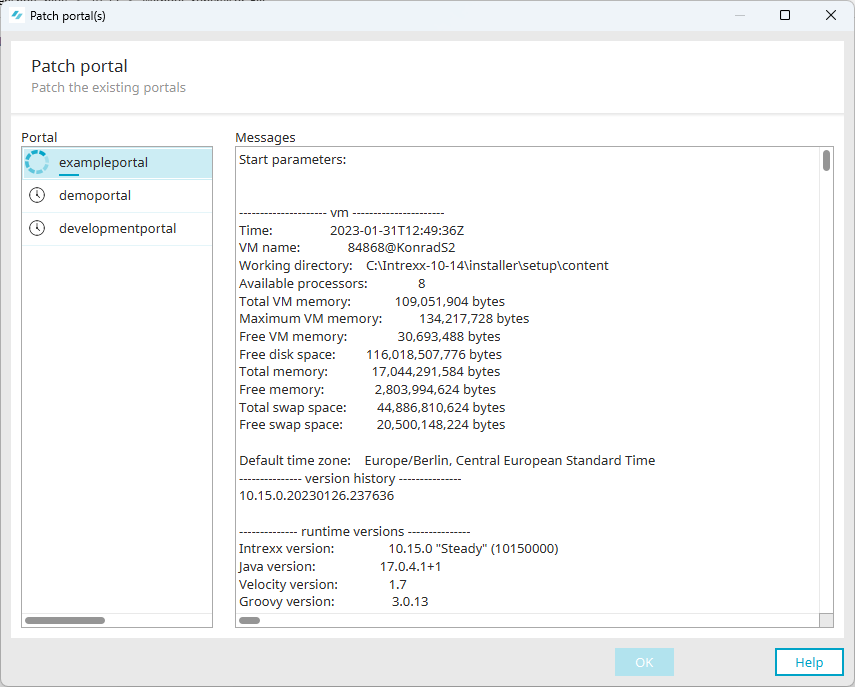
During the installation, the "Patch the portals" dialog is displayed.
Existing portals will be updated or patched to the new Intrexx version.
-
Click "OK" once the button is active.
You return to the "Installation" dialog.
-
Click "Finish" once the button is active.
The "Finish installation" dialog appears.

In the lower area of the dialog, the existing portals are displayed with the corresponding ports.
Make a note of the ports.Or
Load the portal information to the clipboard using the
 icon. Then paste the information from the clipboard into an editor. For example, the information may look like this:
2B5E259016011BE0C9KK1065295EDCD912291E25 exampleportal 8107
340C7AD0C35738E6E60KK86C8E2C1826B2D8AF43 demoportal 8108
E63608C696F0114900EBKKFF81F314DD1A88C678 developmentportal 8109
In
Detailed information on this can be found in the section Intrexx without Supervisor.
-
Click on "Finish".
If you have activated the checkbox "Start Intrexx Portal Manager", Intrexx will be restarted.