A description of how to create an external data group that references the Intrexx Connector for SharePoint Server/Online is provided below.
Step-by-step guide
Proceed as follows to create an external data group in an Intrexx application:
-
Start the application in which you want to create the external data group.
-
Select the application and right-click on it.
-
Select the "External data group" item in the context menu.
The "Properties - External data group" dialog box is displayed with the "General" tab.

Title
Enter the title of the external data group.
Database connection
Select "mssharepoint_<Name of the connector>intrexxsharepointconnector" here (e.g. "mssharepoint_intrexxsharepointconnector").
Datahandler
Select "Connector Api - Data handler" here.
Table / View
-
Click on the
 icon.
icon.The "Table/view selection" dialog box opens.
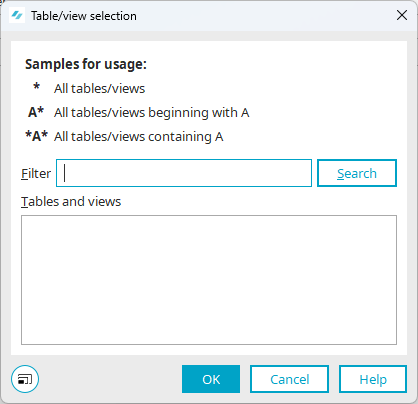
-
Click on .
The data groups that were created in the Intrexx Connector for SharePoint Server/Online are displayed.
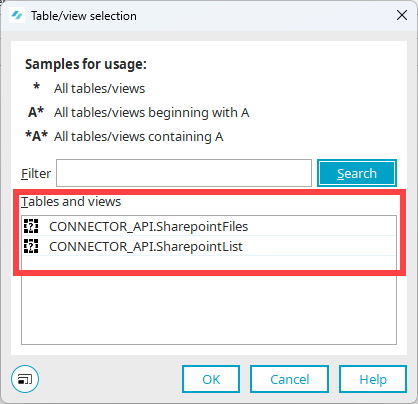
-
Select the desired table or data group.
-
Click on "OK".
-
-
Go to the "Data fields" tab.
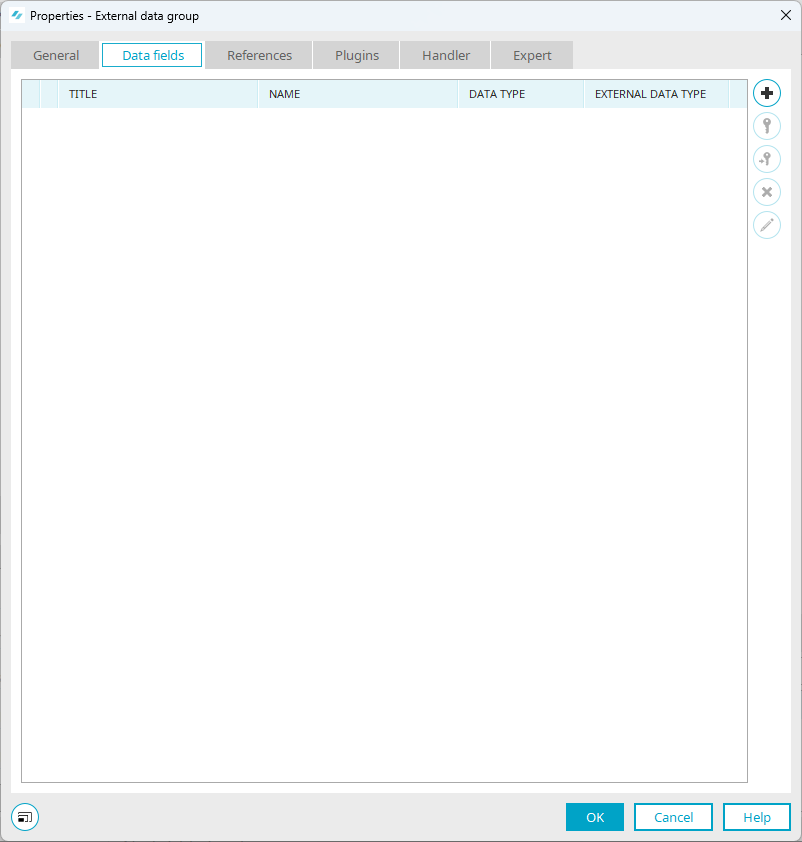
-
Click on the
 icon.
icon.The "Select data field" dialog will open.

-
Select the data fields that you want to add to the external data group.
Data type "file"
You need the "file" data type to be able to access file attachments or to be able to upload and download them via your Intrexx portal.
The "file" data type requires its own configuration.
More detailed information is available in section Set up file field in external data group.
-
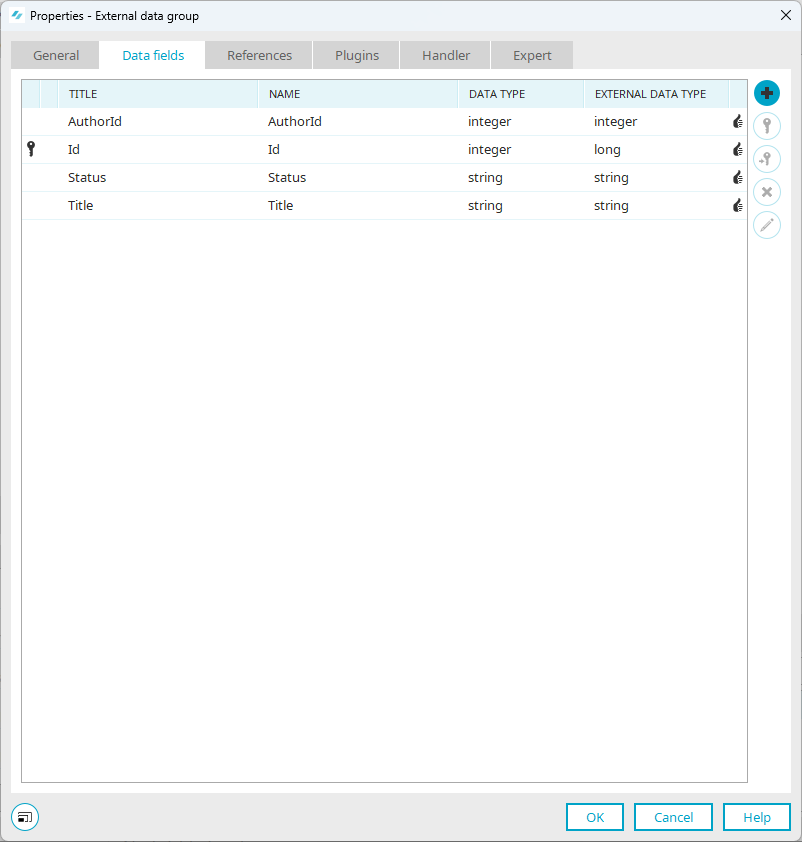
Click on "OK".
You are taken back to the "Data fields" tab.
The data fields are displayed.
-
Switch to the "Expert" tab.
The following keys and values are displayed:
Attribute Value connector.dataGroup.adapter.class en.uplanet.lucy.server.odata.consumer.sharepoint.SharePointDataGroupAdapter sharepoint.list.name [ListName] sharepoint.list.type List (For SharePoint lists) Library (For SharePoint document libraries) sharepoint.service.uri https://[TenantName].sharepoint.com sharepoint.site.name [SiteName]
SharePoint Online
Enter the name of the "Site"(sites/mysite here.
SharePoint On Premise
Enter the name of the "Site" and the "SiteCollection path"(websites/mysite here.
In the next steps, you must replace the names [ListName], [TenantName] and [SiteName] shown in square brackets with the corresponding values from SharePoint.
-
Click on .

-
Select the key "sharepoint.list.name".
-
Click on the
 icon.
icon.The "Edit setting" dialog box opens.
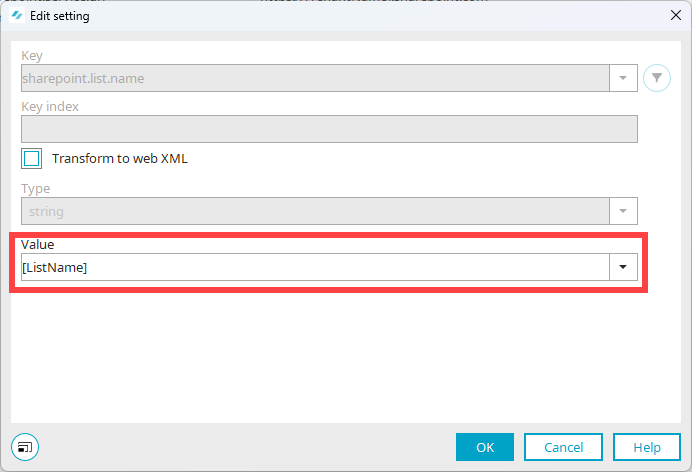
-
Enter the name of the SharePoint list in the "Value" selection field (e.g.: IntrexxSharepointList).
-
Click on "OK".
You are taken back to the "External data group properties" dialog box.
-
Enter the values for the other keys in the same way:
Value Example sharepoint.list.type List (For SharePoint lists) Library (For SharePoint document libraries) sharepoint.service.uri https://examplecompany.sharepoint.com sharepoint.site.name Intrexx SharePoint Site -
Click on "OK".
More information
You can find more information about external data groups in Intrexx in the following section External data group.
Next steps
Set up file field in external data group
Display data You can now display the data fields added to the external data group in a view table in your portal, for example.
Enter data You can write data to SharePoint by creating edit fields that reference the data fields in the external data group.
Detailed information on this can be found in the following sections: