Tips & Tricks - Edit data in table

This article shows how data can be edited directly in a freely designed table. To do this, create a new application using the "Basic application" template.
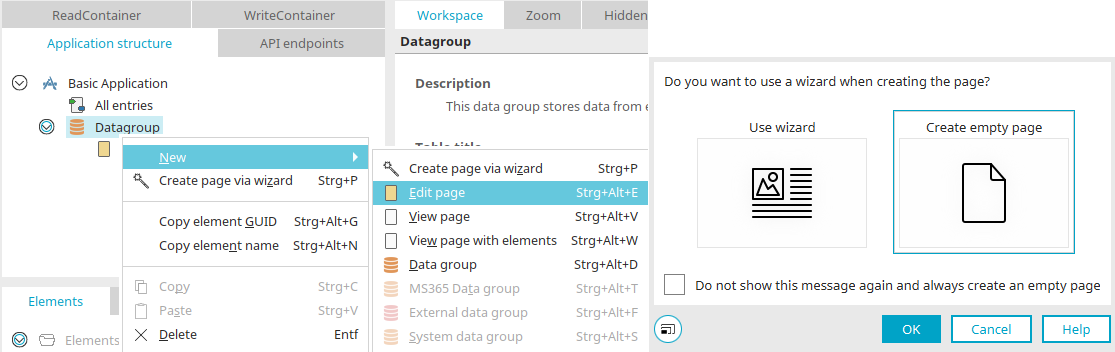
Create a new, empty input page via the context menu of the data group ("New / Input page").
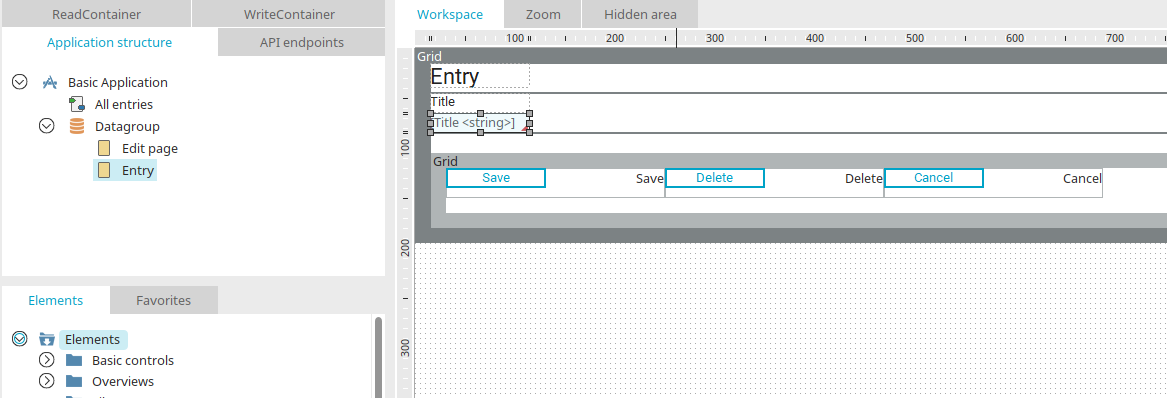
Switch to the "Entry" page and copy the "Title" input field.
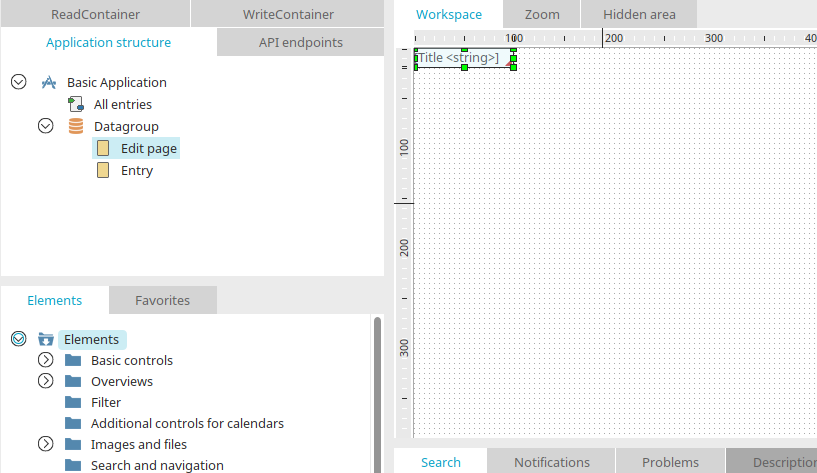
Insert it into the newly created input page. Switch back to the "Entry" page and proceed in exactly the same way with the "Edit" and "Delete" buttons.
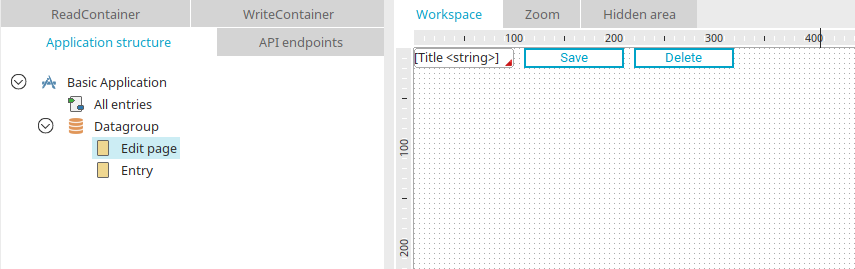
Your input page should now contain the input field and the two buttons.
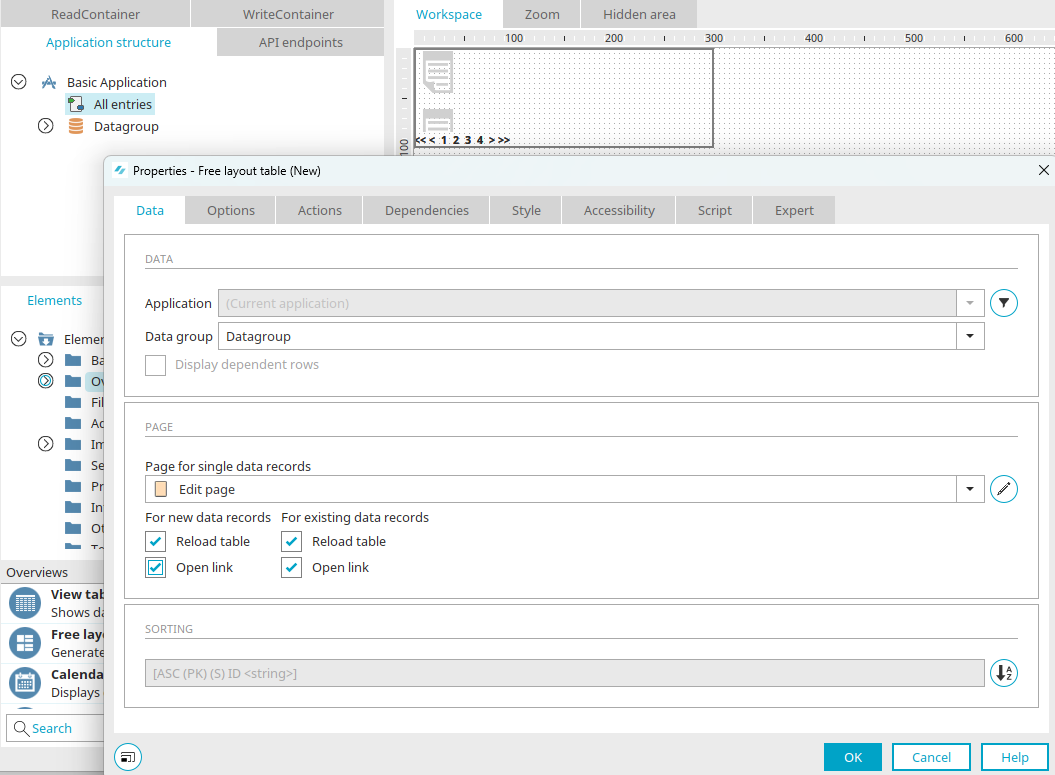
Switch to the "All entries" page and remove all existing elements. Then create a new free-form table. When you create the element, the properties dialog of the table will open automatically. The new input page is already selected as the page for the data view. Activate the "Execute jump" setting for new and existing data records and click "OK".
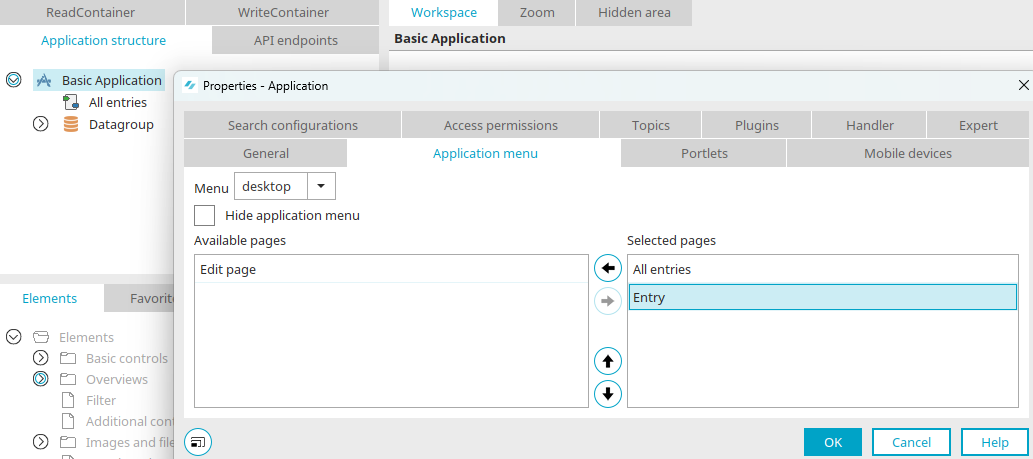
Open the application properties by double-clicking on the application node and then switch to the "Application menu" tab. Add the "Entry" input page to the menu.
Confirm the dialog with "OK" and publish the application.
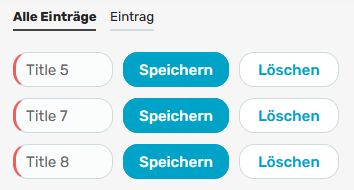
Open the application in the browser and enter some data on the "Entry" input page. On the "All entries" page, this data can now be edited, saved and deleted directly without having to switch to the entry page.
Save all data records in tables
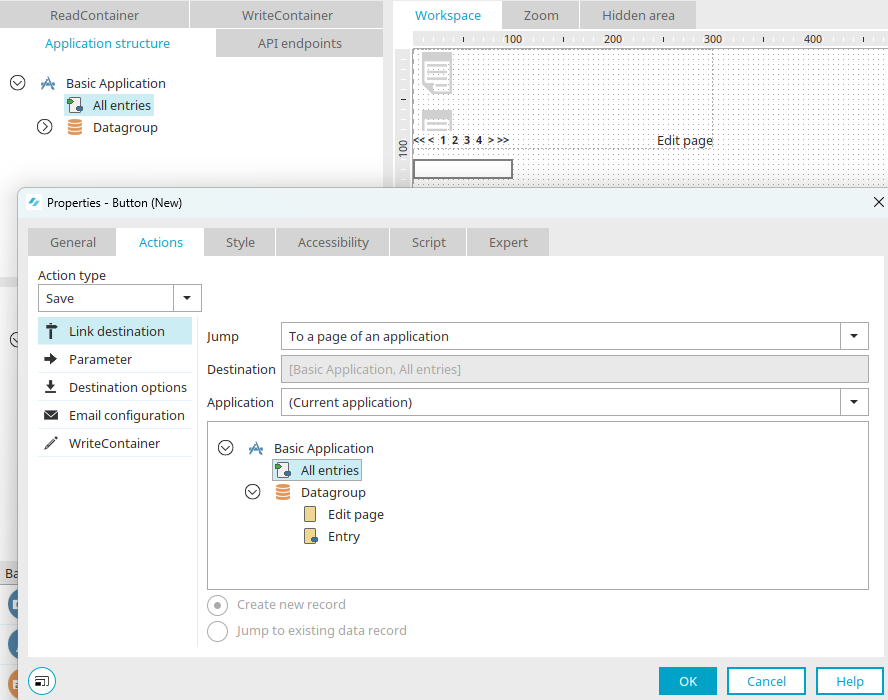
If you want to save all the data in the table at once, create a new button with the "Save" action on the "All entries" page. When you click on this button, all changes made to the data in the table will be saved at once.