Configure WebDAV
Requirements
To be able to make configuration settings in connection with WebDAV, you must have the "Configure WebDAV" portal right.
Compare the section Set portal rights for more information.
"Integration" module
The settings for accessing documents via WebDAV can be found in the "Integration" module.
-
Click on "WebDAV".
-
The WebDAV configuration page is displayed.
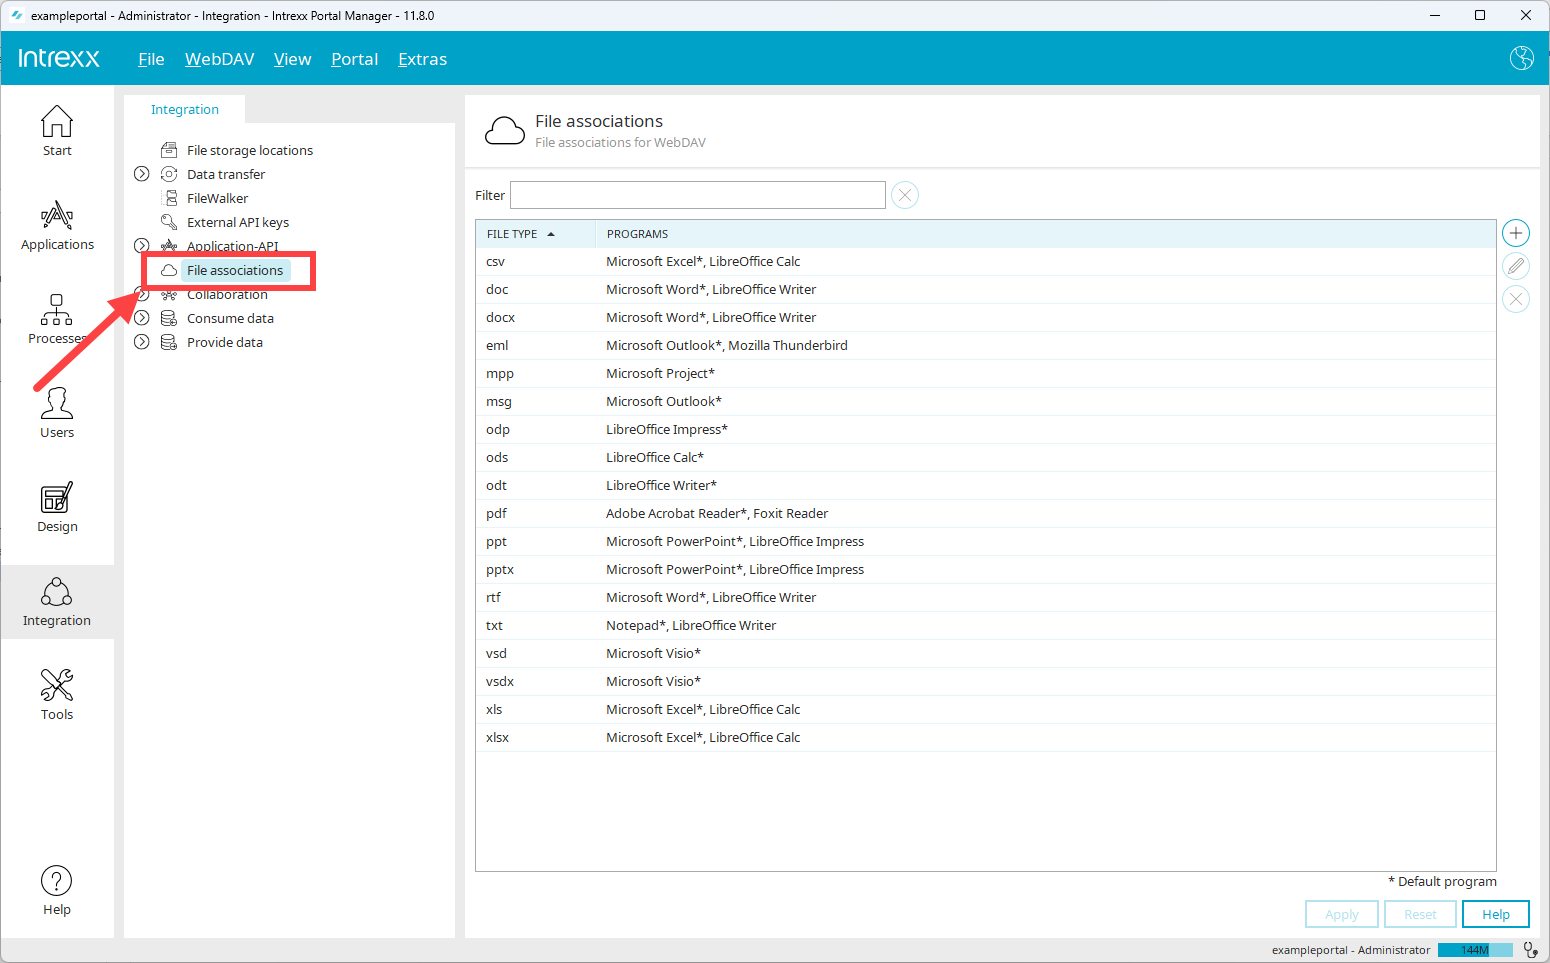
Any file types for which access to the Intrexx Portal Server via WebDAV has been preset are displayed in the right-hand area.
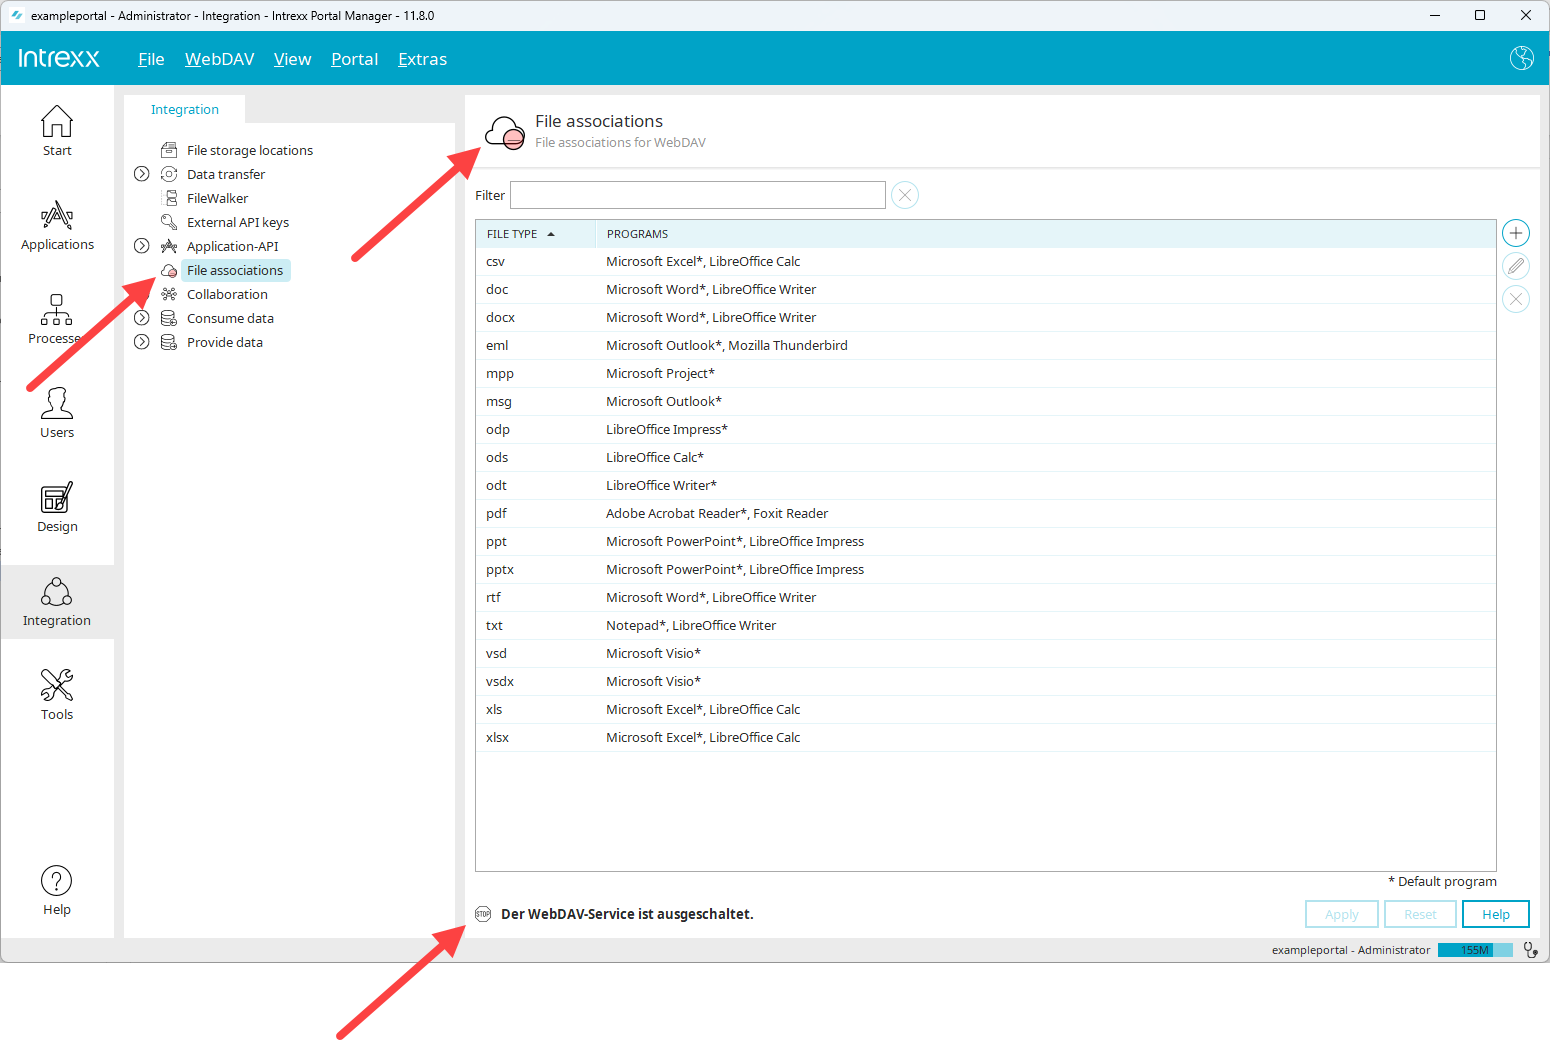
Enable WebDAV
To edit documents via WebDAV, WebDAV must be enabled in Intrexx.
If WebDAV is not enabled, a message is displayed and the WebDAV icon is highlighted in red.
Step-by-step guide
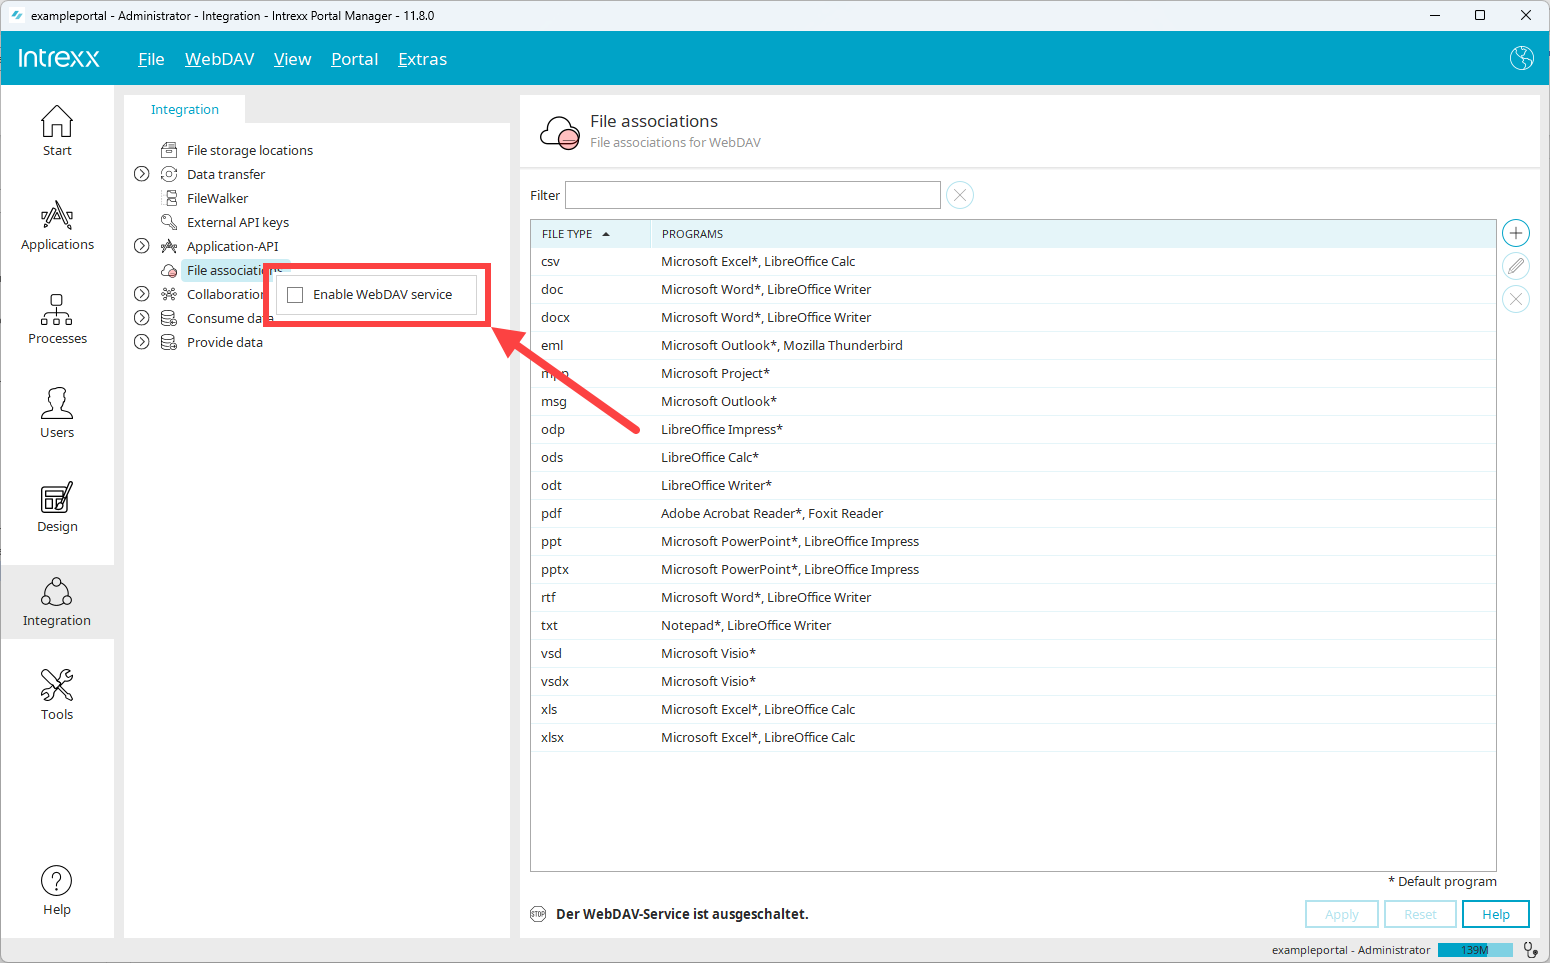
To enable WebDAV, proceed as follows:
-
Select the "WebDAV" entry.
-
Right-click on it.
A context menu with the "Enable WebDAV" checkbox is displayed.
-
Enable the checkbox.
OR
-
Click on the "WebDAV" main menu.
-
Enable the "Enable WebDAV" checkbox.
Configure file associations
Any file types for which access to the Intrexx Portal Server via WebDAV has been preset are displayed in the right-hand area.
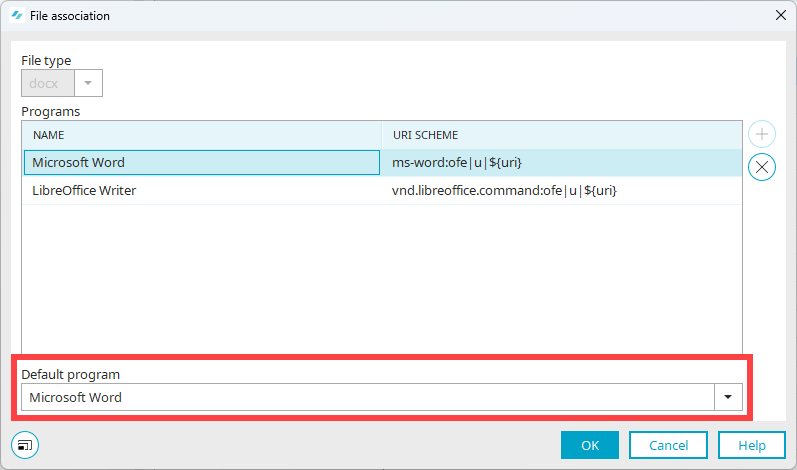
Set default program for opening files
A default program must be stored for each file type. If several programs are stored for a file type with which it can be opened, you must specify one program as the default program.
-
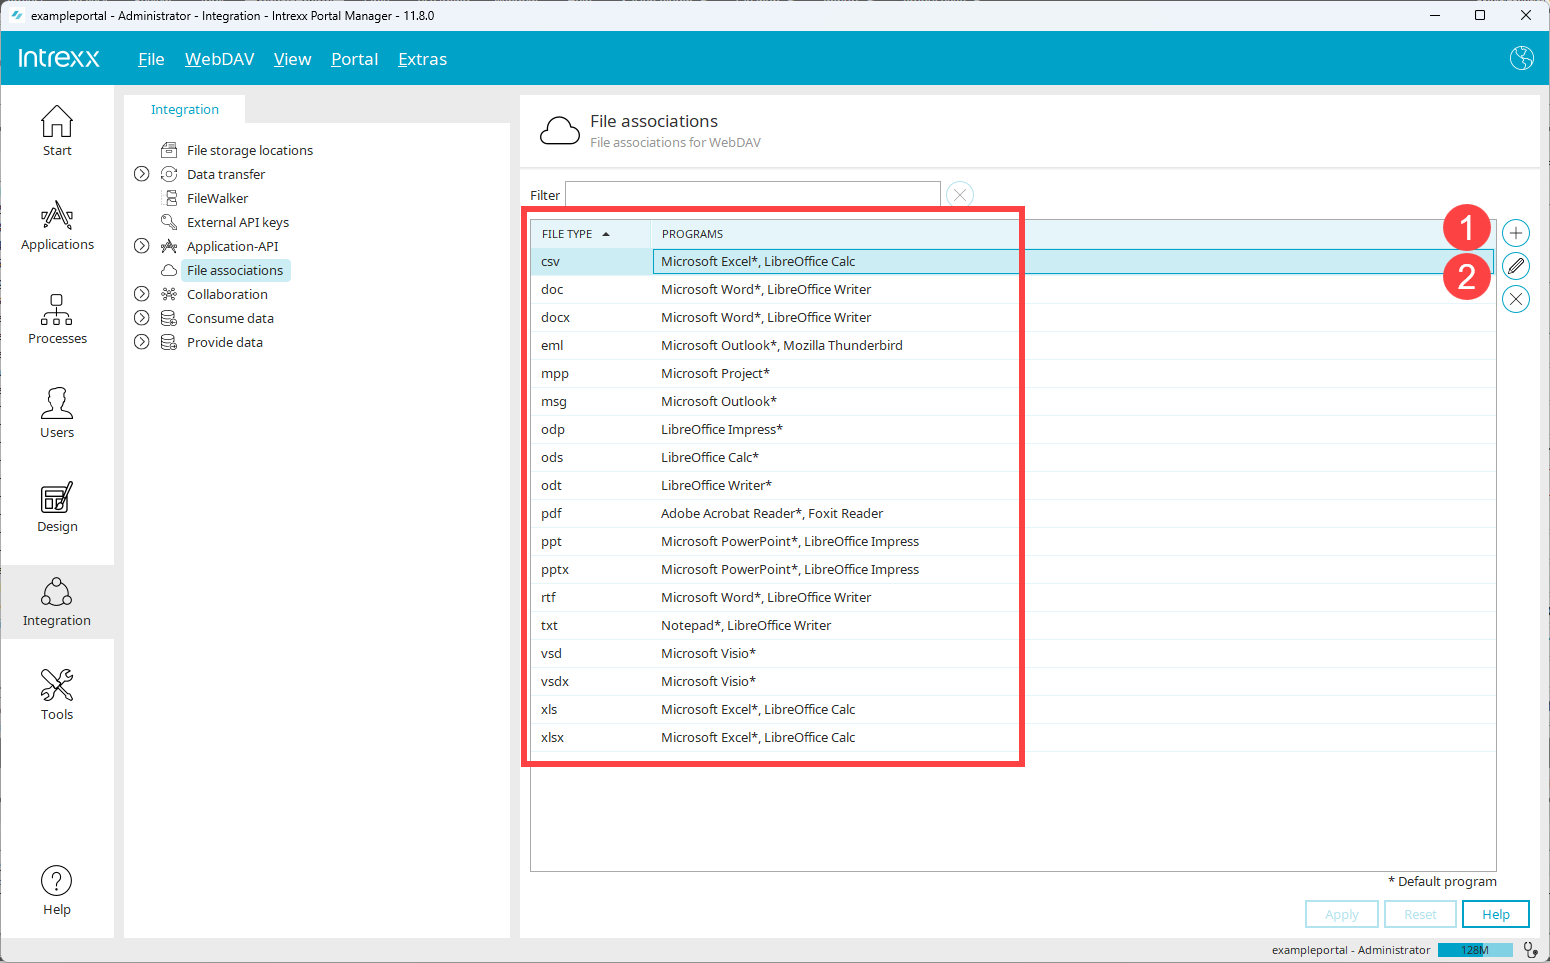
Select the file type you want to change to the default program.
-
Click on the
 icon (
 ).
).The "File assignment" dialog box is displayed.
-
Select the standard program in the "Standard program" selection field.
Extend file selection
The functionalities described below should be set up by an Intrexx administrator.
The pool of possible file assignments is predefined by Intrexx. To extend the list, a custom file can be created in the file system: <portal>/internal/cfg/webdav/webdav-link-pool-custom .cfg.
Entries from the standard pool can also be overwritten if, for example, a different URI scheme is required.
Example
<?xml version="1.0" encoding="UTF-8"?>
<webdavLinkConfiguration >
    <webdavLinkItem fileExtension="docx" application="Microsoft Word" uriScheme="ms-word:ofe|u|${uri}"/>
    <webdavLinkItem fileExtension="docx" application="LibreOffice Writer" uriScheme="vnd.libreoffice.command:ofe|u|${uri}"/>
</webdavLinkConfiguration>
A webdavLinkItem element with the attributes fileExtension="<file type>" , application="<program>" and uriScheme="< URI scheme >" must be defined for each file assignment.
|
Name |
Description |
|---|---|
| fileExtension | File type, e.g. "docx" |
| application | Name of the program, displayed in the Portal Manager and browser, e.g. "Microsoft Word" |
| uriScheme | URI scheme specifies how the link for the WebDAV client is structured, e.g. "ms-word:ofe|u|${uri}" |
The Portal Server must be restarted to make the custom pool available in the Portal Manager.
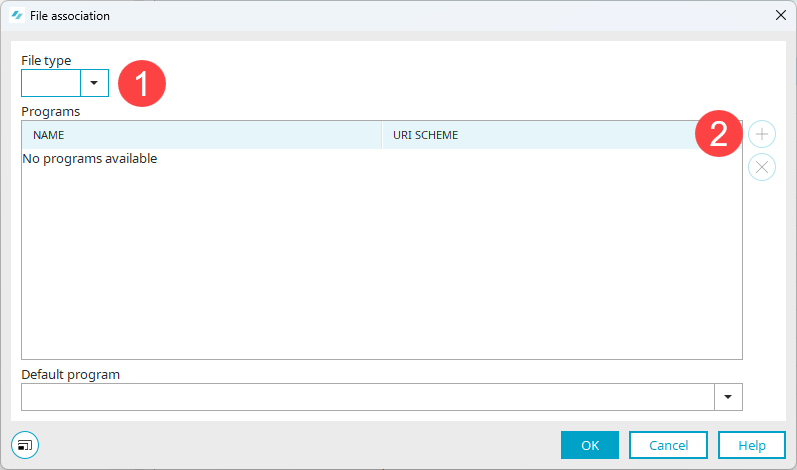
Create new file assignment
Step-by-step guide
To create a new file assignment, proceed as follows:
-
Click on the
 icon.
icon.The "File assignment" dialog box is displayed.
-
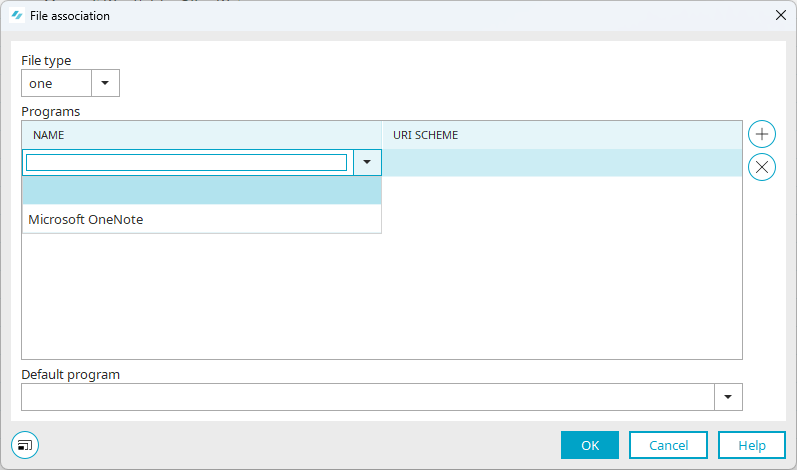
Select the desired file type (
 ).
).Please note that only the file types and programs that are stored in the pool of possible file assignments are available for selection. See section Extend file selection.
-
Click on the
icon ().A selection list of programs used to open the file type is displayed in the dialog box.
-
Select the desired program.
The URI scheme is displayed.
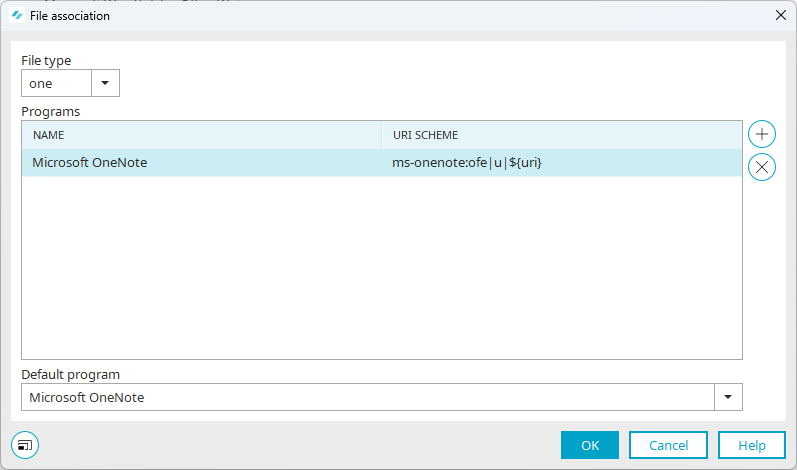
If only one program is selected for a file type, it will be used as the default program.
-
Click on "OK".