Email service
Intrexx offers you the option of sending automated emails. There are two ways to trigger these emails:
-
By clicking on a configured button
-
In Processes, with the corresponding process elements
The basic requirement for sending emails is the configuration of the email service in the "Tools" module. So, first set up, test and activate the email service.
All the information about configuring buttons in applications for sending emails can be found here.
All the information about auto-sending emails in Processes can be found here.
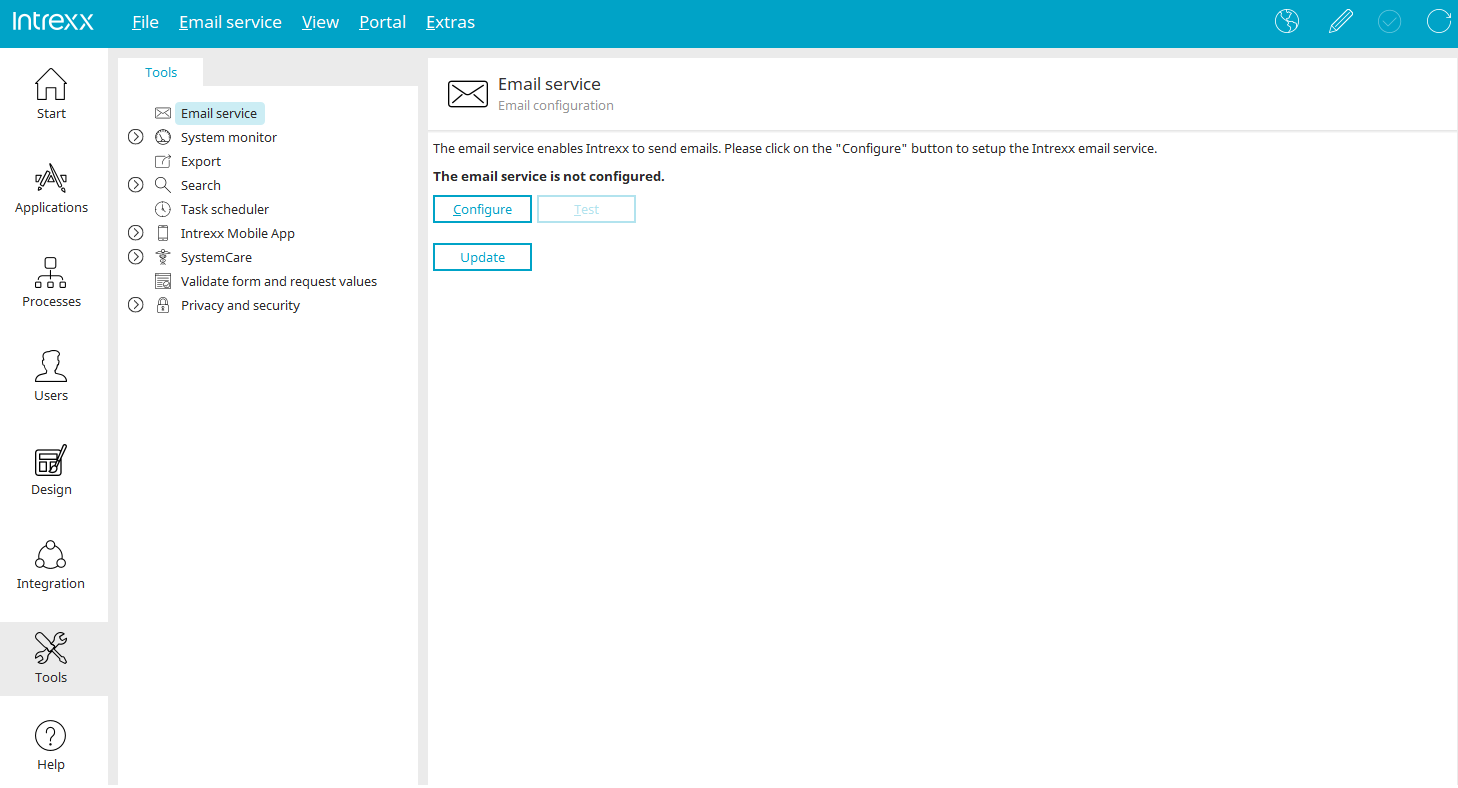
Configure
Clicking this button opens a wizard where the service can be set up.
Default sender

Name
Enter the default sender here. The default will be used if no individual sender is defined in an application or a process.
Enter the email address of the default sender here.
Click "Next".
Email server
Up to Intrexx version 12.1.0:
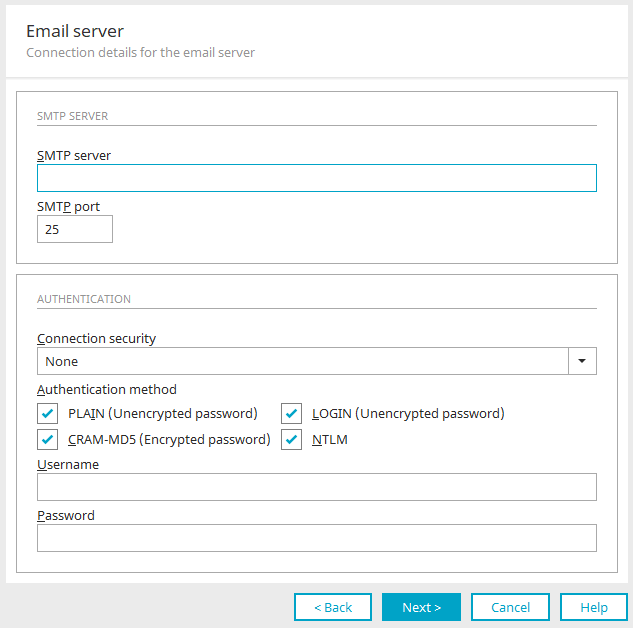
SMTP server / SMTP port
Enter the name or the IP address of the SMTP server here.
The default port is 25. If you are unsure of what to enter, please contact your system administrator. The mail server used does not necessarily have to be on the local network of the Intrexx Portal Server.
Authentication
The settings in this area should be defined according to what your mail server requires.
Connection security
You can select "None", "STARTTLS" or "SSL/TLS" as the connection security.
Authentication methods
How the password is transferred can be defined here.
PLAIN
Transfers the password unencrypted as plain text.
Login
Transfers the password unencrypted from the user entry in the end device.
CRAM-MD5
Encrypts the password with the CRAM-MD5 algorithm.
NTLM
Authentication takes place via NTLM.
Username / Password
Enter the user name and password here.
Click "Next".
From Intrexx version 12.1.0:
OAuth2 authentication for Exchange Online

As of Intrexx version 12.1.0, you will find the "Type" selection list here. This allows OAuth2 authentication to be selected for Exchange Online instead of standard authentication.
Preparation for Microsoft Entra ID
In order to set up the OAuth2 authentication for Exchange-Online in Intrexx, the following steps must be carried out:
1. Register a new app at https://entra.microsoft.com/#view/Microsoft_AAD_RegisteredApps/ApplicationsListBlade/quickStartType.

2. Select "New registration".

3. Enter the freely selectable name of the application. The name must not contain any spaces.
4. Select the option "Only accounts in this organization directory" for the supported account types.
5. Click on "Register".
API permissions

1. Click on "API authorizations" in the menu on the left.

2. Click on "Add authorizations" here.

3. Select the option "APIs used by my organization" here.
4. Enter "Office 365 Exchange Online" in the search field.

5. Search for "SMTP.SendAsApp" in the search field under "Application permissions".
6. Activate the "SMTP.SendAsApp" option.
7. Click on "Add authorizations". The authorization is then added to the app registration.
You must then release these settings for the organization / tenant via "Give administrator approval for <TENANT> ".
Certificates and secrets

1. Select the menu item "Certificates and secrets".
2. Click on "New secret client key".

3. Enter a description and click on "Add".
This will generate a new client key for the email service in your Intrexx portal.

PowerShell
In order for Intrexx to be able to send emails correctly, a new service principal must be entered in Exchange Online. This step must be carried out via a PowerShell.
-
Install-Module -Name ExchangeOnlineManagement
-
Import modules ExchangeOnlineManagement
-
Connect-ExchangeOnline -Organization <Tenant ID>
-
New-ServicePrincipal -AppId <Application ID> -ObjectId <Object ID> -DisplayName <Display Name>
-
In some configurations—especially with strict permission management—the previously created enterprise application must be given access to the SMTP mailbox:
Add-MailboxPermission -Identity “[Email address used for sending]” -User [Object ID] -AccessRights FullAccess
The values "Application ID", "Object ID", "Display Name" and "Tenant ID" can be found on the following page of the app registration you have just created:
https://entra.microsoft.com/#view/Microsoft_AAD_IAM/StartboardApplicationsMenuBlade/~/AppAppsPreview
Configuration in Intrexx
Finally, the email service can be configured in your Intrexx portal. You will find the information required there in your created app registration under
https://entra.microsoft.com/#view/Microsoft_AAD_IAM/StartboardApplicationsMenuBlade/~/AppAppsPreview
and the previously created client key.

Enter the following details here:
SMTP server:
smtp.office365.com
SMTP port
587
Tenant
Client ID of your Microsoft 365 client
User principal name
E-mail address of the user with whom Intrexx should log in to Exchange Online
Application ID
Application ID of your app registration
Application secrets
Value of the created client key
Sending settings
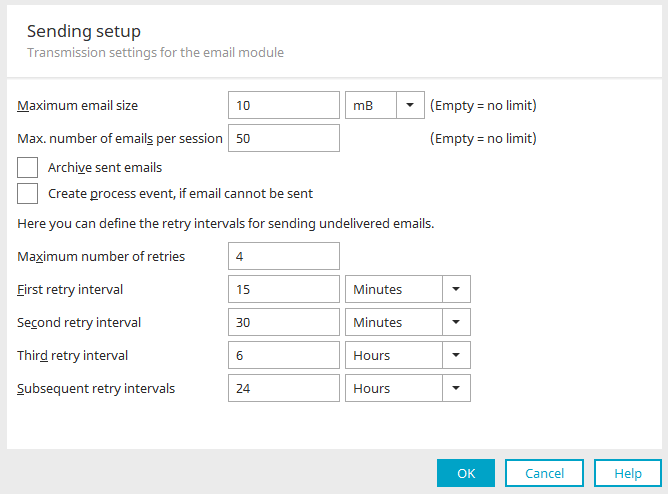
Maximum email size
The maximum size of sent emails can be specified here. If this field is left blank, the email size will not be taken into account. Select your required unit using the drop-down list.
By default, 10 MB is predefined as the maximum size. This corresponds to the usual expected maximum message size.
Maximum number of emails per session
Here, the maximum number of emails per SMTP session can be constrained. If there are several mails to be sent at the same time the smtp session will be terminated after reaching this limit. In the next transit a new smtp session will be created for the sending of the emails. The waiting time between the two transits of the sending loop is defined by the "de.uplanet.lucy.sendmail.sleepInterval" setting (default : 1000 ms).
Archive sent emails
If this setting is active, then sent emails will be stored in an archive file. You can change the corresponding path in the Expert settings.
Create process event, if email cannot be sent
If this setting is active, a
de.uplanet.lucy.server.mailservice.workflow.event.IBadMailWorkflowEvent
is created after a final unsuccessful attempt at sending email. It is possible to respond via the generic event handler
de.uplanet.lucy.server.mailservice.workflow.eventhandler.BadMailWorkflowEventHandler
.
Click here for more information.
Maximum number of retries
Here, you can specify the number of times that an undeliverable mail should be re-sent.
Subsequent retry intervals
Below you can set the intervals between the first, second, third and subsequent retries. Each interval will be calculated from the last time the sending was attempted.
We recommend keeping the default settings for the resending of emails.
Click "Next".
Connection test
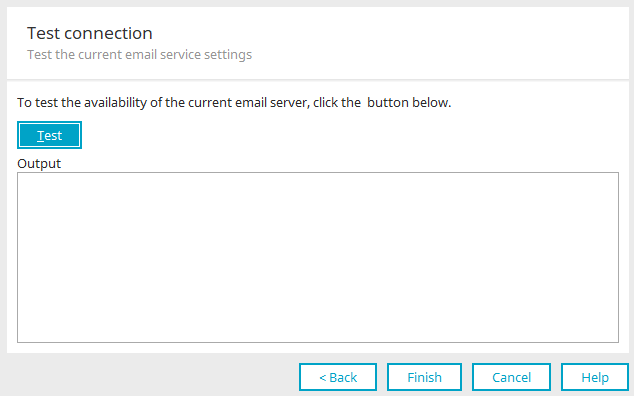
Click on the "Test" button to test the configuration. If error messages are output, either the configuration must be changed or no mail server that can be used for the SMTP service exists. If you are unsure of how to proceed, please contact your system administrator.
Click "Finish" to save the email service configuration and close the wizard.
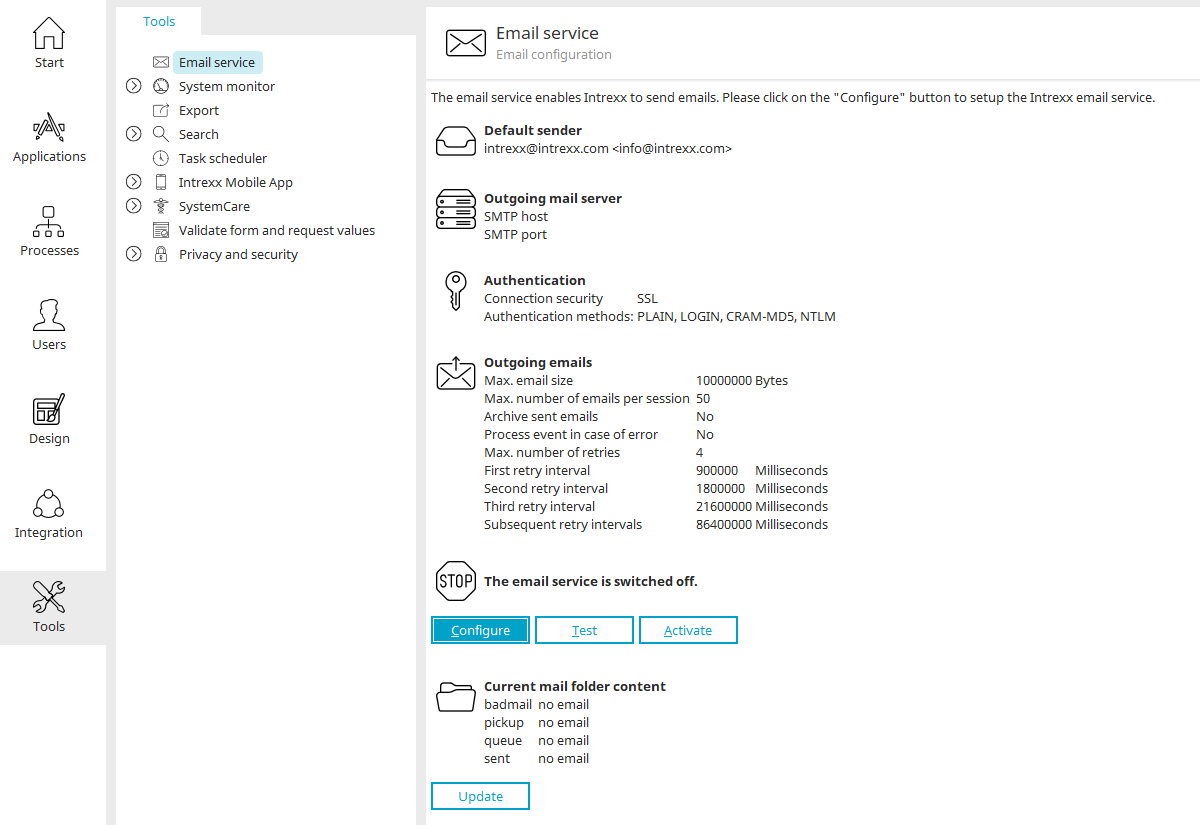
If the email service is set up, the settings are displayed in the right pane. The email service can be activated or deactivated, and updated, by clicking on the corresponding buttons here.
If you click on "Configure" again, the configuration overview will open. In addition to the already established settings, you will find the Expert settings here.
Expert settings
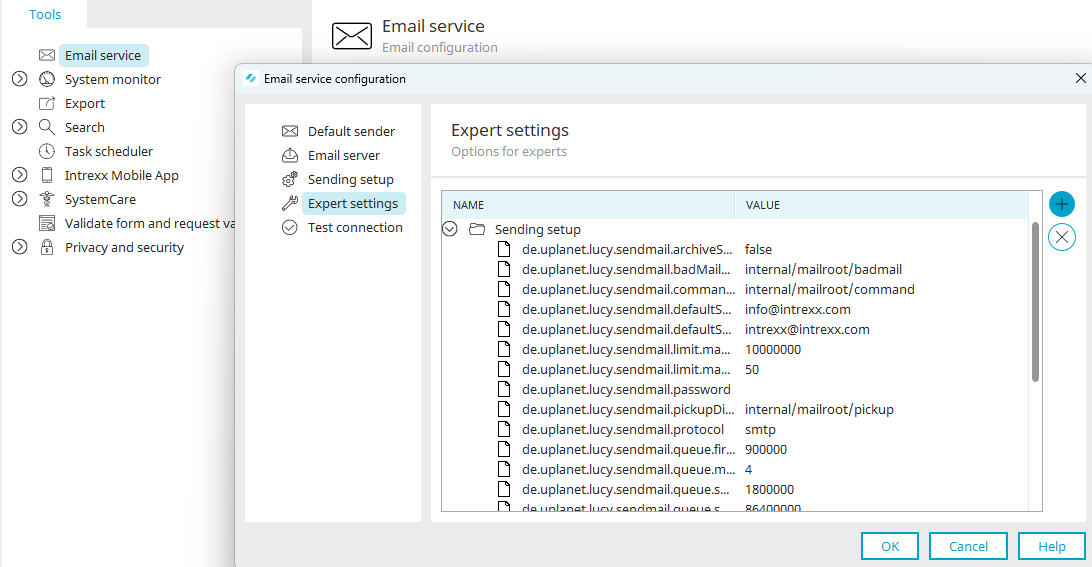
Double-click to edit the value of a sending setting.
![]() Add entry
Add entry
Opens a dialog where a new property can be created.
New property

In "Name", select the desired JavaMail property and enter the value for it. Custom properties can also be entered here directly. Information about the possible settings can be found here.
Determine from which portal the message was sent
Global headers can be set when sending emails. These are placed in every email message sent via the Intrexx email service. A common convention is to the names of custom headers with "X-" if they are not defined by standards. To define a global header, create a new property in the expert settings described above, named "de.uplanet.lucy.sendmail.header". Follow it with an ascending number, such as:
de.uplanet.lucy.sendmail.header.1
Enter the prefix "X-" to the value of the key (see above), followed by the name of the header, a colon, and the name of the portal. For example:
X-Intrexx-Portal:MeinPortal
With it, all emails that are sent from the portal "My portal" can, for example, be filtered in Outlook. In our example above, the message header will be "X-Intrexx-Portal:MyPortal".
Click "OK" to save the new setting and close the dialog.
![]() Delete entry
Delete entry
Removes the currently selected property.
Specify path for email archive
In the Sending settings, you can activate the setting "Archive sent emails". The directory, where the archived emails are saved, can be modified by double-clicking on the Value column for the de.uplanet.lucy.sendmail.sentMailDirectory setting.
Gmail as an email provider
The password associated with your Google account is, since May 2022, no longer valid to use Gmail as an email provider in Intrexx.
You will need to use an app password instead. Two-factor authentication must be enabled in your Gmail account for this to work.
For existing portals, this issue is identifiable by the following error type:
Error: javax.mail.AuthenticationFailedException: 534-5.7.9 Application-specific password required. Learn more at 534 5.7.9 https://support.google.com/mail/?p=InvalidSecondFactor y12-20020a170906470c00b00711d0b41bcfsm2837429ejq.0 - gsmtp