

Migrate the portal database
You have the option to migrate your portal database. You can change the database type during this process.
Migrating a database is essentially the same as creating a new database when setting up a new portal. For more information, see the section " Creating a Database."
Step-by-Step
To perform a database migration, follow these steps:
-
Click " ."
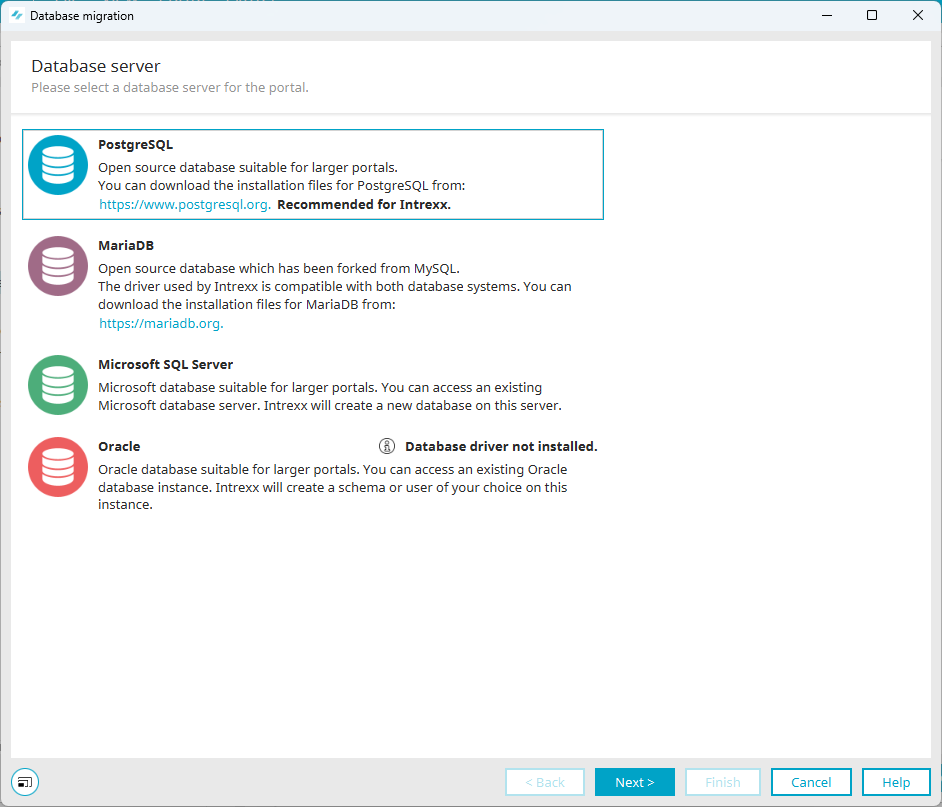
The "Database Server" dialog box appears.
-
Select the desired database server.
For the Oracle database server, you must obtain the database drivers directly from the manufacturer.
The following dialog boxes, which are used to establish a connection to the database server, vary depending on the type of database.
In the following steps of this guide, PostgreSQL is chosen as an example of a database server. -
Click "Next."
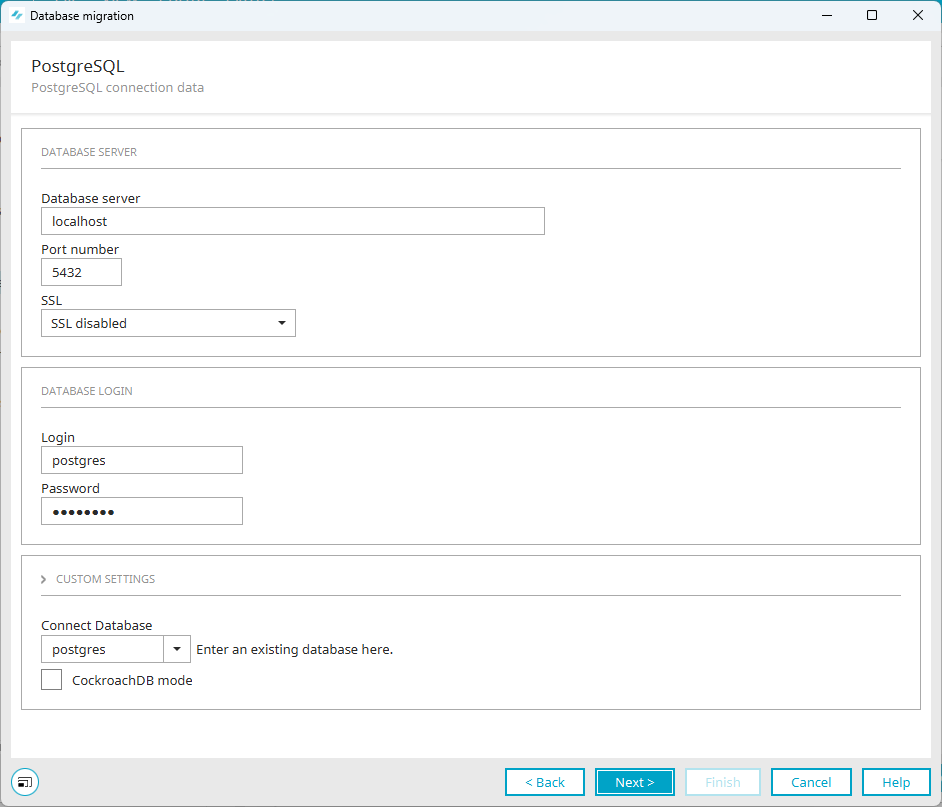
This will take you to the "PostgreSQL - Connection Details" dialog box.
-
Enter the PostgreSQL connection information.
-
Click "Next."
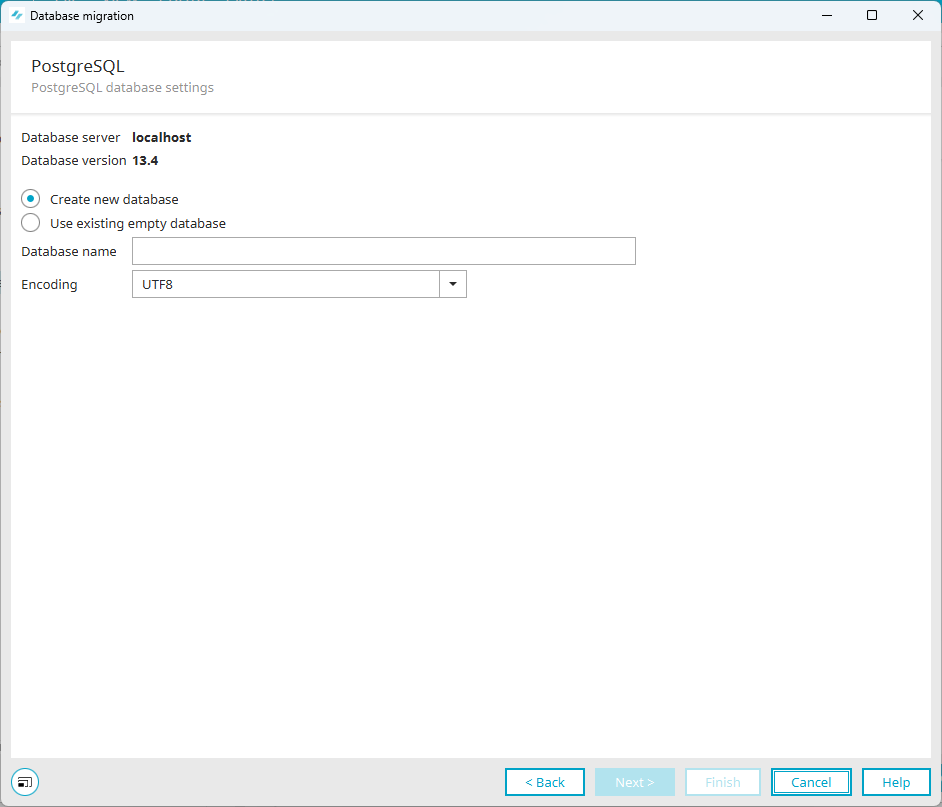
This will take you to the "PostgreSQL - Database Information" dialog box
-
Enter the PostgreSQL database information.
-
Click "Next."
This will take you to the "Start" dialog box.

-
Click "Start."
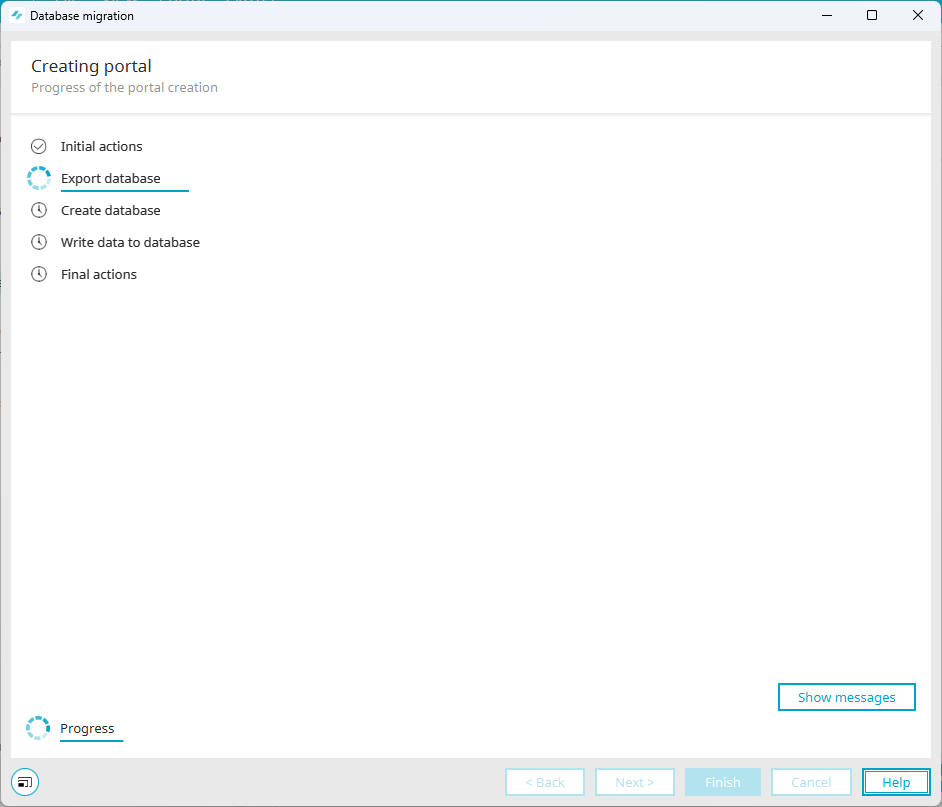
The database migration is starting. This takes you to the "Create Portal" dialog box.
-
Click "Finish" once all actions have been completed.
The "Success" dialog box appears.

-
Click "Finish."
After the migration, the portal is automatically connected to the newly created database. All entries will then be stored in this database effective immediately.
You can change the database login in the “Integration” module under “Consume Data / JDBC Data Source.”
Perform a database migration without Portal Manager
You can also run a database migration from the command line. The file ` migratedb.bat ` is available for this purpose. You can find this at the following location:
<intrexx-installation-directory>\bin\windows
After you run the .bat file, a dialog box will appear prompting you to enter the directory where the portal is located.
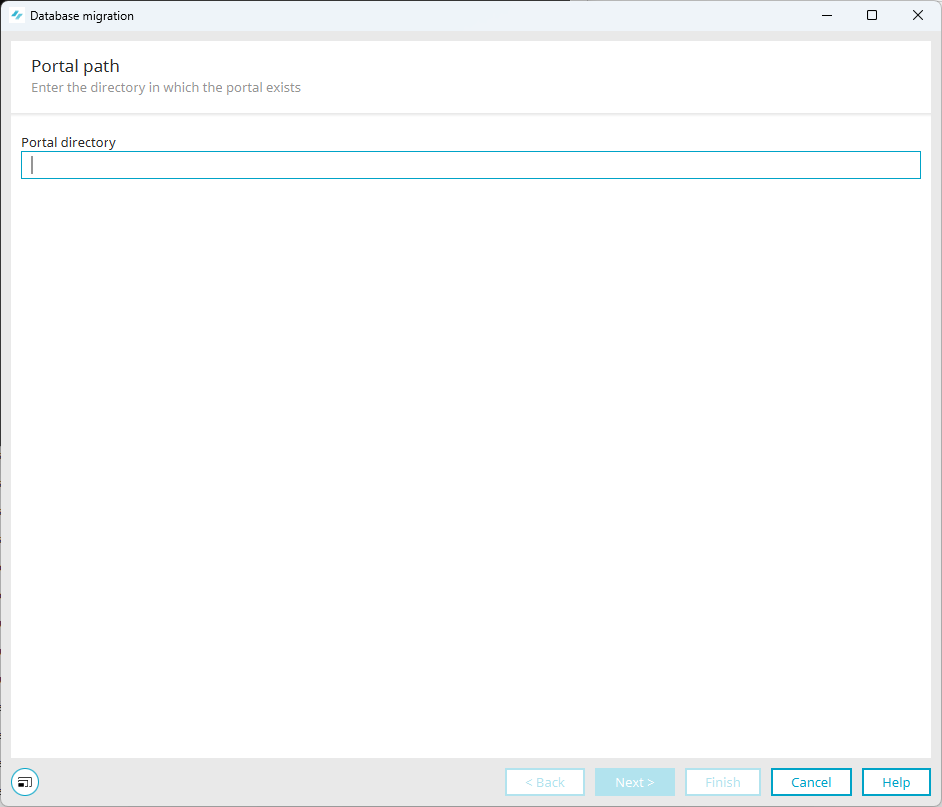
The remaining steps are the same as those for migration via the " " button.