

Make files available for download
Description of the Example
In this example, data is to be made available for download on a citizen portal. The citizen portal was built using an Intrexx portal.
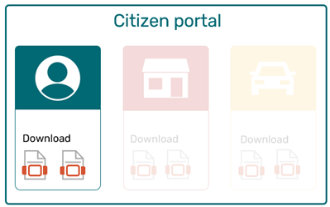
The files are located in "DRACOON". They are displayed in the Intrexx portal and can be downloaded directly by clicking on the file or the file icon. Citizens and users can download the files without having to log in to DRACOON.
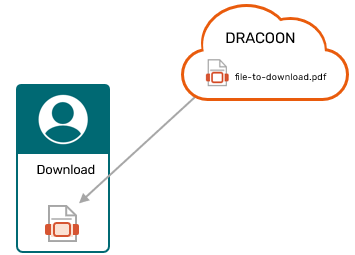
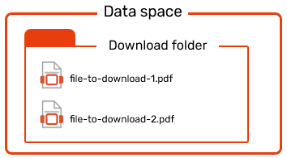
DRACOON has a data room. Inside, there is a folder where the files are stored for download.
Requirements
DRACOON
-
The data room has been created.
-
"Download Folder" has been created.
-
The ID of the "Downloads" folder is known.
Intrexx
Intrexx DRACOON Connector has been set up ("DracoonConnector").
Procedure - Overview
Below is an overview of the individual steps you need to follow to implement the example.
Create an application ("IntrexxDracoonApp")
First, we'll create an application based on the "Empty Application" application template.
Add an external data group ("DracoonDocuments")
Next, we'll add an external data group.
We select the Dracoon Connector as our database connection.
For the table, we select "CONNECTOR_API.DracoonDataSpace."
We are adding the following data fields: "file," "id," "name"
On the "Expert" tab, we update "dracoon.dataspace.id" (folder ID) and add "dracoon.service.root.uri."
Create a view page (as the "source" for a "custom table")
In our example, the files that users can download are displayed in a custom table. (You can also use a view table.)
We'll create a view page for the custom table that will be added later.
We're adding the data fields "file," "id," and "name."
In the "file" data field, we check the "Allow download" checkbox.
Insert a custom table on the "Overview" page
On the "Overview" page, we'll insert a custom table.
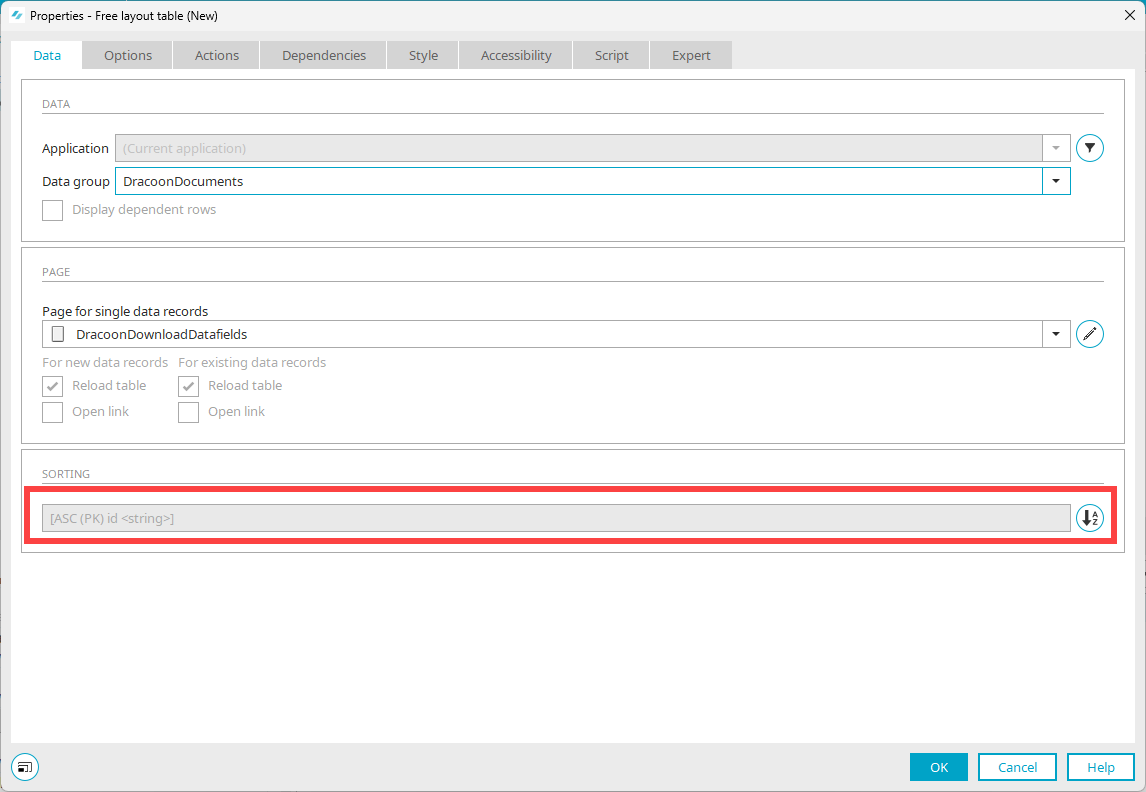
We'll select "name" as the sort field.
Procedure - Step-by-Step
Create an Application
Create a new application based on the "Empty Application" application template.
Rename the application to "IntrexxDracoonApp".
Add an External Data Group
Add a third-party data group to the application.
General
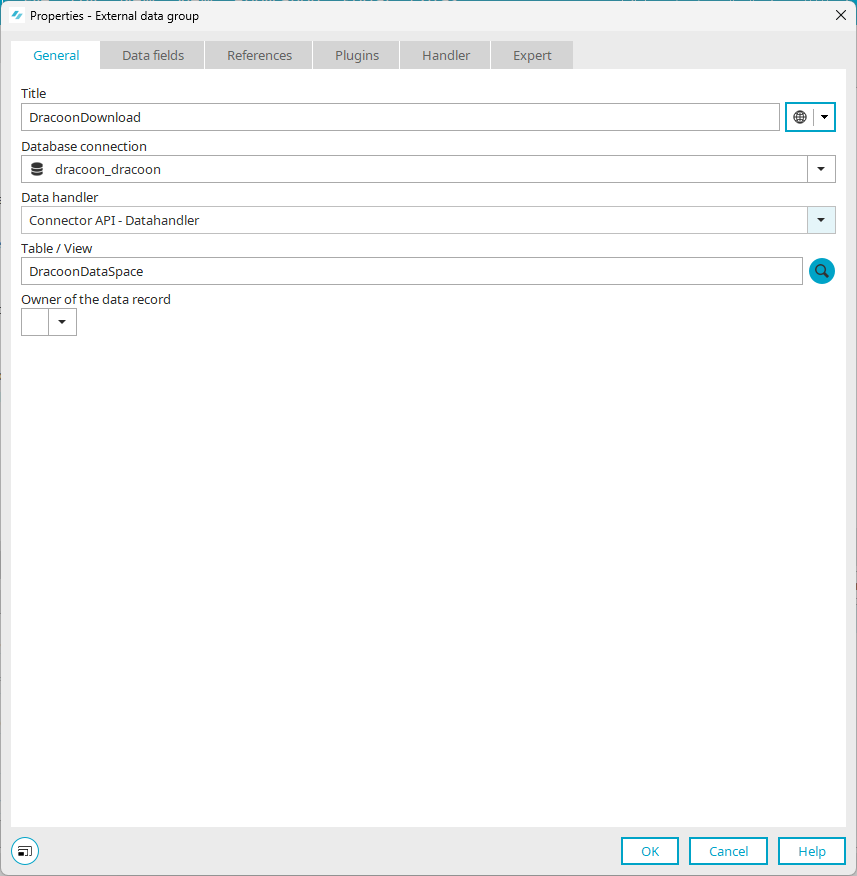
Title
Name the data group "DracoonDocuments."
Database Connection
Select "dracoon_<connector name>dracoon" here (for example, "dracoon_dracoonconnector").
Data Handler
Select "Connector API - Data Handler" here.
Data Fields
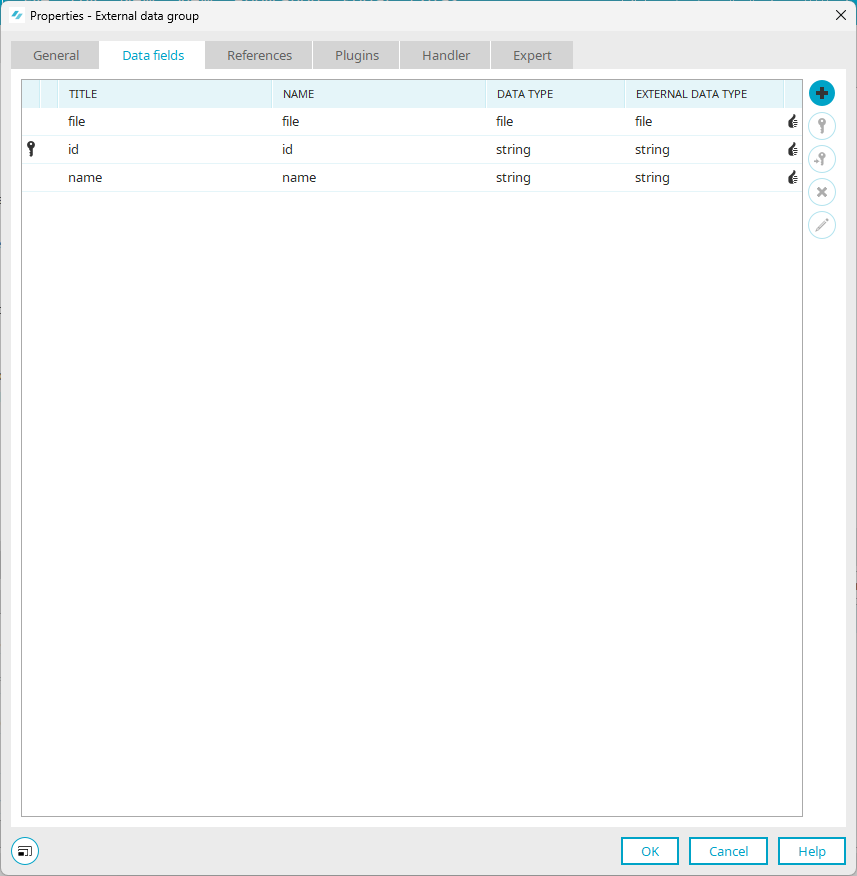
Add the data fields "file," "id," and "name."
Please note that you must always add a data field so that you can sort the data later in the data view—for example, in a view table. In our example, it is the "name" data field. (In DRACOON, you cannot sort by the "id" field.)
For an overview of the data fields you can sort by, see the " Standard Data Groups in the Intrexx DRACOON Connector" section .
Expert

Customize Data Room ID, Folder ID
The value of the "dracoon.dataspace.id" attribute is derived from the corresponding setting in the Intrexx Connector for DRACOON. For more information, see the section titled “Enter Data Room ID and Folder ID.”
The data space ID and folder ID are required in Intrexx for the "dracoon.dataspace.id" and the "parentId" parameter, respectively.
You can edit the data room ID or folder ID here.
"dracoon.service.root.uri"
Enter the "dracoon.service.root.uri".
(Optional) Enter the service user.
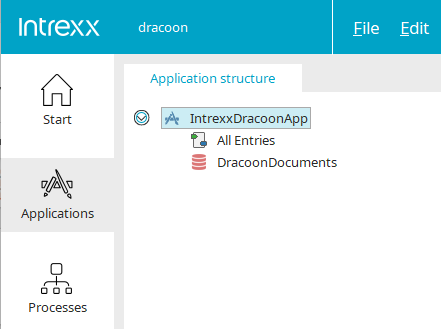
Your sample application now looks like this:
Create a View Page as the Source for a Freely Formatted Table
Under the "DracoonDocoments" external data group, create a view page with elements (Ctrl+Alt+M) ("DracoonDownloadDatafields").
It looks like this:
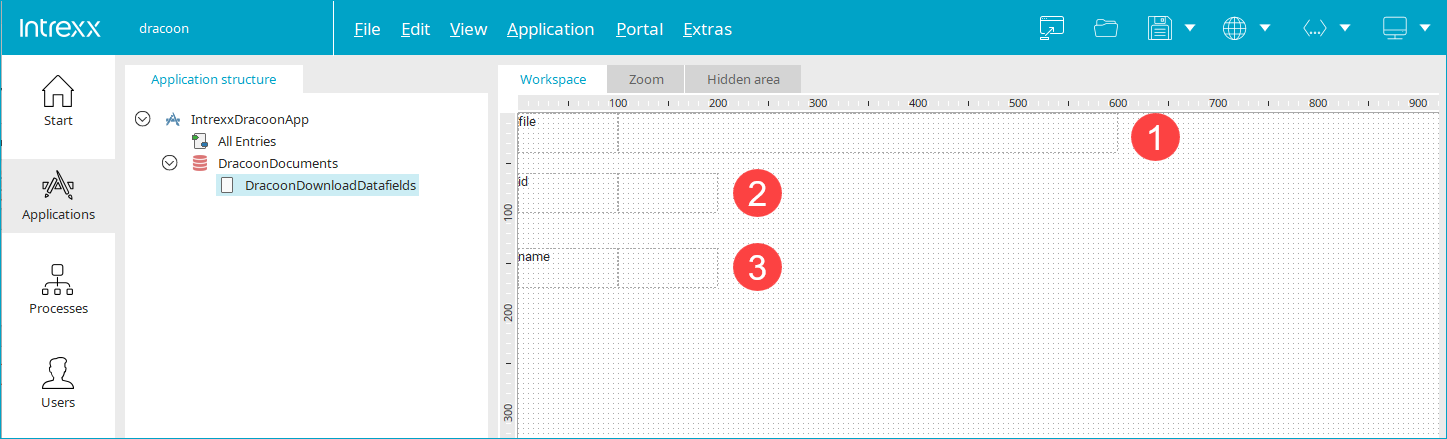
The "File Selection - View" control has been added to the "file" data field ( ).
).
The "View Field" control was added to the "id" data field ( ).
).
The "View Field" control was added to the "name" data field ( ).
).
-
Click the "File Selection - View" control.
-
Select Office 365 as the template.
-
Select the "Allow download" checkbox.

You can leave the other settings as they are.
-
Adjust the view page as needed to suit your requirements.
Insert a custom table
The following is a custom table inserted on the "Overview" page.
-
Select the "Overview" page.
-
Open the properties of the "Overview" page.
-
Uncheck the "Use table layout" checkbox.
-
Click "OK."
You will be taken back to the "Overview" page.
-
Drag and drop the "Custom Table" control onto the "Overview" page.
-
Change the sort order. Select the "name" data field for sorting. (In DRACOON, you cannot sort by the "id" data field.)
-
Click "OK."
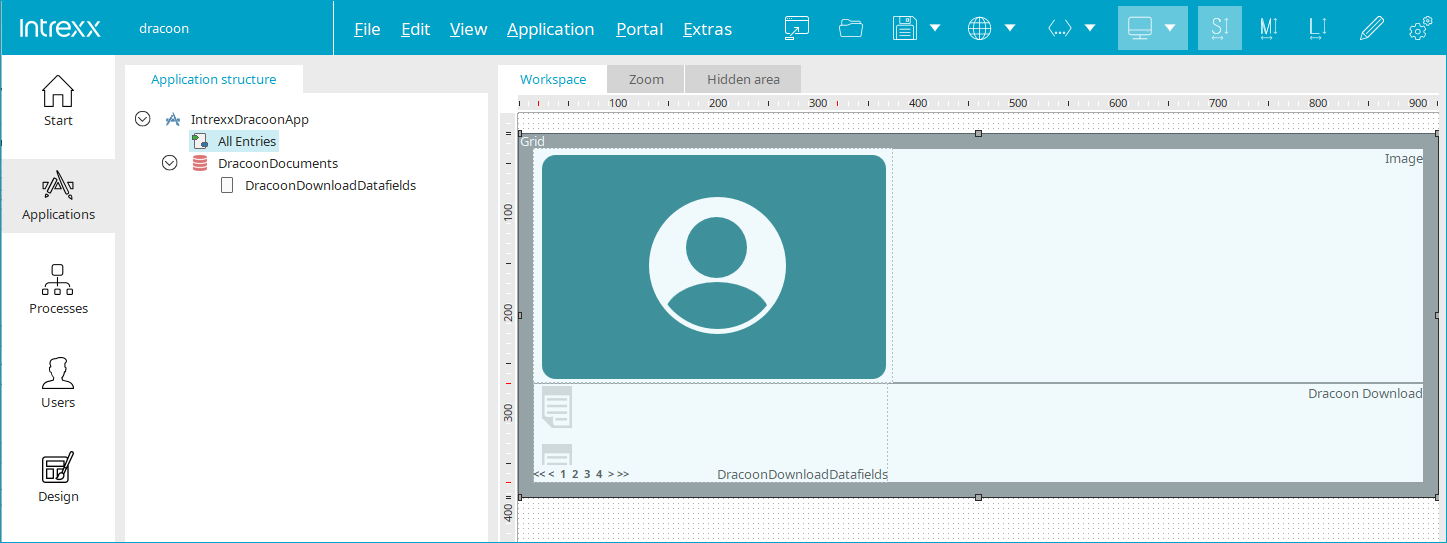
Your sample application now looks like this:
(An additional graphic was added to the screenshot shown.)
Publish an Application
Save or publish the application.
The application appears (roughly) like this in the browser:
