Set up WebSockets in Intrexx
Create topic
Topics are created in the "Applications" module.
Step-by-step guide
To create a topic in an application, please proceed as follows:
-
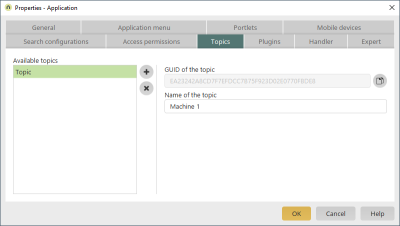
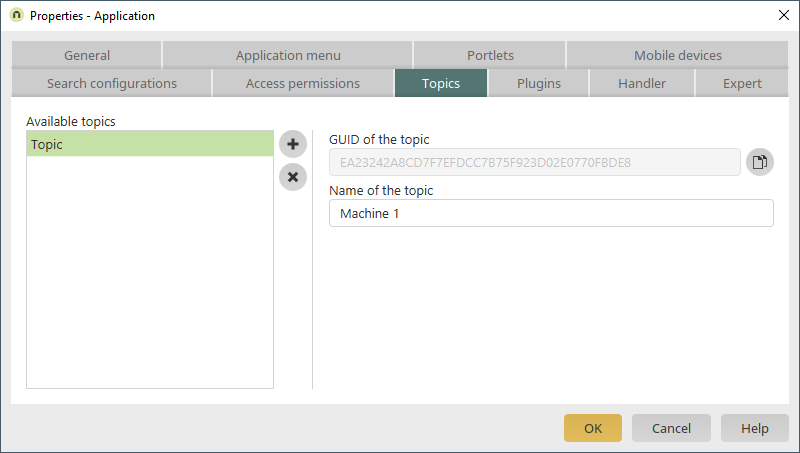
Open the properties dialog of the application that you would like to create the topic in. You can access the properties via the application node.
-
Switch to the "Topics" tab.

-
Click on the
 icon.
icon.The "GUID of the topic" and "Name of the topic" fields are displayed in the right-hand area of the dialog.
GUID of the topic
The topic GUID is shown in the right area of the dialog. Intrexx assigns the GUID automatically, it cannot be changed. You need the GUID if you want to refer to this topic in a Groovy action or in JavaScript.
Name of the topic
Provide the topic with a name here. This name must be unique, it may only be used in Intrexx once. it may only be used in Intrexx once. You can use the name of the topic if you want to refer to the topic in WebSocket actions.
-
(Optional) Click on the
icon again to add more topics.You can add any number of topics to an application.
You have now created a topic in an application.

Write JavaScript for WebSockets in the application
Step-by-step guide
To write JavaScript for WebSockets in an application, please proceed as follows:
-
Start the application in which you want to display the WebSocket message (the application that contains the topic you want to subscribe to with JavaScript).
-
Start the JavaScript editor (Ctrl + F12).
-
Write the JavaScript code.
a. Enter the function for subscribing to the message and for displaying the message in the portal.
b. (Optional) Write the function for unsubscribing from the topic.
-
Define a (JavaScript) event that will
a. the subscription starts (e.g. onload, click)
b. (Optional) the subscription is terminated.
Configure WebSocket action
WebSocket actions are set up in the "Processes" module.
Prerequisite/preliminary work
In the normal manner, add a WebSocket action to the corresponding process.
Step-by-step guide
To configure a WebSocket action, please proceed as follows:
-
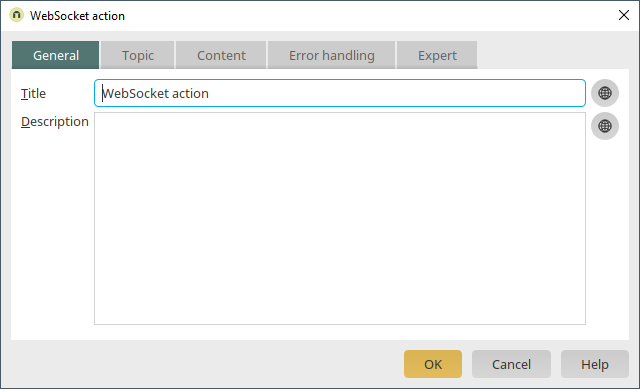
Open the properties dialog of the WebSocket action.

-
Enter a title and (optionally) a description for the WebSocket action.
-
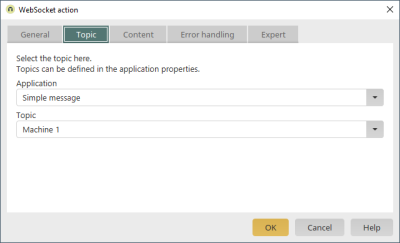
Switch to the "Topic" tab.
-
In the "Application" selection list, select the application to which the message is to be sent.
-
In the "Topic" selection list, select the topic to which the message is to be sent.
The topic can be subscribed to in the browser. Please refer to the sections 2. Create topic and 3. Set display in portal.Note When using a WebSocket action, the name of a topic is sufficient to refer to it.
When using a Groovy action, you need the GUID of the topic to refer to it.
Send message after the transaction commit
This checkbox can be used to control whether the message should be sent after a successfully completed transaction (commit) or even if there was a rollback for the transaction.
-
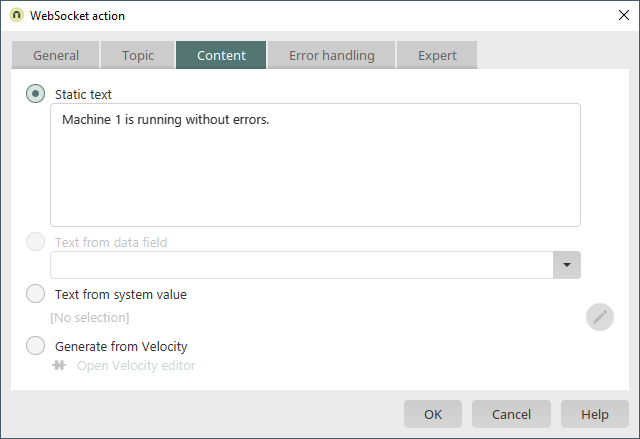
Switch to the "Content" tab.

-
Create the content for the message.
You can choose from the following options here:
Static text
You can write a static text here. This is useful if the message always remains the same, for example if you require changing message components.
Text from data field
For a dynamic display of alternative texts, select a data field that provides the value here. This option is only available if you are using a data group event handler in the process.
Text from system value
You can generate texts from system values here. For example, you can apply user values or variables from the sharedState.
Generate from Velocity
You can generate texts via Velocity script here.
-
Switch to the "Exception handling" tab.
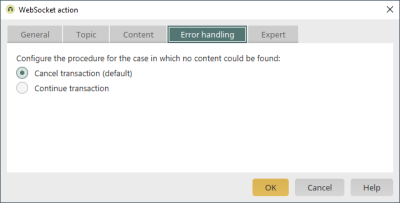
Specify how Intrexx should behave if no (message) content can be found for further processing.
You can choose from the following options here:Cancel transaction (default)
If you select this option, the transaction will be canceled. This means that the process is no longer executed if the WebSocket action does not contain any content. In this case, a message is not sent to the selected topic.
Continue transaction
Continue transactionIf you select this option, the transaction is continued. Select this option if downstream process actions should continue to be executed even if the WebSocket action does not contain any content. This option can also be useful if the data record that triggers the event is to be saved.
-
Click on "OK".
You have configured a WebSocket action.


Configure Groovy script action
Groovy actions are set up in the "Processes" module.
Prerequisite/preliminary work
In the normal manner, add a Groovy action to the corresponding process.
Step-by-step guide
To configure a Groovy action with WebSocket functions, please proceed as follows:
-
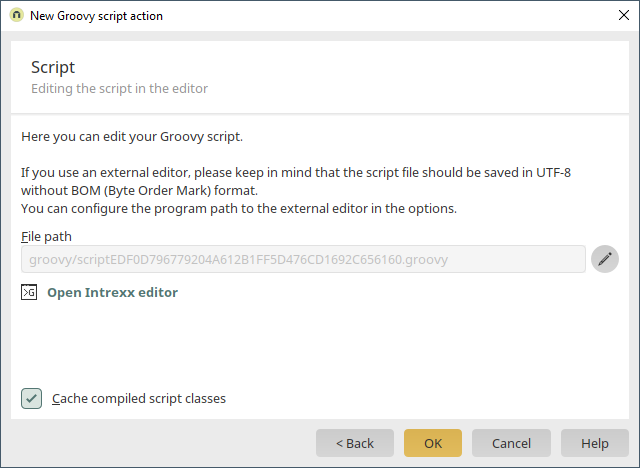
Open the properties dialog of the Groovy action.
-
Switch to the "Script" tab.

-
Click on "Open Intrexx Editor".
This will launch the Intrexx Groovy editor.
-
Enter the Groovy script.
You can create the WebSocket message and the link to the topic using Groovy script.
-
Import Groovy script class:
en.uplanet.lucy.server.websocket.groovy.GroovyWebSocketTopic
-
Use the following Groovy function to send text or JSON messages, respectively:
GroovyWebSocketTopic.sendTextMessage
GroovyWebSocketTopic.sendJsonMessage