Enter redirect URL
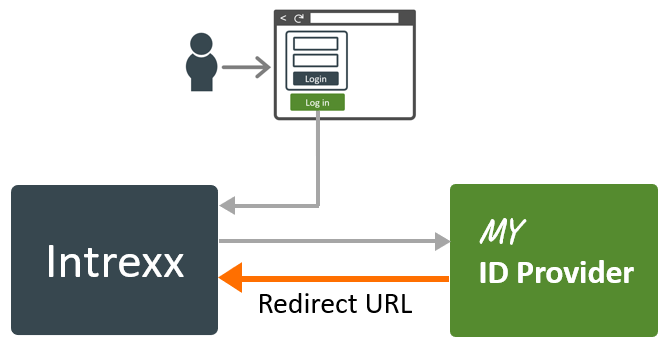
During the communication workflow, the ID provider needs to know where the authentication data should be transferred to. This is defined using the redirect URL.
You need to enter the redirect URL in the ID provider and in the configuration file.
Configuration You need to enter the redirect URL in the Intrexx file om.cfg.
The ID provider uses the redirect URL, which you enter in the configuration file, to send the user information to Intrexx. The redirect URL defined in the ID provider is compared with the one from the configuration file. The user information is only transferred if both redirect URLs are identical.
Redirect URL
The redirect URL is made up as follows:
Base URL+"login/oic/authenticate"
Example
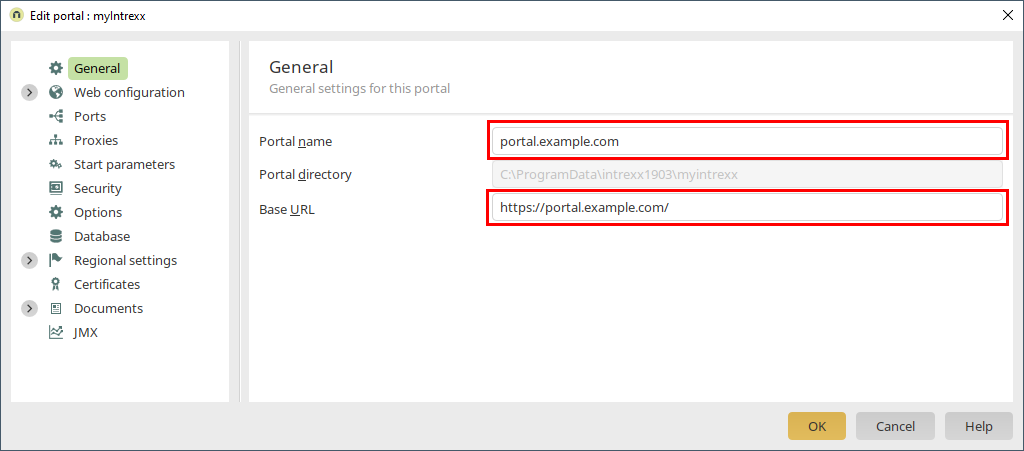
The redirect URL for the base URL "https:/exampleportal.com/" looks like this for Azure:
"https:/portal.example.com/login/oic/authenticate"
Note You can find the base URL via the "Portal" menu -> "Portal properties".
Example - AzureAD
You can enter the redirect URL while registering the Intrexx app (under "Redirect URI (optional)”).

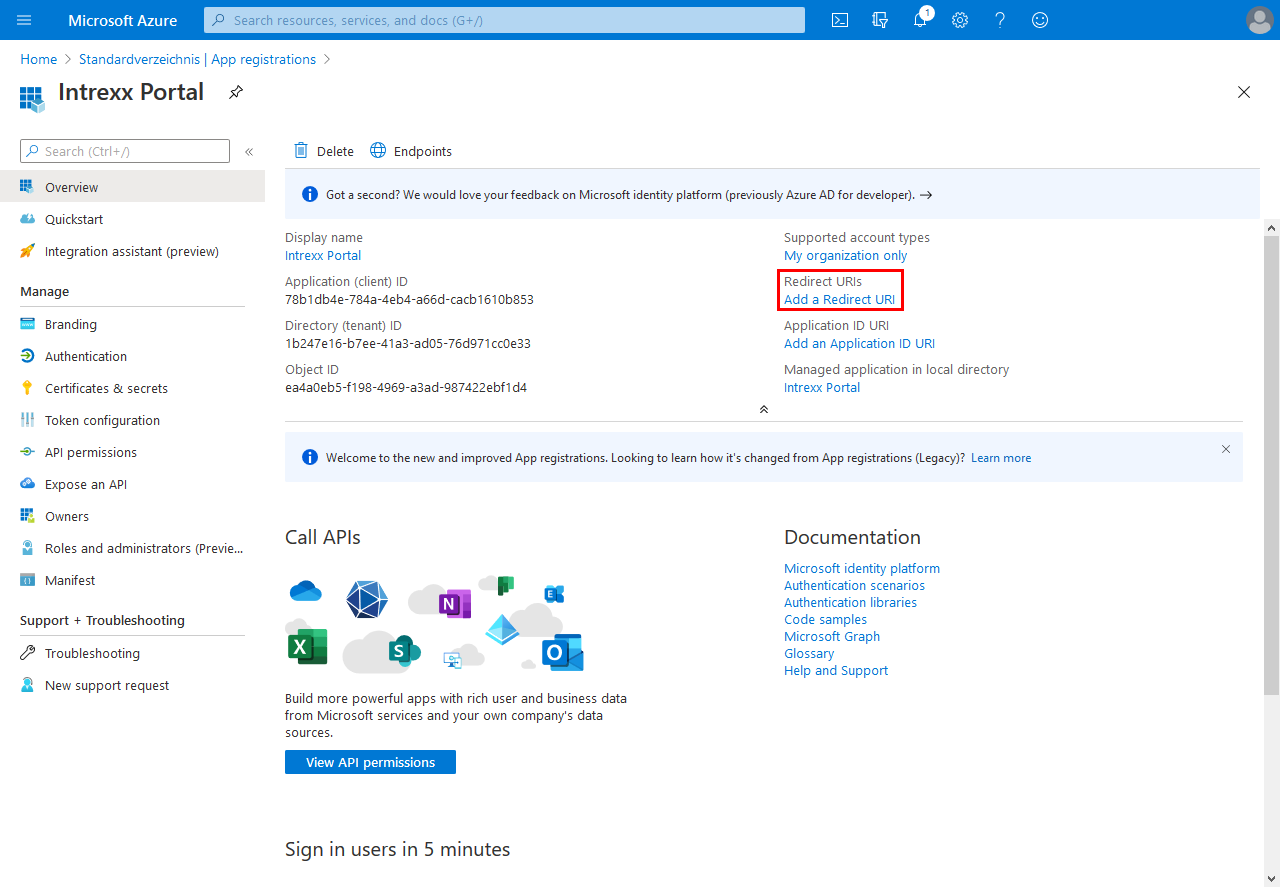
You can also enter the redirect URL after registering the Intrexx app.
Go to the overview page of the Intrexx app.
Click on "Add Redirect URI".
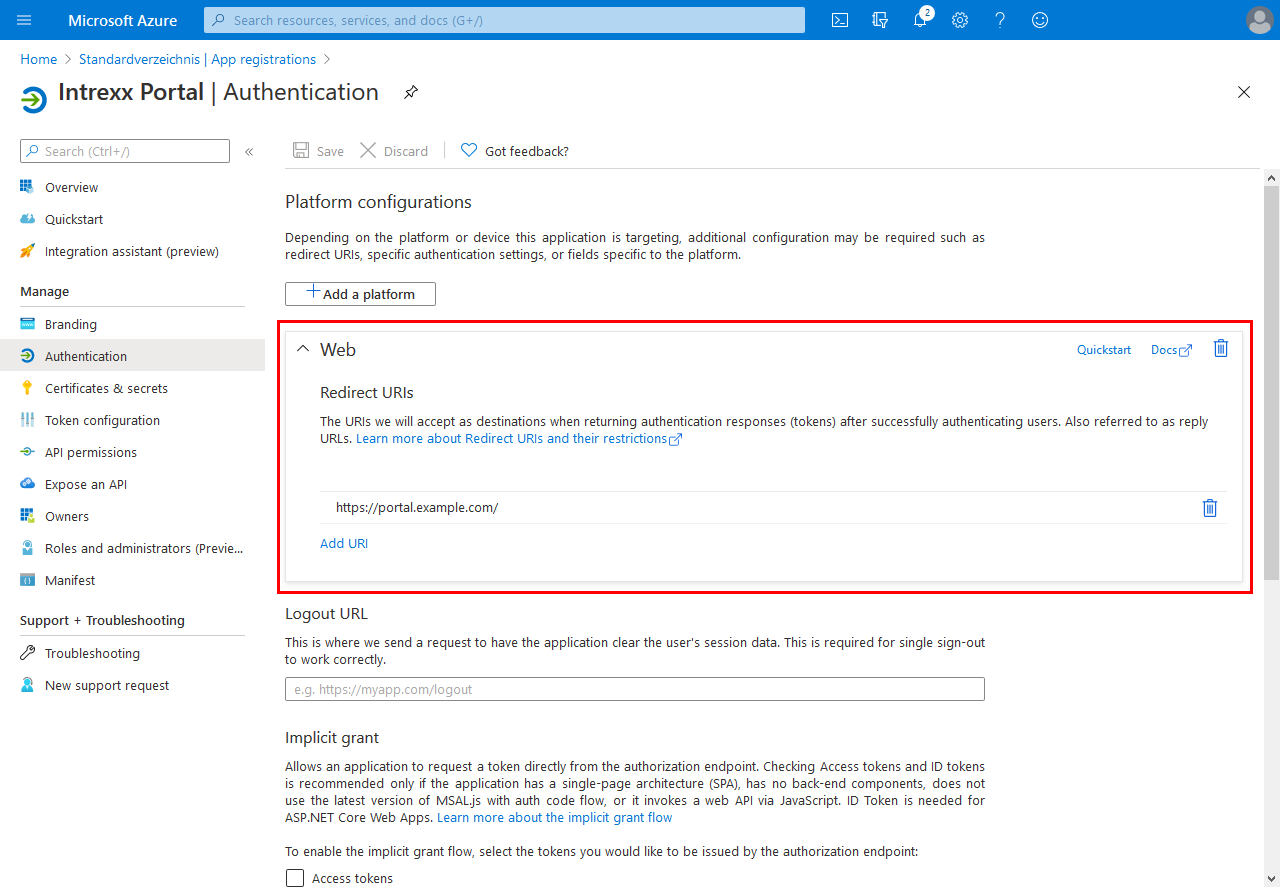
This will open the "Authentication" page.
Under "Configure platforms", click on "Web" in the "Web applications" group.
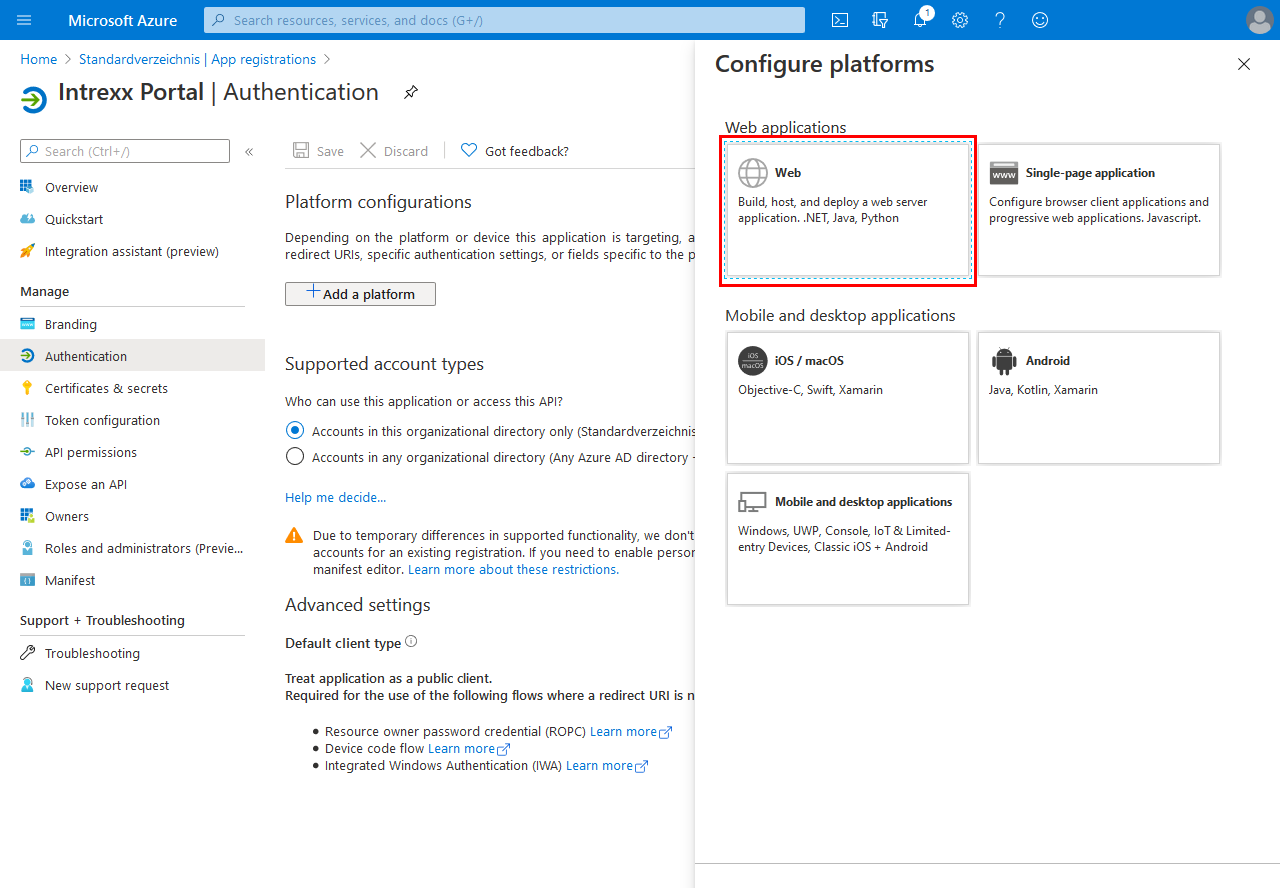
The "Configure Web" area will now be shown.
Enter the redirect URL under "Redirect URIs".
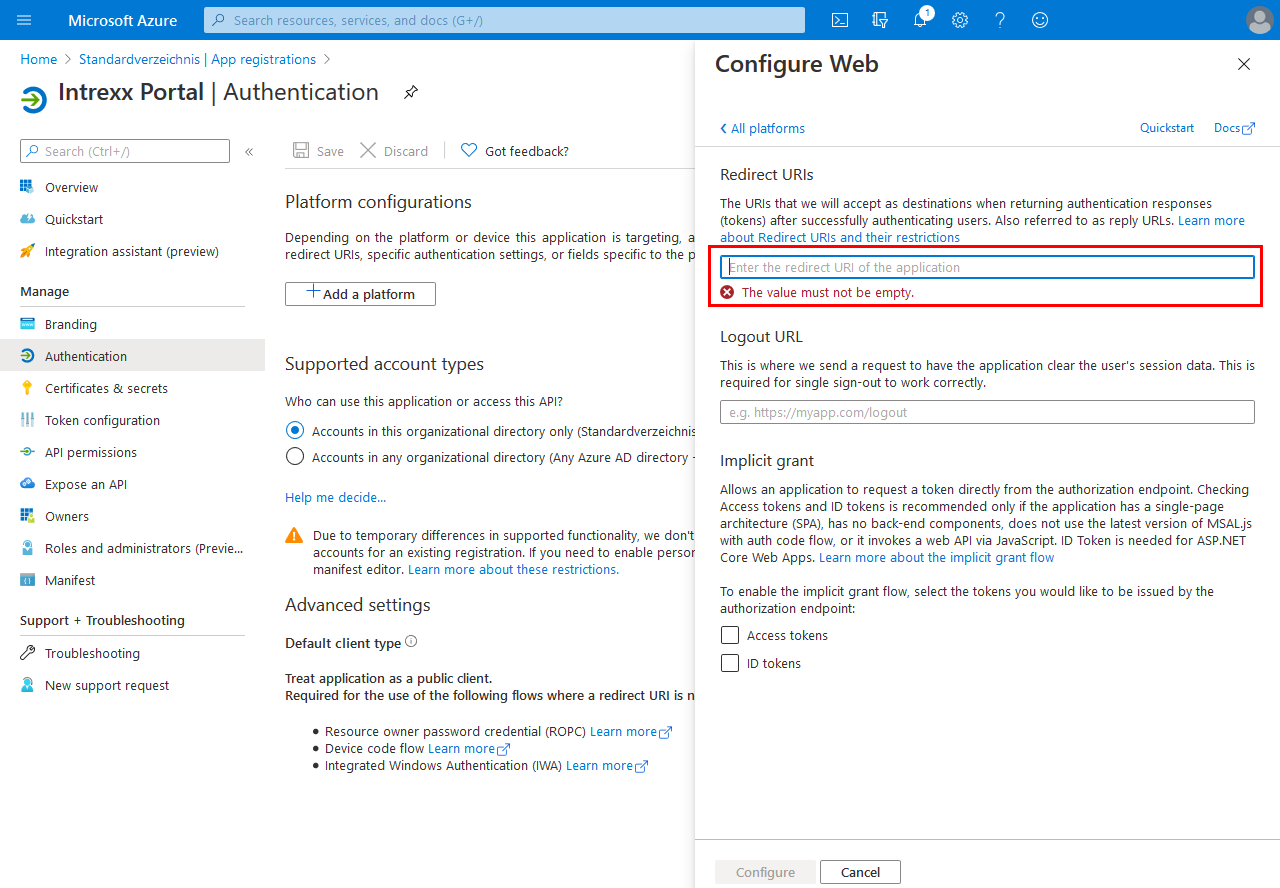
Click on "Configure".
You will be taken back to the "Authentication" page.