Create a login button on the portal homepage
Below you will find a brief description of how you can create login buttons for ID providers and place them on the start page of your portal.
More detailed information about buttons is available in the following chapter, among others:
More detailed information about portlets is available in the following chapter:
Create the button(s)
Create a button on a view page for each ID provider you want to use.
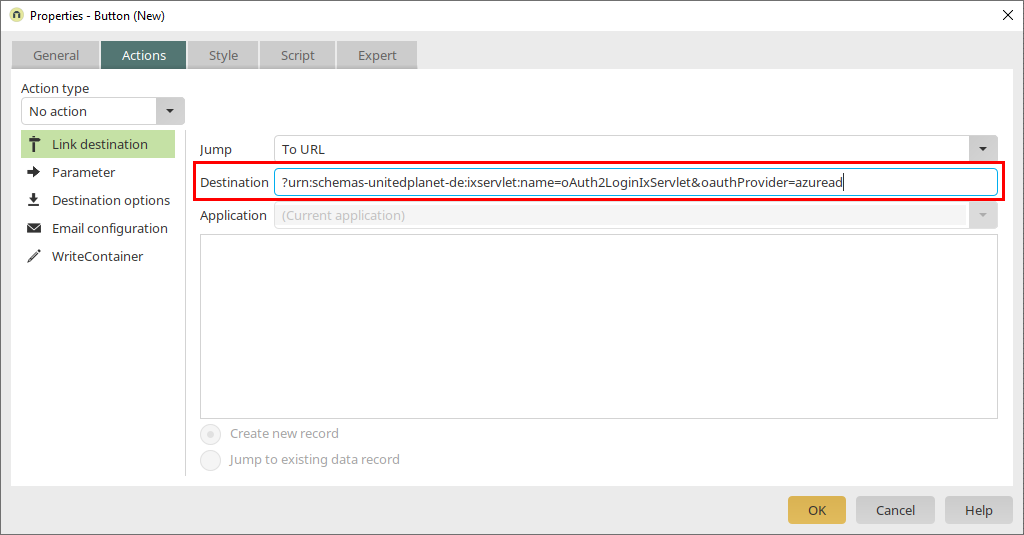
To ensure that the correct authentication process is triggered after clicking on the button, you must make the following settings on the "Actions" tab:
|
Name |
Description |
|---|---|
|
Jump |
Select the value "To a URL". |
|
Link destination |
The destination consists of a fixed value and the ID provider specification. Fixed value?urn:schemas-unitedplanet-en:ixservlet:name=oAuth2LoginIxServlet&oauthProvider= ID ProviderEnter the values that you defined in the file om.cfg. ExampleIf you have stored <oauth2 name="azuread"> in the om.cfg file, you must enter azuread after the equals sign: |
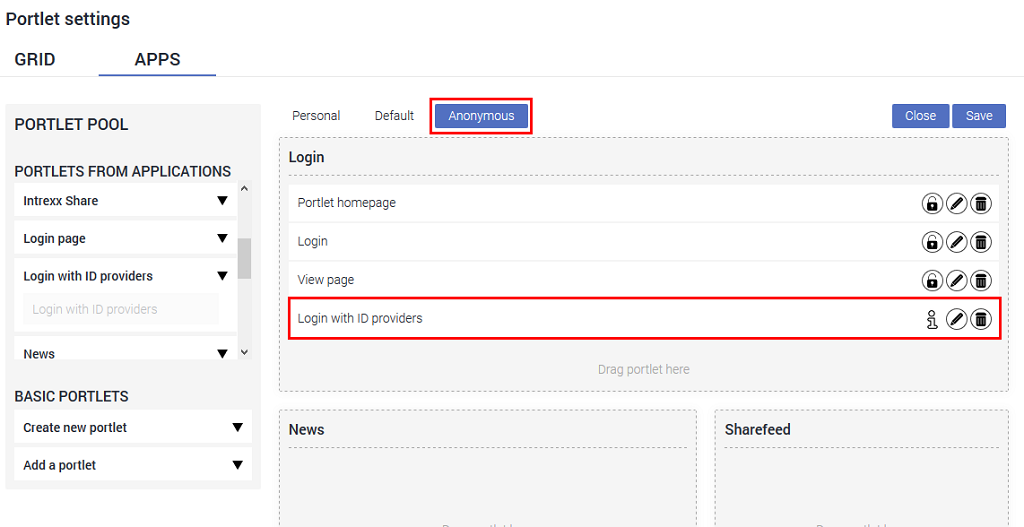
Add buttons to the homepage
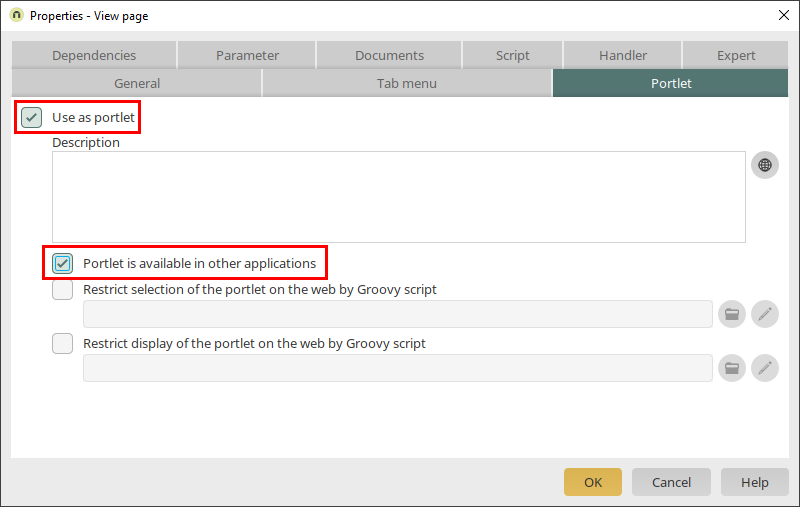
Specify that the view page, which you just added the login button(s) to, can be used as a portlet.
Start the portlet and grid settings of your portal.
Select your new portlet in the portlet pool.
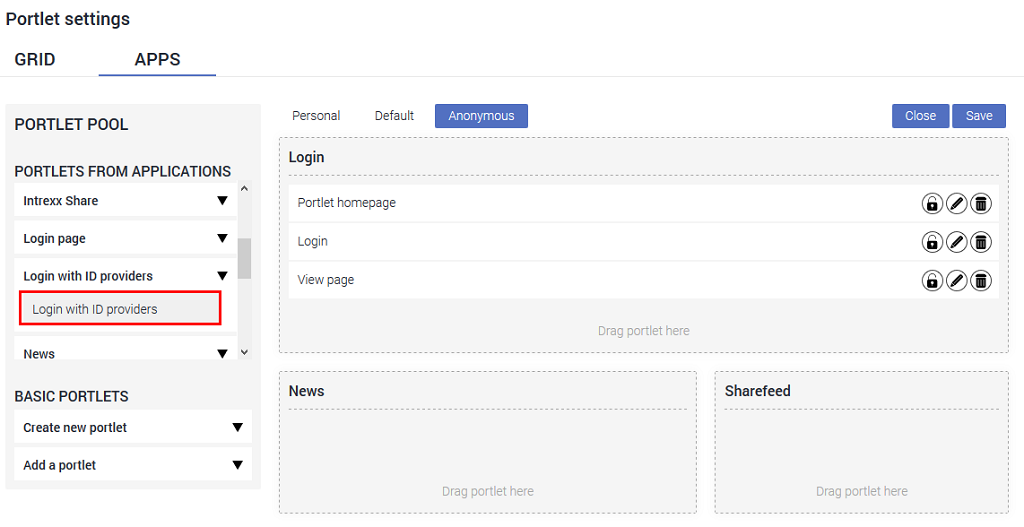
Drag and drop the portlet into the desired portlet container.