So that your Intrexx portal can access OneDrive, you need to register it as an app in Microsoft Azure first.
During the registration process, a client ID and a client secret will be generated.
You will need the client ID and client secret later to configure a Microsoft Office 365 data source in the Intrexx Portal Manager. (More information is available in the chapter Add a Microsoft Office 365 data source.)
To register an Intrexx portal in Microsoft Azure, proceed as follows:
-
Log in to Microsoft Azure with your Office 365 login data (https://portal.azure.com).
You will now be on the Azure homepage.
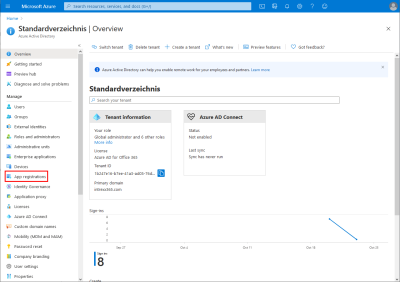
You can register your Intrexx portal as an app either via the menu item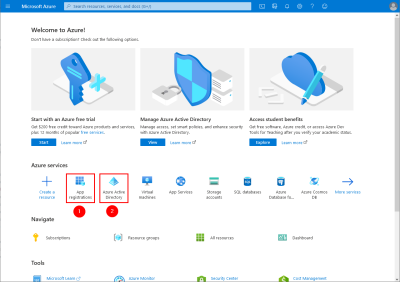
 App registrations or
  Azure Active Directory.
The following provides a description for the Azure Active Directory.
-
Click on Azure Active Directory.
You will now be on the Azure Active Directory homepage.
-
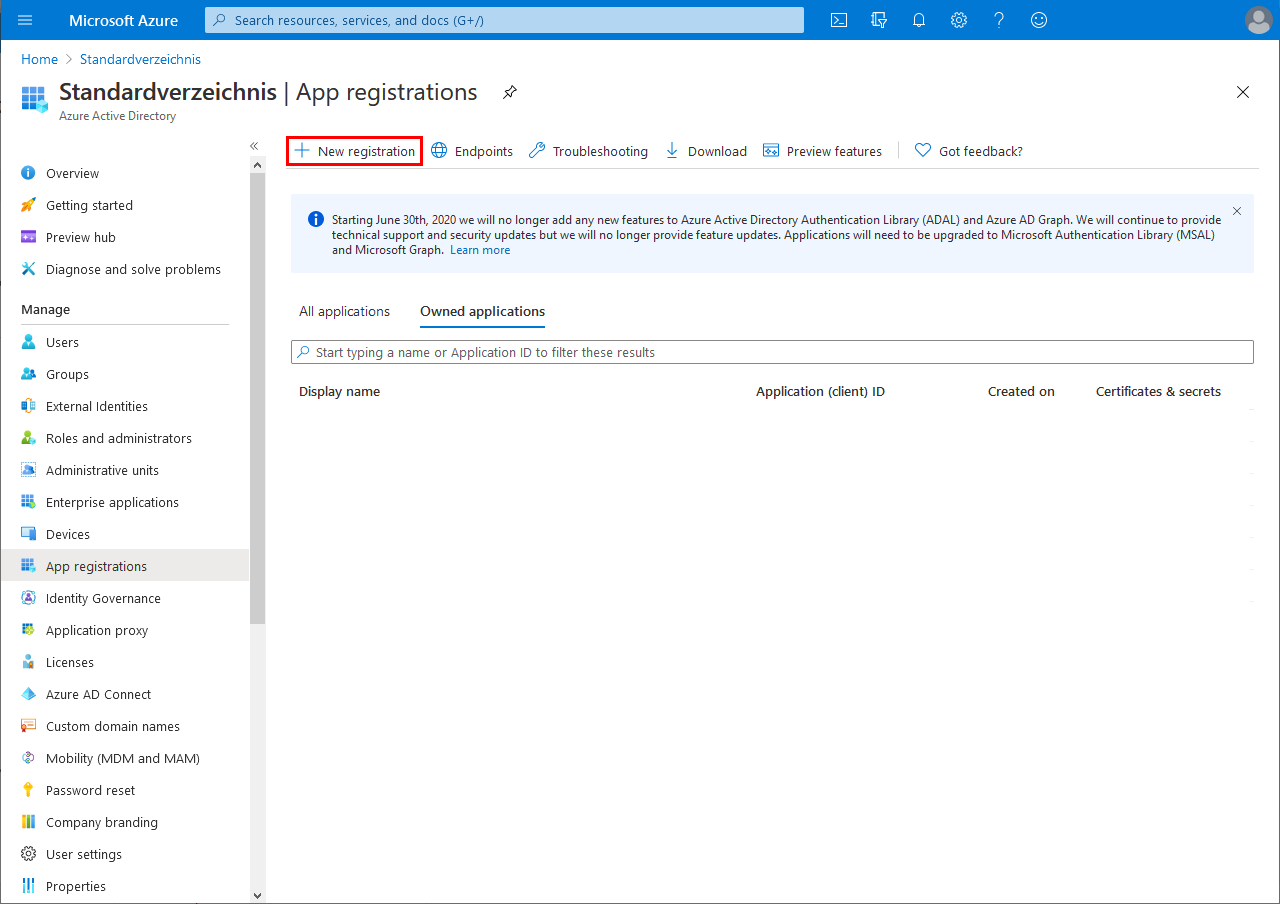
Click on the menu item "App registrations".
You will now be on the "App registrations" page.
-
Click on "New registration".
You will now be on the "Register an application" page.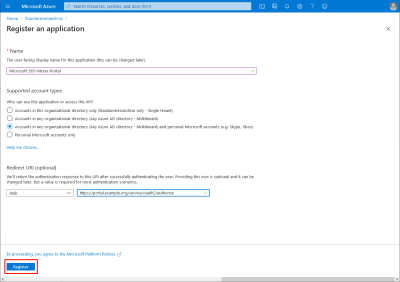
Name
Description
Name
Enter the name that your portal will be registered under in Microsoft Azure here. The name is free choice.
Supported account types
Select which account types from your Intrexx portal can access Microsoft documents and/or OneDrive. Click on the "Help me choose..." button provided by Microsoft for more information.
Redirect URI (optional)
Select "Web" from the drop-down list.
Example
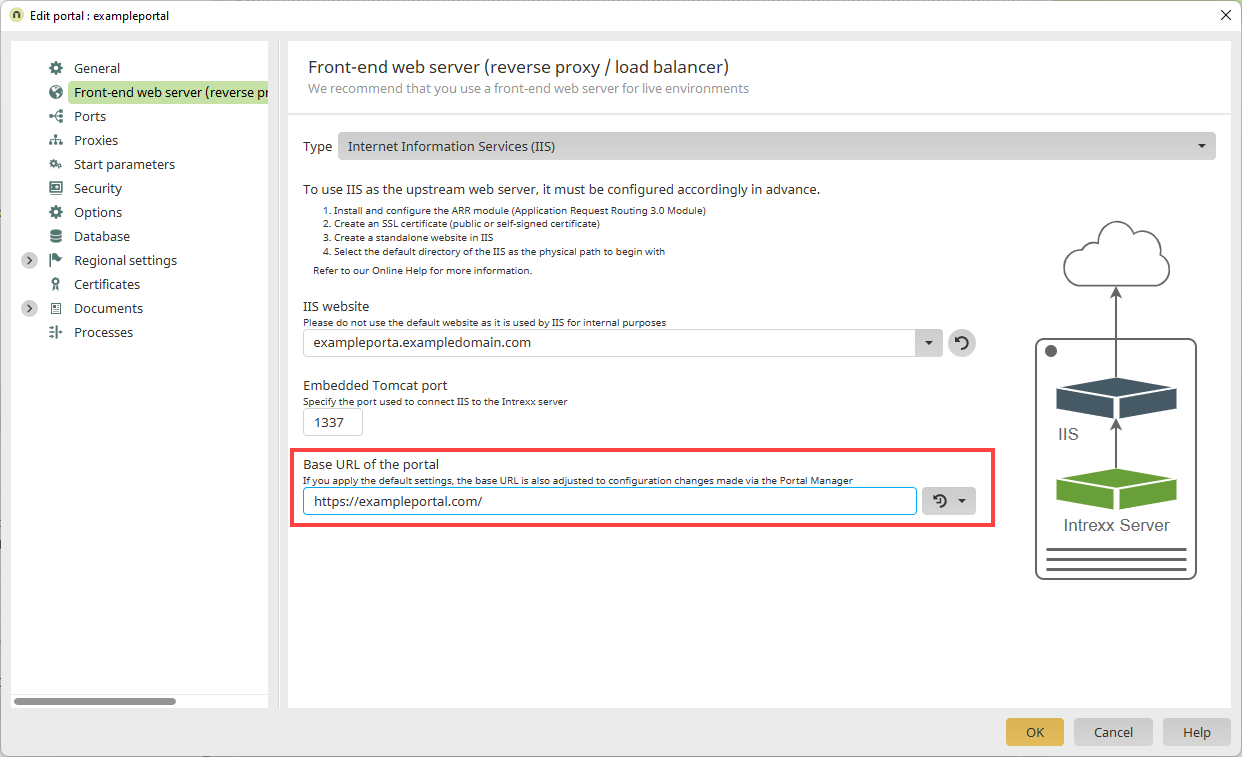
Enter the redirect URI. The URI is put together as follows:
Base URL/service/oauth2/authorize
The redirect URL for the Base URL "https:/portal.example.com/" therefore looks like this:
"https:/portal.example.org/service/oauth2/authorize"You also need to enter this redirect URI when configuring the data source in the Intrexx Portal Manager. (For more information, please refer to the chapter Enter redirect URL.)
Note You can find the base URL via the "Portal" menu -> "Portal properties".

-
Click on "Register".
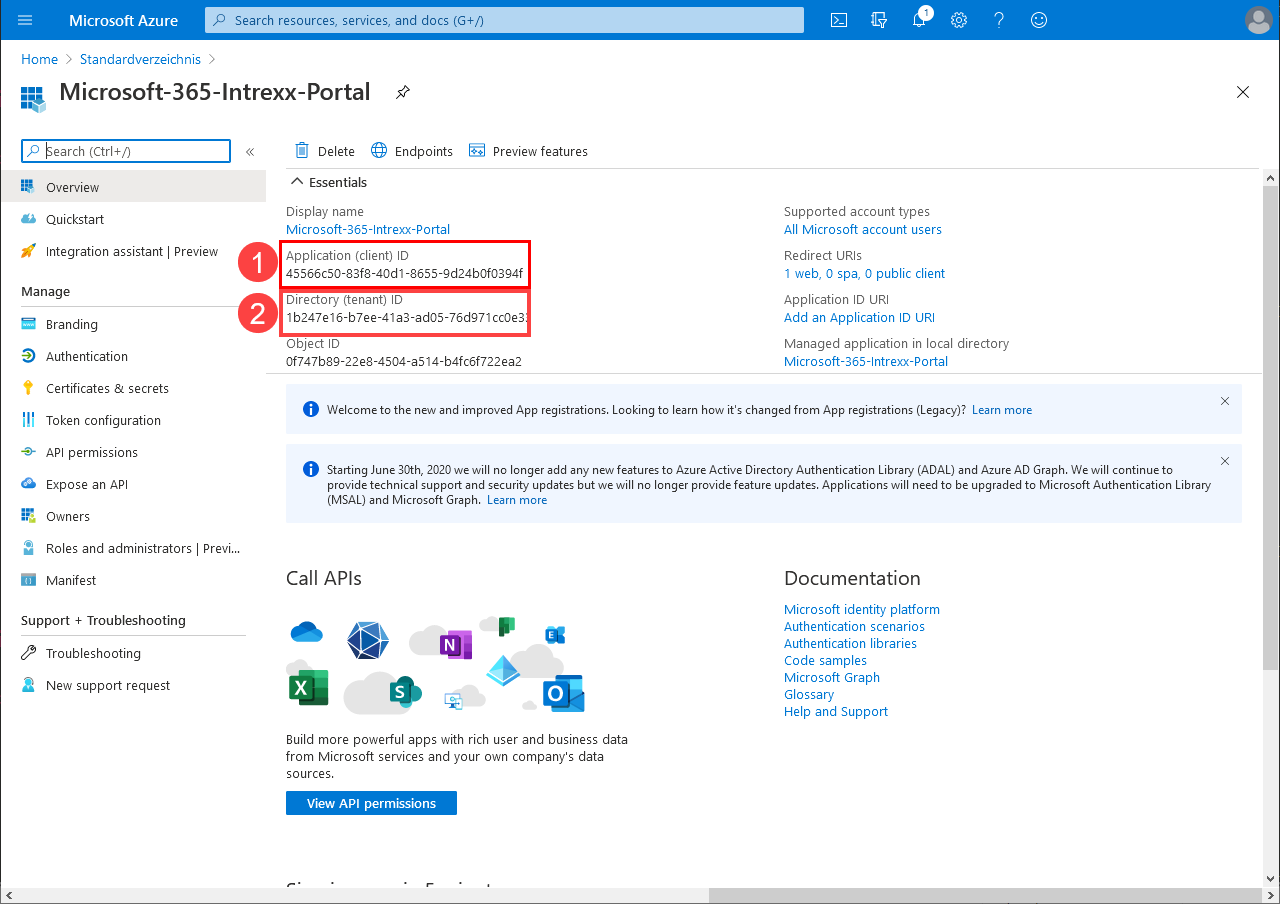
It shows you the client ID that you will need to configure the
You will now be on the app page that provides you with all relevant information about the created app.Microsoft Office 365 data source in the Intrexx Portal Manager later. (For more information, please refer to the chapter Enter client ID and client secret.)
Copy the client ID.
-
Click on the menu item "Certificates and secrets".
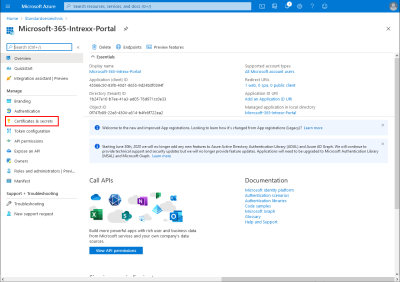
You will now be on the "Certificates and secrets" page.
-
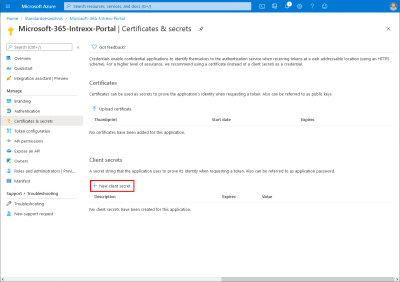
Click on "New client secret".
The "Add a client secret" area will appear.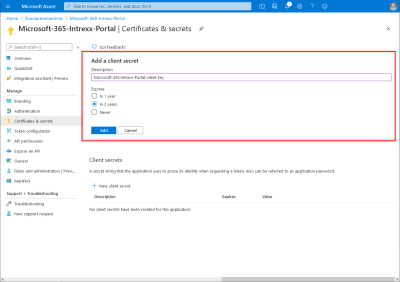
-
Provide your client secret with a description and define when it should expire.
-
Click on "Add".
You will be taken back to the "Certificates and secrets" page.
The client secret will be shown at the bottom right.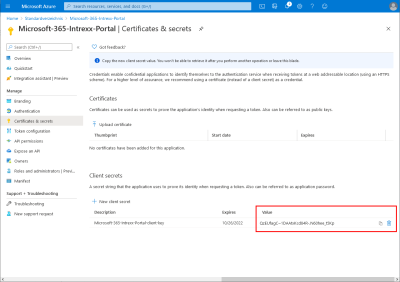
You will need this to configure the Microsoft Office 365 data source in the Intrexx Portal Manager later. (For more information, please refer to the chapter Enter client ID and client secret.)
Copy the client secret.You have registered your Intrexx portal in Microsoft Azure.
At the same time, you have generated and copied the client ID and client secret.