Step-by-step guide
Proceed as follows to download and install an update:
-
Start the Portal Manager (server) as the administrator.
If an update is available, you will be notified of this at the lower right edge of the Intrexx window.
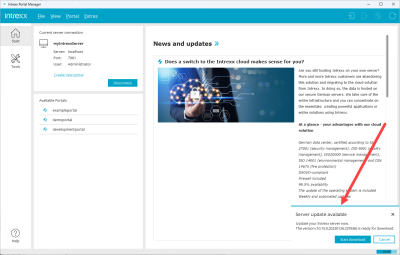
You can also check for an update manually at any time.
To do this, click on "Extras > Check for software update...".
-
Click on "Start download".
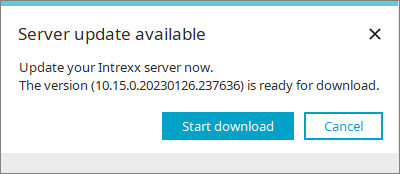
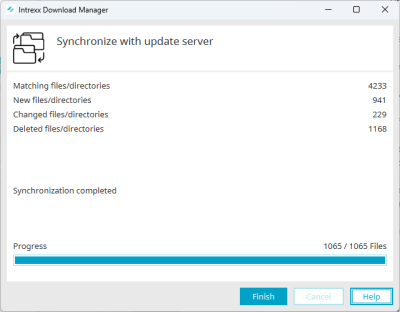
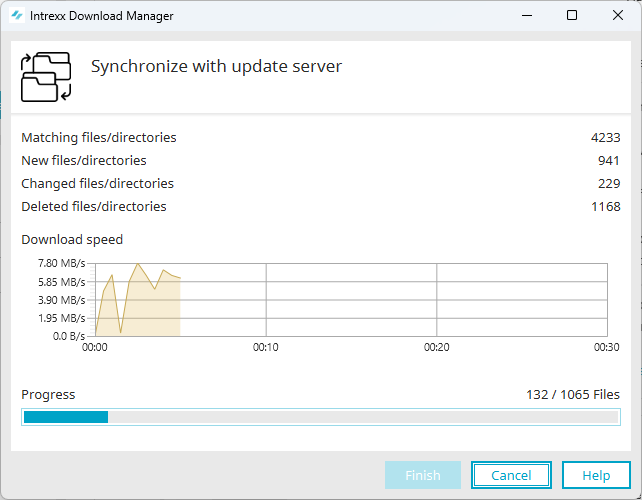
The Intrexx Download Manager will be started.
This downloads the files required for the update.
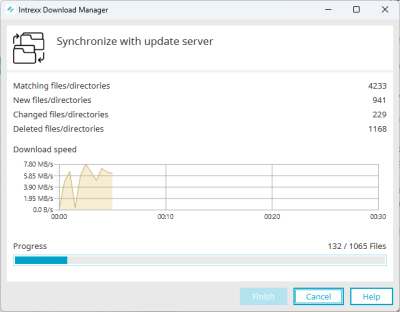
When updating for the first time, synchronization with the update server may take a little longer, as a full synchronization with the update server is performed.
For future updates, only the files that differ on the update server and on your local installation will be downloaded. Only a short period of time is then required for the update.
After all the required files have been downloaded, the "Finish" button becomes active.
-
Click on "Finish".
The dialog for starting the installation will open.
Install updates
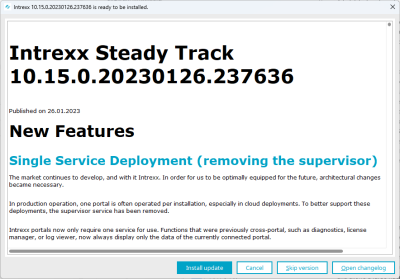
Click on the "Install updates" button to install the downloaded update.
During the installation, the Intrexx services are stopped and then restarted.
Skip a version
You can choose not to install the downloaded update and therefore skip the currently available version of Intrexx.
Open changelog
Click on the "Open changelog" button to view the new features and other changes of the current version in the Online Help.
-
Click on "Install updates".
Note that during the installation of the update, the Intrexx services will be stopped and restarted.
This means that during the installation of the update your portal will not be available.
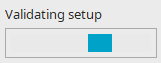
The Portal Manager (server) closes automatically.
The setup is validated.
This checks whether the download of the files was performed completely and without errors.
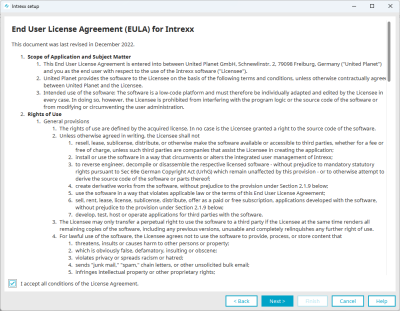
The conditions of the license agreement will appear.
-
Read the license agreement.
-
Activate the "I accept all conditions of the license agreement" checkbox.
-
Click on "Next".
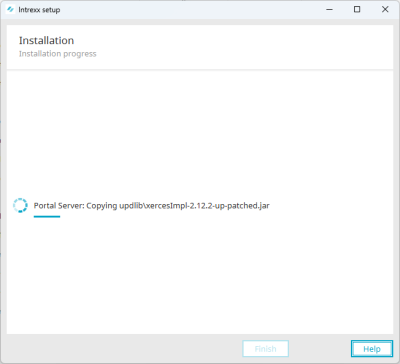
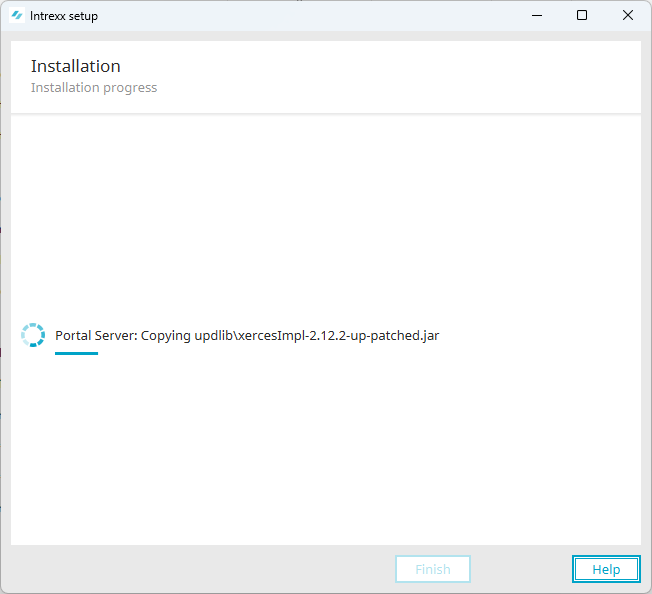
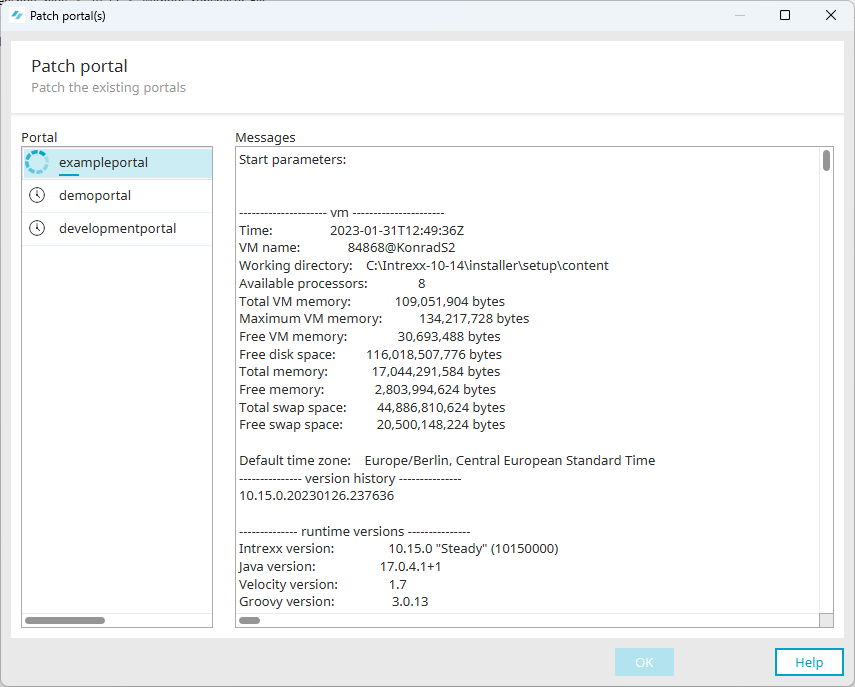
The installation is executed.
Existing portals will be updated or patched to the new Intrexx version.

After patching the portals, the "OK" button changes to active.
-
Click on "OK".
-
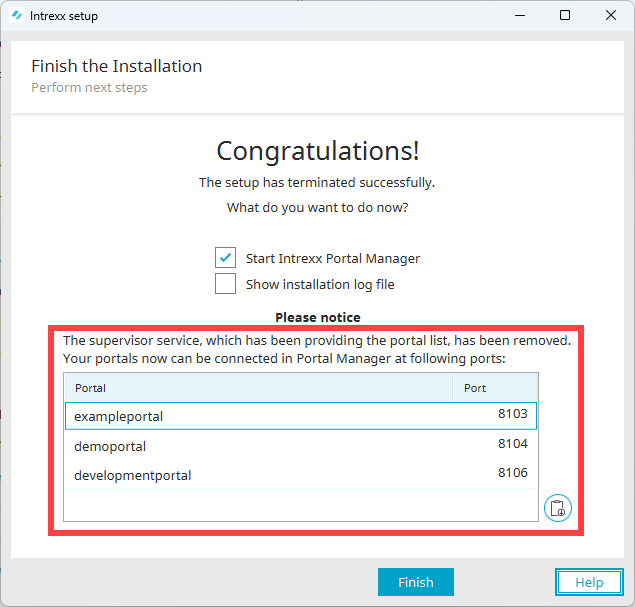
Click on "Finish".
If you have activated the checkbox "Start Intrexx Portal Manager", Intrexx will be restarted.


The "Finish installation" dialog appears.